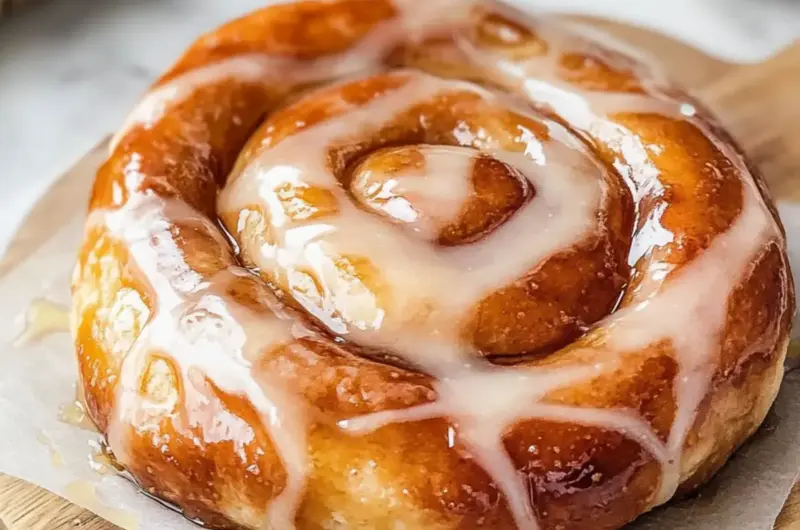
There’s a special kind of joy that fills your kitchen when you decide to take a break from fast food and whip up something sweet and homemade. A few years ago, I was scrolling through recipes, feeling uninspired, when I stumbled upon the idea for these delightful Homemade Honey Buns. The combination of warm honey and a fluffy, doughy exterior is enough to make anyone’s mouth water!
Picture this: the soft scent of cinnamon warming the air as the dough rises, promising a treat that’s both comforting and indulgent. What’s even better? You can easily transform this recipe into a fried or baked version, allowing for a deliciously crispy exterior and a soft, gooey inside that practically melts in your mouth. If you’re looking for a versatile treat that can become the highlight of your brunch or just a sweet nibble for an afternoon pick-me-up, these honey buns are your answer!
Let’s roll up our sleeves and create some memories in the kitchen with these delectable Homemade Honey Buns that promise to bring a little sweetness back into your life!
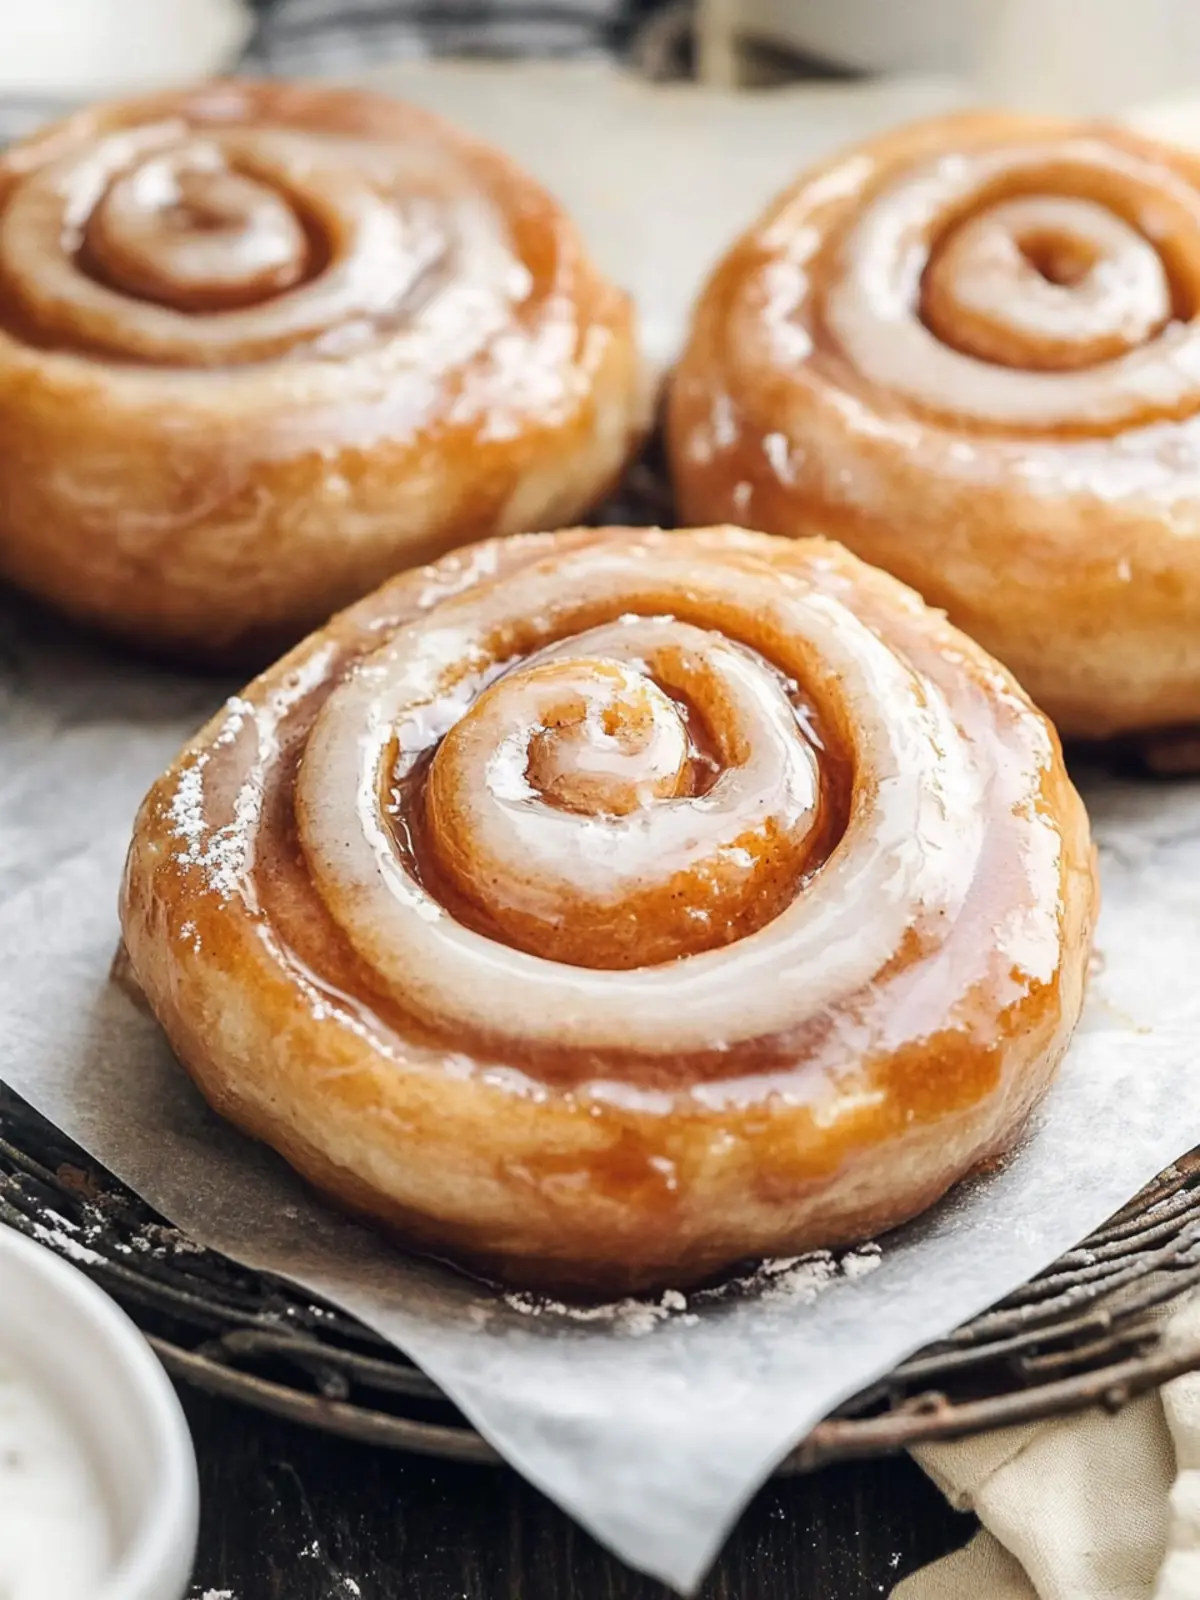
How will you enjoy Homemade Honey Buns?
Irresistible flavor: The sweet combination of honey and cinnamon will have you hooked from the first bite!
Easy to make: With a straightforward dough process, even novice bakers can create these treats with confidence.
Versatile options: Choose to fry for a crispy finish or bake for a lighter option—either way, they’re sure to please.
Crowd-pleaser: Perfect for brunch, parties, or as a sweet snack, these honey buns are bound to impress everyone.
Time well spent: Though they require some rising time, the result is a batch of warm, homemade goodness that’s well worth the wait.
Imagine indulging in these delectable bites with a cup of coffee while enjoying quality time with loved ones—what could be better?
Homemade Honey Bun Ingredients
• Dive into the delicious world of Homemade Honey Buns with these simple ingredients!
For the Dough
- All-purpose flour – helps create the soft, fluffy texture you crave.
- Granulated sugar – balances the flavors and adds a touch of sweetness.
- Instant yeast – guarantees a quick rise for your dough.
- Salt – enhances all the flavors in your honey buns.
- Warm water – helps activate the yeast and brings the dough together.
- Honey – infuses each bite with natural sweetness and moisture.
- Large egg – provides richness and color to the dough.
- Vanilla extract – adds a warm, comforting aroma.
- Shortening – ensures a tender crumb in your honey buns.
For Frying
- Vegetable or peanut oil – perfect for achieving that crispy, golden exterior.
For the Cinnamon Sugar
- Granulated sugar – sweetens the cinnamon for a delightful topping.
- Cinnamon – offers the irresistible flavor that makes these honey buns special.
For the Glaze
- Powdered sugar – creates a smooth, glossy finish for your honey buns.
- Honey – enhances the glaze with even more natural sweetness.
- Melted butter – adds richness to the glaze.
- Vanilla extract – rounds out the flavor for a decadent finish.
- Salt – a pinch goes a long way in balancing sweetness.
- Warm water – adjust for your desired glaze consistency.
How to Make Homemade Honey Buns
-
Whisk together the flour, sugar, yeast, and salt in a large bowl. This simple step creates a solid foundation for your dough, ensuring that all dry ingredients are well combined and ready for the wet ingredients.
-
Combine the wet ingredients in a medium-sized bowl by whisking together the warm water, honey, egg, and vanilla extract. Add the melted shortening and mix until everything is blended smoothly, for a rich and flavorful dough.
-
Mix the dough using a stand mixer equipped with a dough hook. Add the wet mixture to the dry ingredients and mix on low until combined. This will help to incorporate all ingredients without overworking the dough.
-
Knead the dough on medium speed for about 8 minutes. The texture should become smooth and elastic. Once ready, shape the dough into a ball and place it in a lightly oiled bowl, turning it to coat.
-
Cover and rise the dough in a warm spot for 1 to 2 hours. You’ll know it’s ready when it has nearly doubled in size—this rising time develops the dough’s wonderful fluffiness.
-
Prepare the cinnamon sugar by whisking together the granulated sugar and cinnamon in a small bowl. Set this aside as a delightful topping to be dusted onto the dough.
-
Roll out the risen dough on a floured surface into a 12″ x 8″ rectangle. Generously dust it with the cinnamon sugar mixture, then press it into the dough for even flavor distribution.
-
Roll the dough tightly from the long side toward the clean edge, using a little water on the edge to help seal it. This will create a beautiful spiral of sweetness inside each honey bun.
-
Cut the rolled dough into 1-inch pieces. Place each piece on a parchment-lined baking sheet, ensuring there’s space between them to allow for further rising.
-
Let the pieces rise again for about 45 minutes until they’re puffy, giving them that soft, pillowy texture everyone loves.
-
Heat oil in a large pan until it reaches 365°F for frying. This temperature is crucial for achieving that golden brown finish.
-
Whisk the glaze ingredients in a medium-sized bowl, adding warm water gradually until you reach the desired consistency—smooth, but thick enough to cling to each honey bun.
-
Fry the dough pieces gently, pressing them down slightly. Cook each side for about 90 seconds until golden brown and deliciously crisp.
-
Dip them in glaze immediately after removing from oil, allowing excess to drip off. Place on a wire cooling rack to set, where their sweetness will shine.
-
For baking, preheat the oven to 350°F. Bake for 18 minutes until lightly golden brown. Let them cool for 5 minutes before dipping into the glaze for a sweet finish.
Optional: Drizzle extra honey over the glaze for a delightful touch.
Exact quantities are listed in the recipe card below.
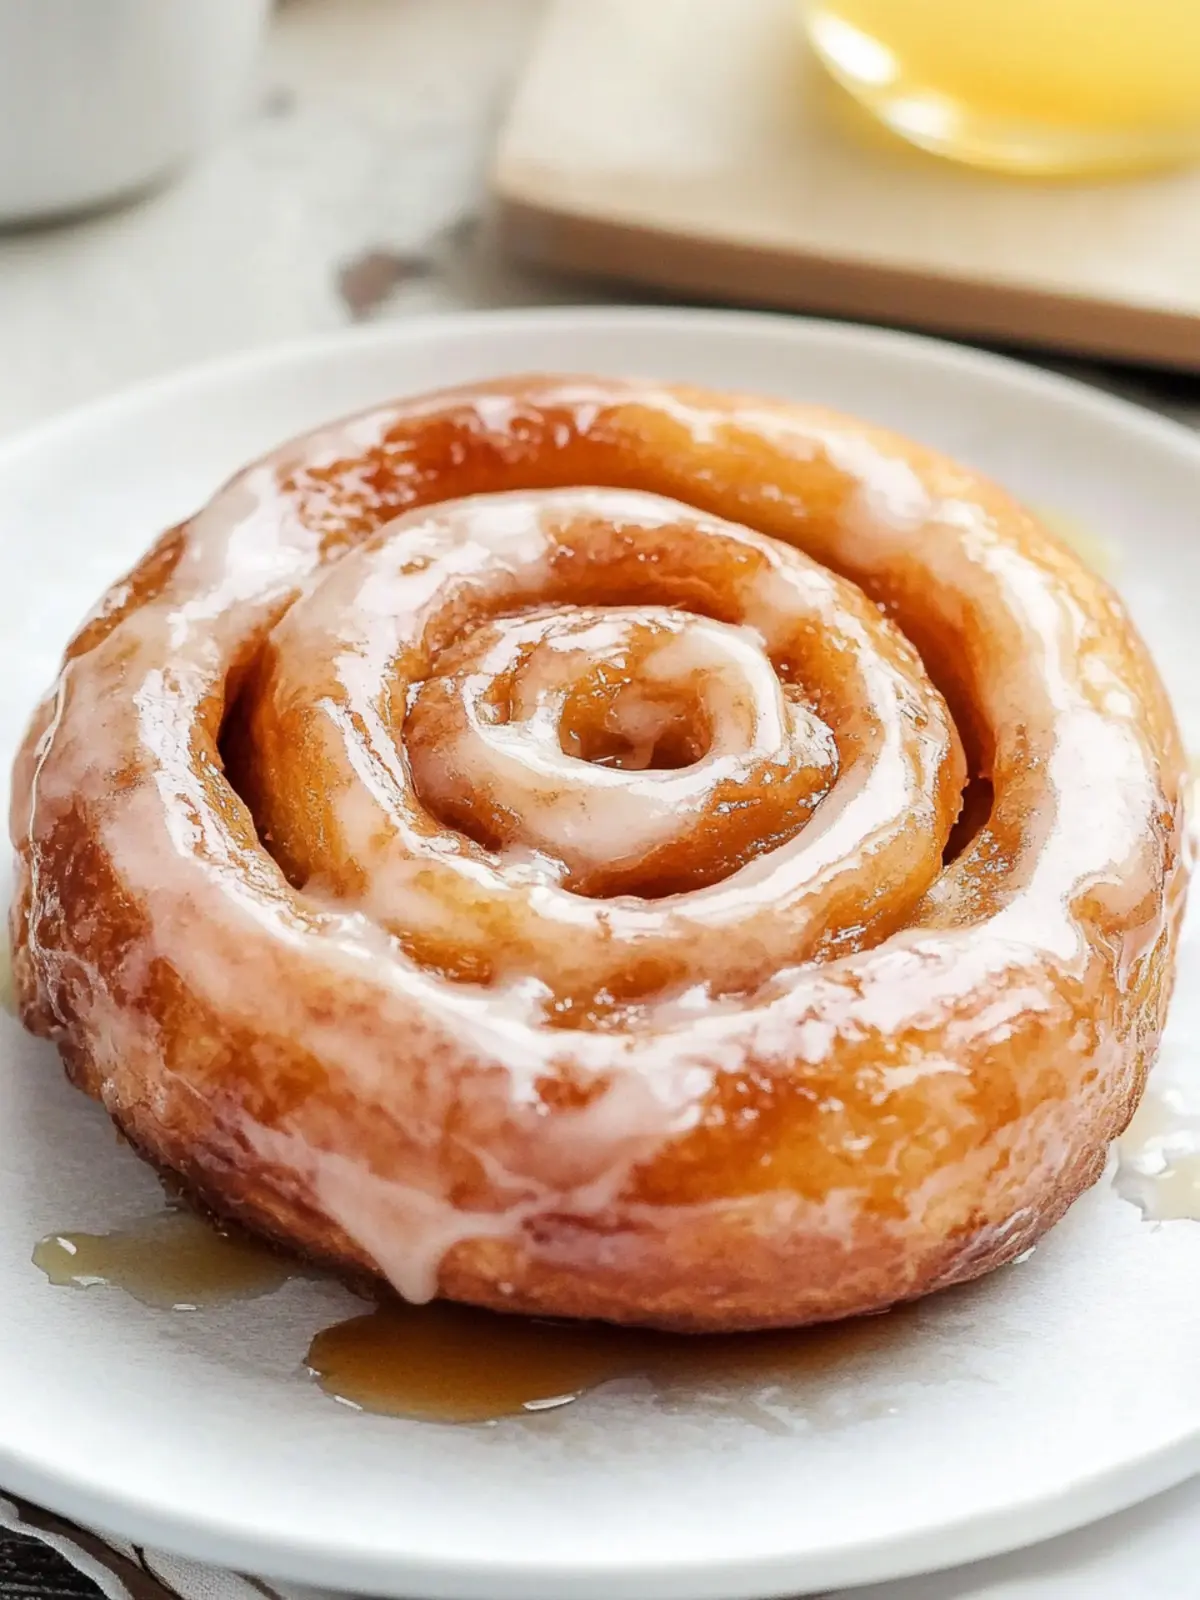
How to Store and Freeze Homemade Honey Buns
Room Temperature: Keep your honey buns at room temperature in an airtight container for up to 3 days for optimal freshness. This helps retain their soft texture!
Fridge: If you need to store them longer, place the honey buns in the refrigerator for up to a week. Seal them tightly to prevent them from drying out.
Freezer: For longer storage, freeze the honey buns by wrapping them individually in plastic wrap and placing them in a freezer bag for up to 2 months.
Reheating: To enjoy your honey buns again, simply warm them in the oven at 350°F for about 10 minutes, or microwave for 15-20 seconds until just heated. Relive that homemade sweetness!
Expert Tips for Homemade Honey Buns
- Perfect Warmth: Ensure your water is between 105°F-115°F. Too hot will kill the yeast; too cold won’t activate it properly.
- Kneading Matters: Knead the dough for a full 8 minutes until it’s smooth and elastic. This develops the gluten, giving your honey buns a delightful texture.
- Space to Rise: When cutting the dough, leave enough space on the baking sheet. They’ll expand as they rise and need room to puff up beautifully!
- Frying Temperature: Use a kitchen thermometer to monitor oil at 365°F for frying. Too low, and they’ll absorb oil; too high, and they’ll burn.
- Glaze Consistency: Adjust your glaze with warm water until it’s thick yet pourable. A good glaze should drape easily over the buns for a perfect finish.
- Experiment with Flavors: Don’t hesitate to add spices or extracts into the dough or glaze. A hint of nutmeg or almond could elevate your Homemade Honey Buns!
Make Ahead Options
These Homemade Honey Buns are perfect for busy weeknights and make meal planning a breeze! You can prepare the dough up to 24 hours in advance; simply follow the first five steps of the recipe, cover the oiled bowl, and refrigerate. Allow the dough to come to room temperature before shaping and frying it on the day you plan to serve. Additionally, you can mix the cinnamon sugar and the glaze ahead of time, storing them in airtight containers for up to 3 days. This way, when you’re ready to indulge, just roll, rise, and fry or bake for freshly made treats that are just as delicious as when made fresh!
Homemade Honey Bun Variations
Feel free to put your own spin on these delightful honey buns with a few simple tweaks to make them uniquely yours!
- Gluten-Free: Substitute all-purpose flour with a gluten-free blend to cater to dietary needs without sacrificing taste.
- Vegan: Use flax eggs and replace honey with maple syrup or agave nectar for a plant-based treat that retains its sweetness.
- Spiced Up: Add a pinch of nutmeg or ginger to the cinnamon sugar for an extra layer of warmth that will wow your taste buds.
- Fruit-Filled: Before rolling, add a layer of your favorite fruit preserves or fresh berries inside the dough for a delightful surprise!
- Nutty Delight: Incorporate chopped nuts like pecans or walnuts into the dough or sprinkle them in the cinnamon sugar for added texture and flavor.
- Chocolate Drizzle: Melt some chocolate and drizzle it over the glaze for a decadent chocoholic twist that will make these buns irresistible!
- Coconut Crunch: Mix shredded coconut into the glaze for a tropical touch, adding a chewy texture that complements the sweetness of the buns.
- Savory Option: Experiment with herbs like rosemary or thyme in the dough for an intriguing savory version that pairs wonderfully with a cheese platter.
Each variation invites you to explore new flavors and textures, ensuring your homemade honey buns will always bring joy to your table!
What to Serve with Homemade Honey Buns?
Pairing delightful sides and drinks can elevate your sweet treat experience into a full meal that warms both the heart and the home.
-
Fresh Fruit Salad: Bright, juicy fruits provide a refreshing contrast to the sweetness of honey buns. The crunch and acidity complement the soft, sugary treat beautifully. A mix of berries, melon, and citrus can add a pop of color to your brunch table.
-
Creamy Yogurt: A dollop of vanilla or honey yogurt creates a creamy, tangy counterpoint to the warm, sugary honey buns. It enhances the flavors while bringing a delightful creaminess that perfectly balances the sweet notes.
-
Cinnamon Coffee: Sip on a steaming cup of cinnamon-infused coffee to heighten the warm flavors of your honey buns. The aromatic spices create a cozy feel, making this combo perfect for a leisurely weekend brunch.
-
Maple Bacon: The salty-sweet combination of crispy maple bacon adds a savory touch that beautifully contrasts with the sweetness of the honey buns. With every bite, you get a rich burst of flavor that enhances the overall experience.
-
Apple Cider: Enjoy warm apple cider spiced with hints of cinnamon and clove as a seasonal pairing. The fragrant warmth of the cider adds a lovely autumnal touch to the sweetness of the honey buns.
-
Chocolate Drizzle: For a touch of extravagance, consider drizzling each honey bun with a warm chocolate sauce. The rich and creamy texture of the chocolate makes for an indulgent twist that adds layers of flavor.
-
Ice Cream: Serve a scoop of vanilla or cinnamon ice cream on the side for a dreamy dessert experience. The cold, creamy ice cream enhances the warm honey buns for an unforgettable taste adventure.
-
Lemonade: A chilled glass of lemonade can balance the richness of the honey buns with its refreshing tartness. The brightness of citrus cuts through the sweetness, making every bite even more enjoyable.
Elevate your honey bun experience by pairing them with these delicious sides and drinks, and enjoy the warmth and comfort they bring to your table!
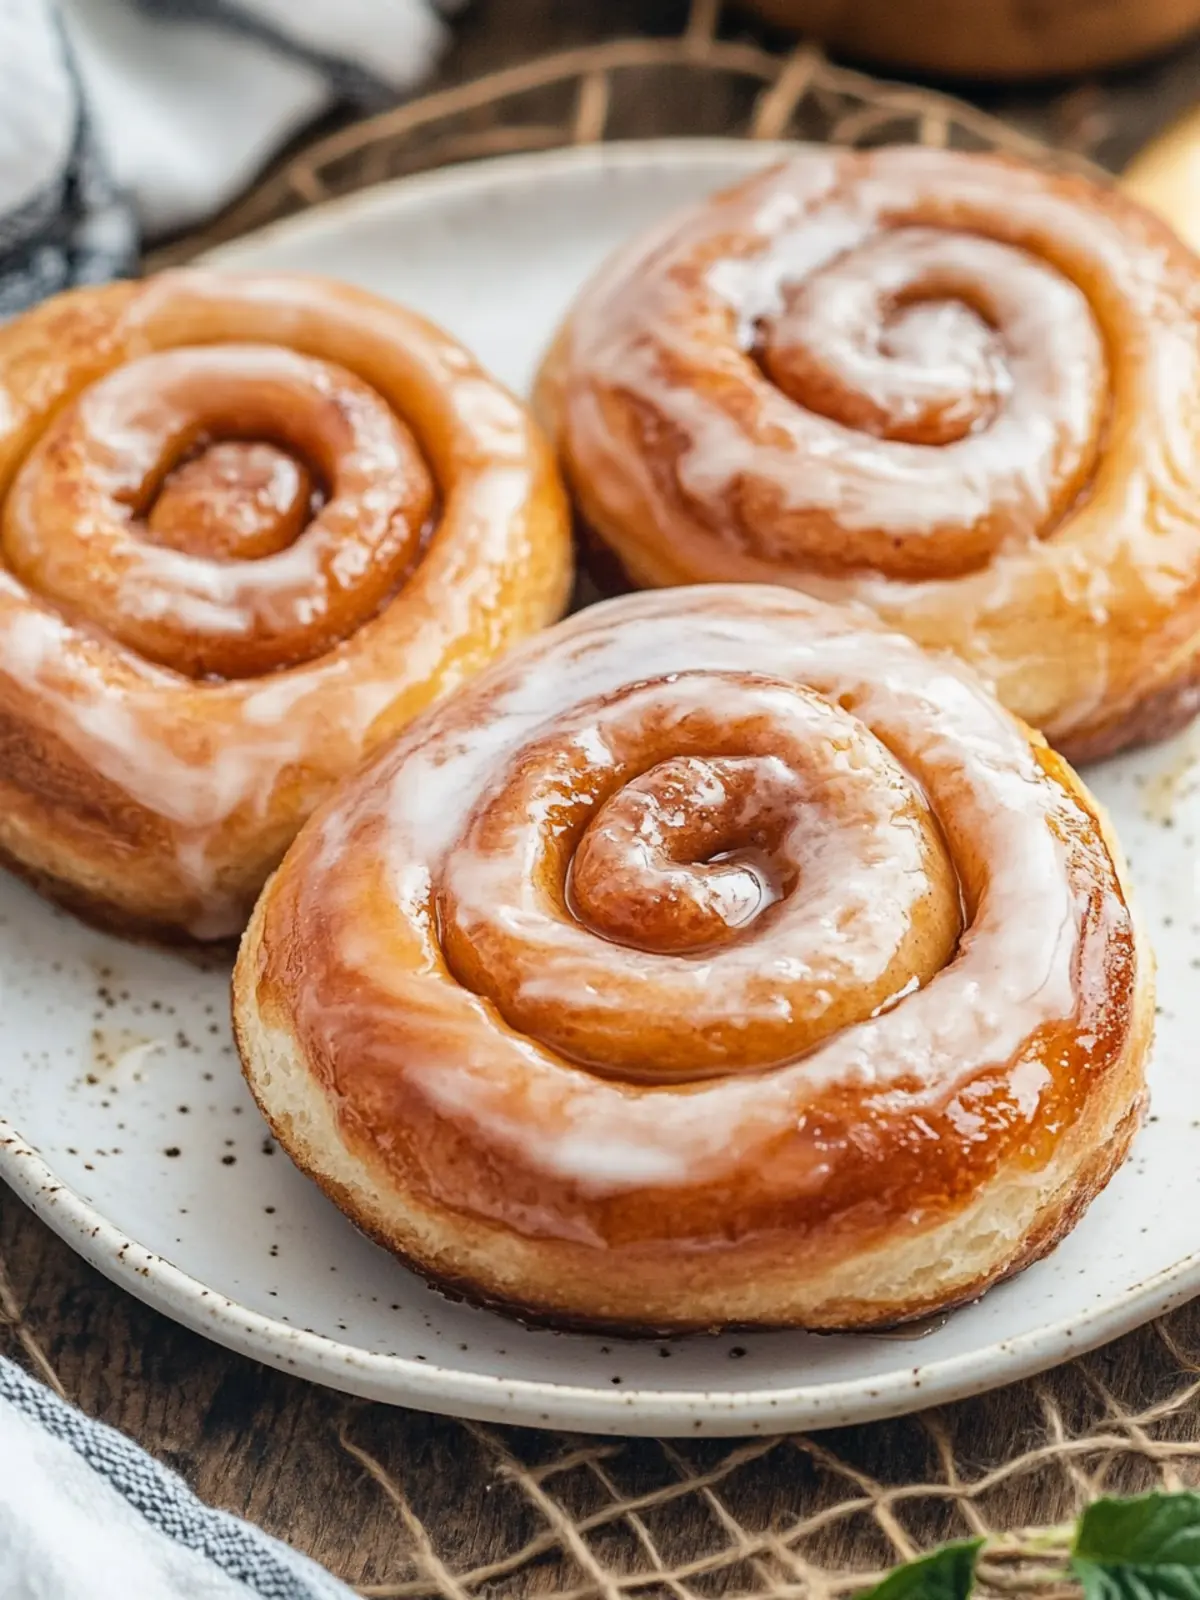
Homemade Honey Bun Recipe FAQs
How do I select the best ingredients for my honey buns?
Absolutely! When choosing your ingredients, look for all-purpose flour that feels fresh and has a fine texture—this helps achieve the soft, fluffy buns we crave. For honey, local or raw honey adds a rich flavor. The egg should be large and at room temperature for optimal mixing. When it comes to yeast, ensure it’s fresh, and check the expiration date on the package. Fresh cinnamon will provide a more intense flavor.
What is the best way to store leftovers?
Very good question! To keep your honey buns fresh, store them in an airtight container at room temperature for up to 3 days. If you find they are starting to get a bit dry, a slice of bread in the container can help maintain moisture. However, if you need to keep them longer, refrigerate for up to a week in a sealed bag.
Can I freeze my homemade honey buns?
You can absolutely freeze your honey buns to enjoy later! To do this, wrap each bun individually in plastic wrap, then place them in a freezer-safe bag or container. They will stay fresh for up to 2 months. When you’re ready to enjoy them, simply remove a bun, unwrap, and let it thaw at room temperature or warm it in the oven at 350°F for about 10 minutes.
What if my dough doesn’t rise?
Oh no, don’t worry if that happens! If your dough isn’t rising, it’s likely due to inactive yeast. Check that the water used to activate the yeast was between 105°F-115°F; too hot can kill the yeast. If the dough is in a cold environment, try moving it to a warmer spot. You could also gently knead the dough for a couple of minutes and let it rest with a warm damp cloth over it; it might take a little longer, but you may still see a rise.
Are there any dietary considerations for my honey buns?
Absolutely, it’s great to consider! For allergies, be mindful of gluten in the flour and potential allergies to eggs or dairy in the butter. If you have gluten sensitivities, you can experiment with gluten-free flour blends, but the texture may vary slightly. For a vegan version, consider using flaxseed meal instead of egg and coconut oil in place of shortening.
Can I make these honey buns healthier or low-sugar?
Of course! To make your homemade honey buns a bit healthier, you could substitute some of the all-purpose flour with whole wheat flour, which will add fiber. For a lower sugar option, you can reduce the amount of sugar in the dough and glaze; using natural sweeteners like maple syrup or agave can also work well, just adjust the liquid components accordingly. Experimenting is part of the fun!
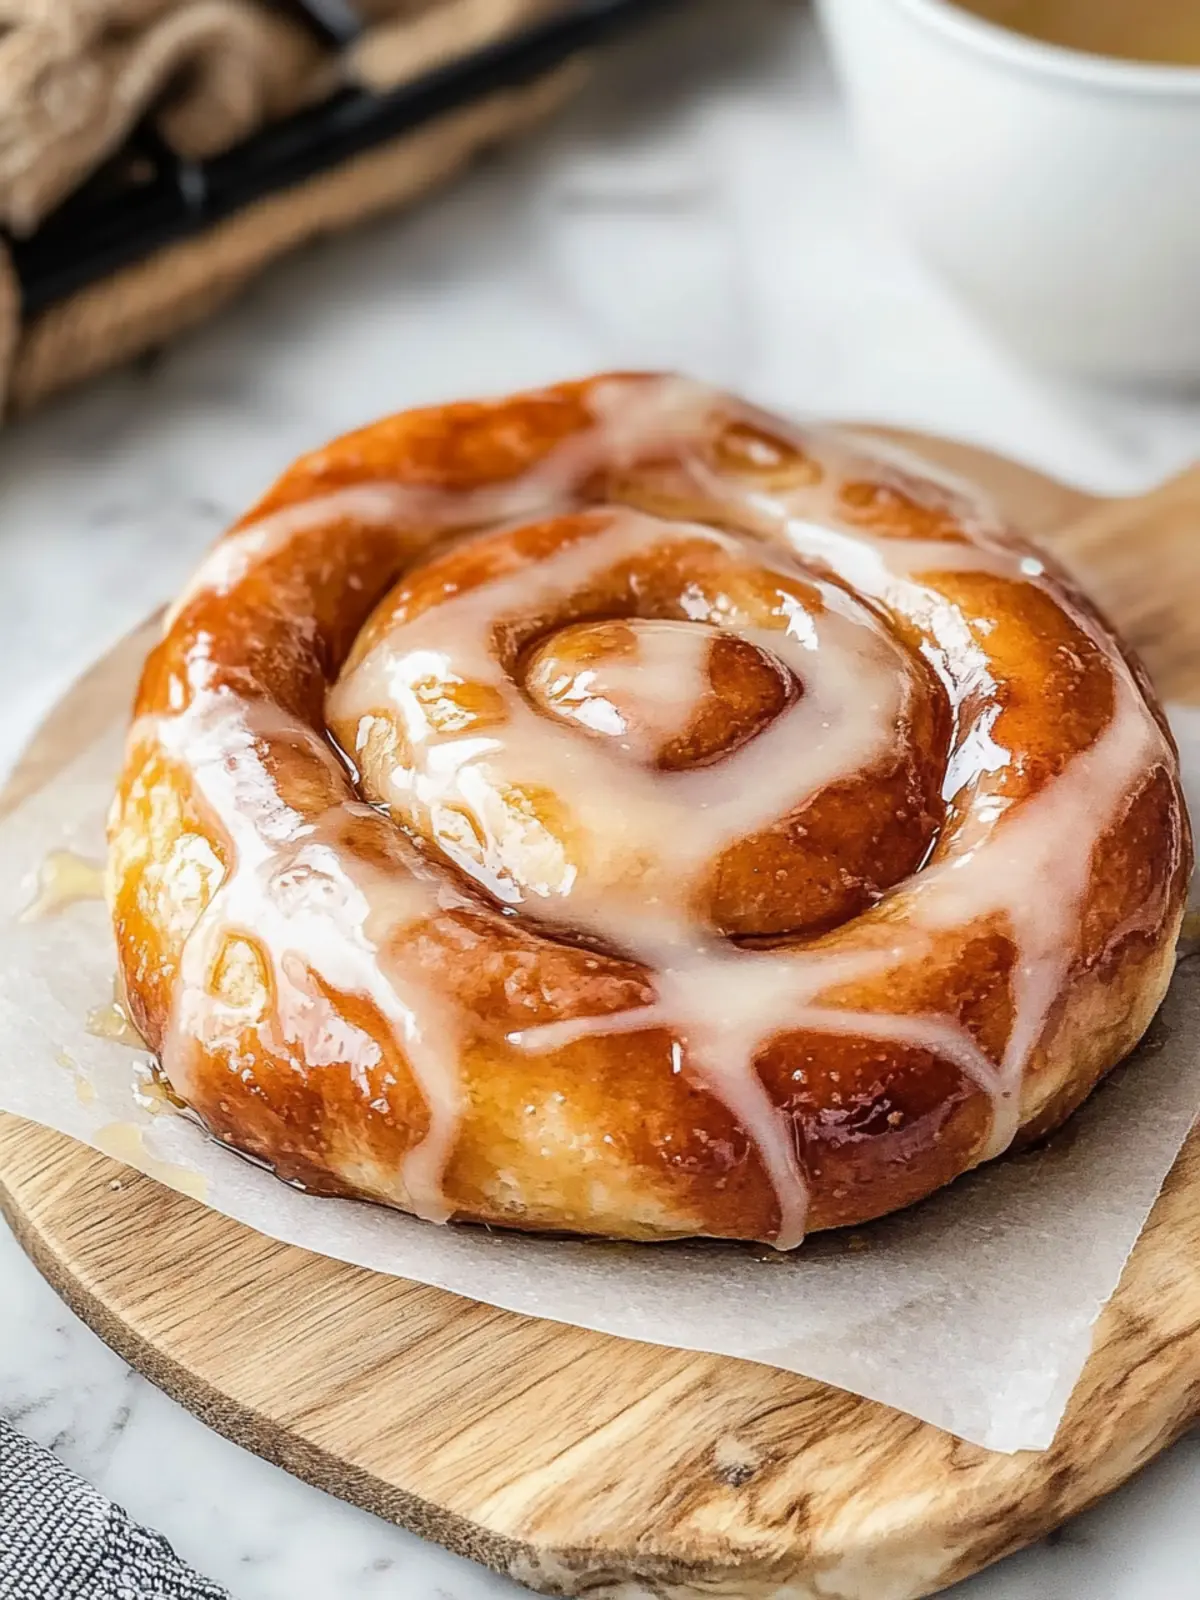
Irresistible Homemade Honey Bun Recipe You'll Crave
Ingredients
Equipment
Method
- Whisk together the flour, sugar, yeast, and salt in a large bowl.
- Combine the wet ingredients in a medium bowl by whisking together warm water, honey, egg, and vanilla extract. Add melted shortening and mix until smooth.
- Mix the dough using a stand mixer equipped with a dough hook. Add the wet mixture to the dry ingredients and mix on low until combined.
- Knead the dough on medium speed for about 8 minutes until smooth and elastic. Shape the dough into a ball and place in a lightly oiled bowl.
- Cover and rise the dough in a warm spot for 1 to 2 hours until nearly doubled in size.
- Prepare the cinnamon sugar by whisking together granulated sugar and cinnamon in a small bowl.
- Roll out the risen dough on a floured surface into a 12" x 8" rectangle. Dust with cinnamon sugar and press into the dough.
- Roll the dough tightly from the long side, using a little water on the edge to seal. Cut into 1-inch pieces.
- Let the pieces rise for about 45 minutes until puffy.
- Heat oil in a large pan to 365°F. Fry each piece for about 90 seconds on each side until golden brown.
- Whisk glaze ingredients in a medium-sized bowl, adding warm water gradually until desired consistency is achieved.
- Dip fried pieces in glaze immediately after frying, allowing excess to drip off. Let cool on a wire rack.
- For baking, preheat oven to 350°F and bake for 18 minutes until lightly golden brown. Cool slightly before glazing.