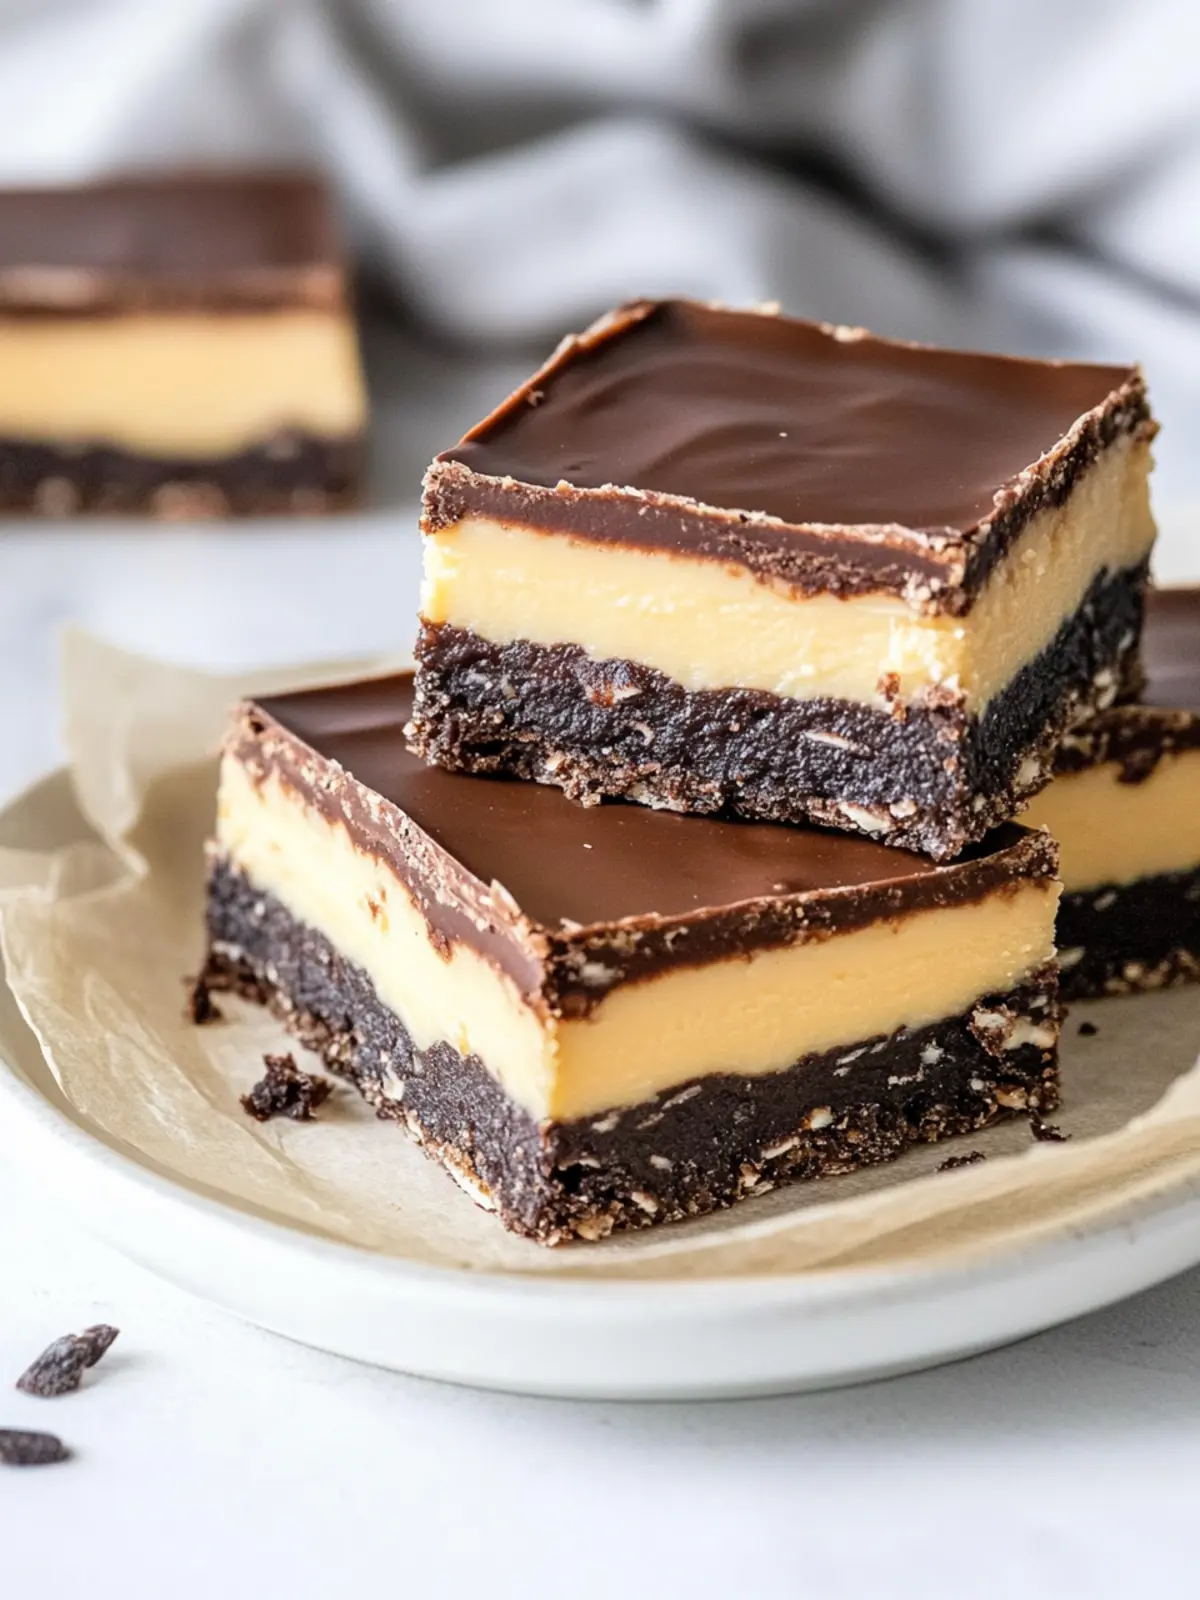
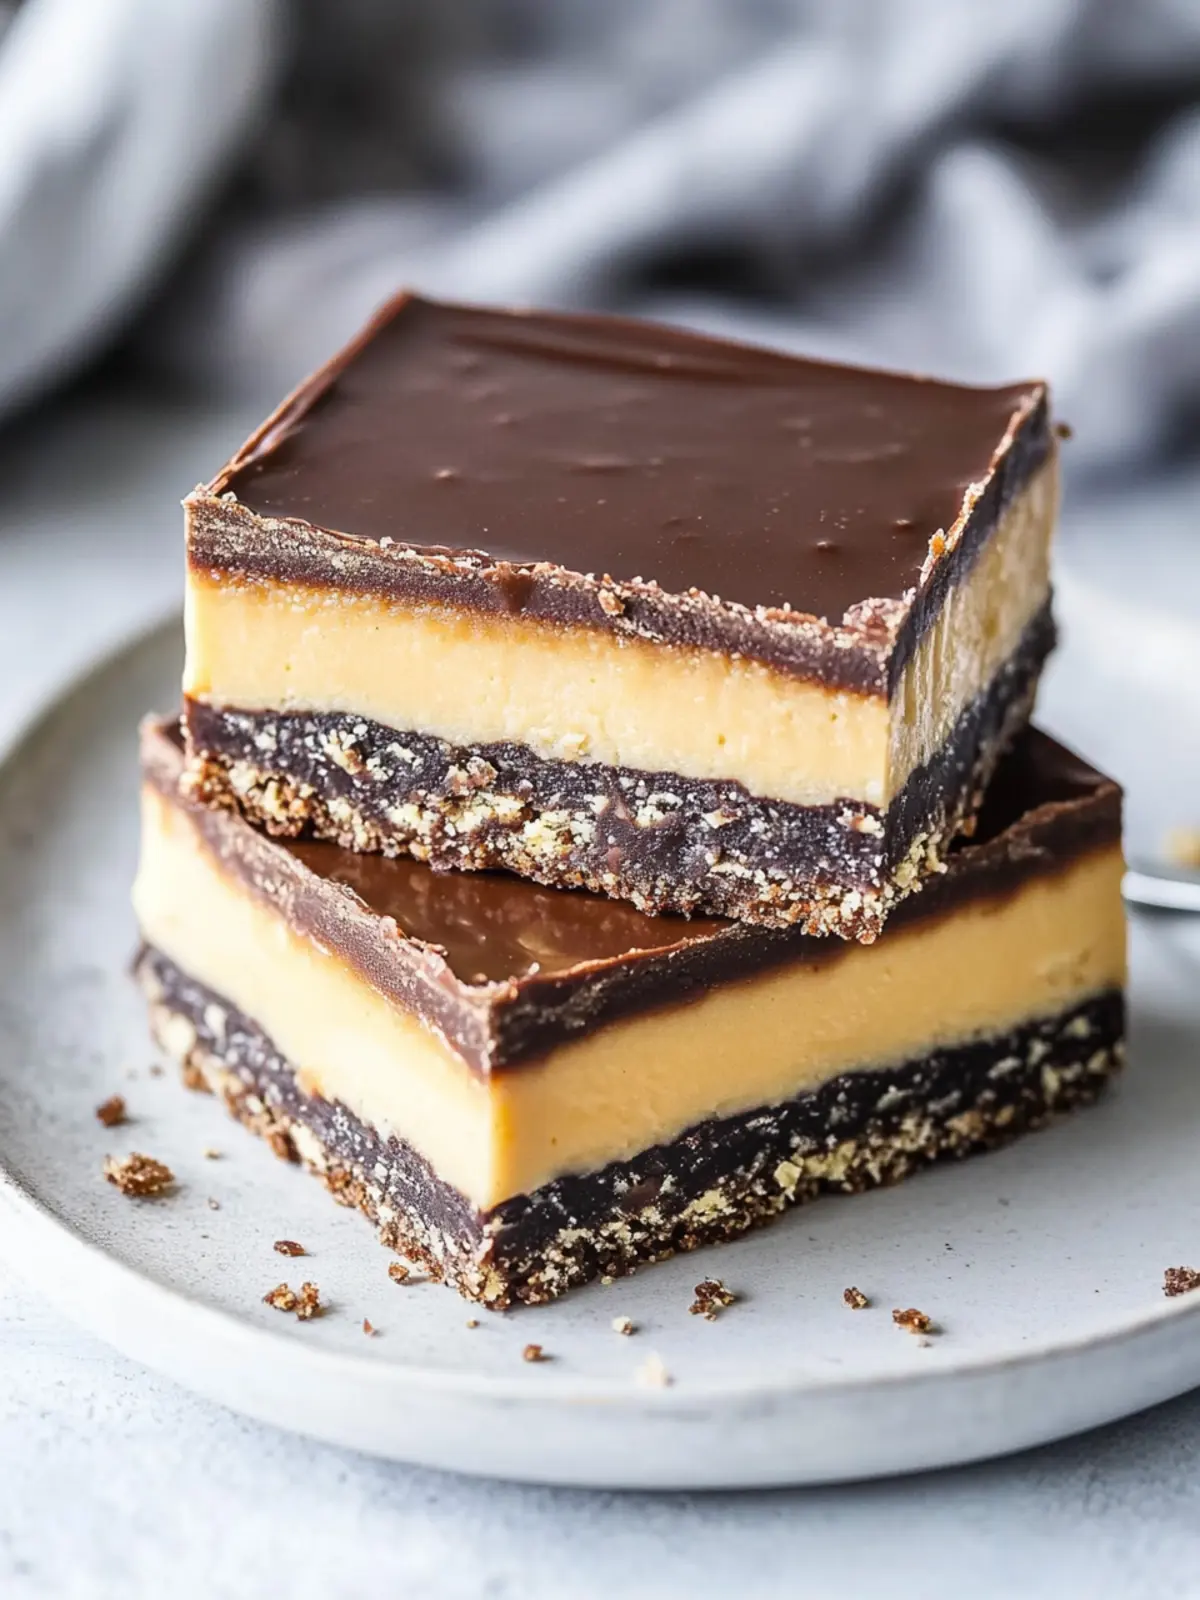
The moment I took my first bite of Nanaimo Bars, I was transported to a world where chocolate, cream, and coconut collide in a delightful symphony of flavors. The layers of this no-bake treat are nothing short of magical; they seamlessly blend the rich, velvety chocolate with a creamy custard center, all resting on a crunchy, graham cracker base. It’s the kind of dessert that makes you feel like a culinary genius without the fuss.
I decided to whip up a batch after a long week, craving something sweet and indulgent yet simple enough to prepare on a lazy weekend. With just a handful of ingredients, you can craft these scrumptious bars that are sure to impress at any gathering—or simply satisfy your late-night sweet tooth. Whether you’re hosting friends or just indulging solo, the luscious layers and the nostalgic vibe of Nanaimo Bars will certainly elevate the moment. So, let’s dive into this delicious adventure!
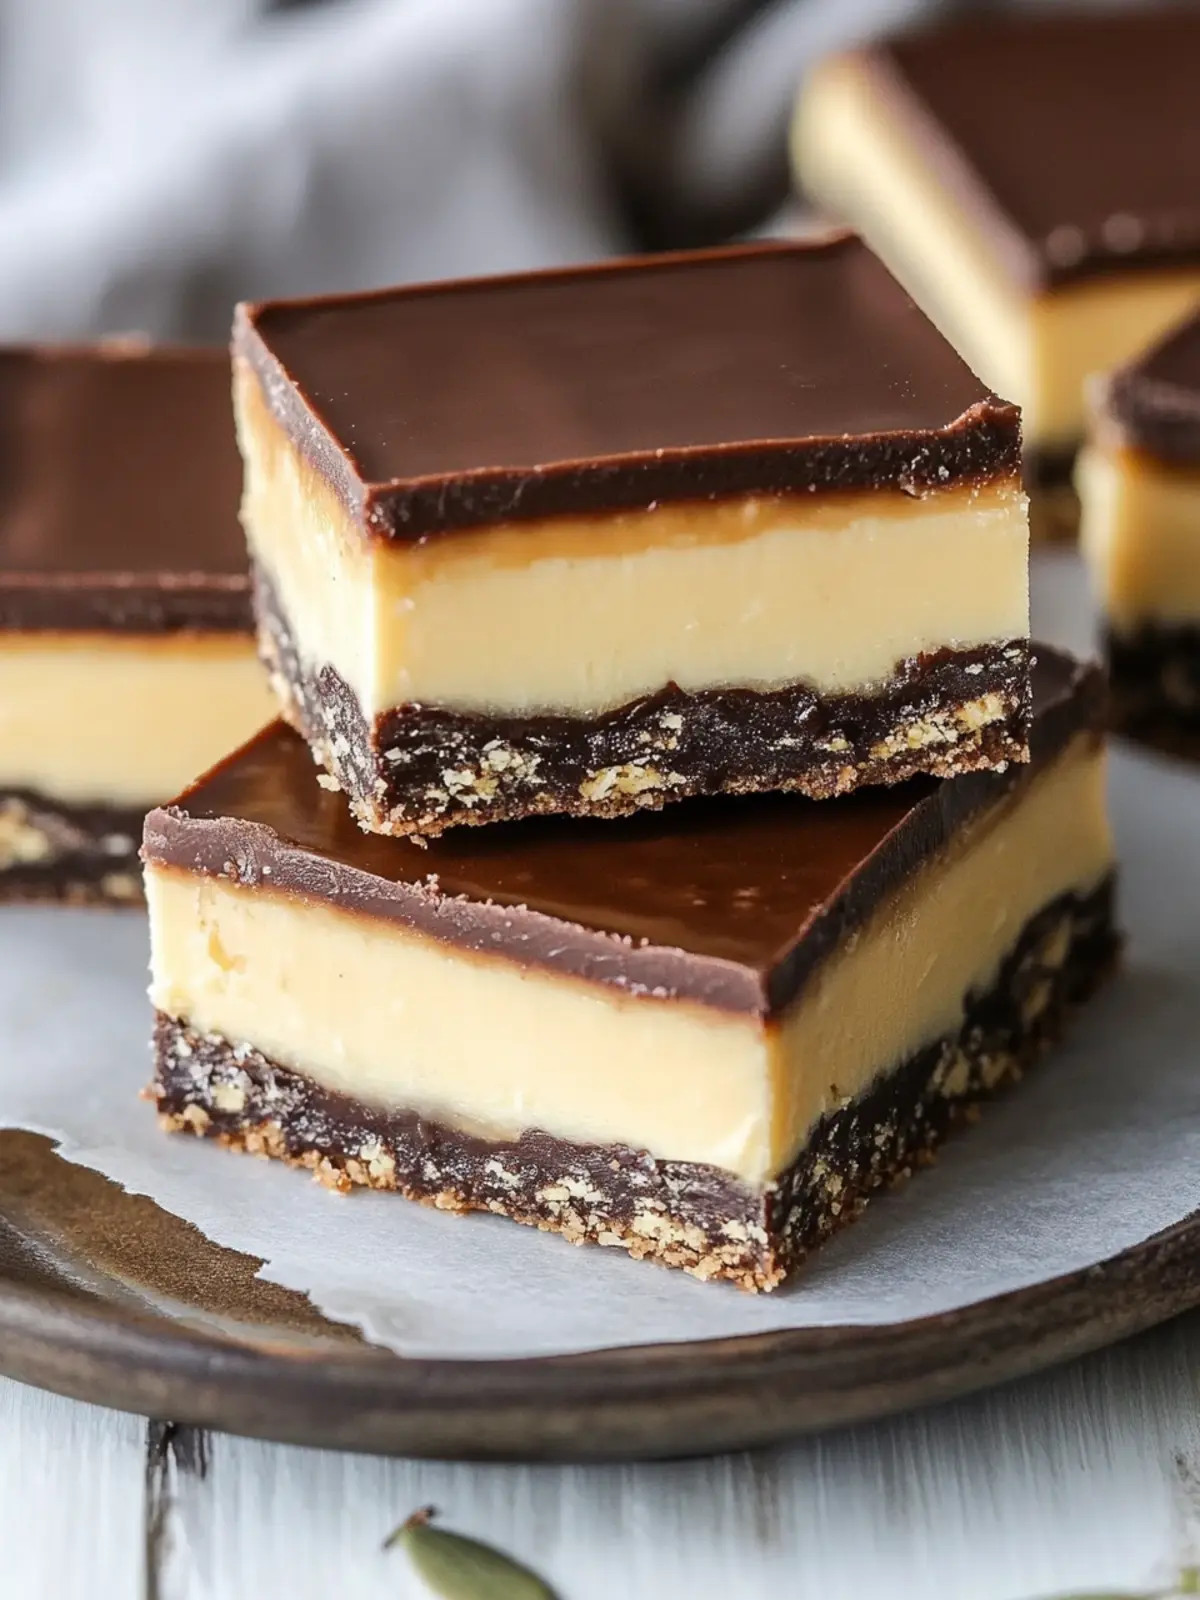
Why are Nanaimo Bars such a hit?
Decadent layers of flavor come together to create a treat that delights your taste buds. No-bake convenience means you can enjoy these delectable bars without spending hours in the kitchen. Versatile options allow you to swap in your favorite nuts or adapt the recipe for dietary needs. Crowd-pleasing delights, perfect for parties or family gatherings, guarantee everyone will be reaching for seconds. Plus, if you’re looking for another no-bake gem, check out my easy no-bake cheesecake recipe for more indulgent inspiration!
Nanaimo Bars Ingredients
For the Base
• Unsalted butter – Adds richness and flavor to the chocolate layer.
• Cocoa powder – Provides that deep, indulgent chocolate taste.
• Granulated sugar – Sweetens the base, balancing the cocoa’s bitterness.
• Large egg – Helps emulsify and bind the ingredients together.
• Graham crumbs – Forms a crispy foundation; substitute with digestive cookie crumbs if preferred.
• Shredded coconut – Adds delightful texture and a hint of tropical flavor.
• Chopped walnuts – Imparts crunch and nutty depth; feel free to swap with your favorite nuts for a unique twist.
For the Custard Layer
• Unsalted butter – Softened for easy mixing, this gives the filling a creamy consistency.
• Custard powder – Makes for a smooth custard filling; vanilla pudding mix can work as a substitute.
• Heavy cream – Adds lusciousness to the filling and helps it set beautifully.
• Powdered sugar – Sweetens the custard layer, ensuring it’s perfectly creamy and thick.
For the Topping
• Semi-sweet chocolate – Melts down to create a rich, glossy finish; you can also use 50-60% dark chocolate for a deeper flavor.
• Oil – Helps the chocolate remain smooth and pourable, creating a beautiful sheen on top.
Embrace the joy of creating fluffy layers and indulging in these irresistible Nanaimo Bars!
How to Make Nanaimo Bars
-
Prepare the Pan: Line an 8×8 or 9×9 inch pan with parchment paper, leaving an overhang around the edges. This will make it easy to lift the bars out once they’re set.
-
Create a Double Boiler: Add about 1-2 cm (1/2 -1 inch) of water to the bottom of a medium saucepan over low heat. Place a glass bowl on top, ensuring it doesn’t touch the water to avoid cooking the ingredients too quickly.
-
Melt Together: Add the unsalted butter, granulated sugar, and cocoa powder to the glass bowl. Stir occasionally until melted and combined, creating a smooth chocolate mixture.
-
Incorporate the Egg: Once melted, add in the egg while whisking constantly until the mixture is thick, glossy, and smooth. This helps it to cool slightly and thicken before the next step.
-
Mix in the Dry Ingredients: Carefully remove the bowl from heat and gently stir in the graham crumbs, shredded coconut, and finely chopped walnuts until fully incorporated.
-
Press into the Pan: Firmly press the mixture into the bottom of the prepared pan to create an even layer. Place it in the freezer for about 20 minutes to firm up.
-
Beat the Buttercream: In a large bowl, beat the softened butter until soft and fluffy, which takes around 2-3 minutes. This is key for a light custard layer!
-
Combine with Custard Powder: Mix in custard powder and the heavy cream, blending well until combined.
-
Add Powdered Sugar: Gradually beat in the powdered sugar, a little at a time, until the mixture is very thick. This will give the custard a delightful texture.
-
Spread the Custard Layer: Spread the custard buttercream evenly over the chilled base layer, then return it to the fridge for at least 15 minutes to firm up.
-
Melt the Chocolate: Place the semi-sweet chocolate in a large heat-proof bowl and microwave on medium power for 45 seconds. Stir and repeat until melted and smooth.
-
Finish with Oil: Stir in the oil to the melted chocolate until glossy, then pour over the bars, smoothing the top for a beautiful finish.
-
Chill to Set: Place the entire pan in the fridge to firm up completely, which takes another 30-60 minutes.
-
Score the Bars: When the chocolate is about 75% hardened, lightly score the bars with a knife to mark where you’ll cut them later.
-
Final Chilling: Return the pan to the fridge until the chocolate is completely firm.
-
Slice and Serve: Once fully hardened, let the bars warm up for about 10 minutes. Then, cut into squares along the scored lines and enjoy!
Optional: Garnish with a sprinkle of coconut flakes for an extra touch!
Exact quantities are listed in the recipe card below.
Nanaimo Bars Variations & Substitutions
Feel free to make these delectable Nanaimo Bars your own by trying these exciting twists!
- Nut-Free: Substitute walnuts with sunflower seeds or omit nuts altogether for a safe, nut-free version.
- Gluten-Free: Use gluten-free graham cracker crumbs or almond flour for the base to accommodate gluten sensitivities.
- Dairy-Free: Swap unsalted butter with coconut oil or a plant-based butter to create a creamy, dairy-free layer.
- Coconut-Free: Replace shredded coconut with crushed graham crackers for a more traditional taste without coconut’s texture.
For those who adore the creamy nuance, consider blending ricotta cheese with a hint of vanilla in the custard layer. This adds a subtle tang that beautifully complements the sweetness!
- Sugar-Free: Use a sugar substitute like erythritol or stevia in the custard filling to cater to your low-sugar diet.
- Flavor Infusion: Experiment with flavored extracts—like almond or orange—for a unique twist that brightens each layer.
If you enjoy a spicy kick, add a pinch of cayenne pepper to the chocolate topping for a surprising heat!
- Fruity Addition: Incorporate fresh or dried fruit, such as raspberries or dried cherries, into the custard layer for a fruity burst. This juxtaposition provides a lovably tart balance against the sweet layers.
What to Serve with Nanaimo Bars?
Indulging in the rich, layered delight of Nanaimo Bars calls for delightful companions that enhance your dessert experience.
- Fresh Berries: Juicy strawberries or raspberries add a tart contrast, balancing the sweetness of the bars beautifully.
- Vanilla Ice Cream: A scoop of creamy vanilla ice cream adds a cold, luscious element that complements the chocolate and custard perfectly.
- Mint Tea: The refreshing notes of mint tea offer a calming contrast, making it an excellent option for afternoon treats.
- Coffee: A warm cup of coffee brings out the chocolate flavors, making your dessert moment even more comforting.
- Caramel Sauce: Drizzling a bit of caramel on top adds a rich sweetness that enhances the multi-layered flavors.
- Nutty Biscotti: Crunchy biscotti offers an appealing texture and a delightful nuttiness that pairs wonderfully with the creamy bars.
- Dark Chocolate Sauce: A warm drizzle intensifies the dessert experience, adding decadence that chocolate lovers crave.
- Coconut Flakes: Sprinkle toasted coconut on top for a tropical touch that resonates with the bars’ coconut layer, creating a harmonious flavor.
- Sparkling Water: A bubbly drink refreshes your palate and balances the richness of the Nanaimo Bars beautifully.
- Chocolate Ganache Brownies: For the ultimate indulgence, consider serving with a side of fudgy brownies for a double chocolate delight!
These pairings will surely elevate your dessert experience, making each bite of Nanaimo Bars even more memorable!
Expert Tips for Nanaimo Bars
-
Perfect Base Texture: Ensure to press the graham mixture firmly into the pan for a sturdy base. If it’s too loose, the bars may crumble when cut.
-
Egg Safety: When adding the egg to the warm chocolate mixture, whisk constantly to prevent scrambling. The egg needs to blend smoothly for rich thickness in the bars.
-
Gentle Chocolate Melting: Use the microwave or a double boiler at low power. High heat can scorch the chocolate, resulting in a grainy texture instead of a smooth topping.
-
Firm Layers: Chill each layer adequately before adding the next one. This helps in achieving defined layers that are visually appealing and easy to slice.
-
Scoring Technique: Score the chocolate layer lightly once it’s nearly set. This avoids cracking later, making slicing clean and easy once fully hardened.
Whipping up delicious Nanaimo Bars is all about keeping those layers structured and luscious. Enjoy every bite!
How to Store and Freeze Nanaimo Bars
Room Temperature: Keep Nanaimo Bars in an airtight container at room temperature for up to 3 days. This is perfect for enjoying them fresh!
Fridge: For longer storage, place the bars in an airtight container in the fridge. They will stay delicious for up to one week—just allow them to come to room temperature before serving for the best flavor.
Freezer: Nanaimo Bars can be frozen for up to 3 months. Slice them into bars, wrap them individually in plastic wrap, and then place them in a freezer-safe bag. To enjoy, simply thaw in the fridge overnight.
Reheating: No need to reheat these bars! Enjoy them chilled or at room temperature for the best taste experience.
Make Ahead Options
Preparing Nanaimo Bars ahead of time is a fantastic way to save any last-minute stress, especially for busy weeknights or gatherings! You can easily prepare the base layer up to 24 hours in advance; simply let it firm up completely in the freezer, then store it covered in the refrigerator. The custard layer can also be made and refrigerated for up to 3 days before adding the chocolate topping. For the best results, keep it in an airtight container to maintain its creamy texture. When you’re ready to enjoy, finish by melting the chocolate and pouring it over the layered bars. Let them chill until set, and you’ll be rewarded with delicious, no-fuss treats that taste just as delightful!
Nanaimo Bars Recipe FAQs
What type of cocoa powder should I use for Nanaimo Bars?
I recommend using unsweetened cocoa powder for a rich, chocolatey flavor without additional sweetness. Look for high-quality cocoa, which can elevate the taste of your bars!
How do I know if my butter is softened enough for the custard layer?
Your butter should be soft to the touch but still hold its shape. It’s perfect if you press it lightly with your finger and leave an imprint. If it’s too warm and melty, your custard may not set properly.
How long can I store Nanaimo Bars in the fridge?
Nanaimo Bars can be stored in an airtight container in the fridge for up to one week. Before serving, I suggest letting them sit at room temperature for about 10 minutes for a softer, melt-in-your-mouth experience.
Can I freeze Nanaimo Bars?
Absolutely! To freeze your Nanaimo Bars, slice them into squares, then wrap each piece individually in plastic wrap. Place the wrapped bars in a freezer-safe bag and they can be kept for up to 3 months. When you’re ready to enjoy them, simply thaw in the fridge overnight.
What should I do if my chocolate topping is too thick?
If you find that your melted chocolate is too thick, you can mix in a little more oil (1/2 teaspoon at a time) until it reaches your desired consistency. This will help achieve that lovely smooth finish for your Nanaimo Bars.
Are Nanaimo Bars safe for those with nut allergies?
Nanaimo Bars typically contain chopped walnuts, so they may not be safe for individuals with nut allergies. For a nut-free alternative, simply omit the nuts from the recipe or substitute with seeds like sunflower seeds for added texture without the nut allergens.
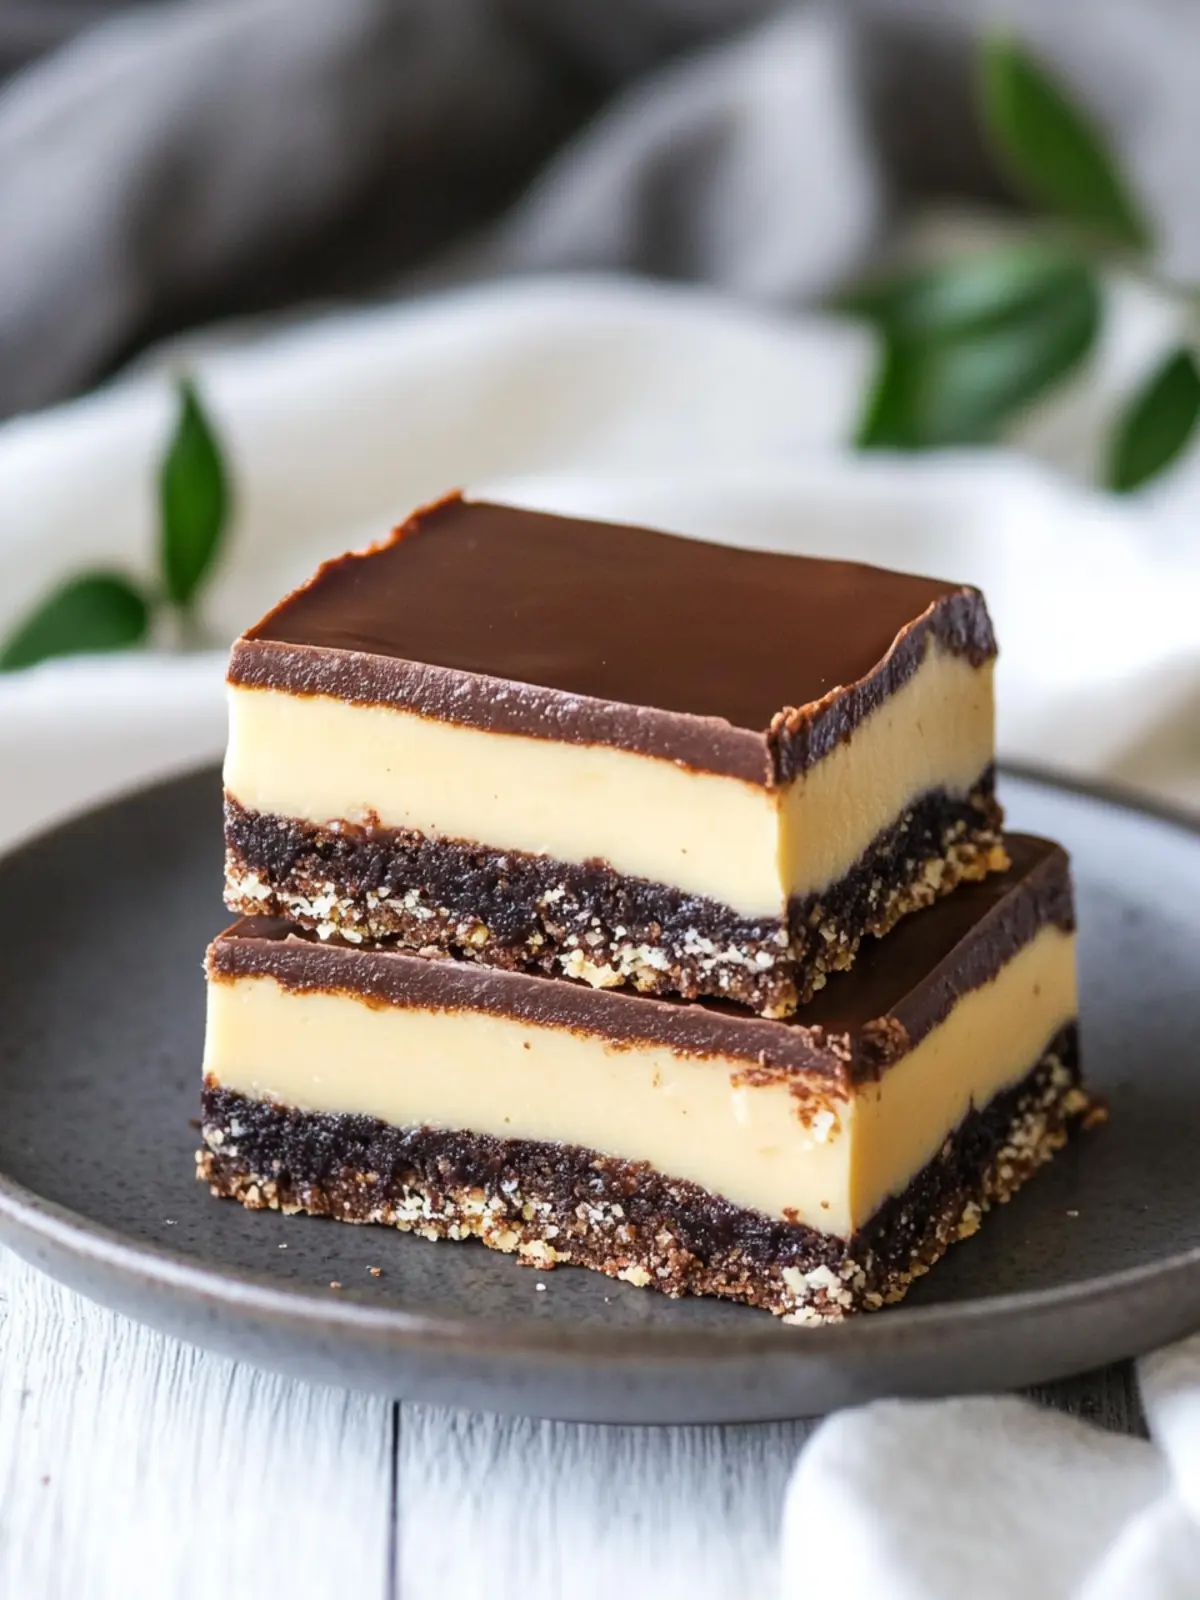
Decadent Nanaimo Bars to Satisfy Your Sweet Cravings
Ingredients
Equipment
Method
- Line an 8x8 or 9x9 inch pan with parchment paper, leaving an overhang around the edges.
- Add about 1-2 cm (1/2 -1 inch) of water to a medium saucepan over low heat and place a glass bowl on top.
- Melt the unsalted butter, granulated sugar, and cocoa powder until combined.
- Add the egg while whisking constantly until the mixture is thick, glossy, and smooth.
- Stir in the graham crumbs, shredded coconut, and chopped walnuts.
- Press the mixture into the bottom of the prepared pan and freeze for about 20 minutes.
- Beat the softened butter until soft and fluffy, about 2-3 minutes.
- Mix in custard powder and the heavy cream until combined.
- Gradually beat in the powdered sugar until the mixture is very thick.
- Spread the custard layer evenly over the chilled base layer and refrigerate for at least 15 minutes.
- Melt the semi-sweet chocolate in a heat-proof bowl in the microwave.
- Stir in the oil until glossy and pour over the bars.
- Chill in the fridge for 30-60 minutes until set.
- Lightly score the bars with a knife when the chocolate is about 75% hardened.
- Return to the fridge until the chocolate is completely firm.
- Slice into squares and enjoy!