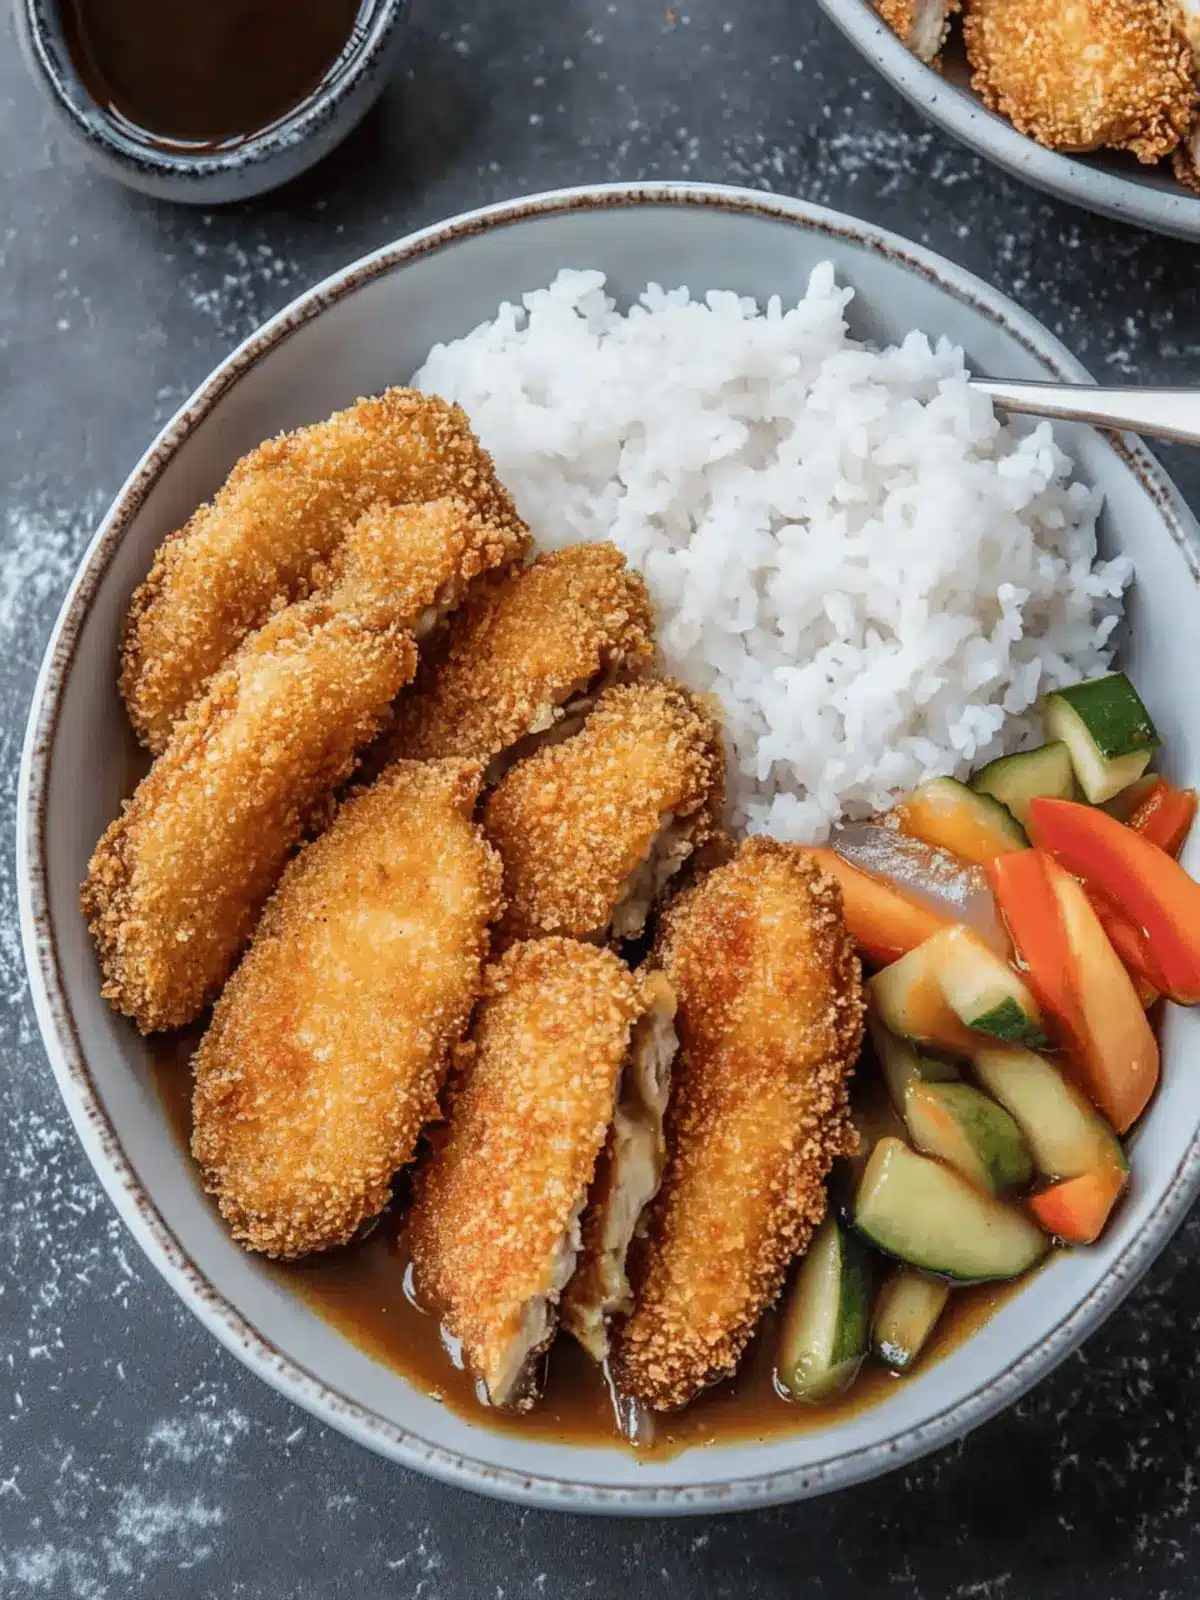
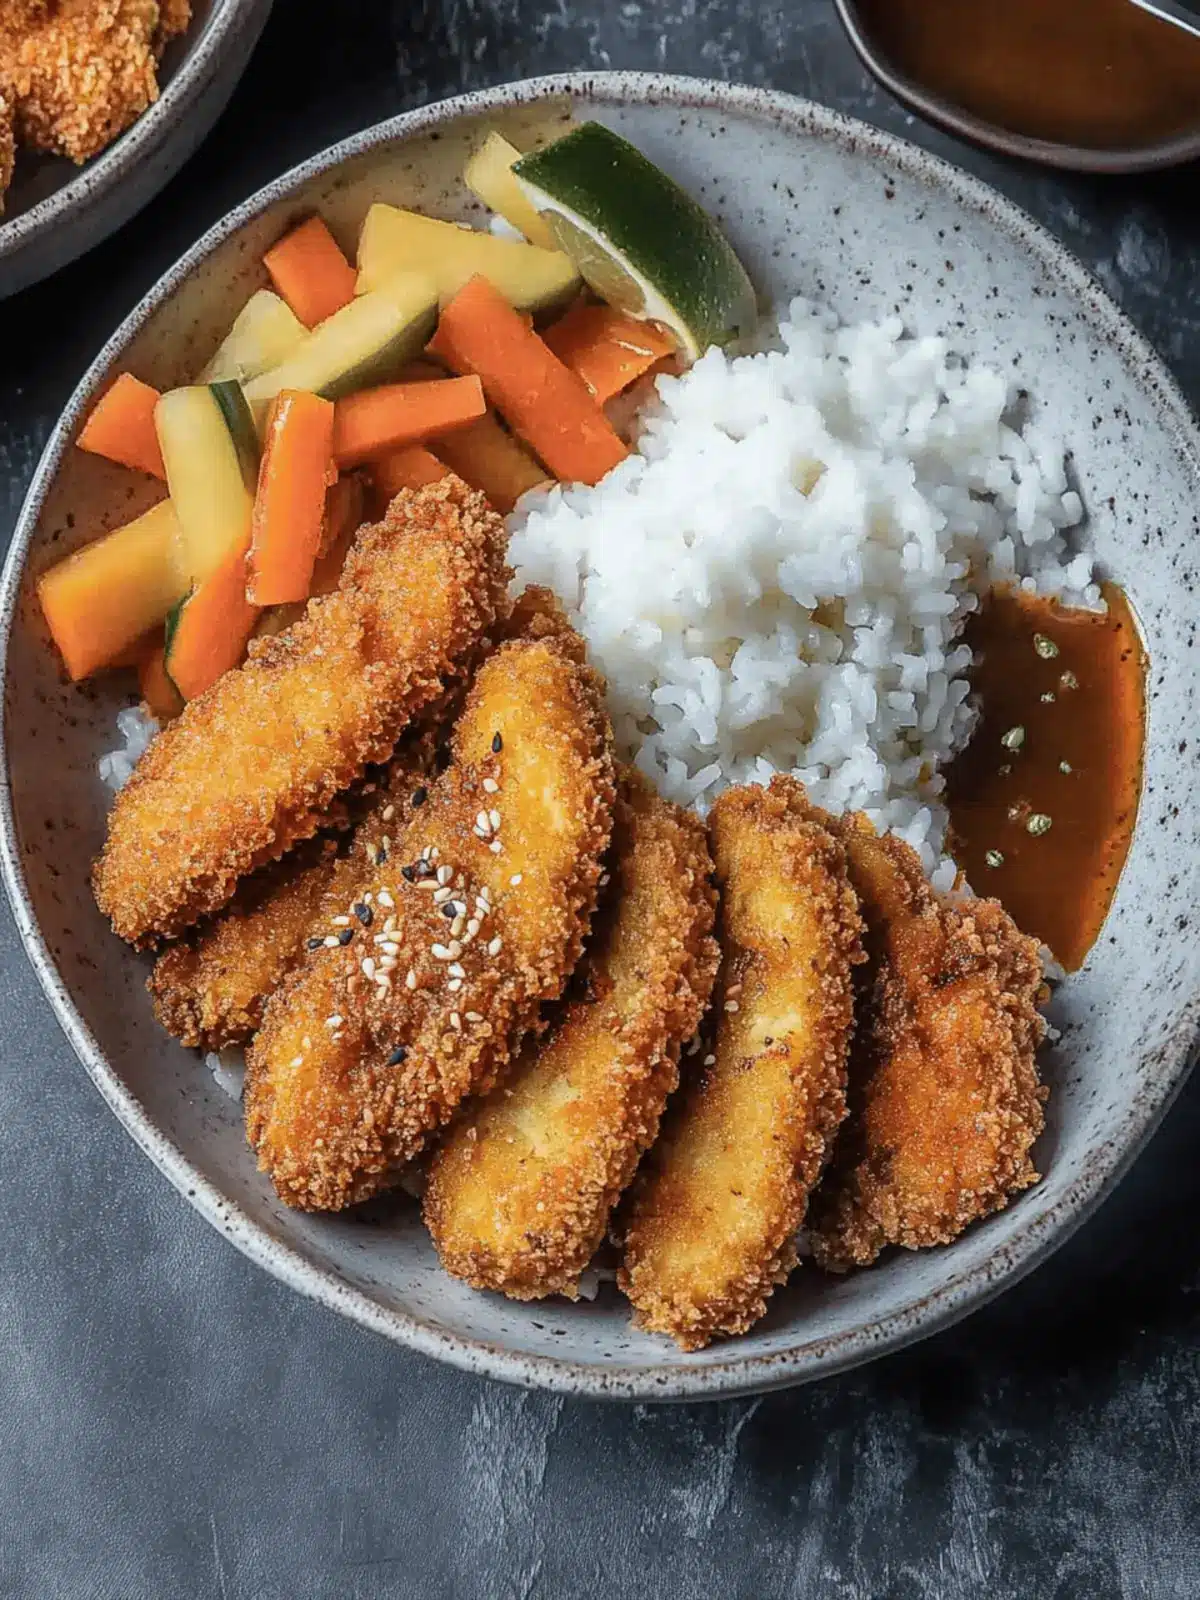
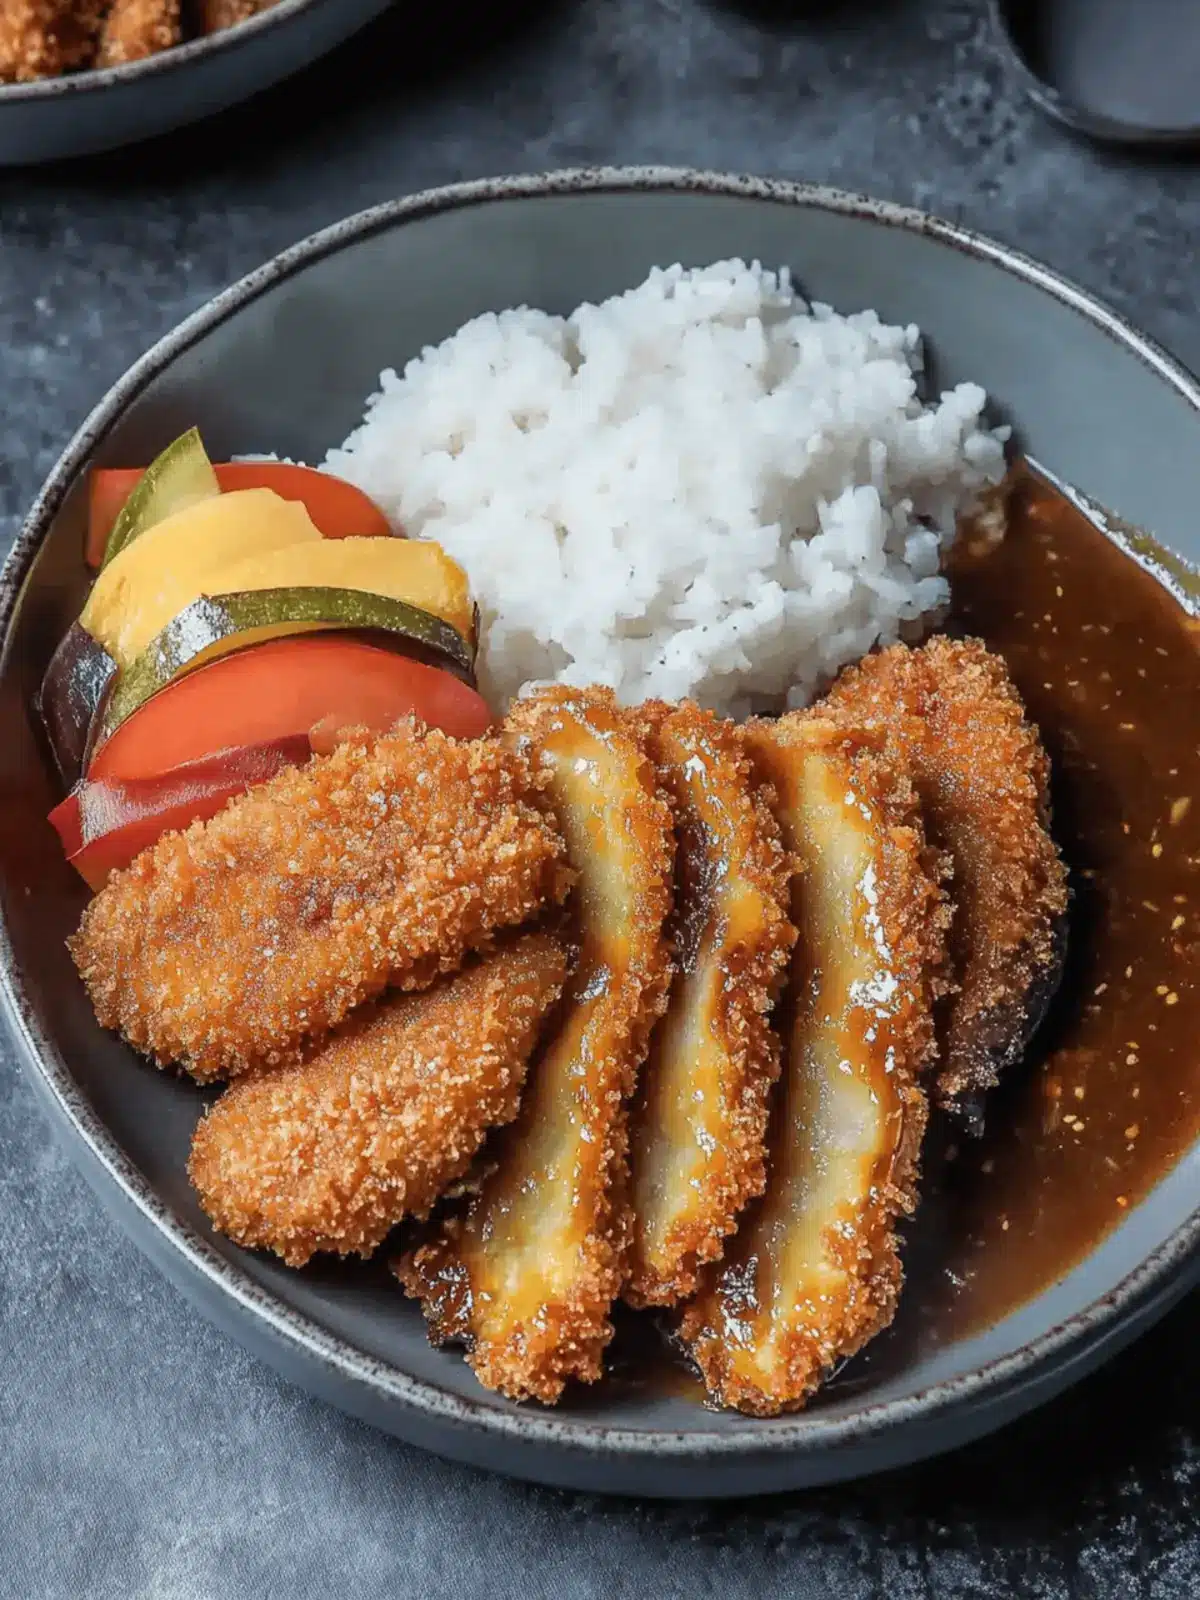
The sizzle of eggplant meeting hot oil fills my kitchen with a fragrance that transports me straight to the bustling streets of Tokyo. Inspired by the classic Japanese tonkatsu, this crispy eggplant katsu takes a beloved dish and gives it a deliciously vegan twist. With a crunchy, golden-brown exterior enveloping a tender interior, each bite captures the essence of comfort food while remaining light and satisfying.
Whether you’re seeking a quick weeknight dinner or a crowd-pleasing addition to your next gathering, this recipe is effortlessly adaptable, with classic frying, baking, and air-frying methods to suit any kitchen. Serve it with rich Japanese curry and fluffy rice, or elevate it with a zesty dip. If you’re ready to explore a dish that marries simplicity and flavor, let’s dive into creating this Crispy Eggplant Katsu that just might become a new staple in your culinary repertoire!
Why is Crispy Eggplant Katsu a Must-Try?
Irresistibly Crunchy: The eggplant katsu achieves that perfect crunch with a golden-brown crust, elevating this classic Japanese dish.
Quick & Easy: With straightforward steps, you can whip up this delightful dish in no time, making it ideal for busy weeknights.
Versatile Cooking Methods: Whether you prefer frying, baking, or air-frying, this recipe caters to your kitchen style, giving you options to enjoy!
Deliciously Vegan: Satisfying without sacrificing flavor, this katsu showcases plant-based goodness that even non-vegans will love.
Crowd-Pleasing Appeal: Pair it with rich Japanese curry and fluffy rice for an impressive and comforting meal sure to please family and friends.
Crispy Eggplant Katsu Ingredients
For the Katsu
- Chinese Eggplants (17.5 oz) – Essential for a tender texture; you can swap with American eggplants if needed.
- Neutral Oil – Ideal for frying to achieve that crispy coating; air-fryer spray oil works great too for healthier options.
- All-Purpose Flour (1/2 cup) – The base of the batter for adherence; you can use buckwheat or gluten-free flour as alternatives.
- Corn Starch (1 1/2 tbsp) – Helps to enhance the crispiness of the batter, ensuring a delightful crunch.
- Baking Powder (1 tsp) – Leavens the batter for a lighter texture, making each bite airy.
- Salt (1 tsp) – Elevates the overall flavor profile; don’t skip this step!
- Water (1/2 cup + 2 tbsp) – Achieve the right consistency for the batter, aiming for a thickness similar to pancake batter.
For the Coating
- Japanese Breadcrumbs (2 cups) – Provides a distinct crunchy coating; feel free to use alternative breadcrumbs if desired.
For Serving
- Japanese Curry & Short Grain Rice – Offers a comforting side; using store-bought curry cubes adds convenience and flavor.
Each ingredient in this Crispy Eggplant Katsu has a purpose, ensuring a delightful meal that resonates with taste and texture. Enjoy the cooking experience!
How to Make Crispy Eggplant Katsu
-
Slice the Eggplants: Begin by slicing the Chinese eggplants into 3/4 to 1-inch thick pieces at a slight angle. This not only enhances the visual appeal but also creates a perfect texture for frying.
-
Prepare the Batter: In a bowl, combine all the batter ingredients: all-purpose flour, corn starch, baking powder, salt, and water. Whisk until smooth, adding a little extra water if needed to achieve a thick pancake-like consistency.
-
Set Up for Coating: Pour the Japanese breadcrumbs into a shallow bowl as your coating station. This setup will help keep the process tidy and efficient!
-
Coat the Eggplant: Using one hand to dip each eggplant slice into the batter, then with the other hand, coat it with breadcrumbs. This technique minimizes mess and ensures an even coating.
-
Heat the Oil: In a frying pan or wok, heat oil to 350°F (175°C). To test if the oil is ready, drop in a small breadcrumb; it should sizzle immediately.
-
Fry the Eggplant: Carefully place the coated eggplant slices into the hot oil, frying them for 2-3 minutes on each side until they turn a beautiful golden brown and are crispy all around. Avoid overcrowding the pan for best results.
-
Drain and Cool: Once cooked, transfer the eggplant katsu to a strainer or a cooling rack to drain excess oil. Don’t cover them, as this will keep them crispy!
-
Serve: Plate the crispy eggplant katsu alongside your warm Japanese curry and fluffy rice, or enjoy it on its own as a delightful snack.
Optional: Garnish with fresh herbs or a drizzle of lemon juice for an extra refreshing touch.
Exact quantities are listed in the recipe card below.
Crispy Eggplant Katsu Variations
Feel free to customize this dish and make it your own with these delightful twists!
-
Vegetable Swap: Substitute eggplants with zucchini or portobello mushrooms for a different taste and texture experience. Both will still deliver that satisfying crunch, making for a lovely alternative.
-
Gluten-Free Option: Use gluten-free flour to replace all-purpose flour, and ensure that your breadcrumbs are certified gluten-free to keep it safe for those with dietary restrictions.
-
Baked Version: Craving something lighter? Brush the coated eggplant with olive oil and bake at 350°F for 35-40 minutes, flipping halfway through for an evenly golden finish.
-
Spicy Kick: Mix cayenne pepper or chili powder into your batter to add a delightful heat. This will elevate your katsu and attract those who love a little spice in their lives.
-
Herb-Infused Batter: Stir in finely chopped fresh herbs like basil or cilantro into the batter for an aromatic twist that brings freshness to each bite.
-
Crunchy Topping: Add crushed nuts or seeds mixed with breadcrumbs for an extra layer of crunch in your coating. Toasted sesame seeds can elevate the umami flavor!
-
Sourdough Coating: Use leftover sourdough bread to make your breadcrumbs for a more flavorful crust that adds a unique tang to the dish.
-
Creamy Dips: Serve with a variety of dipping sauces – think homemade vegan ranch, tangy tahini sauce, or a rich miso dip – to add even more flavors to your meal!
Embrace these variations and don’t be afraid to experiment. This Crispy Eggplant Katsu can become a canvas for your culinary creativity!
Make Ahead Options
These Crispy Eggplant Katsu are perfect for meal prep enthusiasts looking to save time on busy weeknights! You can slice the eggplants and prepare the batter (flour, cornstarch, baking powder, salt, and water) up to 24 hours in advance; just keep them covered in the refrigerator to maintain freshness. Additionally, you can coat the eggplant slices in breadcrumbs ahead of time for a quicker cooking process. When you’re ready to serve, simply fry or bake the prepped katsu until golden brown and crispy. This way, you’ll enjoy a delightful meal without compromising on quality or flavor, making your cooking experience both effortless and satisfying!
Expert Tips for Crispy Eggplant Katsu
- Proper Oil Temperature: Ensure your oil is heated to 350°F (175°C). Test it by dropping a breadcrumb in; it should sizzle instantly for perfect crispy eggplant katsu.
- Batter Consistency: Aim for a thick batter; if it’s too runny, your katsu won’t achieve the desired crunch. Adjust with flour or water as needed.
- Single Layer Frying: Avoid overcrowding the pan when frying. Cook in batches to allow each piece to become evenly cooked and maintain its crispiness.
- Cooling Technique: Once fried, transfer the katsu to a cooling rack instead of a plate. This prevents steam from making the crust soggy, keeping it crispy.
- Alternate Cooking Methods: If frying isn’t your style, try baking or air-frying! Adjust cooking times to achieve that golden-brown finish while keeping the katsu deliciously crispy.
What to Serve with Crispy Eggplant Katsu?
Elevate your culinary experience with delightful pairings that complement the crispy texture of your eggplant katsu.
- Japanese Curry: The rich, comforting flavors of Japanese curry provide a perfect juxtaposition to the crispy katsu, creating a harmonious balance in every bite.
- Steamed Short Grain Rice: Fluffy, sticky rice acts as a wonderful base to soak up the delectable curry sauce and enhance the meal’s overall satisfaction.
- Shredded Cabbage: A crunchy side of fresh shredded cabbage adds a refreshing contrast, lightening the richness of the katsu while introducing a raw, vibrant element.
- Miso Soup: This savory and warming miso soup complements the meal beautifully, adding warmth and depth to your dining experience.
- Pickled Vegetables: Japanese pickles, or tsukemono, add a tangy crunch that cuts through the fried richness of the katsu, enhancing the overall flavor profile.
- Vegan Aioli: A creative dip made from vegan mayo and garlic offers a creamy element, perfect for those who enjoy an extra layer of flavor with their katsu.
- Chilled Green Tea: Refreshing and slightly astringent, green tea serves as a wonderful palate cleanser to enhance your meal and aid digestion.
- Fruit Salad: A light, zesty fruit salad with citrus notes can brighten your plate, creating a delightful contrast after the hearty katsu.
- Sesame-Noodle Salad: Cold sesame noodles, tossed in a light soy or sesame dressing, add an Asian twist and a refreshing side that pairs beautifully with the katsu.
- Mochi Ice Cream: For dessert, the chewy texture of mochi ice cream adds a sweet, satisfying finish to your meal, making the experience unforgettable.
Storage Tips for Crispy Eggplant Katsu
- Fridge: Store leftover crispy eggplant katsu in an airtight container for up to 3 days. This will help retain its flavor and prevent it from absorbing moisture.
- Freezer: If you want to keep it longer, freeze the katsu in a single layer on a baking sheet, then transfer to an airtight container for up to 3 months.
- Reheating: To restore its delightful crispiness, reheat the frozen or refrigerated katsu in an oven at 375°F (190°C) for about 10-15 minutes or in an air fryer for about 5-7 minutes.
- Avoid Moisture: When storing in the fridge, ensure the katsu has completely cooled to room temperature before placing it in the container to avoid sogginess.
Crispy Eggplant Katsu Recipe FAQs
How do I select the right eggplant?
Absolutely! For this recipe, I recommend using Chinese eggplants due to their tender texture, but American eggplants work just as well. Look for ones that are firm, glossy, and free of dark spots. A good eggplant should feel heavy for its size and have a smooth, shiny skin.
How should I store leftover crispy eggplant katsu?
To keep your crispy eggplant katsu fresh, place it in an airtight container in the refrigerator for up to 3 days. Make sure it has completely cooled before sealing it. This prevents moisture from making your katsu soggy.
Can I freeze crispy eggplant katsu?
Certainly! To freeze, first lay the cooked eggplant katsu in a single layer on a baking sheet and freeze until solid (about 1-2 hours). Then transfer them to an airtight container or freezer bag, storing for up to 3 months. This method helps to retain their crunch when reheated!
What if my batter is too runny?
Very! If you find your batter too runny, simply add a bit more flour, a tablespoon at a time, until it reaches a thickness similar to pancake batter. Remember, the right consistency is key to achieving that perfect crispy coating!
Are there any dietary considerations for crispy eggplant katsu?
Absolutely! This recipe is vegan-friendly, making it a great choice for those avoiding animal products. Additionally, you can easily make it gluten-free by using a gluten-free flour blend and alternative breadcrumbs. Always check packaging if you’re catering to specific allergies.
How can I reheat leftover katsu to maintain its crispiness?
To restore that delicious crunch, reheat your leftovers in an oven preheated to 375°F (190°C) for about 10-15 minutes. If using an air fryer, heat at 375°F for 5-7 minutes, flipping halfway through. Avoid microwaving as it can make them soggy!

Crispy Eggplant Katsu: A Flavorful Vegan Delight at Home
Ingredients
Equipment
Method
- Slice the Chinese eggplants into 3/4 to 1-inch thick pieces at a slight angle.
- In a bowl, combine all batter ingredients: all-purpose flour, corn starch, baking powder, salt, and water. Whisk until smooth.
- Pour the Japanese breadcrumbs into a shallow bowl as your coating station.
- Dip each eggplant slice into the batter, then coat it with breadcrumbs.
- Heat oil in a frying pan or wok to 350°F (175°C). Test with a breadcrumb.
- Fry the coated eggplant slices for 2-3 minutes on each side until golden brown.
- Transfer to a strainer or cooling rack to drain excess oil.
- Serve with warm Japanese curry and fluffy rice.


