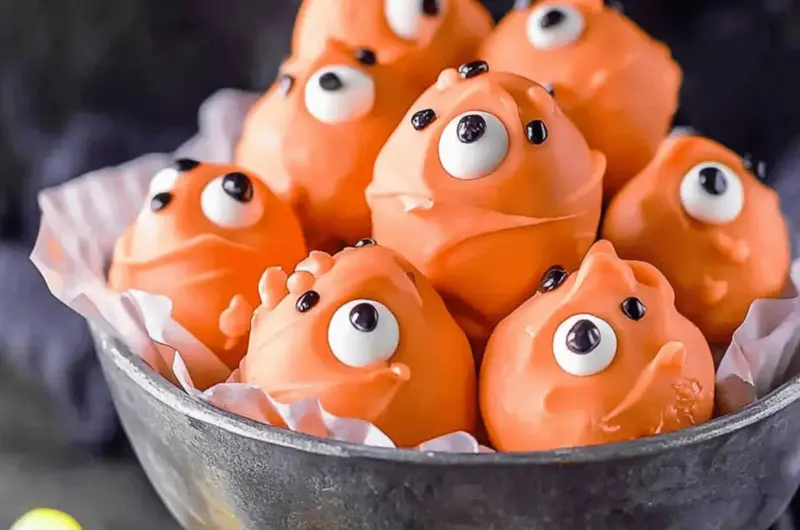
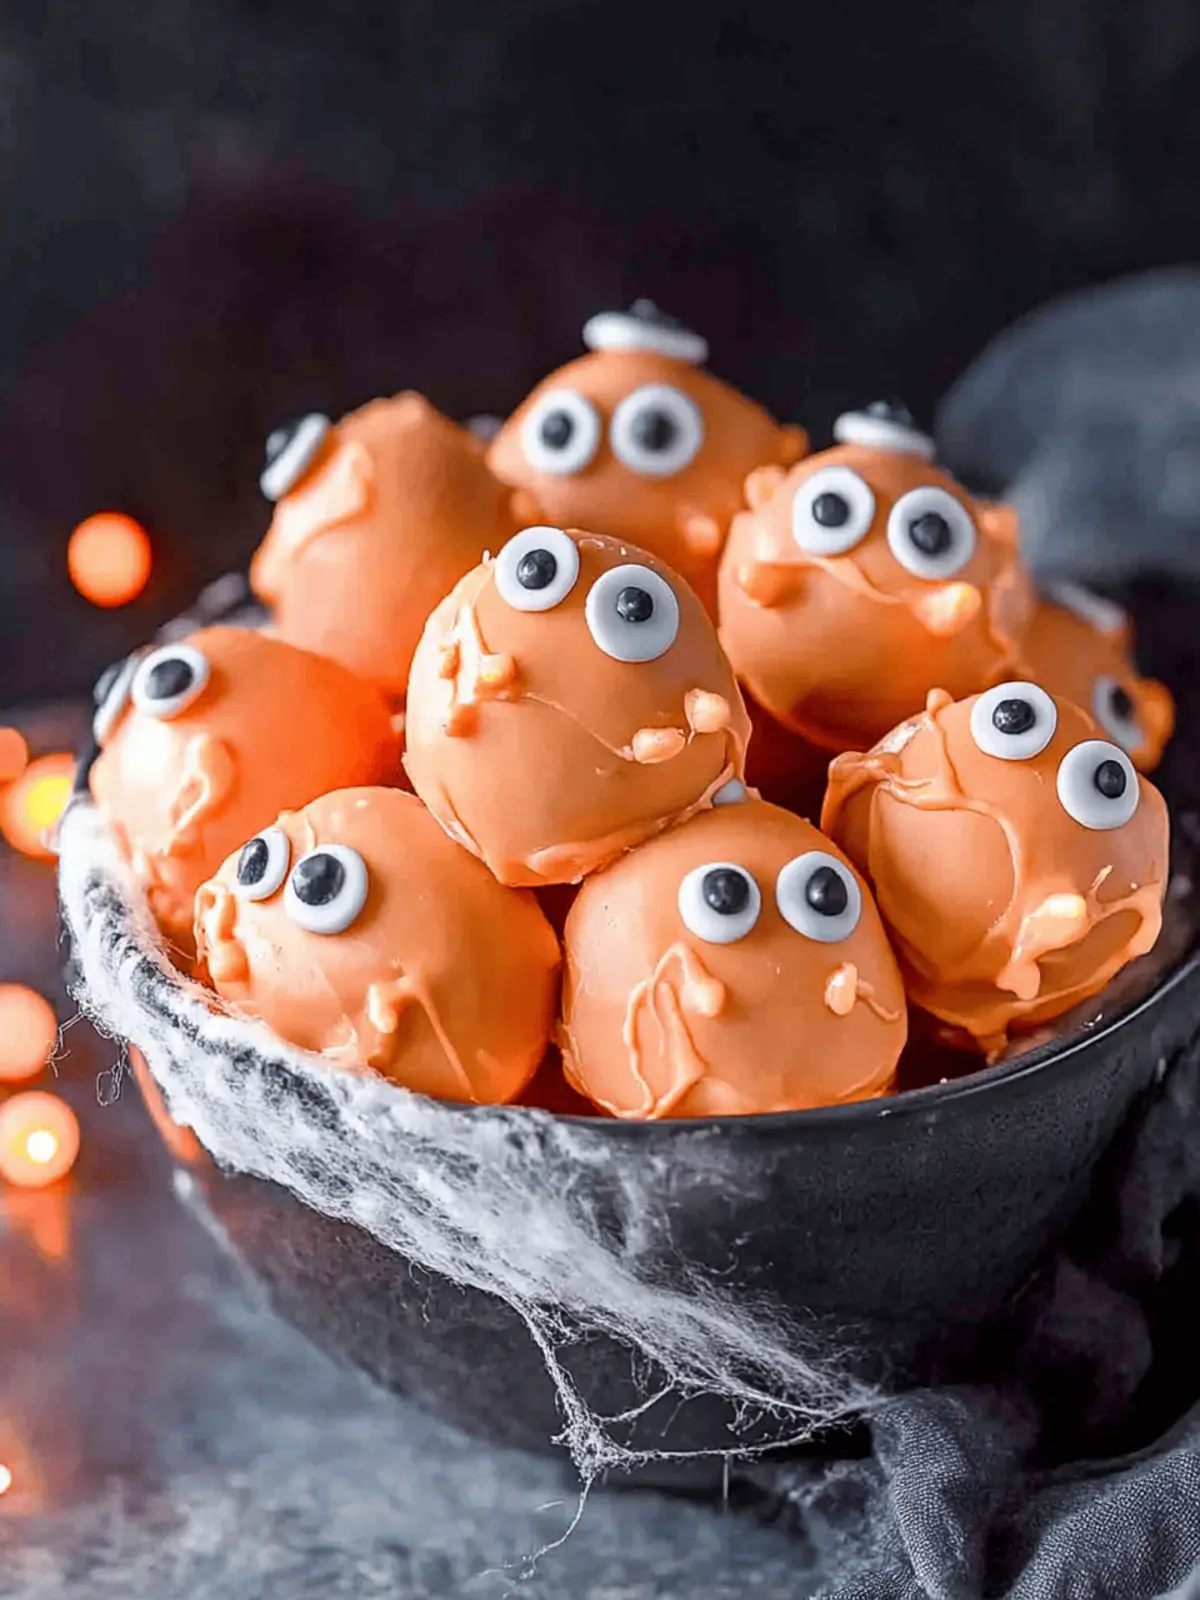
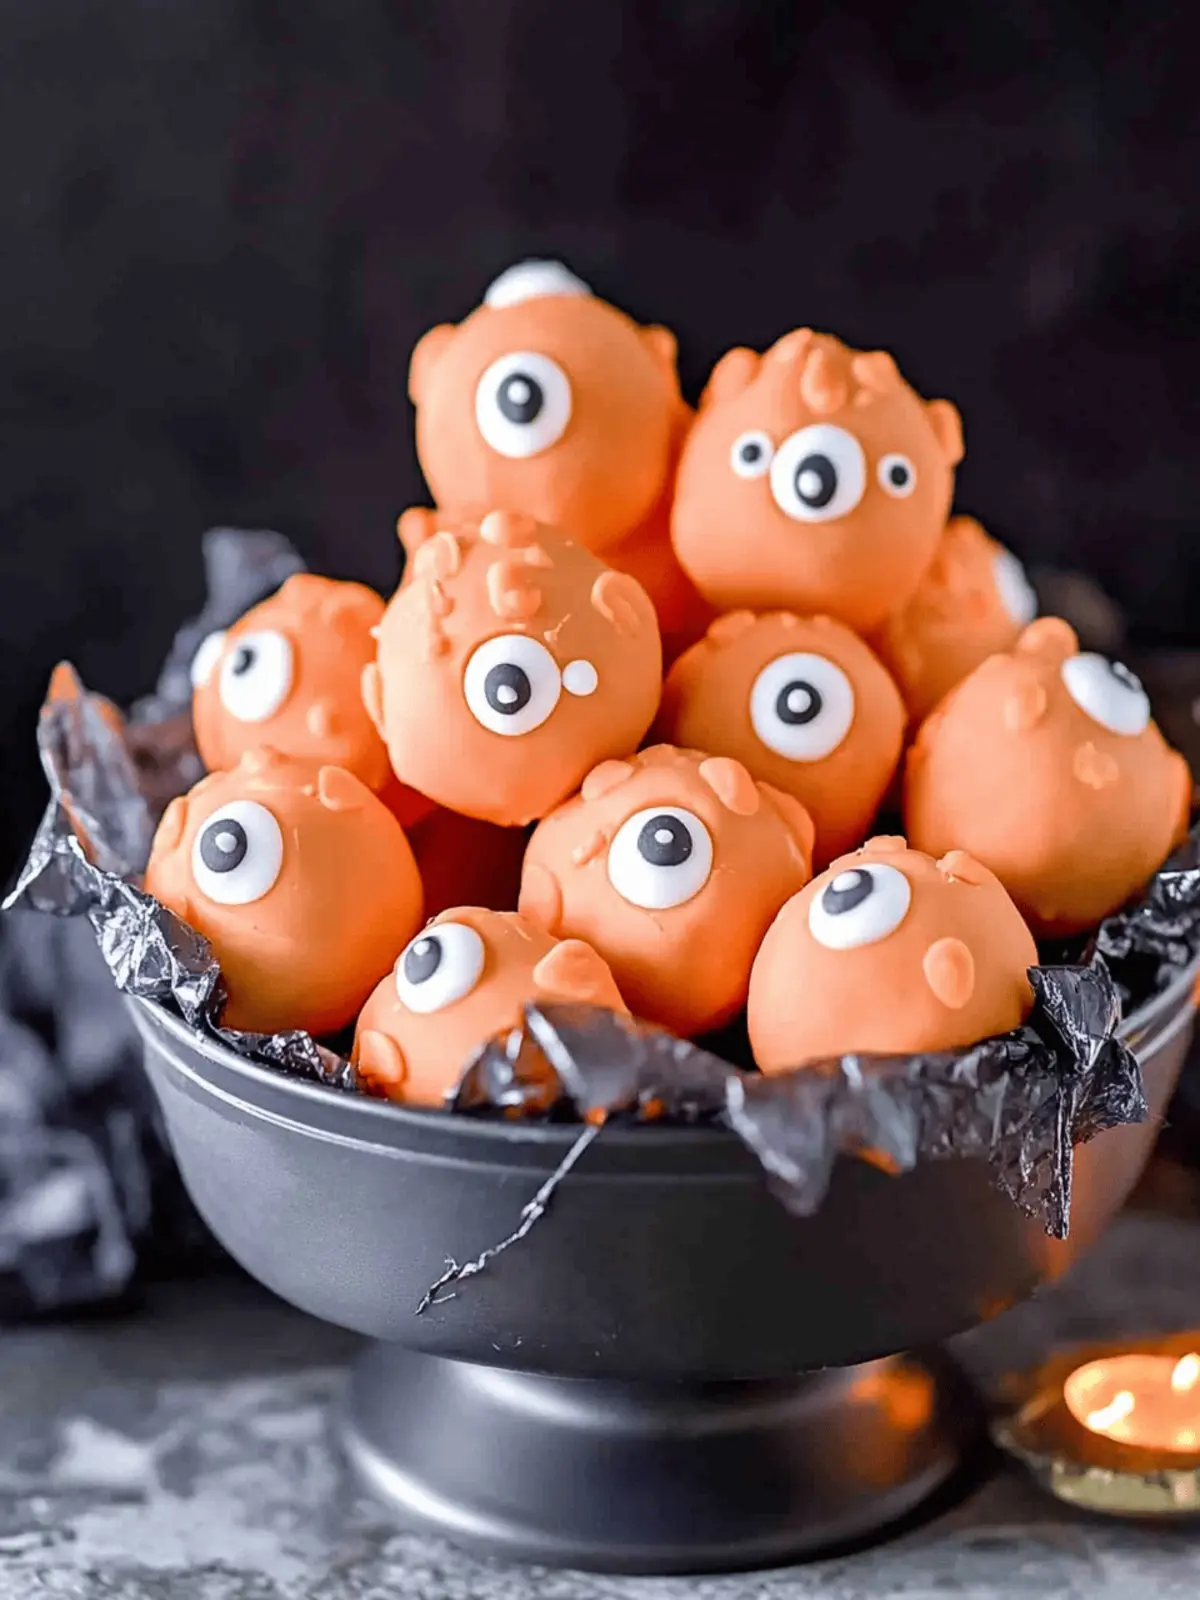
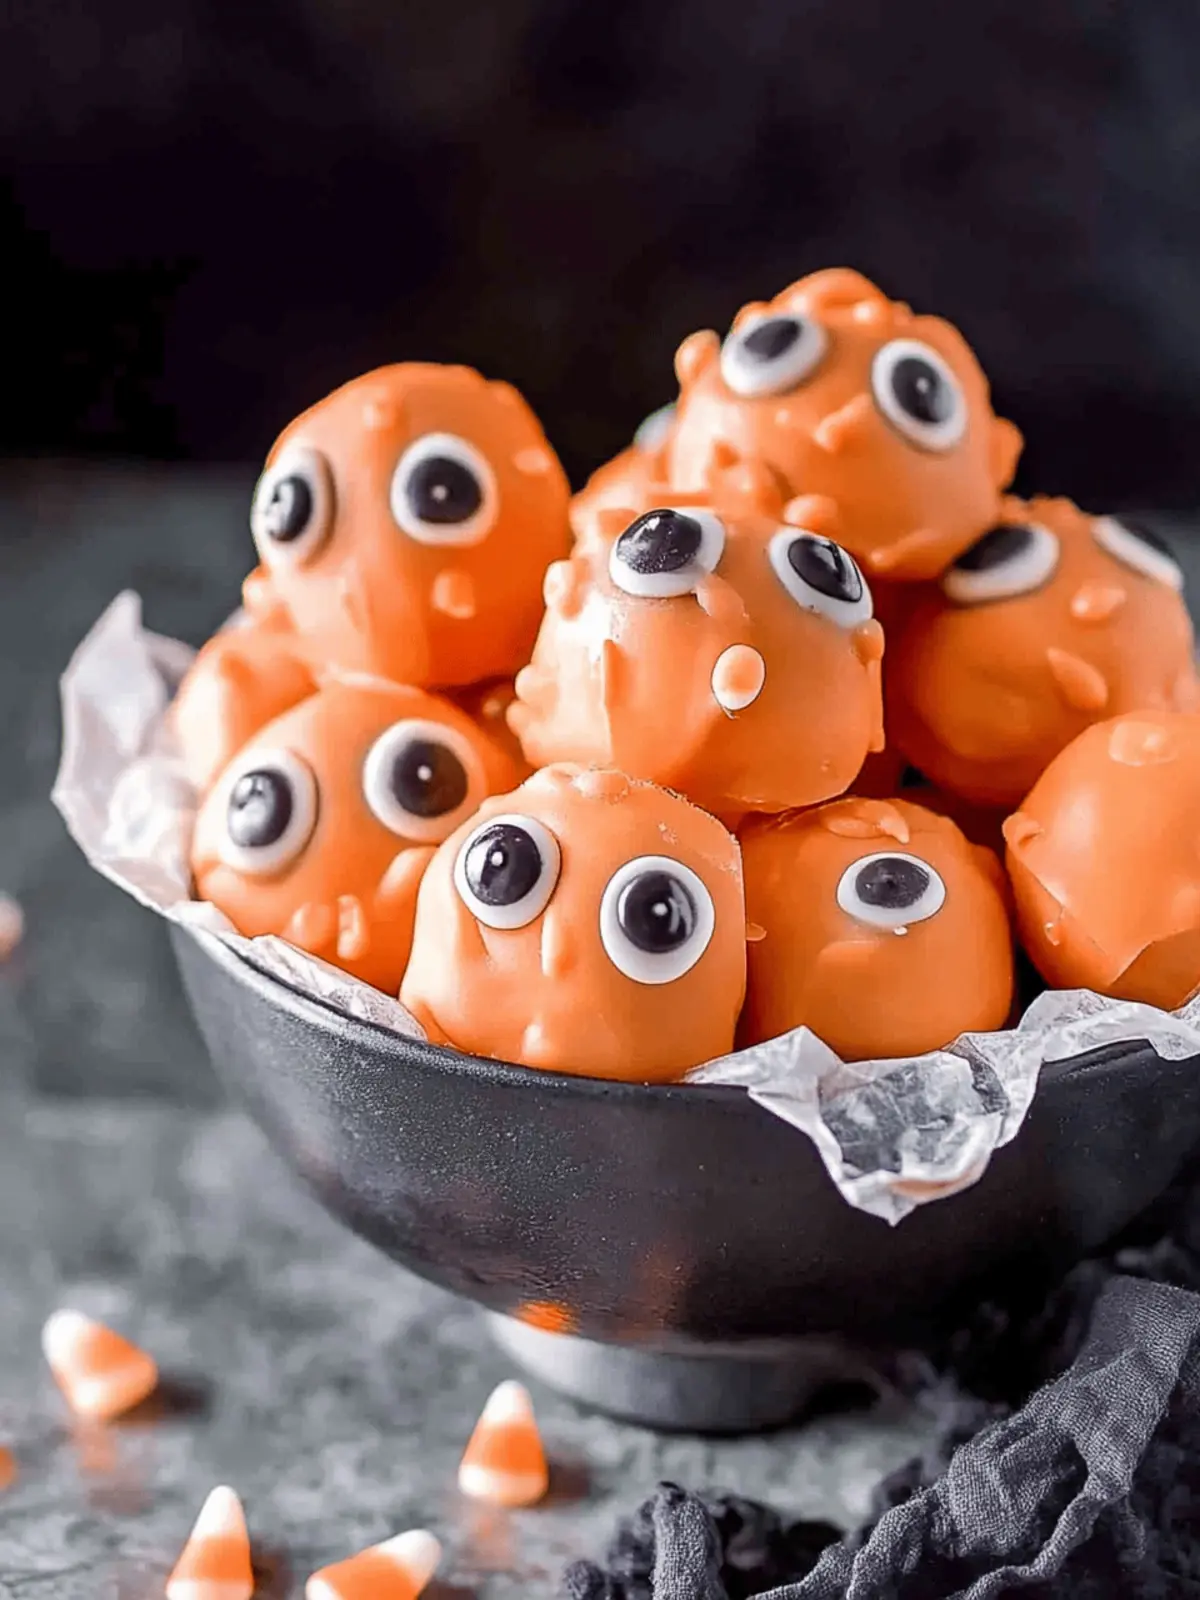
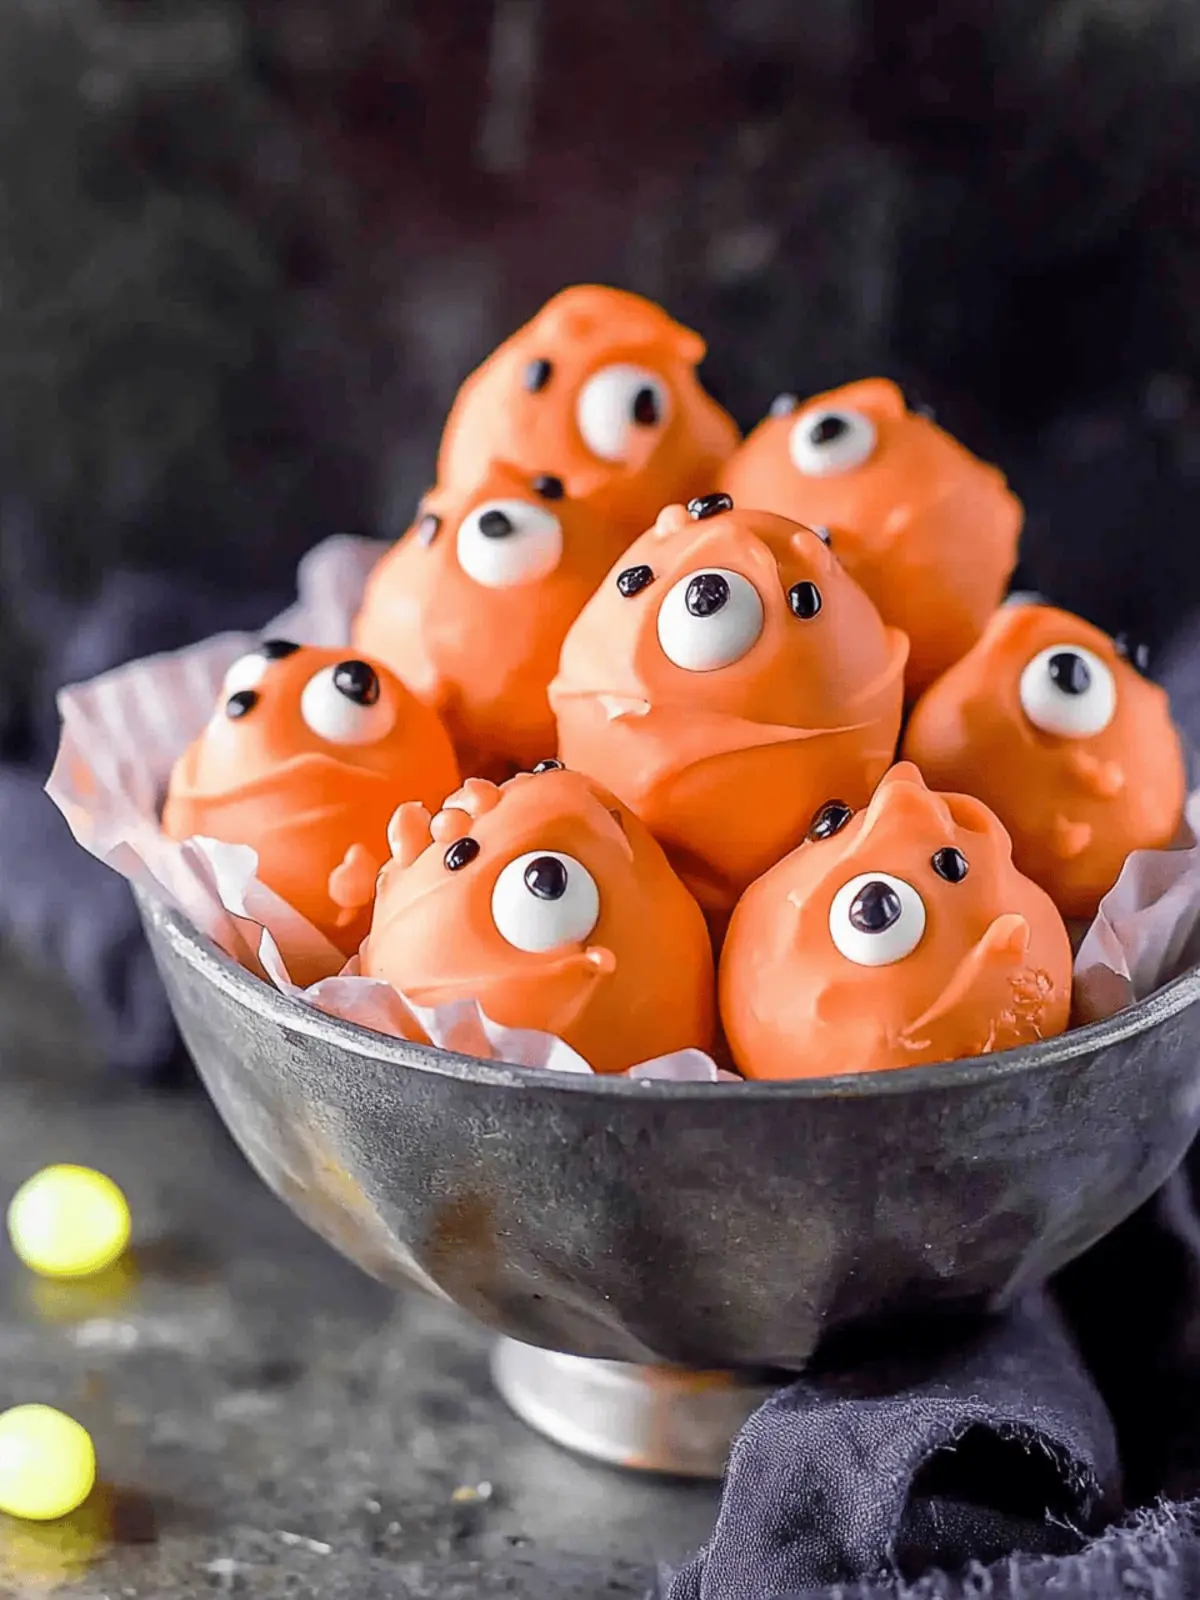
As the leaves turn golden and jack-o’-lanterns start to appear, the spirit of Halloween takes a delightful turn with my Monster Halloween Truffles! Imagine a velvety pumpkin cheesecake filling, lovingly encased in a festive orange candy coating that not only captures the essence of fall but also invites you to indulge in a little holiday magic. The moment these spooky bites hit your taste buds, you’ll be enchanted by their creamy sweetness and a hint of spice.
I stumbled upon this fun and easy no-bake recipe just as the Halloween excitement began to boil over, and it quickly became the ultimate treat to share with friends and family. Whether you’re hosting a ghoulish gathering or simply craving a treat that dances between nostalgic and innovative, these truffles are sure to be a hit. Plus, they’re a breeze to whip up, making them the perfect solution for last-minute party planning or festive snack attacks. So, grab your favorite mixing bowl and let’s dive into creating these charming little monsters!
Why will you love Monster Halloween Truffles?
Festive Fun: These truffles are a playful nod to Halloween, perfect for adding a creative touch to your celebrations.
No-Bake Delight: You’ll skip the oven with this easy recipe, keeping your kitchen cool while creating yummy treats.
Creamy Satisfaction: The smooth pumpkin cheesecake filling wrapped in a vibrant candy coating promises an irresistible combination of flavors.
Versatile Treats: Customize these truffles with different decorations and flavors to match your unique Halloween vibe!
Crowd-Pleasing: Ideal for parties, these spook-tacular bites will charm guests of all ages, making them a hit!
Quick Preparation: With straightforward steps, you’ll have these delightful truffles ready in no time, perfect for last-minute get-togethers.
Monster Halloween Truffle Ingredients
• Get ready to create spooky delights!
For the Filling
- Cream Cheese – Provides a rich, creamy texture for the pumpkin cheesecake center; use full-fat for the best flavor.
- Pumpkin Puree – Adds natural sweetness and the signature pumpkin flavor; you can substitute with pumpkin pie filling, but keep an eye on spice levels.
- Gingersnap Cookies – Gives a spicy crunch that contributes to the truffle texture; graham crackers or sugar cookies work if you prefer a milder taste.
- Graham Cracker Crumbs – Enhances bulk and sweetness; if you want a stronger flavor, replace with extra gingersnap cookies.
- Powdered Sugar – Sweetens the filling while creating a smoother texture; no substitutions needed here!
- Ground Cinnamon – Enriches the warm autumn flavors; consider nutmeg or pumpkin spice for a delightful twist.
- Salt – Balances the sweetness and enhances the overall flavor; kosher salt is highly recommended.
For the Coating
- White Candy Melts – Create a vibrant festive exterior that makes these Monster Halloween Truffles come alive; Ghirardelli melts give the best results.
- Coconut Oil (optional) – Makes the candy melts smoother for coating; can be swapped out for vegetable oil if needed.
- Oil-Based Food Coloring – Use to tint the candy coating in festive colors for a spookier vibe.
- Candy Eyes – Fun edible decorations that add a spooky look; feel free to get creative with other sprinkles or decorations.
These ingredients come together to create an unforgettable treat that captures the whimsical spirit of Halloween in every bite!
How to Make Monster Halloween Truffles
-
Prep the Filling: In a large mixing bowl, combine softened cream cheese and pumpkin puree. Use a mixer to blend until the mixture is completely smooth and creamy.
-
Mix Dry Ingredients: Gradually add in the crumbled gingersnap cookies, graham cracker crumbs, powdered sugar, ground cinnamon, and a pinch of salt. Stir until all ingredients are well combined.
-
Chill Mixture: Cover the bowl with plastic wrap and refrigerate for 30-60 minutes. This helps the mixture firm up, making it easier to shape.
-
Shape Truffles: Once chilled, scoop about 1 tablespoon of the mixture and roll it into a ball. Place each truffle on a lined baking sheet, leaving space between them.
-
Freeze Truffles: Place the baking sheet in the freezer for about 1 hour. This will help the truffle balls hold their shape during coating.
-
Prepare Coating: While the truffles are freezing, melt the white candy melts along with coconut oil in a microwave-safe bowl. Heat in 30-second intervals, stirring between each, until completely smooth. If desired, add oil-based food coloring for a festive touch.
-
Coat Truffles: Dip each chilled truffle into the melted candy coating, allowing any excess to drip off before placing it back on the baking sheet.
-
Decorate: While the candy coating is still soft, add 1-3 candy eyes to each truffle. This makes them extra spooky and fun!
-
Set Coating: Allow the truffles to sit at room temperature until the candy coating hardens, typically about 30 minutes.
Optional: Sprinkle with additional crushed gingersnap cookies for added texture.
Exact quantities are listed in the recipe card below.
Make Ahead Options
These Monster Halloween Truffles are a fantastic choice for meal prep, saving you time and effort when entertaining! You can prepare the filling and shape the truffles up to 24 hours in advance; just store them in an airtight container in the refrigerator to keep them fresh. After chilling, freeze the truffle balls for up to 3 months before coating. Just remember, when you’re ready to serve, simply coat them in the candy melts and decorate them with candy eyes. This way, you’ll have delightful treats that taste just as delicious as if they were made fresh that day!
Expert Tips for Monster Halloween Truffles
-
Cream Cheese Quality: Use full-fat cream cheese for a rich and smooth filling. Low-fat options can lead to a less creamy texture, impacting your truffles.
-
Even Chilling: Ensure you chill the mixture properly for at least 30 minutes before shaping; this prevents overly soft truffles that may fall apart.
-
Perfect Coating: Heat candy melts in short intervals, stirring frequently to avoid burning. Ghirardelli or similar quality brands provide the smoothest coating for your Monster Halloween Truffles.
-
Creative Decorations: Get playful with your toppings! Explore different edible decorations, like sprinkles or colored sugars, to personalize your spooky treats.
-
Storage Wisdom: Store truffles in a sealed container in the refrigerator for up to 2 weeks. For longer shelf life, freeze and thaw when ready to serve.
-
Texture Check: If the truffle mixture feels too sticky, adding a bit more graham cracker crumbs or gingersnap cookies can improve its rollability.
Monster Halloween Truffles Variations & Substitutions
Feel free to make these delightful truffles your own with just a few simple swaps or creative additions!
- Dairy-Free: Use vegan cream cheese and dairy-free chocolate melts for a plant-based version that doesn’t skimp on flavor.
- Nutty Crunch: Incorporate finely chopped walnuts or pecans into the filling for a delightful crunch that balances the creamy texture.
- Spice it Up: Add a pinch of cayenne pepper or an extra dash of nutmeg to the filling for a hint of warmth that will surprise your taste buds!
- Chocolate Lovers: Dip the truffles in dark chocolate melts instead of white for a rich and decadent twist on the classic flavor.
- Pumpkin Pie Flavor: Substitute pumpkin puree with spiced pumpkin pie filling to intensify flavors without adding extra spices.
- Ginger Twist: Replace the gingersnap cookies with crushed gingerbread cookies for an alternative that enhances the zingy spice profile.
- Fruity Fusion: Mix in small bits of dried cranberries or raisins into the truffle mixture for a sweet and chewy texture in every bite.
- Sprinkle Surprise: Top coated truffles with colorful Halloween sprinkles or edible glitter for a festive, eye-catching presentation.
Let your imagination run wild and create the perfect Monster Halloween Truffles that will excite your family and friends this spooky season!
What to Serve with Monster Halloween Truffles?
Celebrate the flavors of fall and delight your guests with tasty accompaniments that enhance the spooky vibes of your truffles.
-
Festive Candy Corn: Bright, cheerful, and nostalgic, candy corn adds an iconic Halloween touch to your dessert table while offering a sweet, chewy contrast.
-
Spiced Apple Cider: Serve warm or chilled, this sweet and spiced drink complements the pumpkin flavors perfectly and evokes the comforting essence of autumn.
-
Chocolate Ghost Cookies: These adorable treats bring playful highlights and textures alongside your truffles, making every bite a whimsical delight.
-
Pumpkin Pie Dip: Creamy and spiced, this flavorful dip pairs beautifully with graham crackers or apple slices, creating an irresistible dessert platter alongside your truffles.
-
Caramel Drizzle: A velvety pool of caramel sauce for drizzling elevates the sweetness of your truffles while adding extra richness that guests will love.
-
S’Mores Bites: Miniature s’mores deliver a crunchy, gooey aspect to your spread; their marshmallow and chocolate charm balances the creaminess of the truffles.
These pairings will frame your Monster Halloween Truffles beautifully, creating a feast that’s as delightful as it is festive!
How to Store and Freeze Monster Halloween Truffles
-
Fridge: Store your truffles in a sealed container in the refrigerator for up to 2 weeks to maintain freshness and flavor.
-
Freezer: For longer storage, freeze the truffles for up to 3 months. Place them in airtight bags or containers to prevent freezer burn.
-
Thawing: When ready to enjoy, simply thaw the frozen truffles in the refrigerator overnight before serving.
-
Reheating: Although these Monster Halloween Truffles are best enjoyed chilled, feel free to let them come to room temperature for a more intense flavor experience!
Monster Halloween Truffles Recipe FAQs
What kind of pumpkin puree should I use?
You should use 100% pure pumpkin puree for the best flavor and texture. If you prefer a sweeter option, you can substitute with pumpkin pie filling; just be mindful of the extra spices already included. Always check for any added sugars in pre-made versions!
How should I store leftover truffles?
Absolutely! Store your Monster Halloween Truffles in a sealed container in the refrigerator, where they will stay fresh for up to 2 weeks. If you’re not planning to enjoy them within that time, freezing is a great option.
Can I freeze Monster Halloween Truffles?
Yes, you can! Place the truffles in an airtight container or freezer bag, and they’ll keep well for up to 3 months. When you’re ready to enjoy them, just thaw them in the refrigerator overnight. This way, they maintain their fantastic texture.
What if my truffle mixture is too soft to roll?
Very common! If the mixture feels too sticky or soft, simply pop it back into the refrigerator for an additional 30 minutes. This helps to firm it up. You can also mix in a bit more graham cracker crumbs or crushed gingersnap cookies until you reach the desired consistency.
Are these Halloween truffles pet-friendly?
Definitely not! These Monster Halloween Truffles contain ingredients like chocolate and sugar that are not safe for pets. Always keep your truffles out of reach and avoid sharing any human treats with your furry friends.
Can I substitute gingersnap cookies?
Of course! If you’re not keen on gingersnaps, you can substitute them with graham crackers or even sugar cookies. However, keep in mind that gingersnaps add a delightful spiciness that enhances the flavor of your truffles. The more the merrier if you try a mix!
Monster Halloween Truffles: Spooky Treats for Fall Fun
Ingredients
Equipment
Method
- In a large mixing bowl, combine softened cream cheese and pumpkin puree. Use a mixer to blend until the mixture is completely smooth and creamy.
- Gradually add in the crumbled gingersnap cookies, graham cracker crumbs, powdered sugar, ground cinnamon, and a pinch of salt. Stir until all ingredients are well combined.
- Cover the bowl with plastic wrap and refrigerate for 30-60 minutes.
- Once chilled, scoop about 1 tablespoon of the mixture and roll it into a ball. Place each truffle on a lined baking sheet.
- Place the baking sheet in the freezer for about 1 hour.
- While the truffles are freezing, melt the white candy melts along with coconut oil in a microwave-safe bowl.
- Dip each chilled truffle into the melted candy coating, allowing any excess to drip off.
- While the candy coating is still soft, add 1-3 candy eyes to each truffle.
- Allow the truffles to sit at room temperature until the candy coating hardens.

