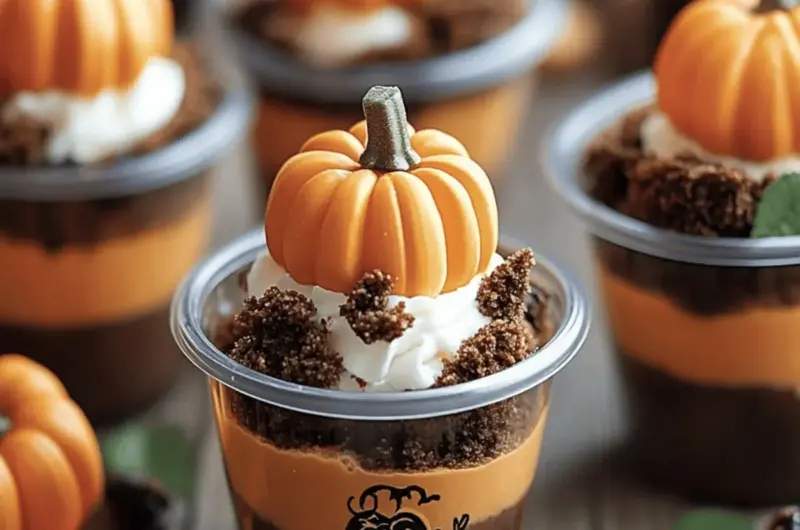
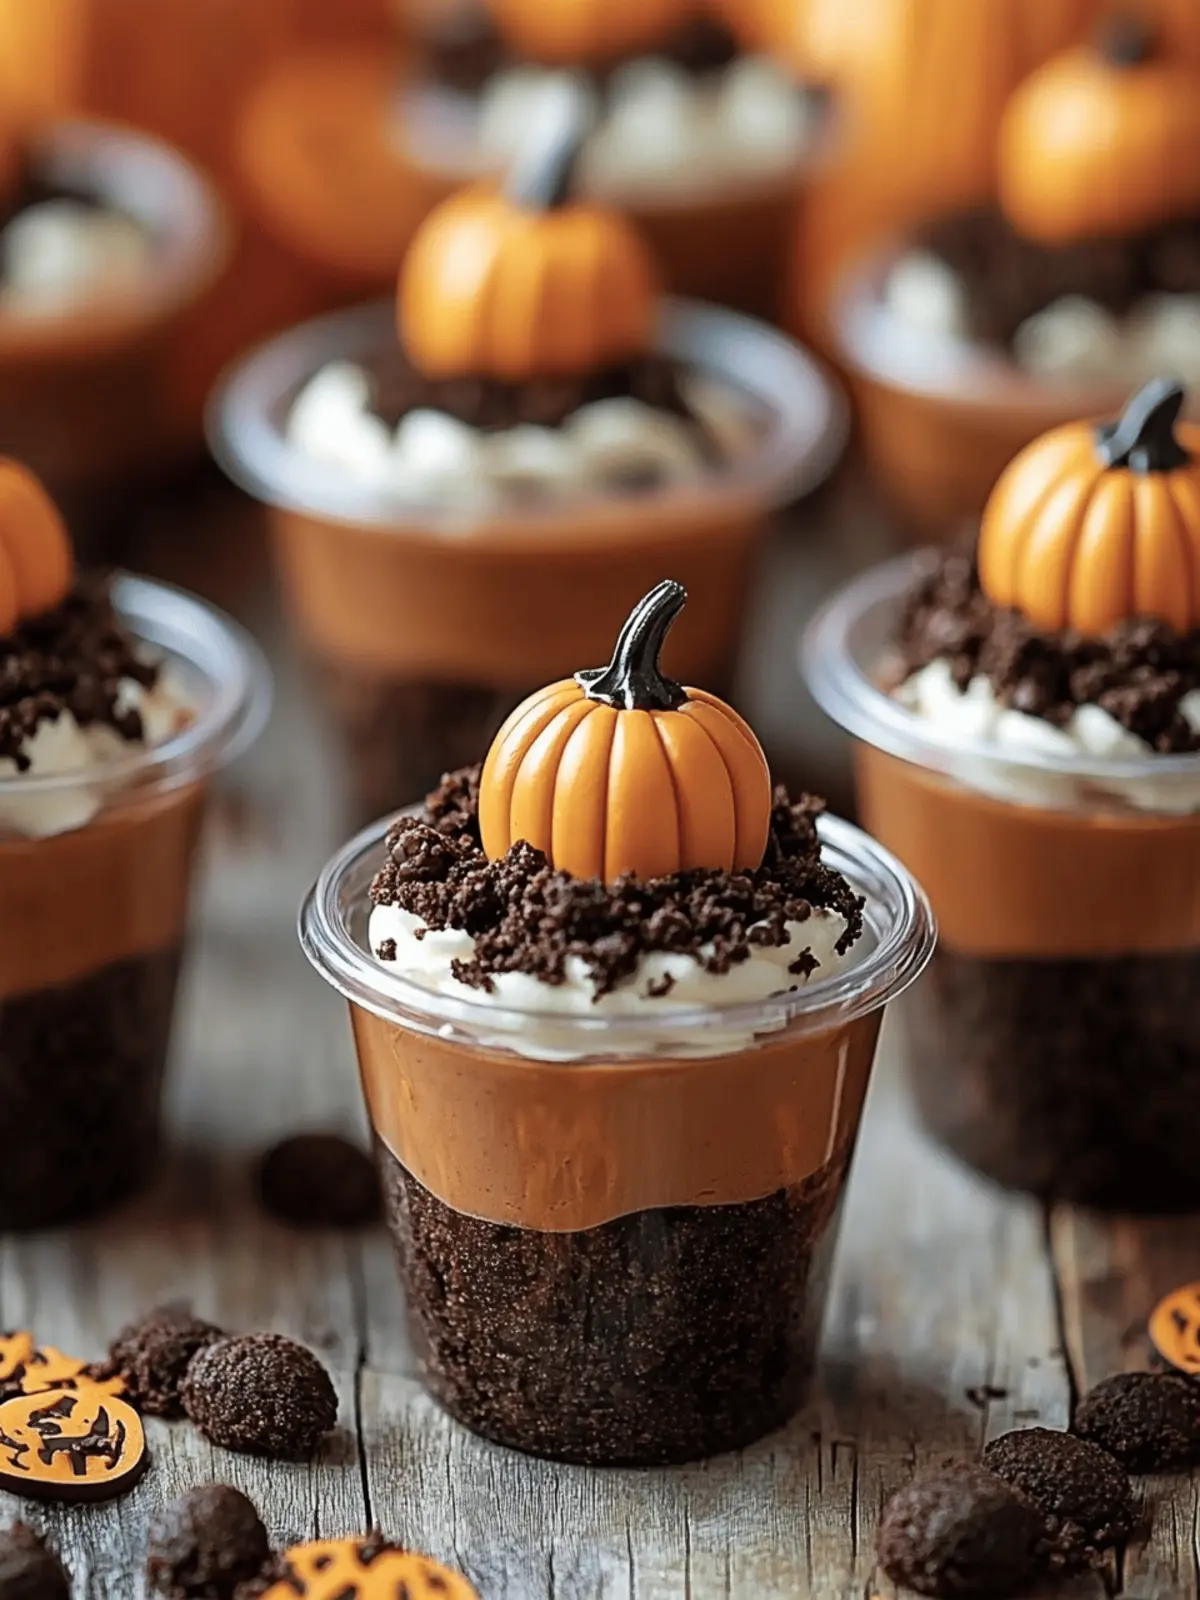
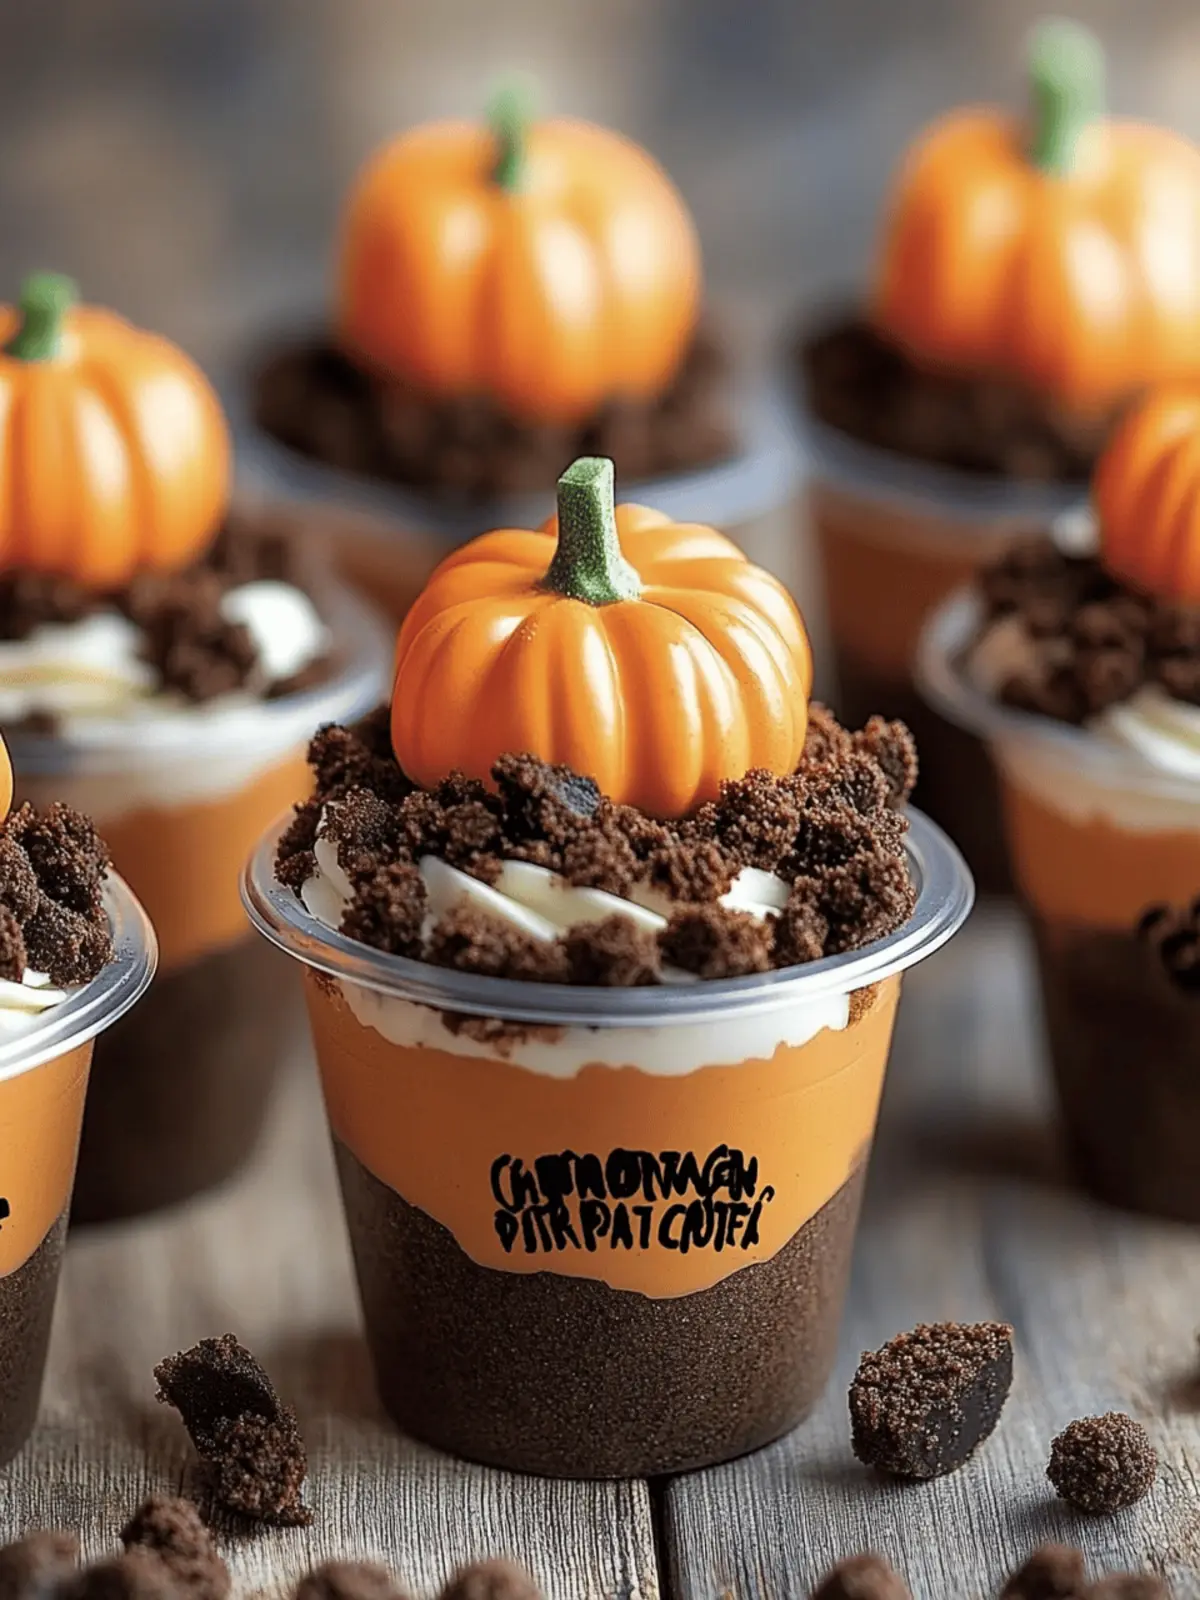
As the crispness of fall days settles in and the scent of pumpkin spice wafts through the air, my kitchen transforms into a cozy haven filled with delightful creations. One of my absolute favorites? These Pumpkin Patch Dirt Cups—a whimsical, no-bake dessert that combines the rich, creamy goodness of chocolate pudding with crunchy chocolate cookie “dirt.” They’re not just sweet treats; they spark joy and creativity, especially when the kids dive in to help layer the ingredients.
Whether you’re hosting a festive gathering or simply looking to brighten a calm afternoon, these little cups capture the essence of autumn in a way that’s both fun and delicious. Top them off with playful candy pumpkins and a sprinkle of green frosting for a charming touch. This recipe is as simple as it is scrumptious, promising smiles from toddlers and adults alike. So grab your mixing bowl and let’s create an edible pumpkin patch that’s perfect for sharing family moments and making sweet memories!
Why are Pumpkin Patch Dirt Cups so fun?
Whimsical Presentation: These delightful cups bring autumn to life with their playful layers that resemble a mini pumpkin patch.
No-Bake Simplicity: Just mix, layer, and chill! No oven required, making it easy for anyone to whip up.
Kid-Friendly Creation: Perfect for little hands, kids love participating in the assembly—imparting joy and culinary skills at the same time.
Customizable Toppings: Add your personal touch with optional green frosting or sprinkles, allowing endless creativity.
Perfect for Sharing: Great for gatherings or cozy family nights, they promise to be a crowd-pleaser, appealing to all ages.
Ready to dive deeper? Check out our suggestions for other kid-friendly desserts that make for amazing family fun!
Pumpkin Patch Dirt Cups Ingredients
• Get ready to create a delicious and fun dessert for everyone to enjoy!
For the Pudding
- Cold Milk – Use whole milk for a creamier texture or almond milk for a dairy-free alternative.
- Instant Chocolate Pudding Mix – The star ingredient that provides a rich chocolate flavor; opt for gluten-free if needed.
- Whipped Topping (Cool Whip) – Adds a light and fluffy element; homemade whipped cream works beautifully as a substitution.
For the Dirt Layer
- Chocolate Sandwich Cookies (Oreos) – These create the “dirt” layer; feel free to use gluten-free cookies for a different option.
For the Toppings
- Candy Pumpkins – A whimsical topping that enhances visual appeal; gumdrops or marshmallows work as cute alternatives.
- Green Frosting or Sprinkles – Optional to represent vines or grass; consider edible green glitter for a fun twist.
For Presentation
- Clear Plastic Cups – Essential for showcasing your layered masterpiece; 8 oz cups are ideal to enhance the aesthetic.
Gather these ingredients and prepare to create your delightful Pumpkin Patch Dirt Cups that are sure to bring smiles all around!
How to Make Pumpkin Patch Dirt Cups
-
Prepare the Pudding: In a large bowl, whisk together the instant chocolate pudding mix and cold milk for about 2 minutes, until the mixture thickens and is smooth.
-
Fold in Whipped Topping: Gently incorporate the whipped topping into the pudding, being careful not to deflate it. This step is key to achieving a light and fluffy texture!
-
Crush the Cookies: Place your chocolate sandwich cookies in a zip-top bag and crush them using a rolling pin, or pulse them in a food processor until they resemble fine crumbs. This “dirt” will give your cups texture!
-
Layer the Cups: Start layering! Spoon a generous amount of pudding into clear plastic cups, followed by a layer of cookie crumbs. Repeat these layers until you reach the top, finishing with a layer of cookie crumbs.
-
Add Toppings: Now for the fun part! Carefully place the candy pumpkins on top of your layered cups. If desired, add a drizzle of green frosting or a sprinkle of green sprinkles for that extra festive touch.
-
Chill (optional): For the best taste and texture, refrigerate the assembled cups for about 15-20 minutes before serving. This allows the flavors to meld beautifully!
Optional: Consider adding gummy worms popping out of the “dirt” for an extra fun twist!
Exact quantities are listed in the recipe card below.
Storage Tips for Pumpkin Patch Dirt Cups
- Fridge: Keep your assembled Pumpkin Patch Dirt Cups in the refrigerator for up to 1 day. Wait to add toppings until just before serving to maintain their vibrant appearance and texture.
- Airtight Container: If you have leftover cups, cover them with plastic wrap or transfer them to an airtight container to prevent drying out or absorbing odors.
- Freezer: While not ideal for these cups, if you must freeze, store them without toppings in a freezer-safe container for up to 1 month. Thaw in the fridge before serving.
- Reheating: If you’ve stored crushed cookies separately, re-crunch them lightly if they lose their texture, and then simply layer again before enjoying!
What to Serve with Pumpkin Patch Dirt Cups?
As you prepare these delightful treats, consider some pairing options that enhance the fall spirit and provide variety to your meal.
-
Spiced Apple Cider: The warm, comforting flavors of spiced apple cider perfectly complement the rich chocolate of the dirt cups. Serve it hot for a cozy finish to your gathering.
-
Brownie Bites: These fudgy treats offer a rich chocolate experience, beautifully contrasting with the lightness of the pudding and cookie layers. Add a sprinkle of sea salt for an extra flavor dimension!
-
Roasted Pumpkin Soup: A savory pumpkin soup filled with autumn spices serves as a perfect starter, balancing the sweet dessert that follows. The warm soup warms up the palate beautifully.
-
Ginger Snap Cookies: A classic fall favorite, these spicy cookies add a delightful crunchy texture and enhance the flavor profile with their gingery warmth. Perfect for dunking!
-
Fruit Salad: A fresh fruit salad can provide a refreshing balance to the rich dirt cups, especially if you include tart apples, sweet pears, and juicy pomegranate seeds that echo the season.
-
Chocolate Milk: Revisit childhood nostalgia with a creamy glass of chocolate milk! It’s a fun throwback that pairs deliciously, bringing smiles to both kids and adults alike.
-
Mini Pumpkin Muffins: These tender muffins dotted with actual pumpkin pieces add a delightful homemade touch, enticing your guests to enjoy something wholesome alongside the dessert.
-
Caramel Popcorn: This crispy treat drizzled with warm caramel captures autumn flavors while ensuring a satisfying crunch that pairs wonderfully with the pudding’s creaminess.
-
Coffee or Tea: Brewed coffee or a spiced chai elevates your dessert experience, offering contrasting warmth that’s both inviting and comforting when enjoyed alongside your Pumpkin Patch Dirt Cups.
Each of these pairings brings its unique touch to the table, enhancing the whole experience of enjoying these whimsical Pumpkin Patch Dirt Cups!
Make Ahead Options
These Pumpkin Patch Dirt Cups are perfect for meal prep enthusiasts! You can prepare the chocolate pudding mixture and layer it in the cups up to 24 hours in advance, ensuring the flavors meld beautifully and save you time on busy days. To do this, simply combine the pudding mix with cold milk, fold in the whipped topping, and layer it with crushed cookie crumbs in clear plastic cups. Cover them tightly with plastic wrap and refrigerate until you’re ready to serve. Just before serving, add the candy pumpkins and any optional green frosting or sprinkles to maintain their fresh appearance. This way, you’ll have a delightful, hassle-free dessert ready when you need it!
Expert Tips for Pumpkin Patch Dirt Cups
- Whisking Technique: Ensure thorough mixing to prevent lumps in the pudding, resulting in a wonderfully smooth texture for your Pumpkin Patch Dirt Cups.
- Cookie Crunchiness: Assemble your cookie layers just before serving to keep them crunchy. Store any leftover crushed cookies in an airtight container.
- Kid Engagement: Involve children in making these treats by letting them layer the ingredients and decorate, making wonderful memories together.
- Custom Toppings: Get creative! Experiment with unique toppings like gummy worms or edible glitter to enhance your Pumpkin Patch Dirt Cups’ presentation.
- Chilling Time: Allow for optional chilling; this not only improves texture but melds the flavors beautifully for an unforgettable taste experience.
Pumpkin Patch Dirt Cups Variations
Feel free to let your creativity shine and customize these delightful cups with your favorite twists!
- Vanilla Pudding: Swap the chocolate pudding for vanilla for a lighter, creamy flavor that complements the “dirt” perfectly.
- Graham Cracker Crust: Instead of chocolate cookies, use crushed graham crackers for a sweet, buttery alternative that adds a delightful crunch.
- Fun Gummy Worms: Introduce gummy worms peeking out from the dirt for an added surprise, making these cups even more fun for kids!
- Add Extra Spices: Sprinkle in some cinnamon or pumpkin spice to the pudding mixture for a cozy, seasonal warmth that elevates the flavor.
- Nutty Crunch: Fold in chopped nuts like pecans or almonds into the “dirt” layer for a satisfying crunch and a boost of nutrition.
- Chocolate Drizzle: Drizzle melted chocolate over the top before serving to amplify the chocolatey goodness. It adds a rich, indulgent layer.
- Berry Surprise: Toss in some crushed freeze-dried strawberries between layers for a fruity twist that beautifully contrasts with the chocolate.
- Festive Sprinkles: Use different colored sprinkles or edible glitter to match themes for parties or events, adding a splash of color to your dessert!
Each variation allows for a delightful twist on this charming recipe, ensuring there’s something for everyone to love!
Pumpkin Patch Dirt Cups Recipe FAQs
What kind of milk should I use for the pudding?
Absolutely! For the creamiest version of your Pumpkin Patch Dirt Cups, I recommend using whole milk. If you’re looking for a dairy-free alternative, almond milk works beautifully as well, providing a slightly nutty flavor without sacrificing texture.
How should I store my Pumpkin Patch Dirt Cups?
You can keep your assembled Pumpkin Patch Dirt Cups in the refrigerator for up to 1 day. It’s essential to wait to add any toppings until just before serving. This helps maintain a fresh appearance and preserves the delightful crunch of the cookie layer.
Can I freeze Pumpkin Patch Dirt Cups?
While freezing isn’t ideal for these delightful cups due to the potential texture changes, you can store them without toppings in a freezer-safe container for up to 1 month. When you’re ready to enjoy, thaw them in the fridge overnight. Just remember to reapply toppings fresh before serving!
What should I do if my pudding mixture is lumpy?
If your pudding mixture ends up lumpy, don’t fret! Just keep whisking vigorously, making sure to break up any lumps. If it’s particularly stubborn, you can blend the mixture in a blender or food processor for a perfectly smooth consistency before incorporating the whipped topping.
Are there any allergy considerations for this recipe?
Yes! Pay attention to ingredient labels, especially for the pudding mix and cookies, as they may contain allergens like wheat or dairy. For gluten-free options, look for a gluten-free chocolate pudding mix and sandwich cookies. Always consult your guests about any allergies before serving.
How can I make this recipe more festive?
The more the merrier! You can spruce up your Pumpkin Patch Dirt Cups with fun edible decorations. Consider adding gummy worms crawling through the “dirt” or using edible glitter for a magical touch. Green frosting can resemble vines, making it even more appealing for Halloween or fall-themed parties.
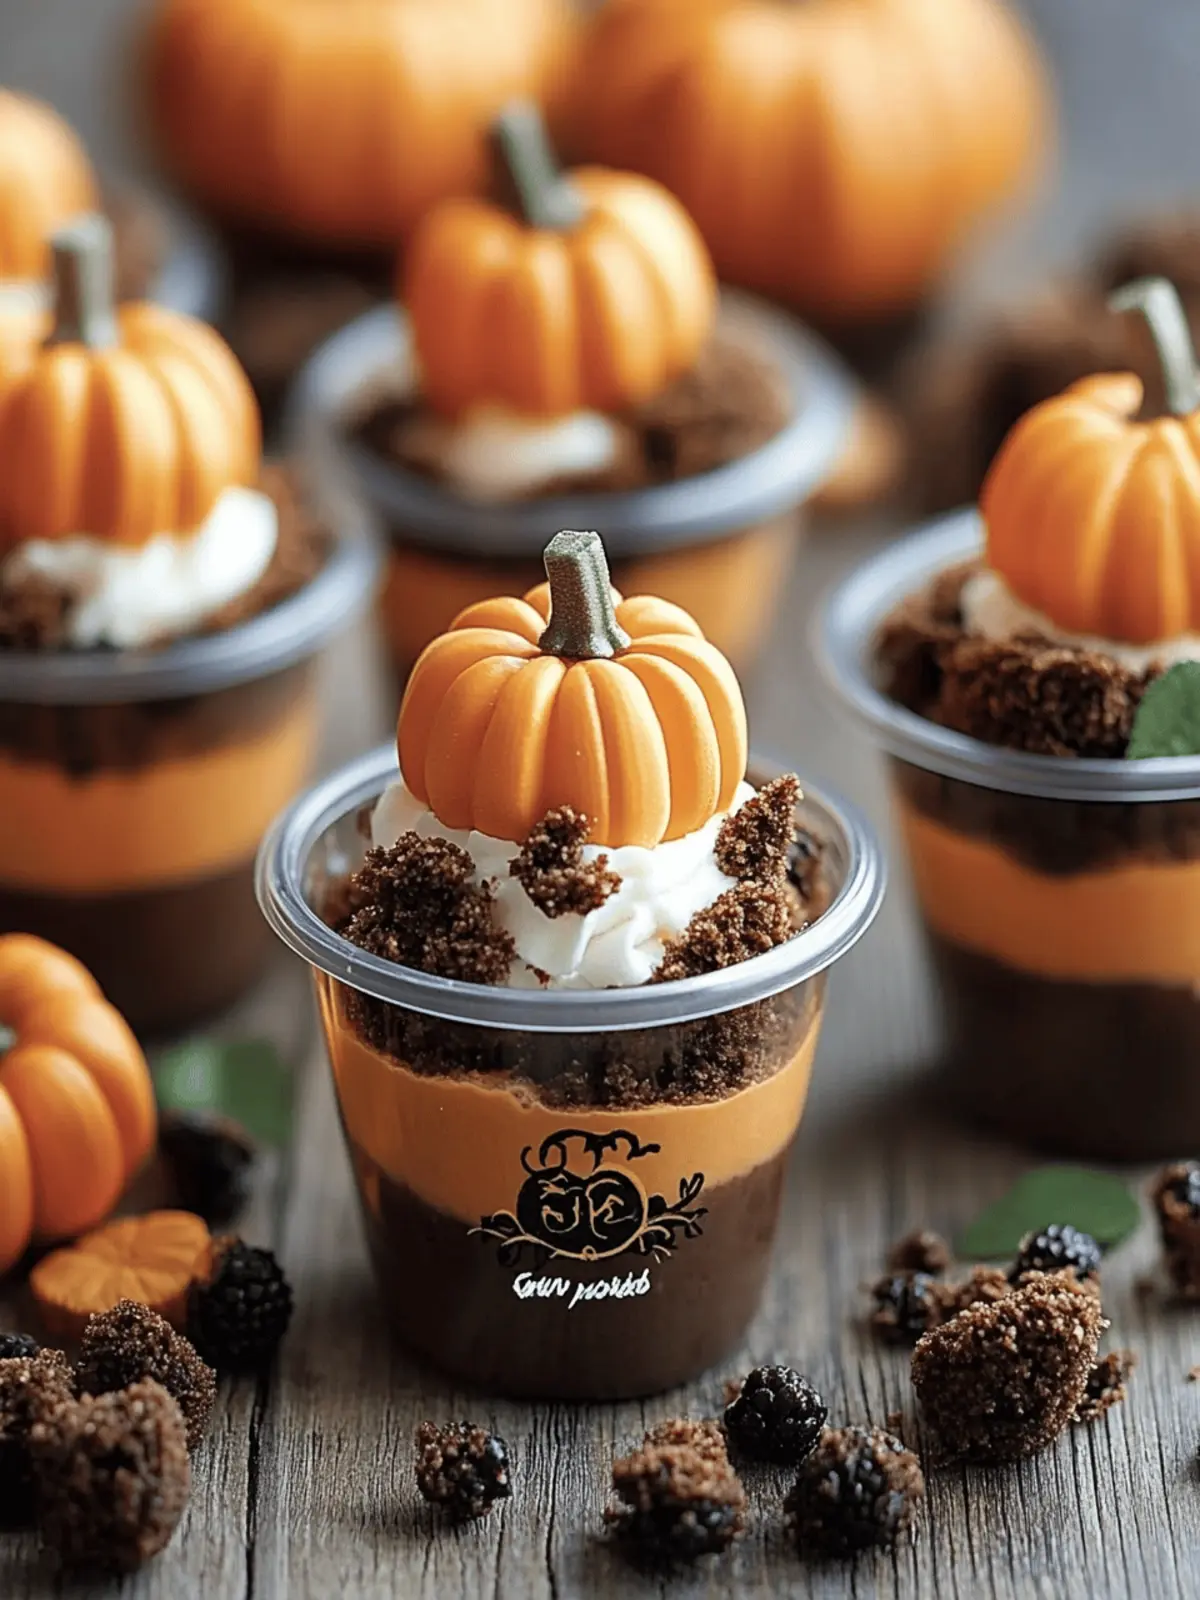
Delicious Pumpkin Patch Dirt Cups: Easy No-Bake Fun for Fall
Ingredients
Equipment
Method
- In a large bowl, whisk together the instant chocolate pudding mix and cold milk for about 2 minutes, until the mixture thickens and is smooth.
- Gently incorporate the whipped topping into the pudding, being careful not to deflate it.
- Place your chocolate sandwich cookies in a zip-top bag and crush them using a rolling pin or pulse them in a food processor until they resemble fine crumbs.
- Start layering! Spoon a generous amount of pudding into clear plastic cups, followed by a layer of cookie crumbs. Repeat these layers until you reach the top, finishing with a layer of cookie crumbs.
- Carefully place the candy pumpkins on top of your layered cups. If desired, add a drizzle of green frosting or a sprinkle of green sprinkles.
- For the best taste and texture, refrigerate the assembled cups for about 15-20 minutes before serving.

