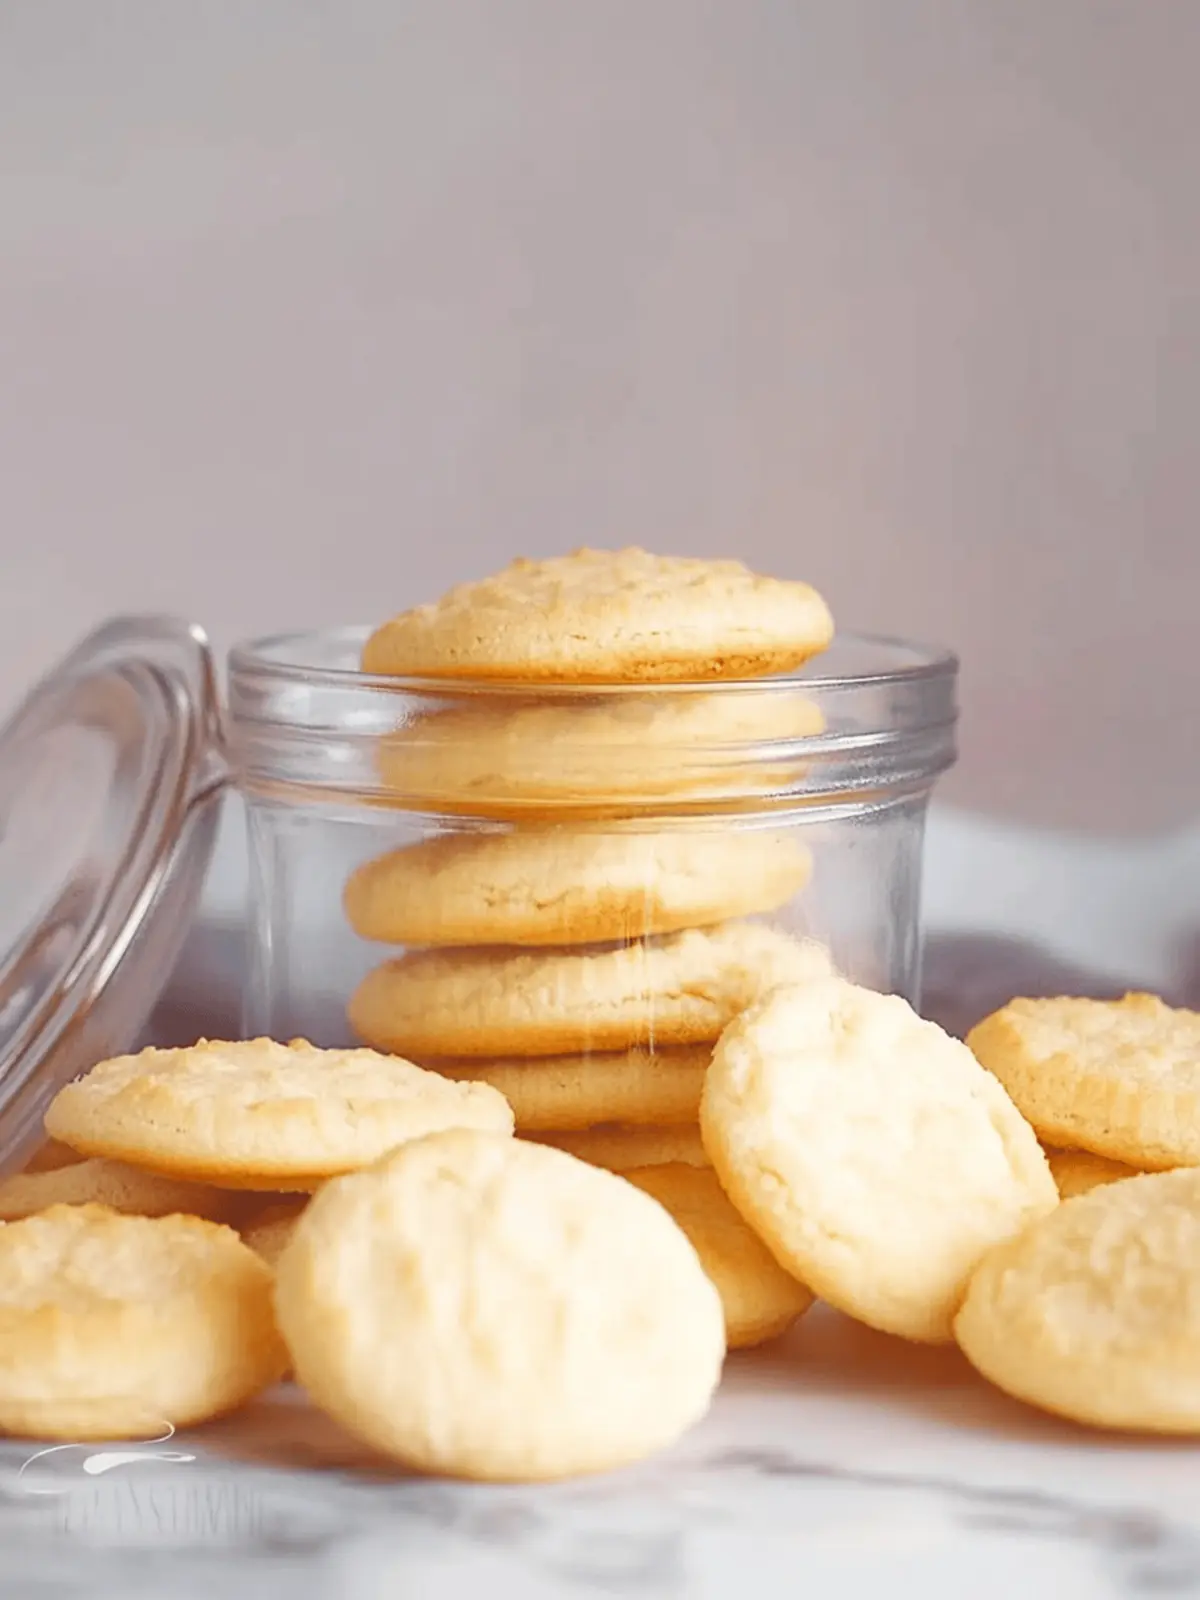
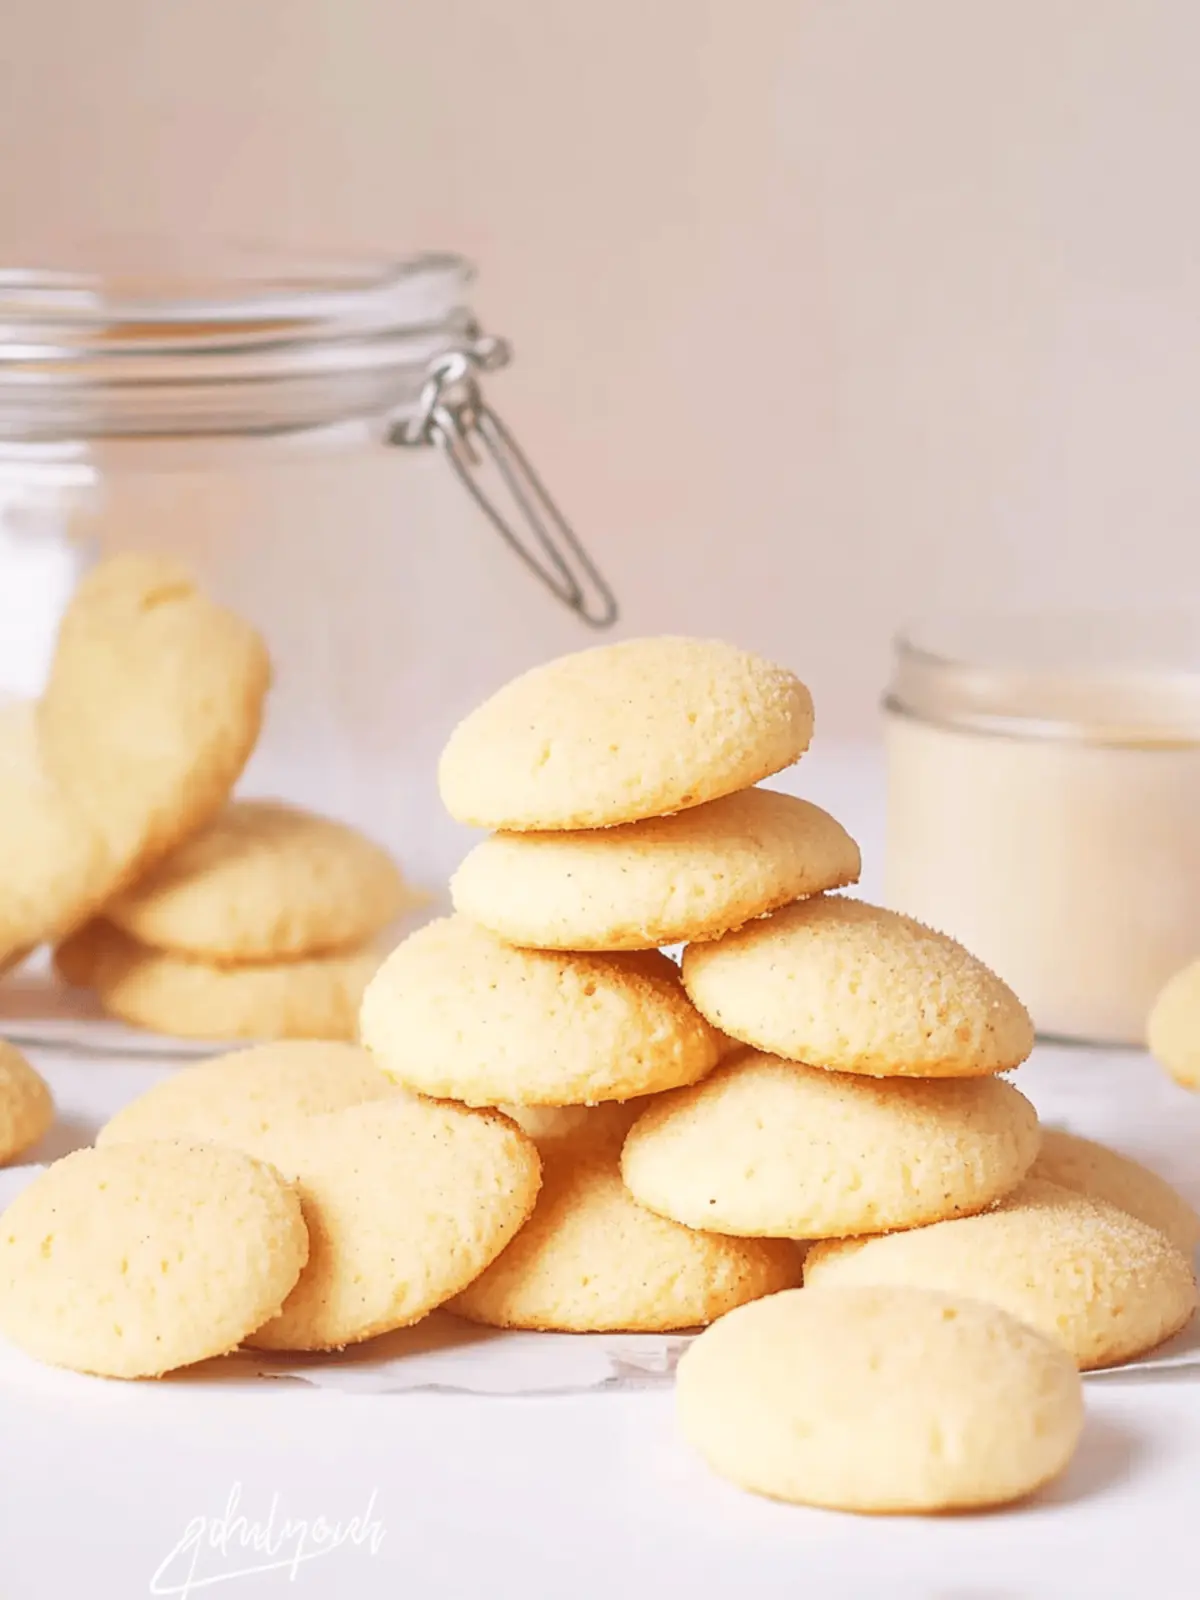
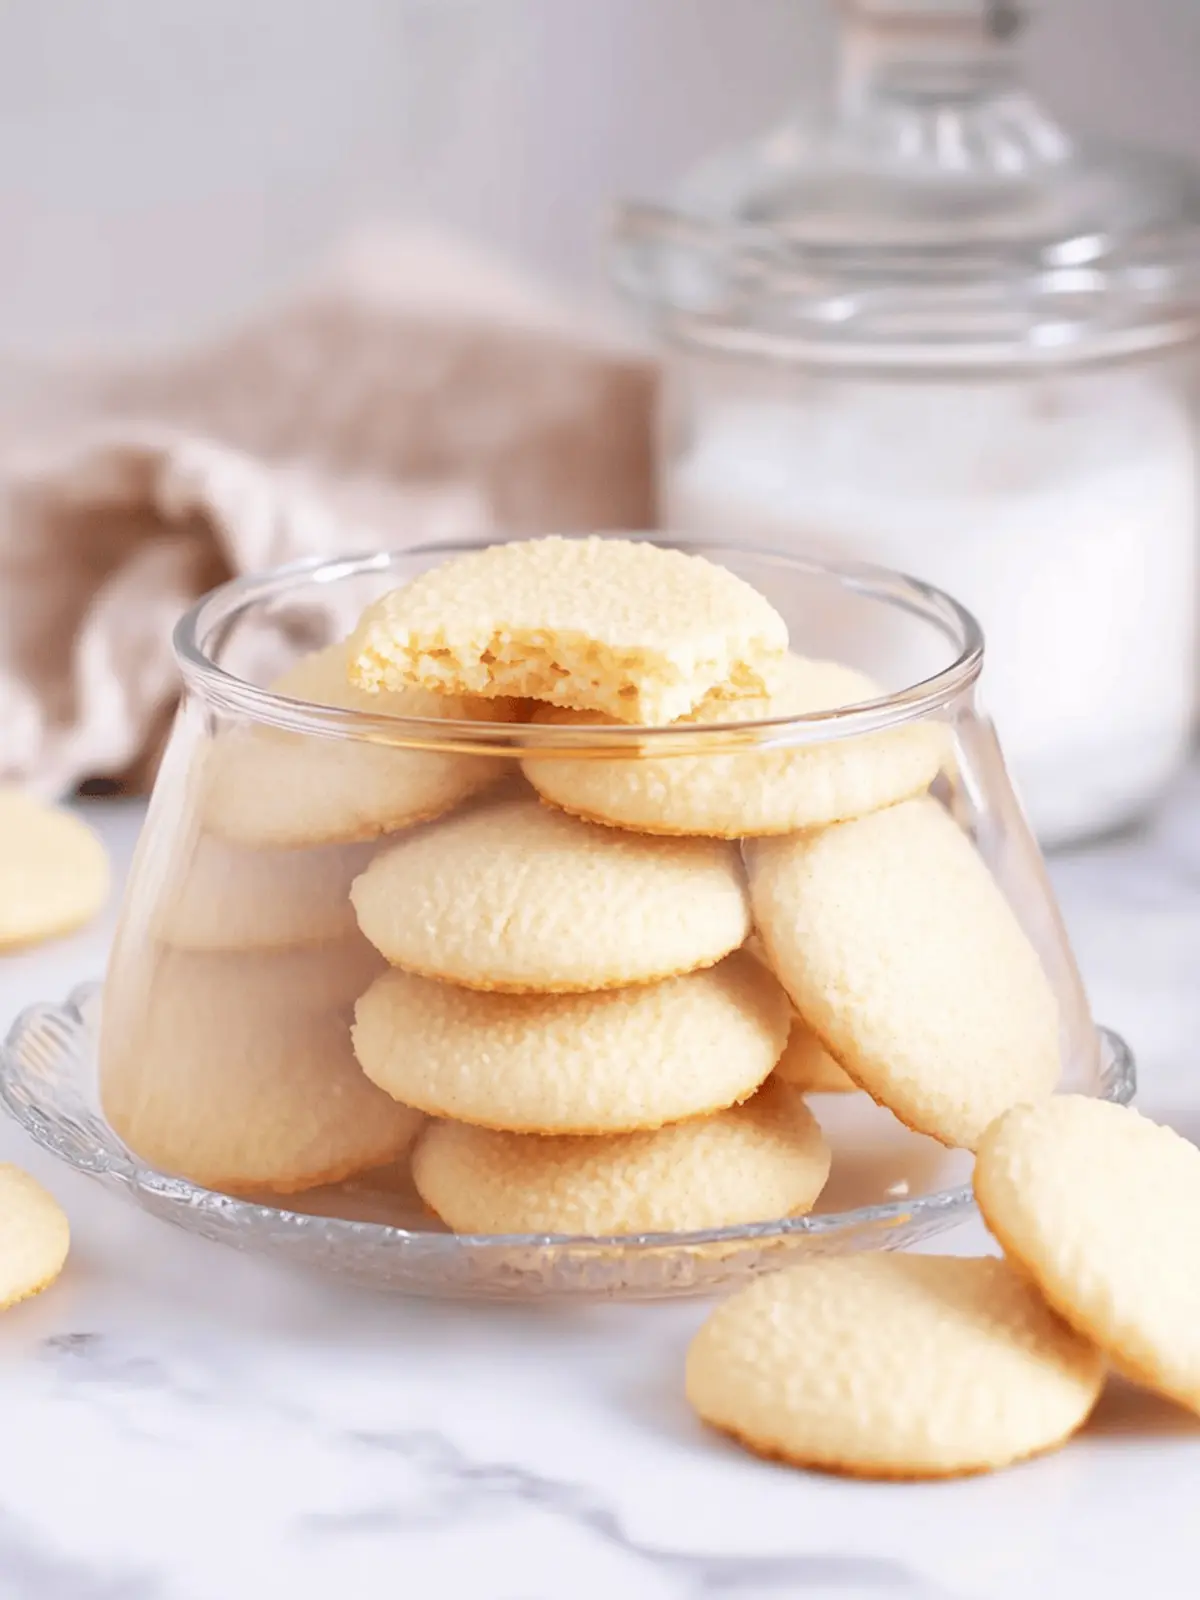
There’s nothing quite like the feeling of nostalgia that comes rushing back when you indulge in your favorite childhood treats. Recently, as I was rummaging through my pantry, I stumbled upon a bag of vegan butter, and it sparked the idea to recreate a classic—Vegan Nilla Wafers! With just four simple ingredients and minimal effort, you can whip up these delightful cookies that are not only vegan but also incredibly versatile. Whether you enjoy them on their own or use them as a delicious base for banana pudding, these wafers deliver a melt-in-your-mouth experience that satisfies both cravings for sweetness and simplicity. Get ready to delight in the sweet buttery flavor and crispy texture that will make these Vegan Nilla Wafers your new go-to snack—perfect for any occasion!
Why are Vegan Nilla Wafers a Must-Try?
Simplicity at Its Best: This recipe requires just four ingredients, making it incredibly easy for anyone to whip up!
Nostalgic Flavor: Enjoy the classic taste of Nilla Wafers without any animal products, bringing back sweet memories with every bite.
Versatile Treat: Perfect for dipping in your favorite vegan banana pudding or pairing with tea—these wafers fit any occasion seamlessly.
Quick to Make: Minimal prep and baking time mean you can satisfy your cookie cravings in a flash!
Crowd-Pleasing: Great for gatherings, these cookies will impress everyone, whether they’re vegan or not.
Vegan Nilla Wafers Ingredients
• Get ready to bake with just 4 ingredients!
For the Wafers
- Vegan Butter – Provides fat for moisture and richness. Use slightly softened vegan butter to avoid greasiness.
- Confectioners Sugar – Adds sweetness and contributes to a tender texture. Sift before use for best results.
- All-Purpose Flour – Gives structure to the cookies. Can potentially be substituted with a gluten-free flour blend for dietary needs.
- Vanilla Extract – Enhances flavor with a warm, sweet aroma. Use pure vanilla for the best taste.
- Salt – Balances sweetness and enhances overall flavor. Do not omit for best results.
How to Make Vegan Nilla Wafers
-
Preheat your oven to 350°F (175°C). This step ensures that your cookies bake evenly, creating that perfect golden-brown edge you desire.
-
Cream the slightly softened vegan butter with sifted confectioners sugar in a mixing bowl until smooth. This process should take a couple of minutes; you’re aiming for a light and fluffy consistency.
-
Mix in the sifted all-purpose flour and salt gradually, stirring until a soft dough forms. This might take a few minutes, but don’t rush—the right texture is essential!
-
Incorporate the vanilla extract and mix until the dough comes together nicely. You should start to smell that wonderful aroma filling your kitchen!
-
Scoop the dough using a #100 cookie scoop onto a parchment-lined baking sheet, flattening each scoop into discs. This step will help ensure uniform sizes and even baking.
-
Bake for 12-15 minutes, keeping an eye on them until the edges turn golden brown. You want them crisp on the outside while still tender inside!
Optional: Enjoy these cookies with a cup of tea or serve them alongside vegan banana pudding for an irresistible treat.
Exact quantities are listed in the recipe card below.
Make Ahead Options
These Vegan Nilla Wafers are perfect for meal prep, allowing you to enjoy homemade cookies anytime with minimal fuss! You can prepare the dough up to 24 hours in advance by mixing all the ingredients and storing it in an airtight container in the refrigerator. Just remember to bring the dough back to room temperature before baking, as this prevents greasiness and ensures the cookies bake evenly. If you’re short on time, you can also bake the cookies, let them cool, and store them in an airtight container for up to 3 days at room temperature. When you’re ready to enjoy, simply serve them as is or warm them slightly in the oven for that fresh-baked experience!
Expert Tips for Vegan Nilla Wafers
-
Butter Softness: Ensure the vegan butter is slightly softened, not melted, to achieve the ideal dough consistency without greasiness.
-
Sift for Success: Always sift the confectioners sugar before mixing; this step prevents lumps and contributes to a smooth, tender cookie texture.
-
Gluten-Free Options: If you’re using a gluten-free flour blend, choose a mix designed for baking to ensure your Vegan Nilla Wafers hold together well.
-
Uniform Sizing: Use a #100 cookie scoop to portion the dough; this ensures even baking and helps each cookie achieve the perfect shape and size.
-
Watch the Clock: Baking times can vary depending on your oven; start checking your cookies a minute or two before the suggested time to prevent overbaking.
-
Flavor Variations: Feel free to experiment with different extracts like almond or lemon for a unique twist on your Vegan Nilla Wafers!
Vegan Nilla Wafers Variations
Feel free to get creative with these delightful cookies and tailor them to your tastes!
-
Gluten-Free: Replace all-purpose flour with a gluten-free flour blend for a delicious gluten-free option. This twist allows everyone to enjoy them!
-
Nutty Flavor: Swap out vanilla extract for almond or hazelnut extract to infuse a rich, nutty flavor into your wafers. It’s a subtle change that makes a big difference!
-
Spiced Up: Add a dash of cinnamon or nutmeg for a warm spice twist. This variation adds a cozy touch that’s perfect for chilly evenings.
-
Cocoa Delight: Mix in a tablespoon or two of cocoa powder for a chocolaty version of these wafers. Enjoy them on their own or as a base for a chocolate banana pudding!
-
Coconut Bliss: Incorporate shredded coconut to add texture and a hint of tropical flavor. This variation brings a cheerful and refreshing taste to your treats.
-
Citrus Zing: Add a teaspoon of lemon or orange zest to bring a bright and zesty note to the cookies, perfect for a refreshing twist.
-
Maple Sweetness: Substitute some confectioners sugar with maple syrup for a unique sweet flavor. Just remember to balance it with a little extra flour if needed!
-
Spicy Kick: Add a pinch of cayenne pepper for a surprising heat that contrasts beautifully with the sweetness. This creative option is sure to surprise and delight!
Storage Tips for Vegan Nilla Wafers
-
Room Temperature: Store the cookies in an airtight container at room temperature for up to 3 weeks to maintain their delightful crunch and texture.
-
Freezer: For longer storage, freeze the Vegan Nilla Wafers in a freezer-safe container or bag, separating layers with parchment paper. They’ll stay fresh for up to 3 months.
-
Reheating: To revive the cookies after freezing, simply place them in a preheated oven at 350°F (175°C) for about 5-10 minutes until warmed through.
-
Serving Freshness: For the best flavor, enjoy the cookies within the first week, as they’ll be crispiest during that time!
What to Serve with Vegan Nilla Wafers?
Indulging in a batch of these crispy, buttery wafers opens up a world of delightful pairing possibilities that can enhance your snack time experience.
-
Vegan Banana Pudding: This classic dessert complements the wafers beautifully, creating a creamy and delightful contrast that elevates both textures and flavors. Dip or layer with the wafers for a truly indulgent treat.
-
Cup of Herbal Tea: The gentle warmth of tea, especially options like chamomile or mint, perfectly balances the sweetness of the wafers while adding a soothing element to your afternoon treat.
-
Fresh Berries: The bright, tart flavor of strawberries, raspberries, or blueberries adds a fresh twist that can counterbalance the sweetness of the cookies. Serve on the side for a colorful, nutritious snack.
-
Coconut Whipped Cream: Light and airy, this vegan dessert topping adds a cloud-like richness that pairs wonderfully with the crispy texture of the wafers. It’s perfect for dipping or dolloping on top!
-
Dark Chocolate Dip: For a decadent temptation, melt some dark chocolate for a rich, indulgent dip. The bitterness of the chocolate marries beautifully with the sweet, buttery flavor of the wafers.
-
Almond Milk Smoothie: A creamy smoothie made with almond milk, frozen bananas, and a hint of vanilla can be a refreshing drink to enjoy alongside the wafers, enhancing their nostalgic flavor even further.
-
Fruit Salad: A simple mix of your favorite seasonal fruits can bring a refreshing vibe to your cookie experience, making each bite a burst of juicy sweetness that pairs perfectly with the crunchy wafers.
Vegan Nilla Wafers Recipe FAQs
How do I know if my ingredients are ripe or fresh enough?
For these Vegan Nilla Wafers, the most critical ingredient to consider is the vegan butter. Look for a brand with a rich yellow color and no off-putting odor. It should be slightly softened but not melted, which helps achieve the perfect cookie texture. If you’re using all-purpose flour, check for any clumps or strange smells—fresh flour should have a clean, neutral scent.
How should I store my Vegan Nilla Wafers?
Store your Vegan Nilla Wafers in an airtight container at room temperature for up to 3 weeks. Keeping them sealed will retain their crunchiness. If you live in a humid environment, consider placing a small piece of parchment paper inside the container to help absorb moisture.
Can I freeze Vegan Nilla Wafers?
Absolutely! To freeze your Vegan Nilla Wafers, place them in a freezer-safe container or bag. Be sure to separate layers with parchment paper to prevent sticking. These cookies can be frozen for up to 3 months. When you’re ready to enjoy them, simply preheat your oven to 350°F (175°C) and warm them for about 5-10 minutes until they’re nice and fresh.
What should I do if my dough is too sticky?
If your dough is feeling sticky, this might mean your vegan butter is too soft or there’s an imbalance in your ingredient measurements. Simply add a little more sifted all-purpose flour, a tablespoon at a time, until the dough reaches a manageable consistency. Make sure to mix well after each addition to avoid overworking the dough.
Are these Vegan Nilla Wafers safe for allergies?
These wafers are vegan and generally free from common allergens, but always check your specific ingredient labels. If you’re making them for someone with allergies, you might consider using gluten-free flour for those with gluten sensitivities. Additionally, be cautious with the vanilla extract—opt for allergen-free brands when necessary.
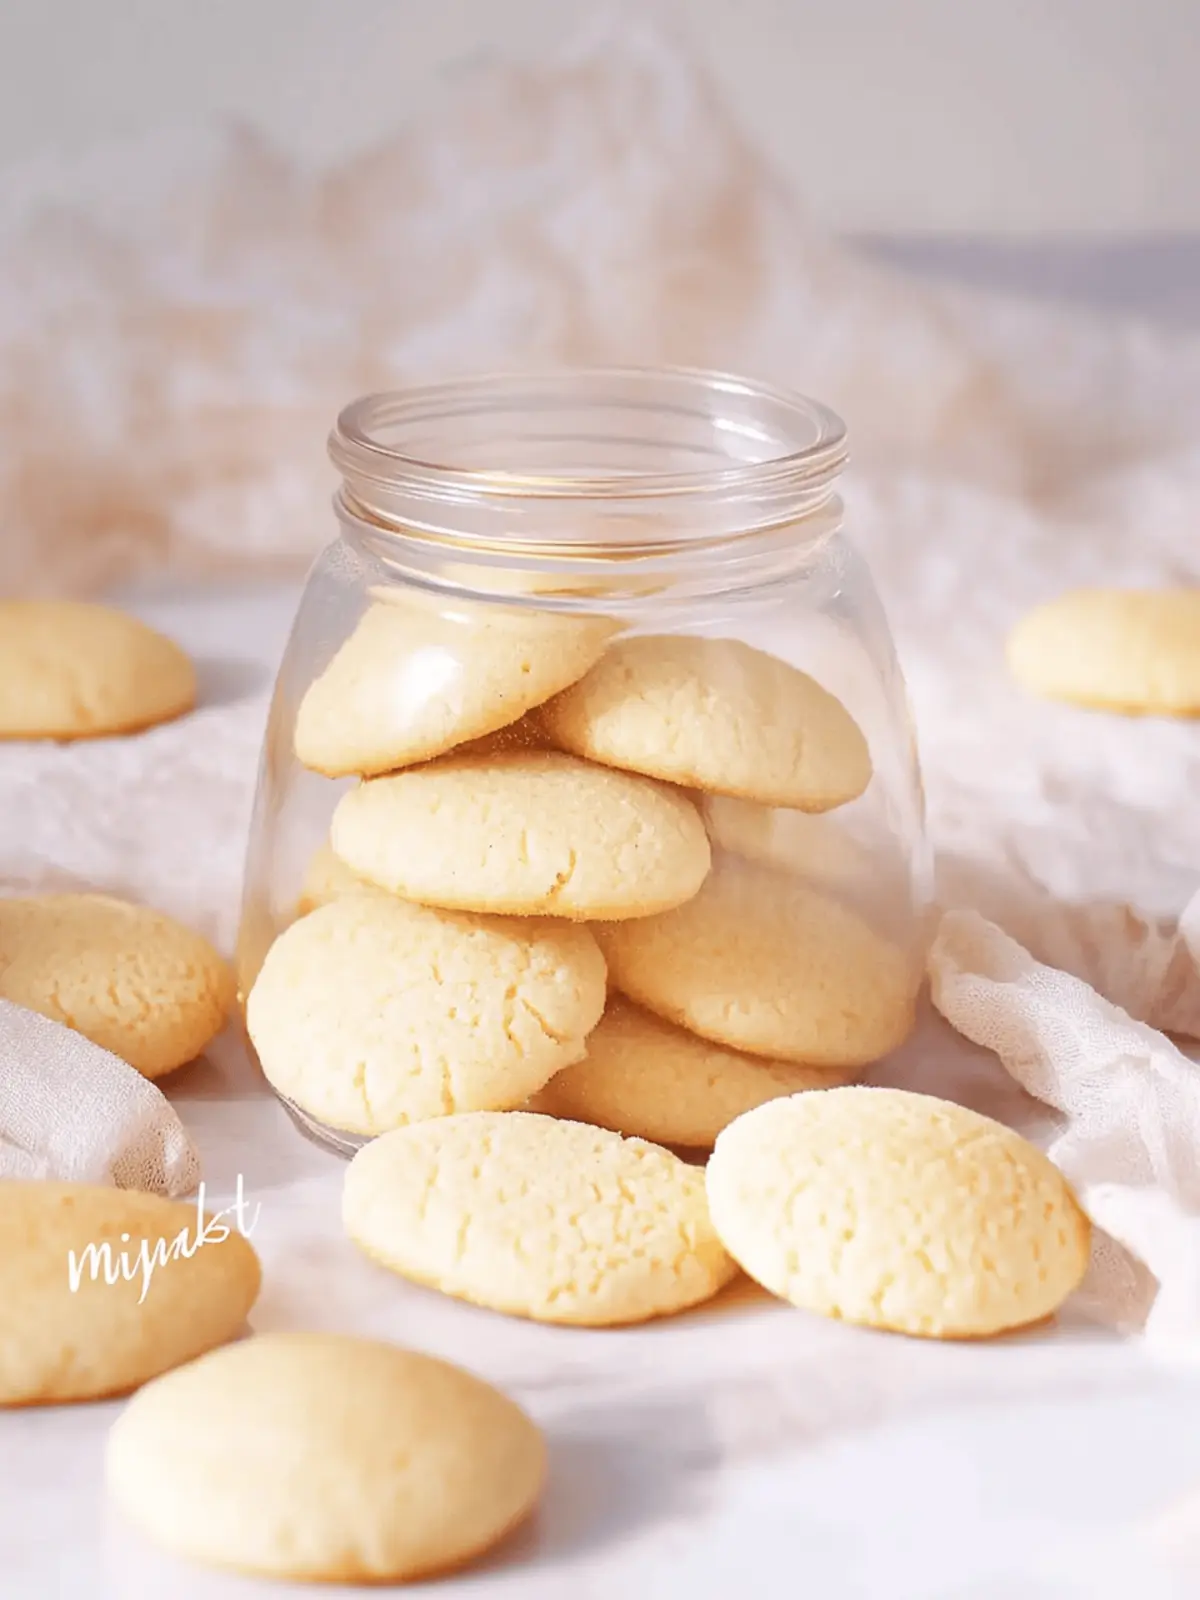
Delightful Vegan Nilla Wafers in Just 4 Simple Steps
Ingredients
Equipment
Method
- Preheat your oven to 350°F (175°C).
- Cream the slightly softened vegan butter with sifted confectioners sugar in a mixing bowl until smooth.
- Mix in the sifted all-purpose flour and salt gradually, stirring until a soft dough forms.
- Incorporate the vanilla extract and mix until the dough comes together nicely.
- Scoop the dough using a #100 cookie scoop onto a parchment-lined baking sheet, flattening each scoop into discs.
- Bake for 12-15 minutes, keeping an eye on them until the edges turn golden brown.

