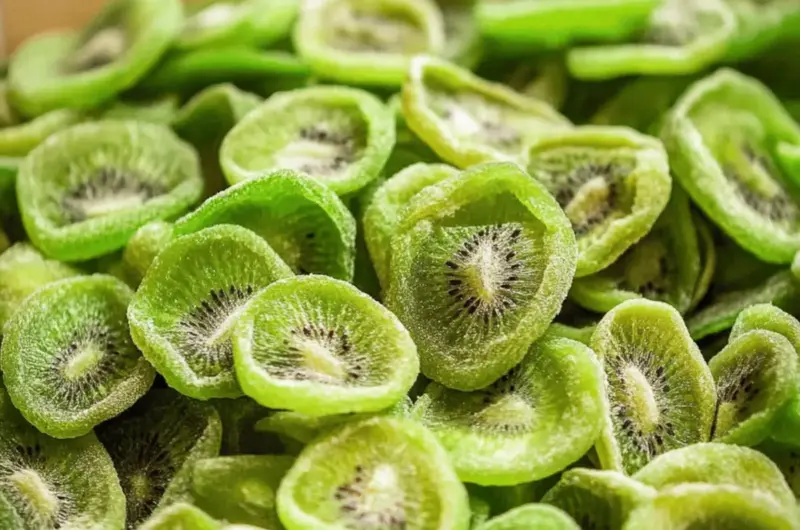
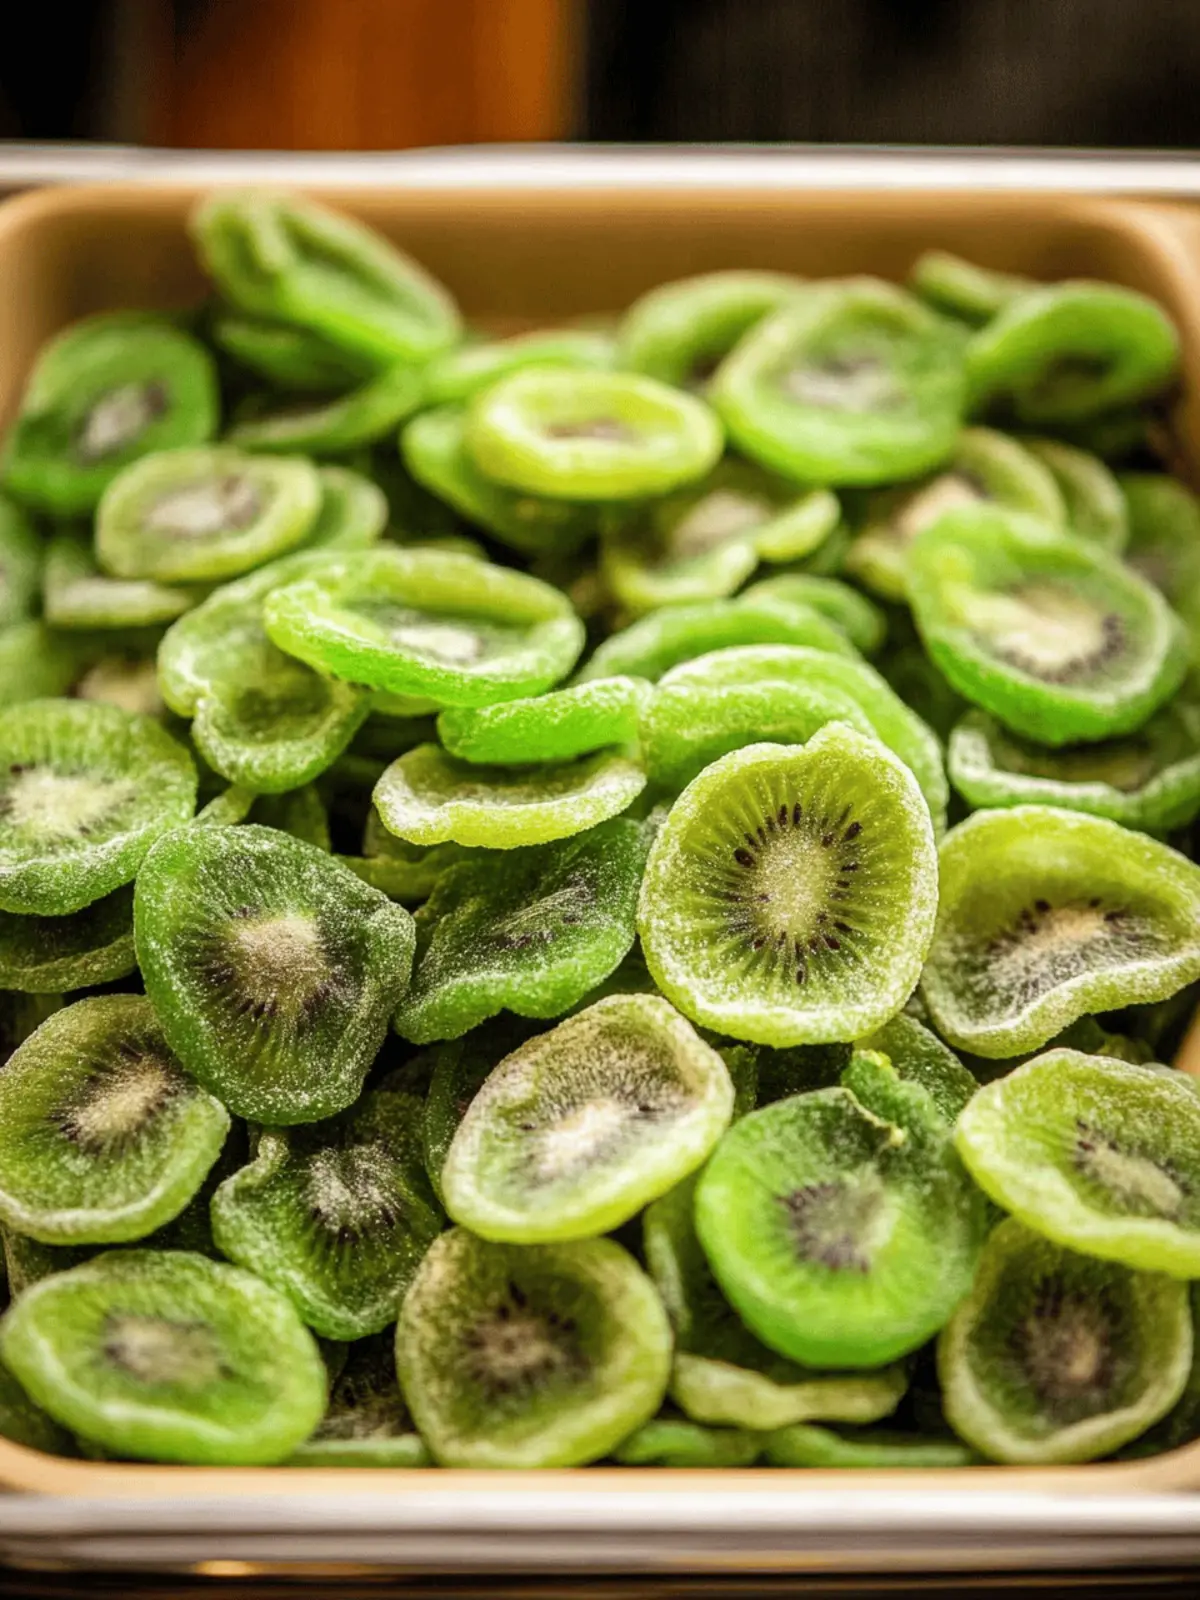
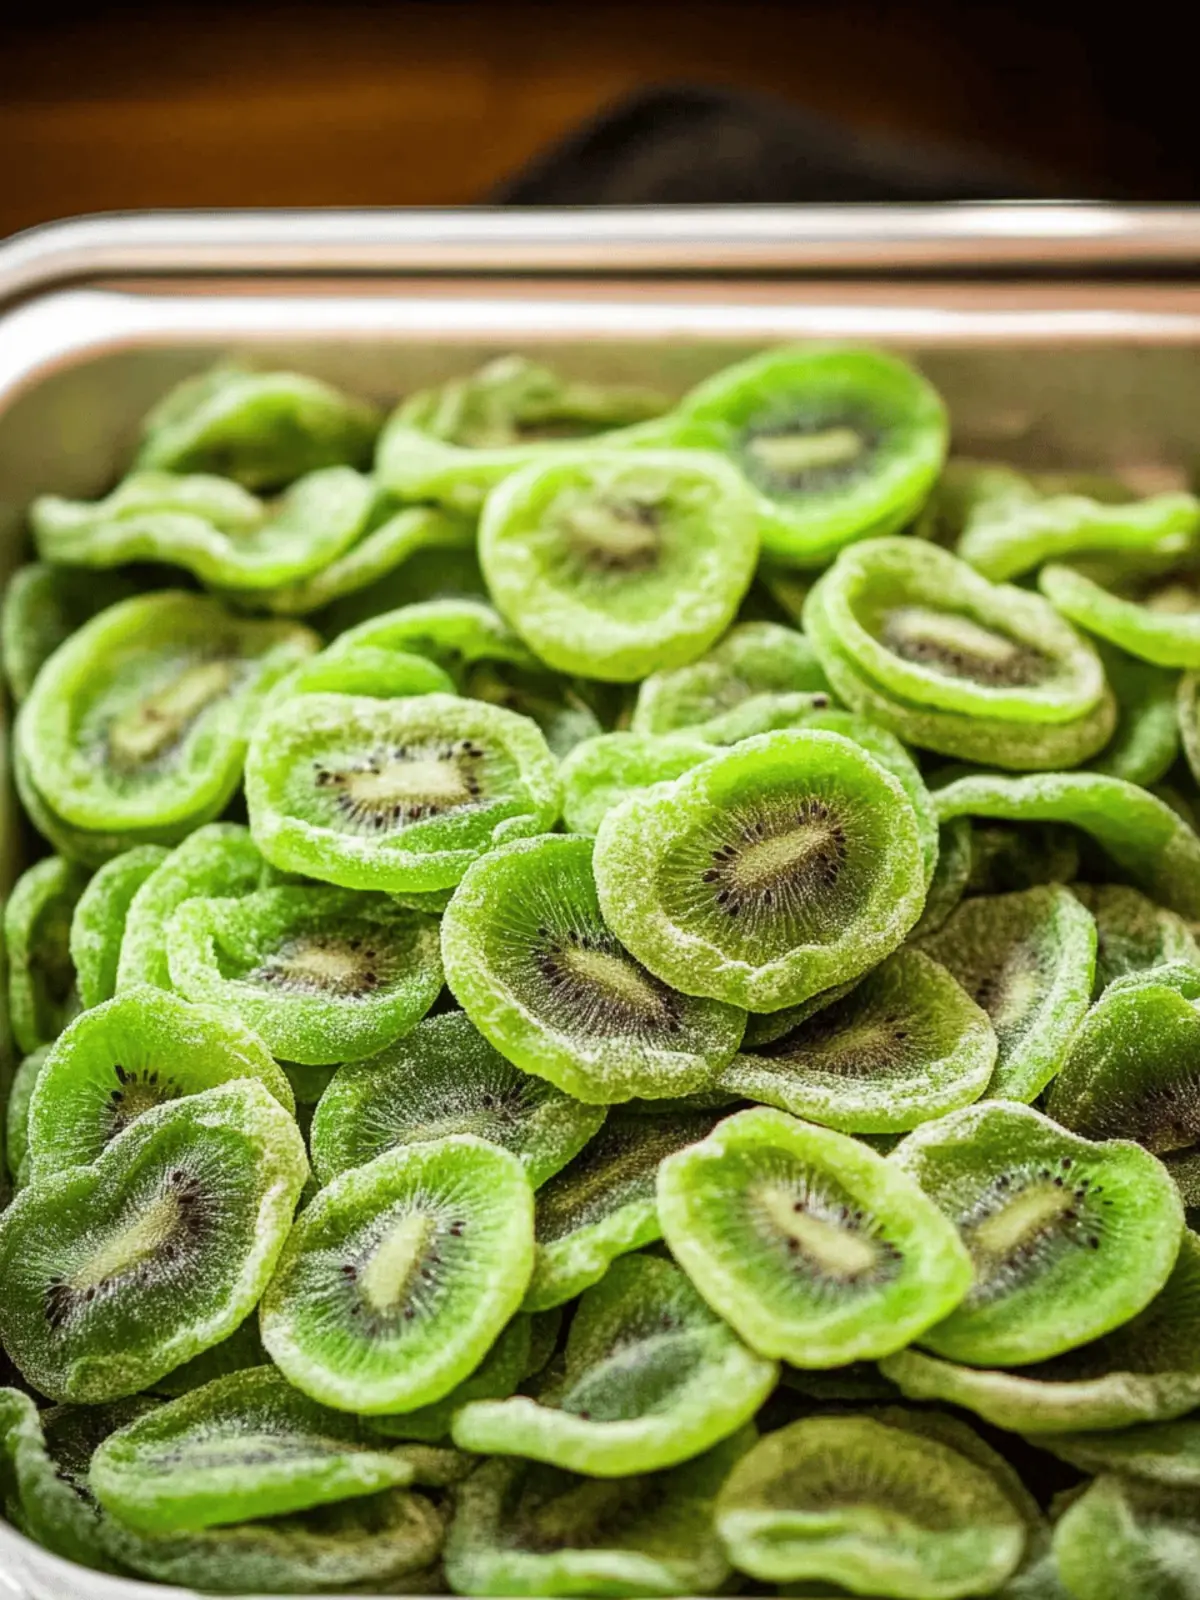
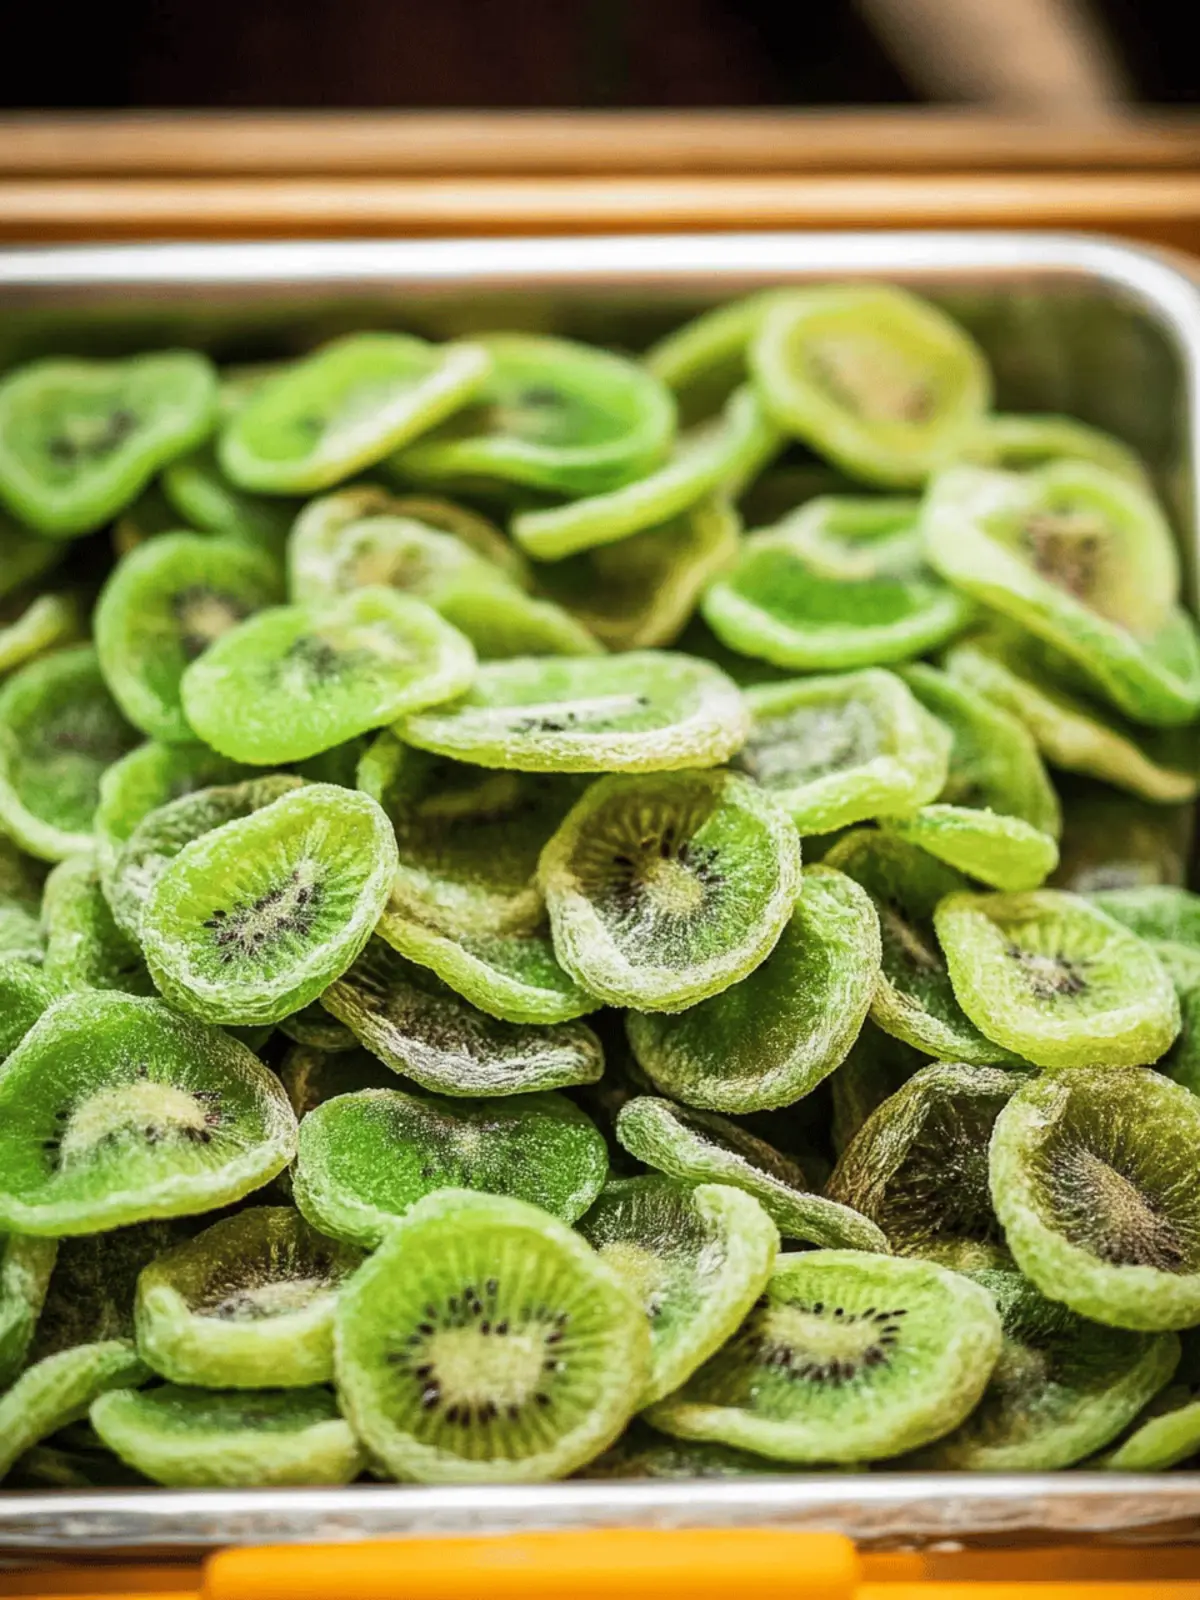
There’s an undeniable charm in the kitchen when summer’s vibrant fruits come into play. The first time I sliced into a ripe kiwi, the bright green color and the delightful sweetness instantly transported me to sun-soaked afternoons. It’s easy to fall into the trap of fast food for a quick snack, but when I discovered how simple and satisfying it is to make Dried Kiwi Slices at home, my kitchen routine took a delicious turn.
Picture this: you can transform fresh kiwis into a chewy, sweet treat that’s perfect for munching on during a busy workday or enjoying as a guilt-free dessert. Whether you’re looking to impress guests with a homemade snack or simply yearning for that perfect grab-and-go option, this recipe ticks all the boxes. Plus, with just a few ripe kiwis and a touch of lemon juice, you can create a delightful, nutritious alternative that even the pickiest eaters will love.
Get ready to fill your kitchen with the tantalizing scent of sun-dried goodness as we dive into this easy and rewarding recipe for Dried Kiwi Slices!
Why Will You Love Dried Kiwi Slices?
Homemade Delight: These Dried Kiwi Slices bring a taste of summer to your home all year round.
Effortless Process: With just 10 minutes of prep, you can let the dehydrator or oven do the magic.
Nutritious Snacking: Low in calories and high in flavor, they make for an excellent healthy alternative.
Versatile Treat: Enjoy them as a snack, in salads, or even on top of yogurt!
Crowd-Pleaser: Kids and adults alike will be enchanted by their chewy texture and sweet-tart flavor.
Perfectly Preserved: Adding lemon juice not only enhances flavor but helps keep your slices vibrant!
Dried Kiwi Slices Ingredients
For the Kiwi Slices
- 5-6 ripe kiwis – Choose kiwis that are slightly soft to the touch for the sweetest flavor.
- Optional: lemon juice – A splash of lemon juice enhances flavor and helps preserve the vibrant color of your Dried Kiwi Slices.
How to Make Dried Kiwi Slices
-
Peel the Kiwis: Start by carefully peeling each kiwi. The vibrant green flesh will be your treasure! Slice them into even 1/4-inch rounds for consistent drying.
-
Brush with Lemon Juice: To add a zesty twist, lightly brush each slice with lemon juice. This step not only enhances flavor but also keeps your kiwi slices from browning.
-
Arrange on Tray: Place the kiwi rounds on a dehydrator tray or a baking sheet lined with parchment paper. Make sure there’s space between each slice; they need room to breathe!
-
Set the Dehydrator: For the dehydrator, set it to 135°F (57°C) and let those slices dry for about 4-6 hours. Keep an eye on them until they reach a chewy texture.
-
Prepare the Oven: If using an oven, preheat it to the lowest setting (around 140°F to 170°F). Place the baking sheet inside and prop the door open slightly to allow moisture to escape.
-
Dry in the Oven: Let them dry in the oven for 4-6 hours, being sure to flip the slices halfway through for even drying.
-
Check for Doneness: Your Dried Kiwi Slices are ready when they’re chewy and no moisture remains when pressed. Allow them to cool completely before storing in an airtight container.
Optional: For an extra flavor boost, try sprinkling a hint of cinnamon before drying!
Exact quantities are listed in the recipe card below.
Make Ahead Options
These Dried Kiwi Slices are perfect for meal prep enthusiasts looking to save time during busy weeknights! You can peel and slice the kiwis up to 24 hours in advance and store them in an airtight container in the refrigerator to maintain freshness. If you’re adding lemon juice, do so just before drying to keep the flavor vibrant. When you’re ready to enjoy your homemade treat, simply follow the steps for drying either in a dehydrator or oven. With a little planning, you can have delicious, chewy Dried Kiwi Slices ready to enjoy, ensuring that snacking is a breeze!
Dried Kiwi Slices Variations & Substitutions
Feel free to get creative and customize your Dried Kiwi Slices with these delightful twists!
-
Spicy Kick: Add a sprinkle of chili powder or cayenne pepper to your lemon juice before brushing on the slices for a sweet and spicy surprise.
-
Tropical Blend: Combine kiwi with other fruits like mango or pineapple, slicing them the same way for a fruity medley. The different colors will make your dried snacks even more visually appealing!
-
Chocolate Drizzle: After drying, drizzle melted dark chocolate over the cooled kiwi slices for a decadent treat. This will create a lovely flavor contrast that chocolate lovers will adore!
-
Herbal Infusion: Brush with a mix of lemon juice and finely chopped fresh mint or basil for a refreshing and unique twist. The herbal notes paired with the sweet kiwi will elevate your snacking experience.
-
Nutty Crunch: Top the dried slices with a handful of chopped nuts before drying for added texture and protein. Almonds or walnuts provide a delicious crunch that complements the chewiness of the kiwi.
-
Cinnamon Sugar: Mix cinnamon and a touch of sugar and lightly sprinkle it on the lemon-brushed slices before drying for a warm, cozy flavor. It’s like autumn in every bite!
-
Zesty Orange: Substitute lemon juice with fresh orange juice for a different citrusy flavor. The sweet zest of the orange will bring a new level of brightness to your dried bites.
-
Maple Glaze: For a sweeter touch, add a drizzle of maple syrup over the kiwis before drying. This will create a caramelized effect that is simply irresistible!
There’s no limit to how you can enjoy your Dried Kiwi Slices! Let your imagination run wild and tailor them to your taste buds.
Expert Tips for Dried Kiwi Slices
- Select Ripe Kiwis: Pick kiwis that yield slightly to pressure for the sweetest flavor and optimal drying. Overripe kiwis may result in mushy slices.
- Uniform Slicing: Ensure all slices are cut to 1/4-inch thickness. This helps them dry evenly and prevents any inconsistencies in texture.
- Avoid Browning: Brush with lemon juice promptly and generously. It not only flavors but also preserves the vibrant color of your Dried Kiwi Slices.
- Drying Time Check: Keep an eye on your slices during the drying process. If they feel too moist after the recommended time, continue drying in small increments.
- Cooling is Key: Let the dried slices cool completely before sealing them in an airtight container. This helps maintain their chewy texture and prevents condensation.
How to Store and Freeze Dried Kiwi Slices
Room Temperature: Store your Dried Kiwi Slices in an airtight container at room temperature for up to 1 month for optimal freshness.
Fridge: For longer-lasting freshness, keep the airtight container in the fridge, where they can last up to 3 months without losing flavor.
Freezer: For extended storage, freeze your Dried Kiwi Slices in a freezer-safe bag or container for up to 6 months. Thaw before enjoying!
Reheating: There’s no need to heat these slices, but if you prefer a softer texture, try placing them in warm water for a few minutes before snacking!
What to Serve with Dried Kiwi Slices?
Picture a sun-drenched afternoon where the sweetness of homemade snacks takes center stage, making you feel like a culinary artist.
-
Yogurt Parfait: Layering Dried Kiwi Slices with creamy yogurt and granola creates a delightful breakfast or snack that’s both nutritious and visually appealing. The tanginess of yogurt beautifully balances the chewy sweetness of the kiwis.
-
Cheese Platter: Serve your Dried Kiwi Slices alongside a selection of cheese like brie or goat cheese. The sweet-tart flavor complements the creamy textures, making for an elegant appetizer.
-
Salads: Toss Dried Kiwi Slices into a mixed green salad for an unexpected pop of flavor. Pairing sweet and chewy slices with crunchy nuts and a tangy dressing elevates your salad game!
-
Trail Mix: Combine your Dried Kiwi Slices with nuts, seeds, and dark chocolate for a homemade trail mix. This combination offers a fantastic burst of flavor and energy for on-the-go snacking.
-
Oatmeal Topping: Sprinkle Dried Kiwi Slices over your morning oatmeal for a fruity twist. The texture adds a lovely contrast, while the natural sweetness enhances your meal without added sugar.
-
Smoothie Bowl: Blend your favorite fruits and add Dried Kiwi Slices on top for a smoothie bowl that’s as pretty as it is tasty. It’s a fun way to incorporate more fruit into your diet!
Dried Kiwi Slices Recipe FAQs
How do I select ripe kiwis for making Dried Kiwi Slices?
Absolutely! When selecting kiwis, look for ones that yield slightly to gentle pressure. This indicates they’re ripe and bursting with sweetness. Avoid overly soft or mushy kiwis, as they may result in less-than-ideal texture and drying.
What’s the best way to store Dried Kiwi Slices?
For optimal freshness, store your Dried Kiwi Slices in an airtight container at room temperature for up to 1 month. If you’d like them to last even longer, keeping them in the fridge extends their shelf life to about 3 months without sacrificing flavor.
Can I freeze Dried Kiwi Slices? How?
Very! To freeze Dried Kiwi Slices, first allow them to cool completely after drying. Then, place them in a freezer-safe bag or a container, removing as much air as possible. They can last for up to 6 months in the freezer. When you’re ready to enjoy, simply thaw them at room temperature, and they’re good to go!
What’s the best way to avoid browning when making Dried Kiwi Slices?
Incorporating lemon juice is key! Lightly brush each slice with lemon juice immediately after cutting. This not only enhances the flavor but also helps keep the vibrant green color of your Dried Kiwi Slices intact by preventing oxidation.
What should I do if my Dried Kiwi Slices seem too moist after drying?
If you find your slices aren’t quite dried out enough after the designated time, don’t worry! Simply return them to your dehydrator or oven for additional drying. Check every 30 minutes to ensure they reach that perfect chewy texture without any moisture.
Can I give Dried Kiwi Slices to my pets?
It’s essential to be cautious! While kiwi fruit is generally safe for dogs in small amounts, it’s best to avoid giving them dried kiwi slices due to high sugar content and potential choking hazards. Always consult with a veterinarian before introducing new snacks into your pet’s diet.
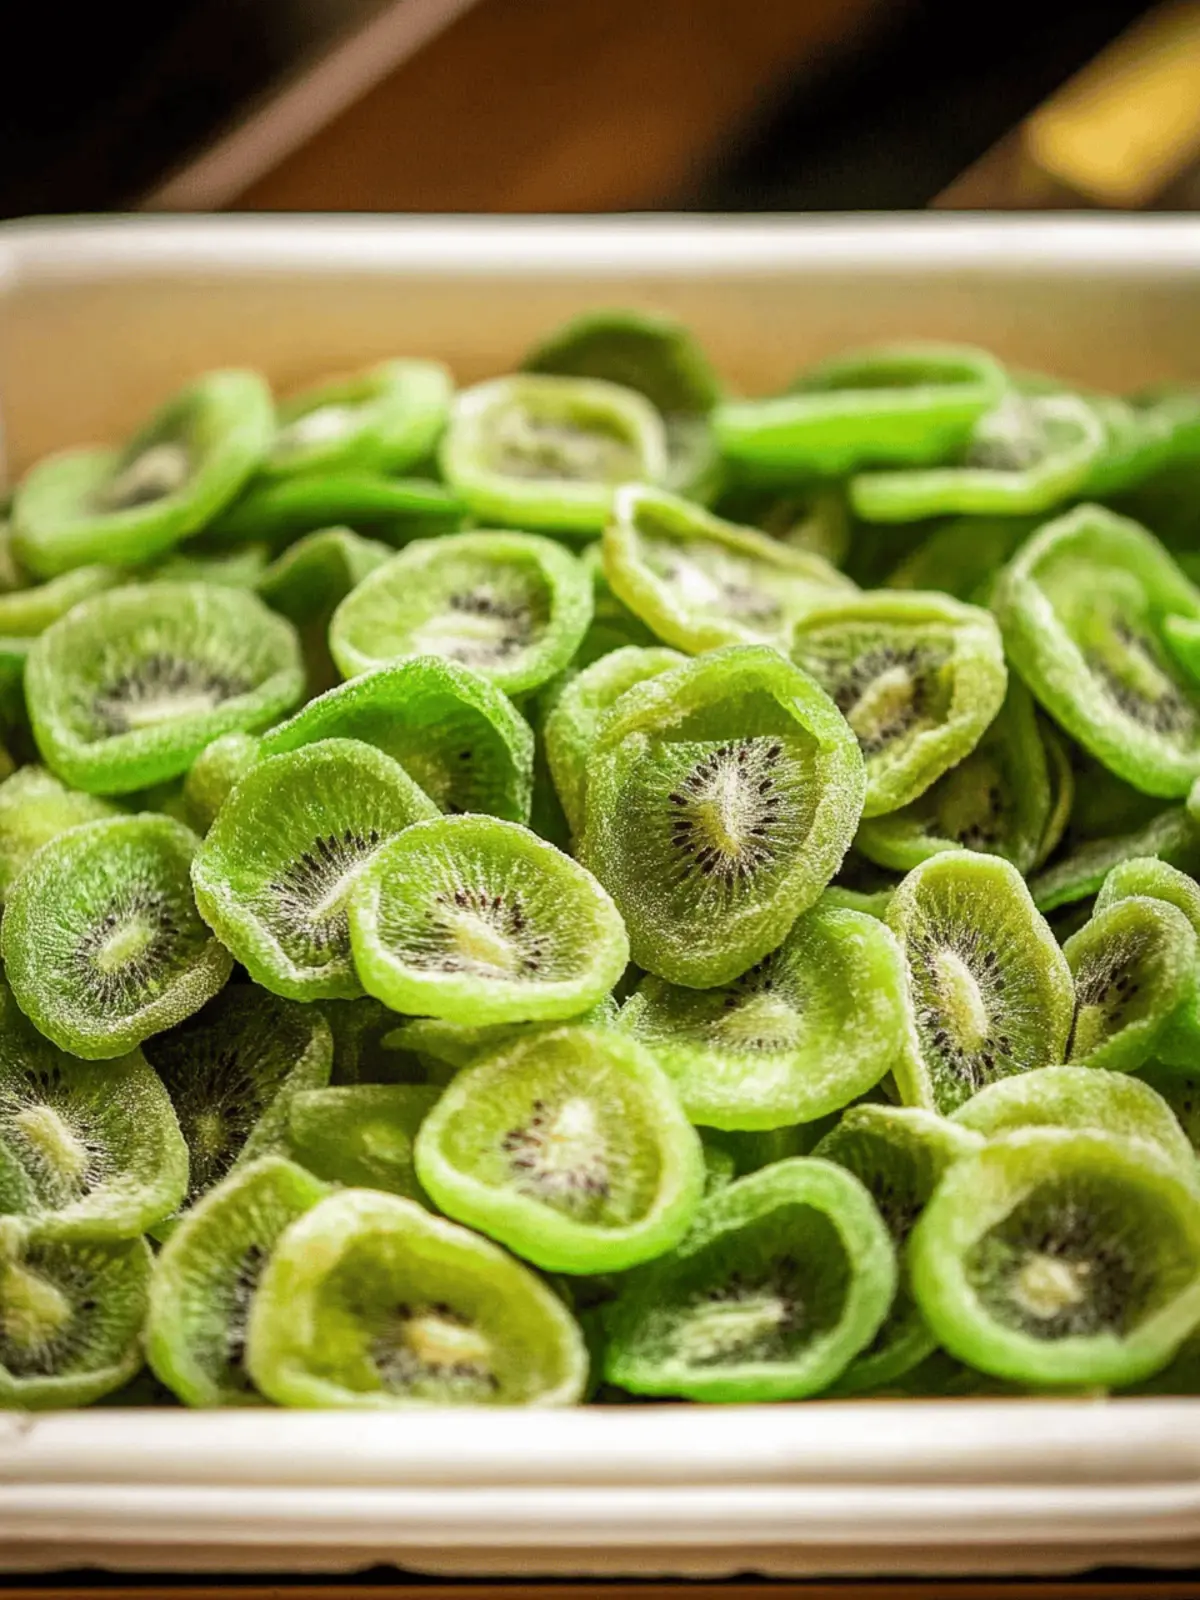
Deliciously Chewy Dried Kiwi Slices You’ll Crave
Ingredients
Equipment
Method
- Peel the Kiwis: Start by carefully peeling each kiwi. The vibrant green flesh will be your treasure! Slice them into even 1/4-inch rounds for consistent drying.
- Brush with Lemon Juice: To add a zesty twist, lightly brush each slice with lemon juice. This step not only enhances flavor but also keeps your kiwi slices from browning.
- Arrange on Tray: Place the kiwi rounds on a dehydrator tray or a baking sheet lined with parchment paper. Make sure there's space between each slice; they need room to breathe!
- Set the Dehydrator: For the dehydrator, set it to 135°F (57°C) and let those slices dry for about 4-6 hours. Keep an eye on them until they reach a chewy texture.
- Prepare the Oven: If using an oven, preheat it to the lowest setting (around 140°F to 170°F). Place the baking sheet inside and prop the door open slightly to allow moisture to escape.
- Dry in the Oven: Let them dry in the oven for 4-6 hours, being sure to flip the slices halfway through for even drying.
- Check for Doneness: Your Dried Kiwi Slices are ready when they’re chewy and no moisture remains when pressed. Allow them to cool completely before storing in an airtight container.

