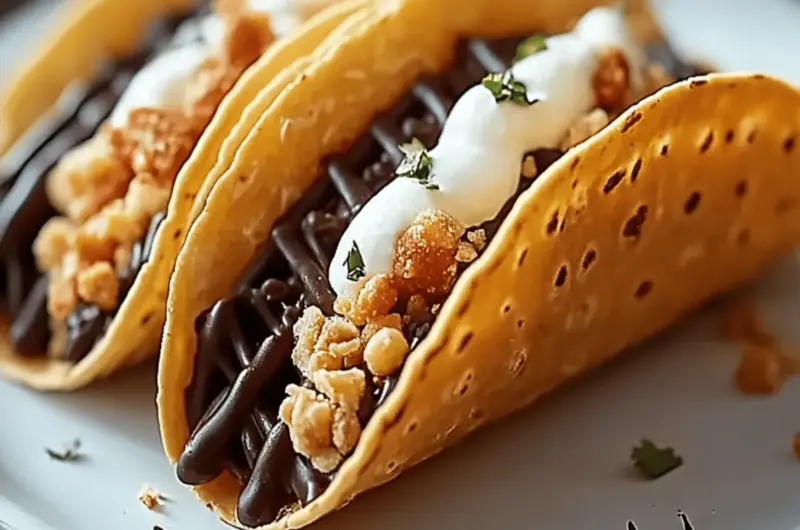
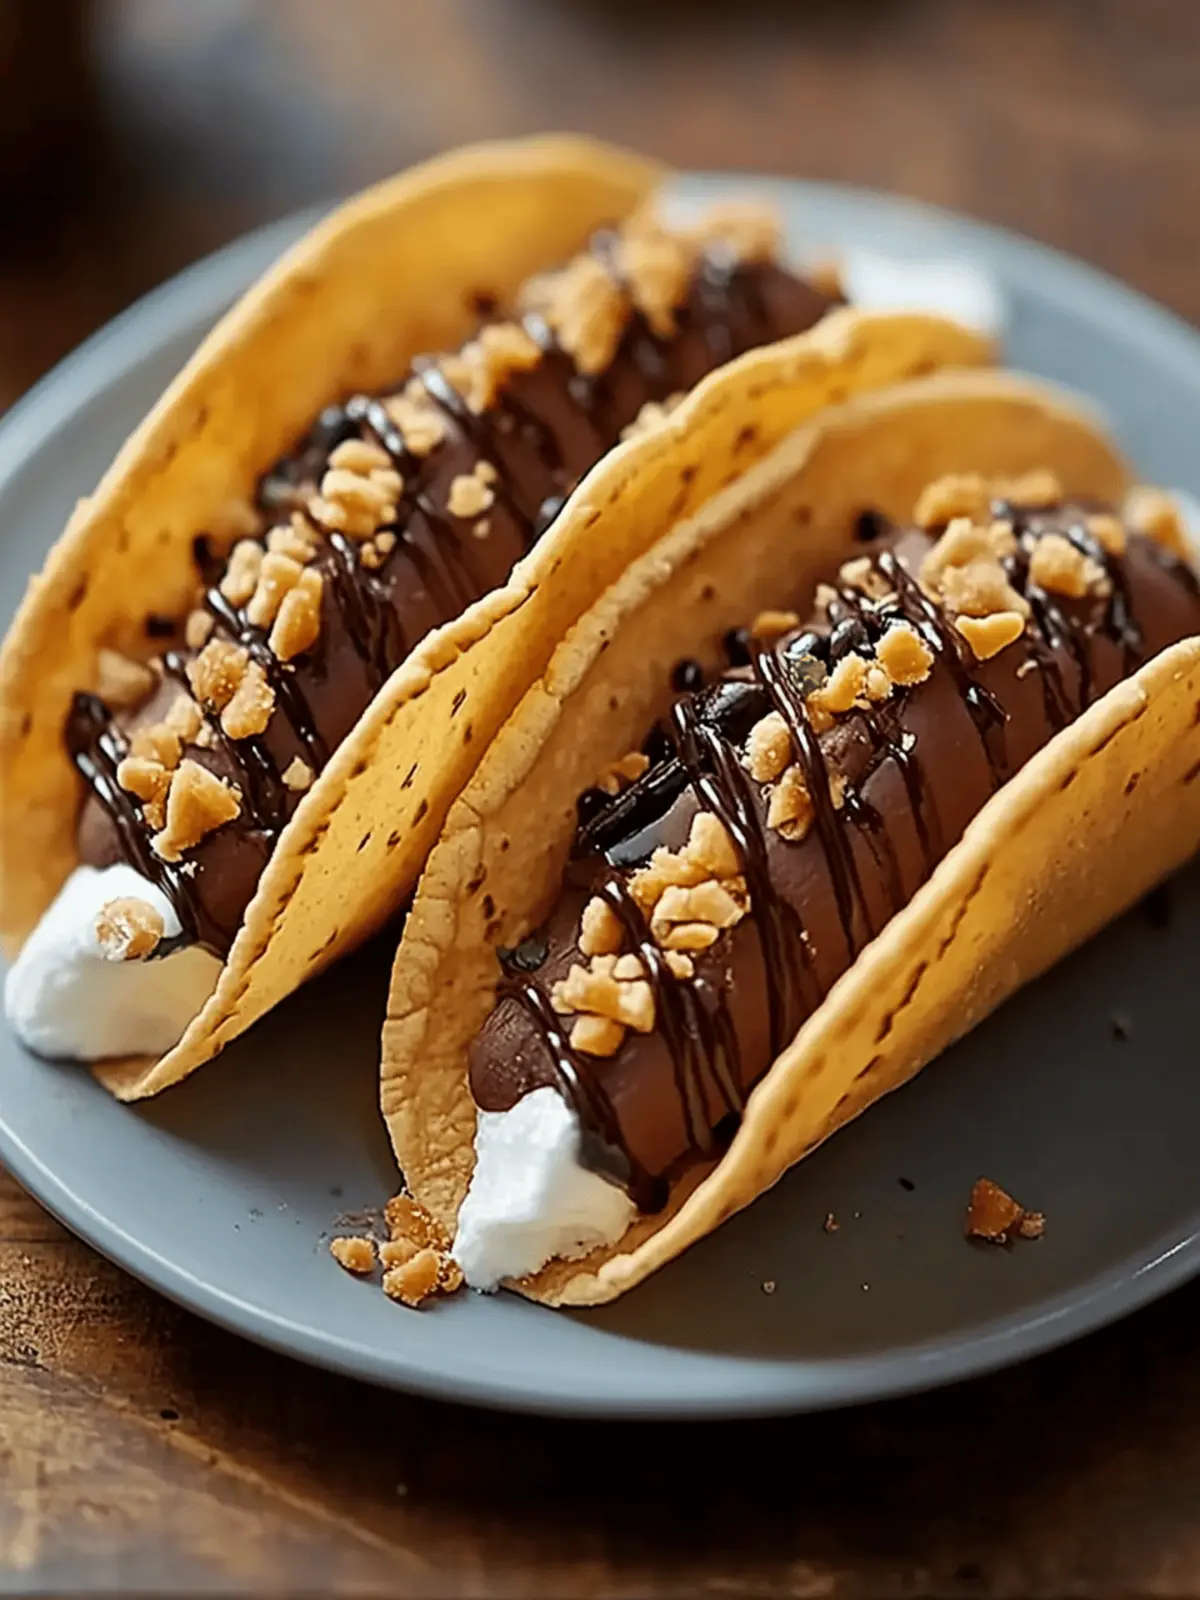
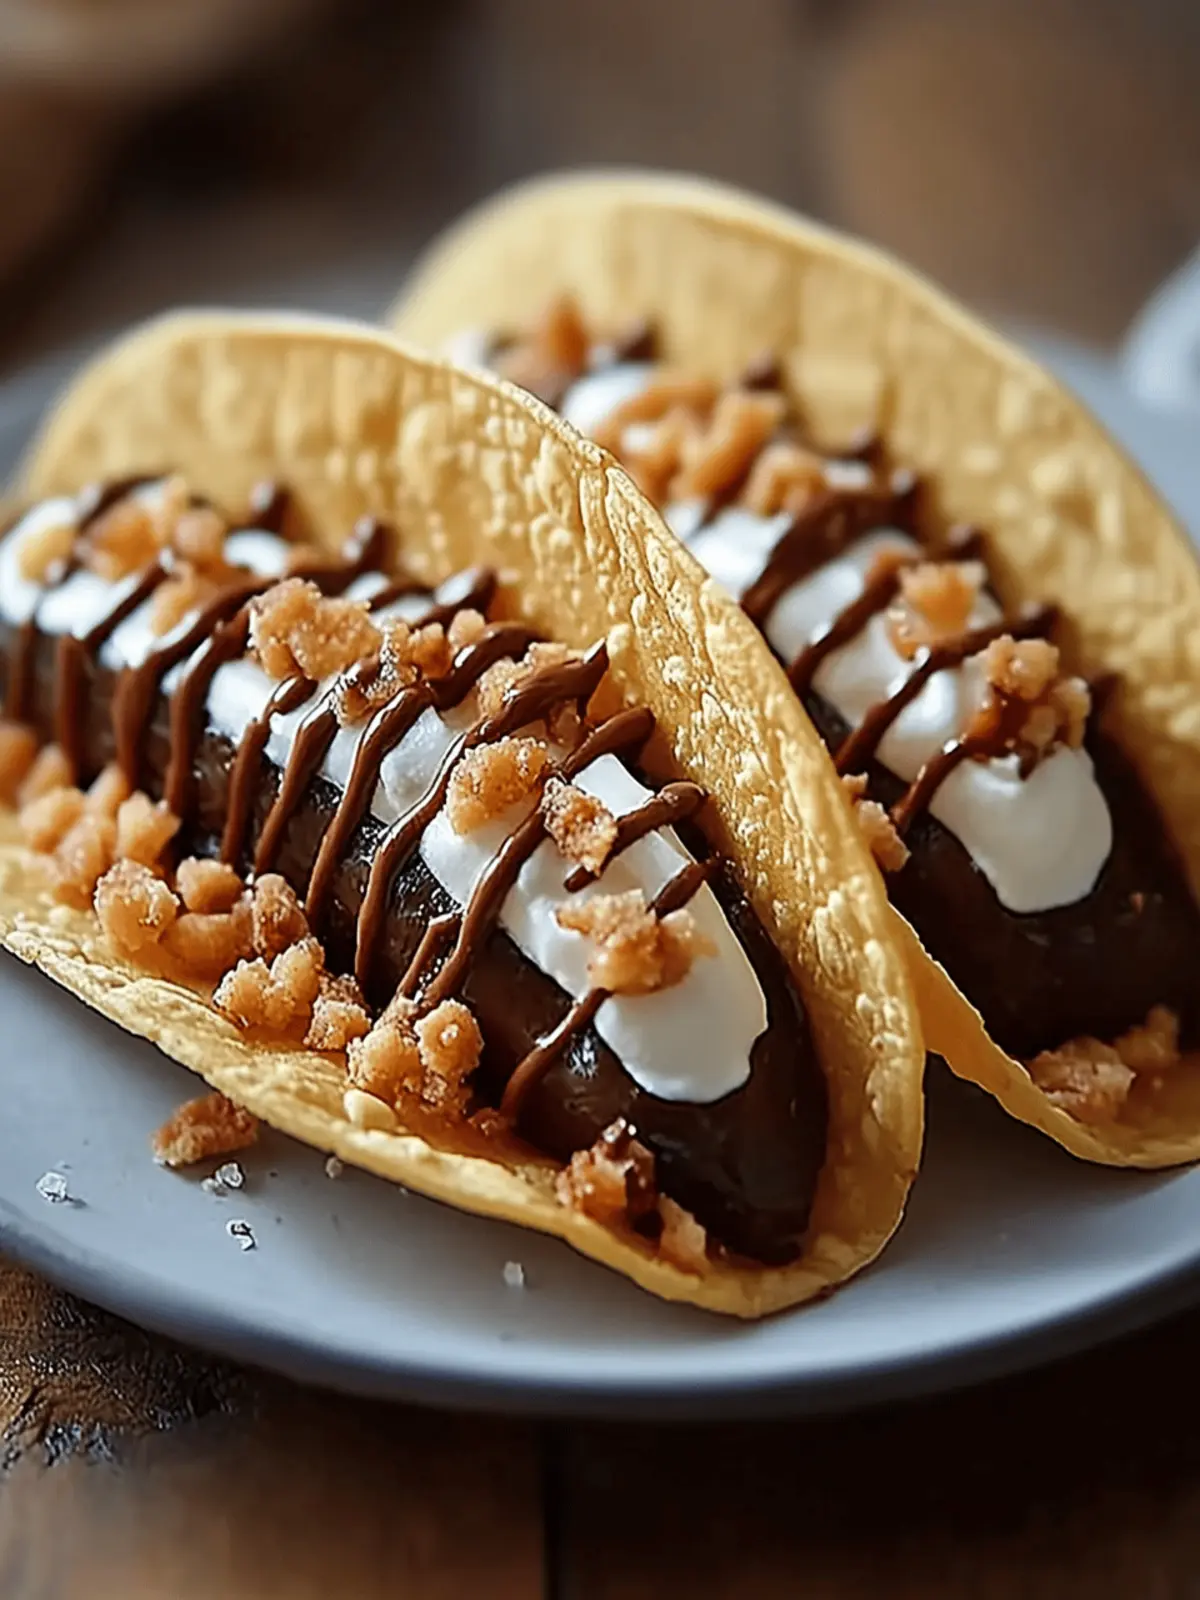
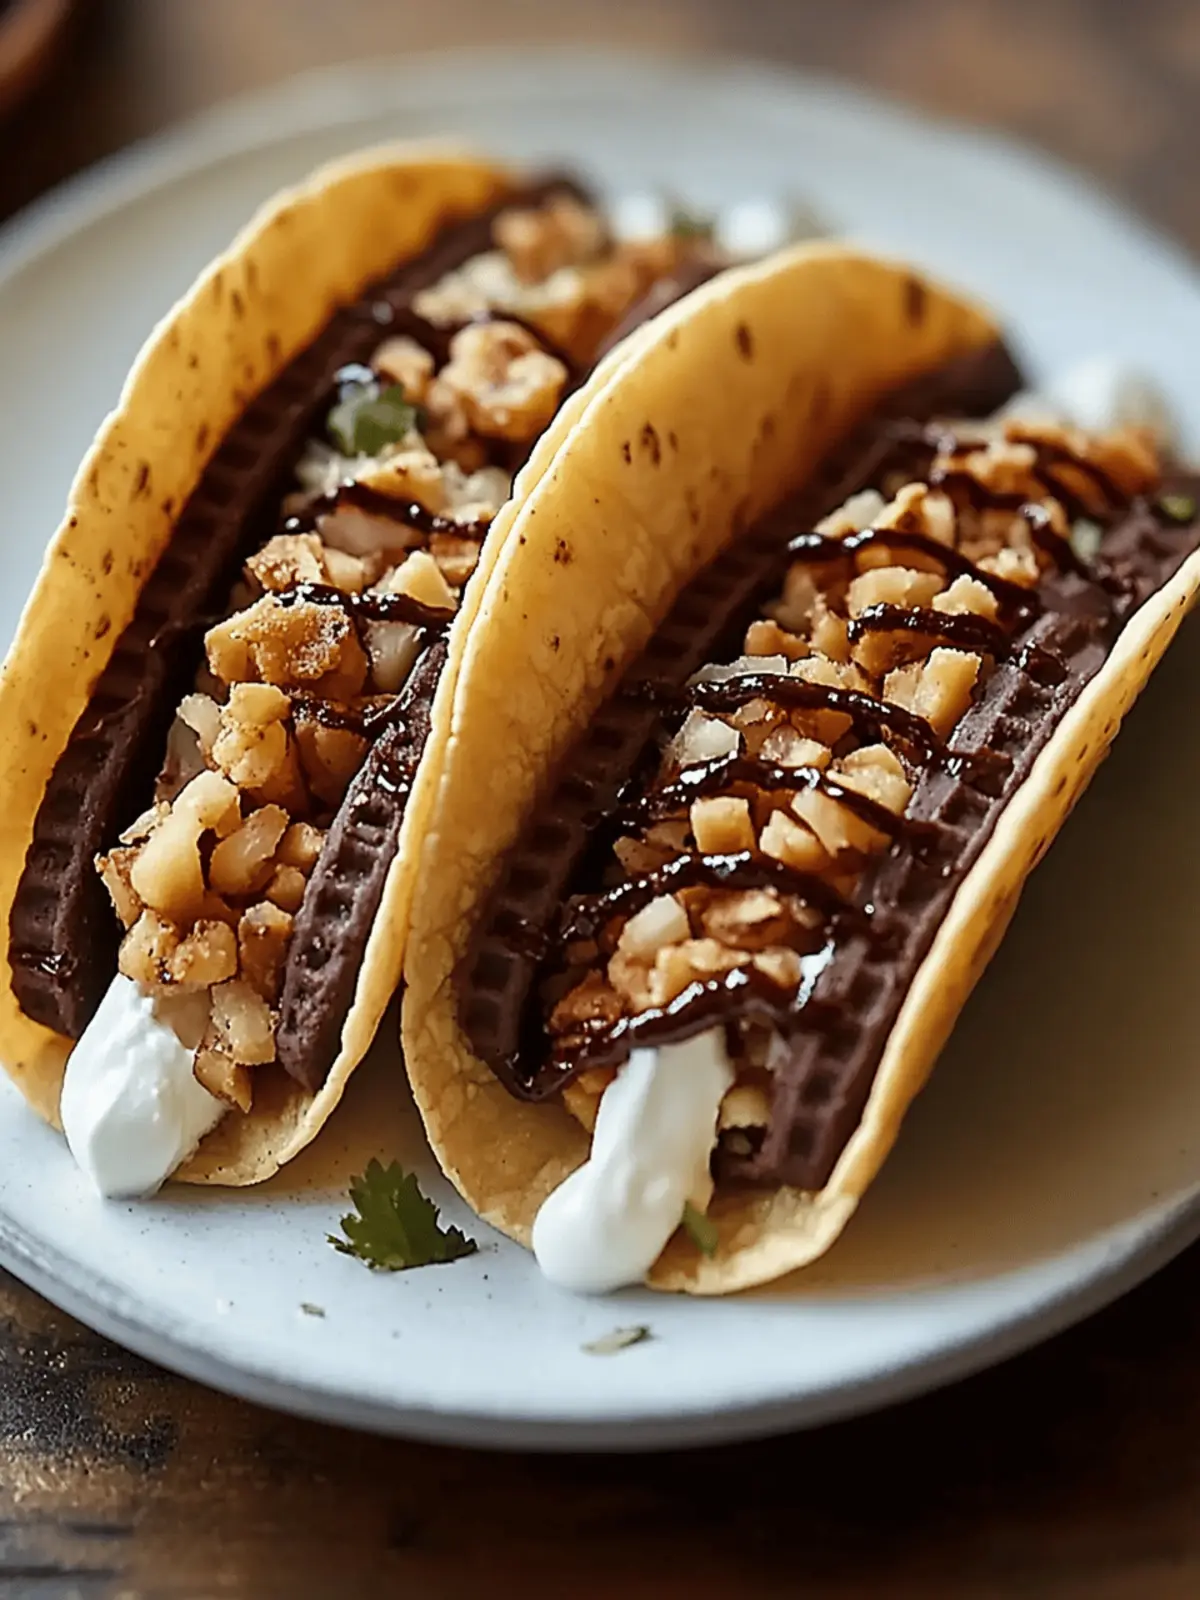
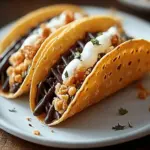
There’s just something about summer that calls for fun, cool treats, isn’t there? As the temperature rises and the sun shines a little brighter, my mind drifts back to those classic ice cream truck stops from childhood. This time, I’m not just reminiscing—I’m bringing that joy home with Homemade Choco Tacos! Imagine crispy waffle cones enveloping creamy ice cream, all dipped in rich chocolate and sprinkled with delightful toppings. It’s not just a dessert; it’s an experience, one that can easily transform your kitchen into a happy little ice cream parlor.
Whether you’re entertaining friends, gathering the kids for some kitchen fun, or simply indulging your sweet tooth, these choco tacos are an easy and customizable summer treat. Plus, you can play with flavors and toppings to make each batch uniquely yours! So, let’s scoop, dip, and create a memory that’s not just delicious but also brings a sprinkle of magic to your summertime gatherings.
Why are Homemade Choco Tacos a must-try?
Endless customizability: Create a unique twist on this nostalgic treat by experimenting with your favorite ice cream flavors and toppings!
Fun for everyone: Perfect for kids and adults alike, they make any gathering feel like a special occasion.
Simple to make: This easy recipe allows you to whip up a batch without the hassle, making it ideal for impromptu summer gatherings.
Crowd-pleaser: Whether at a barbecue or family party, these tacos are sure to bring smiles and joy to your table.
No bake, no problem: Forget about complicated desserts—these delightful choco tacos are as easy as 1-2-3!
Chill & thrill: Freeze them for later, and you’ll always have a refreshing treat ready to enjoy!
Homemade Choco Taco Ingredients
Get ready to scoop up some joy!
For the Waffle Shells
- Flour – Provides structure to the taco shell; all-purpose is great, but whole wheat can add a nutty flavor.
- Sugar – Adds sweetness to the waffle; adjust the amount based on your sweetness preference.
- Eggs – Binds the ingredients and adds richness; large eggs work best for a perfect texture.
- Milk – Provides moisture; feel free to use any milk type you prefer.
- Vanilla Extract – Enhances the flavor; optional for those who want a more subtle sweetness.
For the Filling
- Ice Cream – The star of the show, choose a firmer flavor like vanilla or cookies & cream to hold shape well.
For the Chocolate Coating
- Chocolate Chips – For dipping the tacos; mix it up with dark, white chocolate, or even caramel for a unique twist.
For the Toppings
- Sprinkles – Add a burst of color and crunch!
- Crushed Nuts – Provide a delightful crunch; try almonds or peanuts for an extra kick.
- Coconut Flakes – Bring a tropical vibe and texture to your choco tacos.
Embrace the fun as you create these Homemade Choco Tacos, and remember, the possibilities are endless!
How to Make Homemade Choco Tacos
-
Prepare the Waffle Batter: In a mixing bowl, combine flour, sugar, eggs, milk, and vanilla extract until smooth. The batter should be thick yet pourable—think of a pancake consistency!
-
Cook Waffles: Heat a non-stick pan over medium temperature. Pour a small amount of batter to create thin pancakes, cooking them until golden brown on both sides. This should take about 2-3 minutes per side.
-
Shape Waffle Shells: While the waffles are still warm, gently fold each pancake into a taco shape. Set them aside to cool completely, allowing them to hold their shape while filling.
-
Fill with Ice Cream: Once cooled, scoop your favorite ice cream into the taco shells, filling them generously but ensuring they won’t overflow.
-
Dip in Chocolate: Melt the chocolate chips in a microwave-safe bowl, stirring until smooth. Dip each filled taco shell into the chocolate, allowing excess to drip off before placing them on a sheet of parchment paper.
-
Freeze: After dipping, sprinkle your selected toppings over the chocolate while it’s still wet. Freeze the assembled choco tacos in an airtight container for at least one hour before serving.
Optional: Drizzle with caramel sauce for an extra touch of sweetness!
Exact quantities are listed in the recipe card below.
Homemade Choco Tacos Variations
Feel free to let your creativity shine by personalizing these delightful choco tacos with various flavors and textures!
-
Fruit Toppings: Add seasonal fruits like sliced strawberries or bananas for a fresh and fruity twist. Their natural sweetness complements the chocolate perfectly!
-
Nutty Crunch: Swap sprinkles for crushed nuts such as almonds or peanuts to introduce a satisfying crunch, giving each bite a delightful texture contrast.
-
Chocolate Coating Options: Try different types of chocolate for dipping—dark, white, or even caramel—each offers a unique flavor profile that elevates your choco tacos.
-
Ice Cream Flavors: Experiment with ice cream, like mint chocolate chip or salted caramel, for exciting flavor combinations that surprise your taste buds!
-
Spiced Waffle Shells: Add a dash of cinnamon or nutmeg to the waffle batter for a subtly spiced shell, warming up the overall flavor of your dessert.
-
Drizzled Sauces: Lightly drizzle caramel or chocolate sauce over the assembled tacos for an extra touch of indulgence. It adds rich, sweet notes that are simply irresistible.
-
Vegan Version: Use vegan ice cream and substitute milk with almond or coconut milk in the batter for a delicious plant-based option that everyone can enjoy.
-
Mini Choco Tacos: Create bite-sized versions of the choco tacos for fun finger foods at parties. They’re perfect for sharing and make for an enticing presentation!
Every variation brings its own charm, so mix and match until you find your perfect Homemade Choco Tacos creation!
What to Serve with Homemade Choco Tacos?
Elevate your fun desserts with delightful side pairings that enchant the palate and complete your meal.
- Fresh Berries: Juicy strawberries or raspberries add a tart contrast that harmonizes beautifully with the sweetness of the choco tacos.
- Whipped Cream: Fluffy and light, a dollop of whipped cream brings an airy texture that complements the richness of the chocolate and ice cream.
- Chocolate Drizzle: For those who truly love decadence, a drizzle of melted chocolate can turn your choco tacos into a show-stopping dessert experience.
- Nutty Ice Cream Options: Choose flavors like pistachio or almond to introduce nutty undertones that pair wonderfully with the crunchy taco shell.
- Coconut Sorbet: A refreshing sorbet will cleanse the palate after each sweet bite, adding a tropical twist perfect for warm summer days.
- Chilled Lemonade: Sip on a glass of vibrant lemonade to balance the sweetness with a zesty kick, making every bite of the choco taco even more enjoyable.
- Mini Fruit Skewers: Bright, colorful skewers of melon, pineapple, and kiwi add a fun and refreshing element to your dessert spread.
- Ice Cream Floats: Complement your choco tacos with a classic float, pairing your favorite soda or seltzer with a scoop of ice cream for bubbly bliss.
- Chocolate Milkshake: A rich and creamy shake takes the dessert experience to the next level, inviting indulgence onto your table.
Make Ahead Options
These Homemade Choco Tacos are a fantastic choice for busy home cooks looking to save time! You can prepare the waffle shells up to 24 hours in advance; just cook them, shape them into tacos, and store them in an airtight container at room temperature. The ice cream filling can be scooped and frozen in each taco shell up to 3 days before serving for optimal freshness. To finish, simply dip the frozen tacos in melted chocolate and add your favorite toppings right before enjoying. This way, you ensure a delicious treat that maintains its crispy texture and flavor, allowing you to serve up smiles without the last-minute rush!
How to Store and Freeze Homemade Choco Tacos
Fridge: Keep any leftover choco tacos in an airtight container for up to 3 days. Enjoy these delightful treats chilled, or let them come to room temperature for a short while.
Freezer: To preserve their freshness, freeze the assembled Homemade Choco Tacos in a single layer on a baking sheet for quick freezing, then transfer them to an airtight container. They can be stored for up to 2 weeks!
Reheating: For a quick serving, there’s no need to thaw. Simply enjoy them straight from the freezer for a cool, refreshing treat.
Serving Tips: For best quality, consume within the recommended timeframes to savor the delicious crunch of the taco shell and the creaminess of the ice cream.
Expert Tips for Homemade Choco Tacos
-
Thin Waffle Shells: Ensure you cook the waffles thinly to prevent them from cracking when you fold them into taco shapes.
-
Cool Completely: Allow the waffle shells to cool entirely before filling with ice cream; this helps maintain their structure and keeps them from getting soggy.
-
Choose Firm Ice Cream: Opt for firmer ice cream flavors like vanilla or cookies & cream for better stability when assembling your Homemade Choco Tacos.
-
Work Quickly: When dipping in chocolate, act fast. Warm ice cream can soften the shells, causing them to lose shape.
-
Crafty Toppings: Get creative with your toppings! Consider using seasonal fruits like strawberries or bananas for a refreshing twist.
Homemade Choco Tacos Recipe FAQs
What types of flour can I use for the waffle shells?
You can use all-purpose flour for a classic flavor, but if you want to add a bit of nuttiness, whole wheat flour is a great alternative. For a gluten-free option, consider using a 1:1 gluten-free flour mix—this works well too!
How do I store homemade choco tacos?
For the best freshness, keep any leftover choco tacos in an airtight container in the refrigerator for up to 3 days. If you want to store them long-term, place them in a single layer on a baking sheet in the freezer to quick freeze. Once solid, transfer them to an airtight container and they can last up to 2 weeks.
Can I freeze homemade choco tacos?
Absolutely! In fact, it’s highly recommended. After assembling and dipping them in chocolate, freeze the tacos for at least one hour in an airtight container. This helps preserve their crunchy texture and creamy filling, making them ready whenever you want a cool treat.
What should I do if my waffle shells crack?
If you find that your waffle shells are cracking, it may be due to cooking them too thick or undercooking them. Make sure to keep the waffles on the thinner side—about 1/8 inch thick works best. Also, let them cool completely before folding into the taco shape. If they still crack, try shaping them at a slightly warmer temperature to prevent them from breaking easily.
Can I use dairy-free alternatives in this recipe?
Yes, definitely! You can use plant-based milk (like almond, soy, or oat milk) and dairy-free ice cream to make your homemade choco tacos suitable for a dairy-free diet. Just make sure that the chocolate chips you choose are also dairy-free for the coating.
What toppings can I use for extra flavor?
The sky’s the limit with toppings! Besides sprinkles, crushed nuts, or coconut flakes, you might also try adding seasonal fruits like sliced strawberries or bananas. For a flavor boost, drizzles of caramel or chocolate syrup can add to the fun, creating an even more indulgent treat!
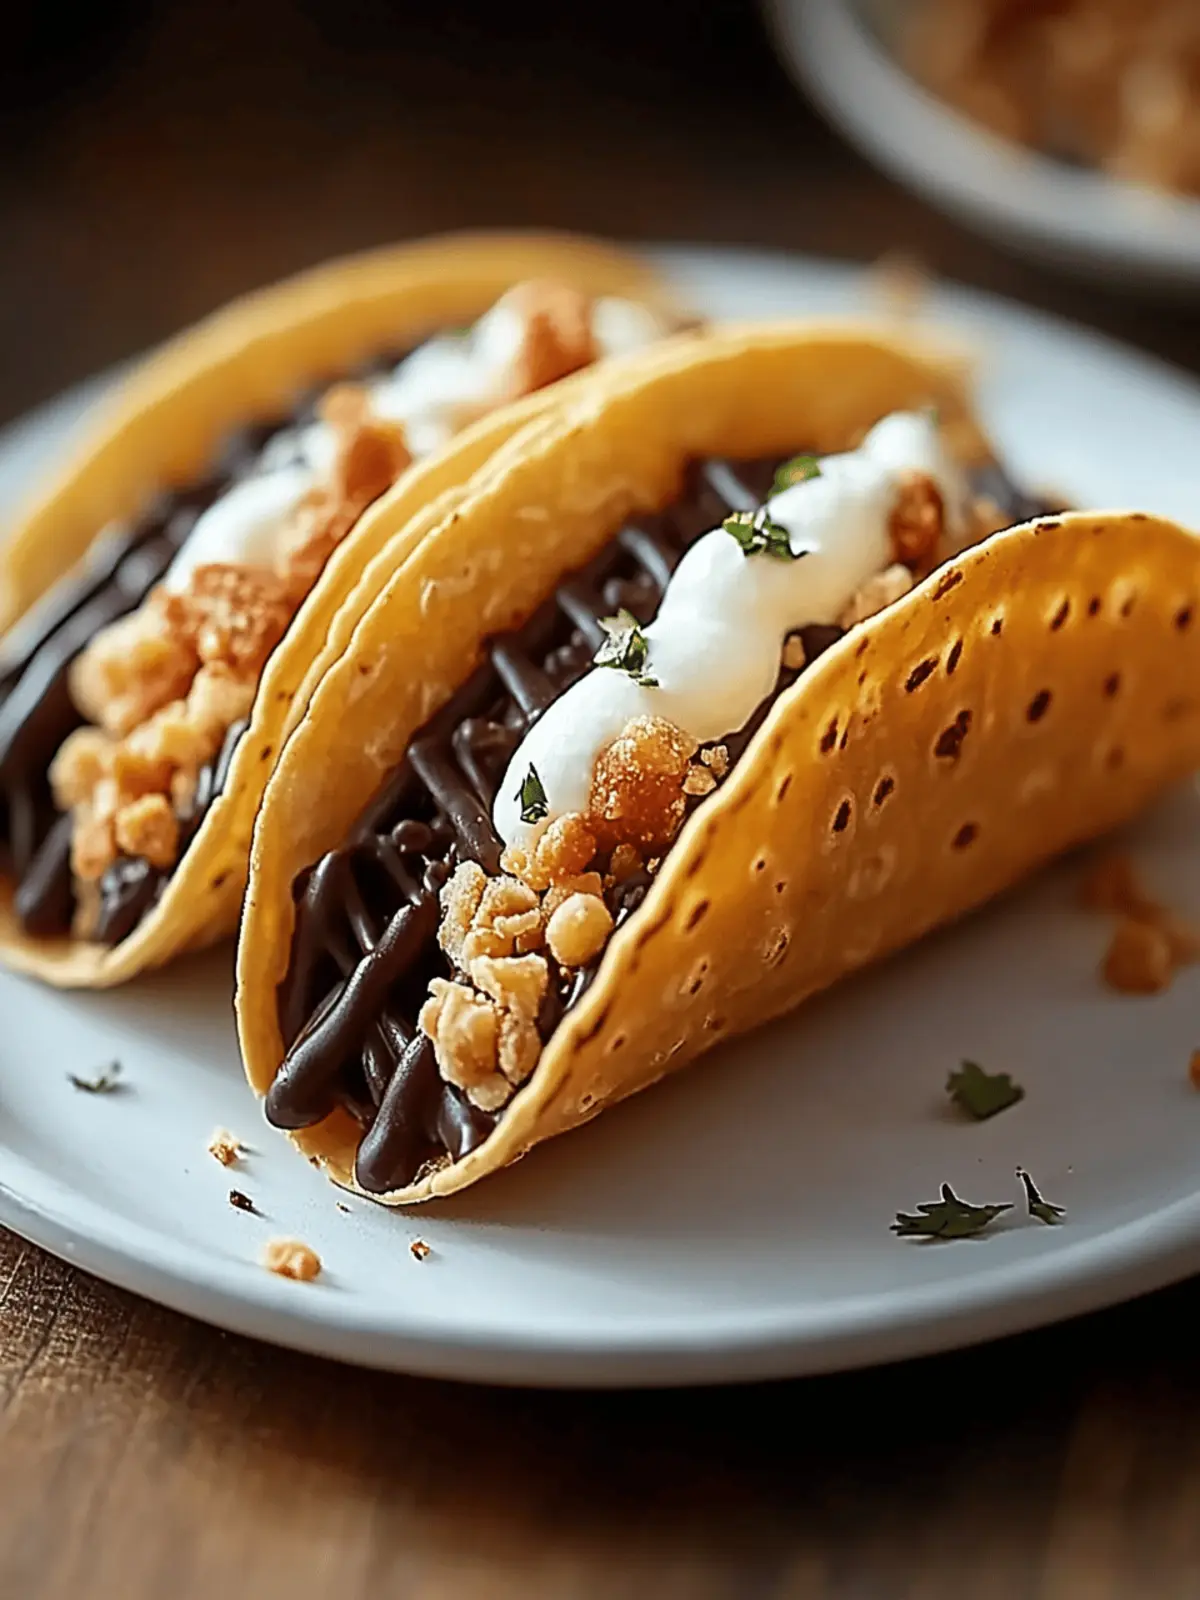
Delicious Homemade Choco Tacos You Can Customize for Summer Fun
Ingredients
Equipment
Method
- In a mixing bowl, combine flour, sugar, eggs, milk, and vanilla extract until smooth, with a thick yet pourable consistency.
- Heat a non-stick pan over medium heat. Pour small amounts of batter to create thin pancakes, cooking until golden brown on both sides (2-3 minutes each side).
- While warm, gently fold pancakes into taco shapes and allow to cool completely.
- Scoop ice cream into the taco shells, filling generously.
- Melt chocolate chips in a microwave-safe bowl. Dip filled taco shells into the chocolate and place on parchment paper.
- Sprinkle chosen toppings over the chocolate while it’s still wet, then freeze for at least one hour before serving.
