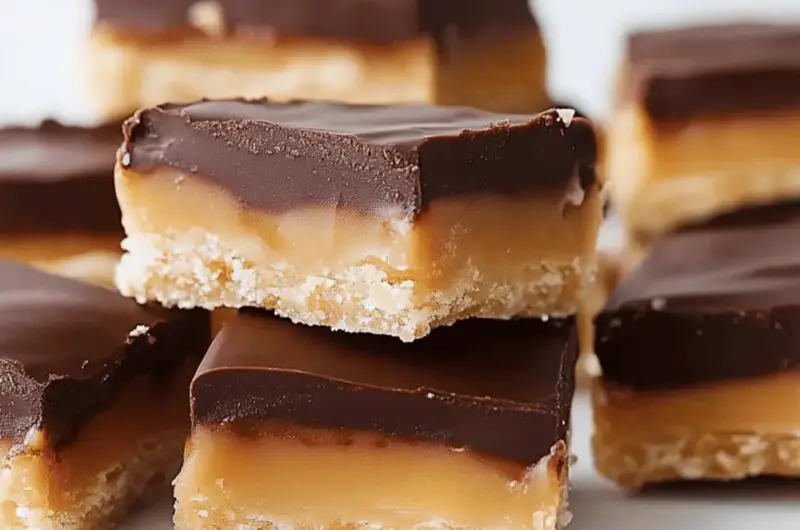
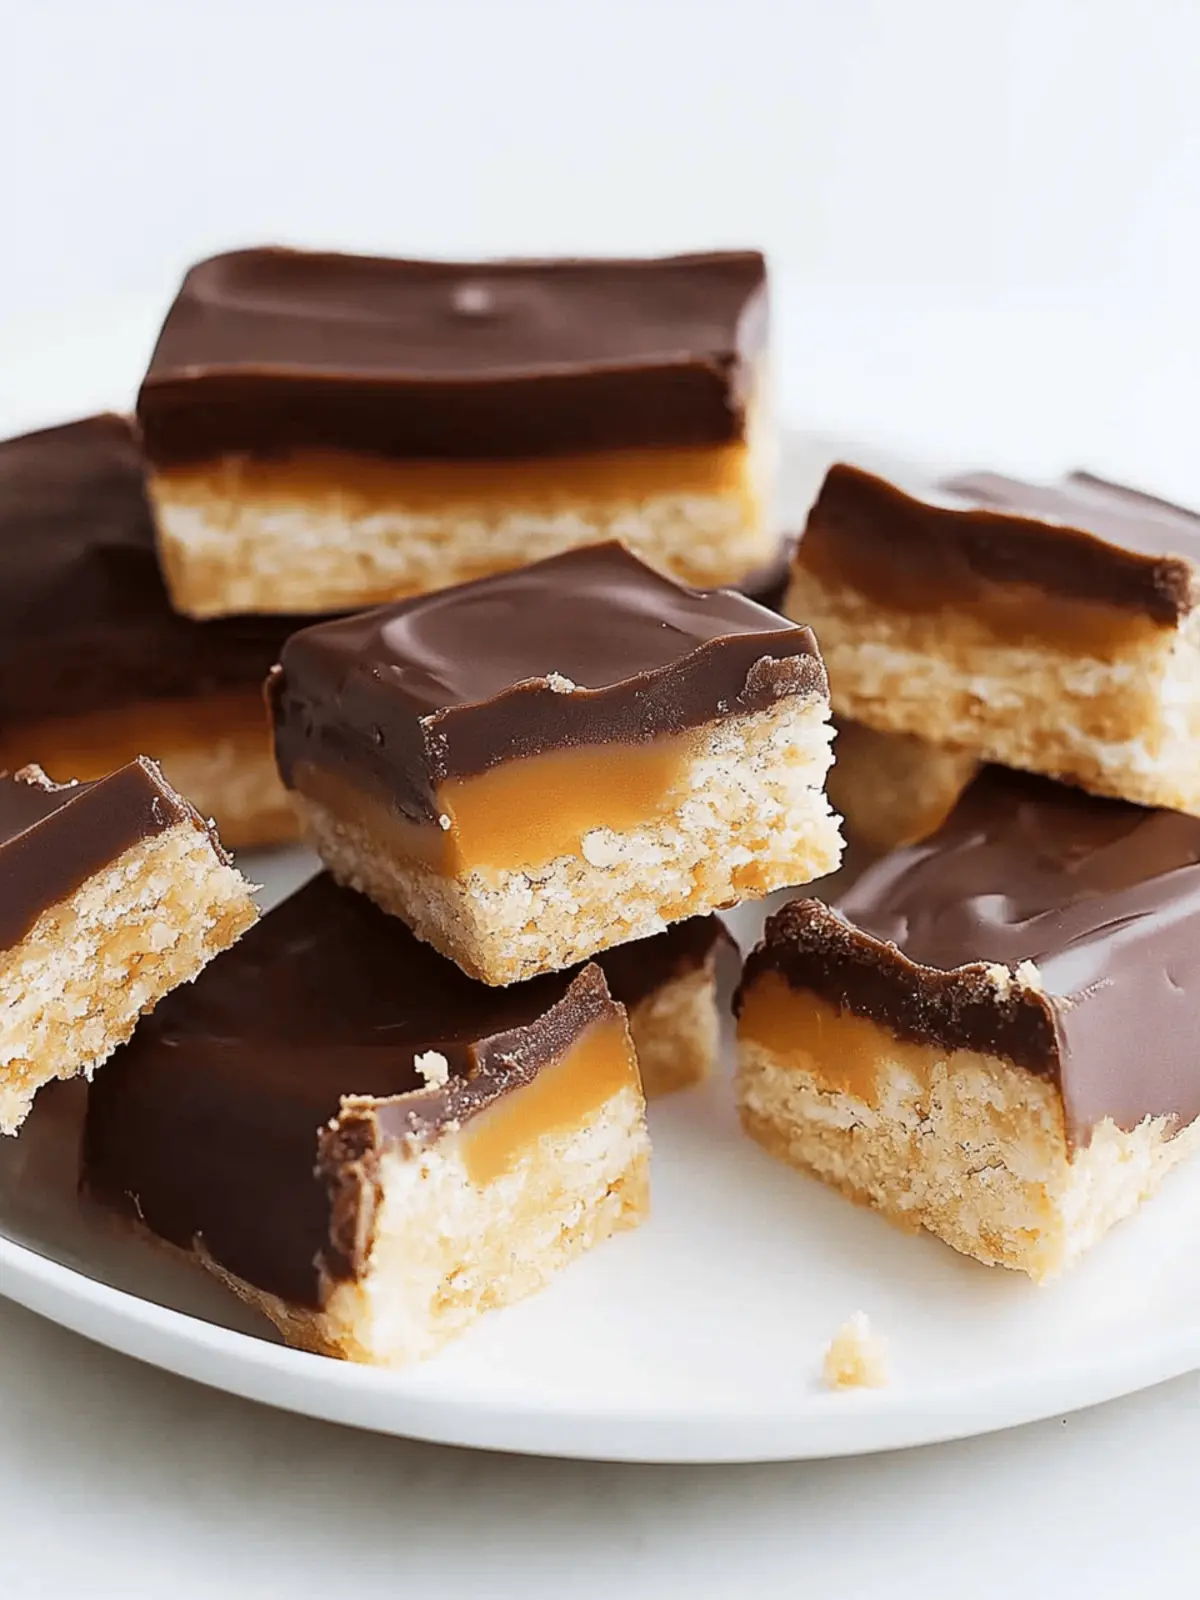
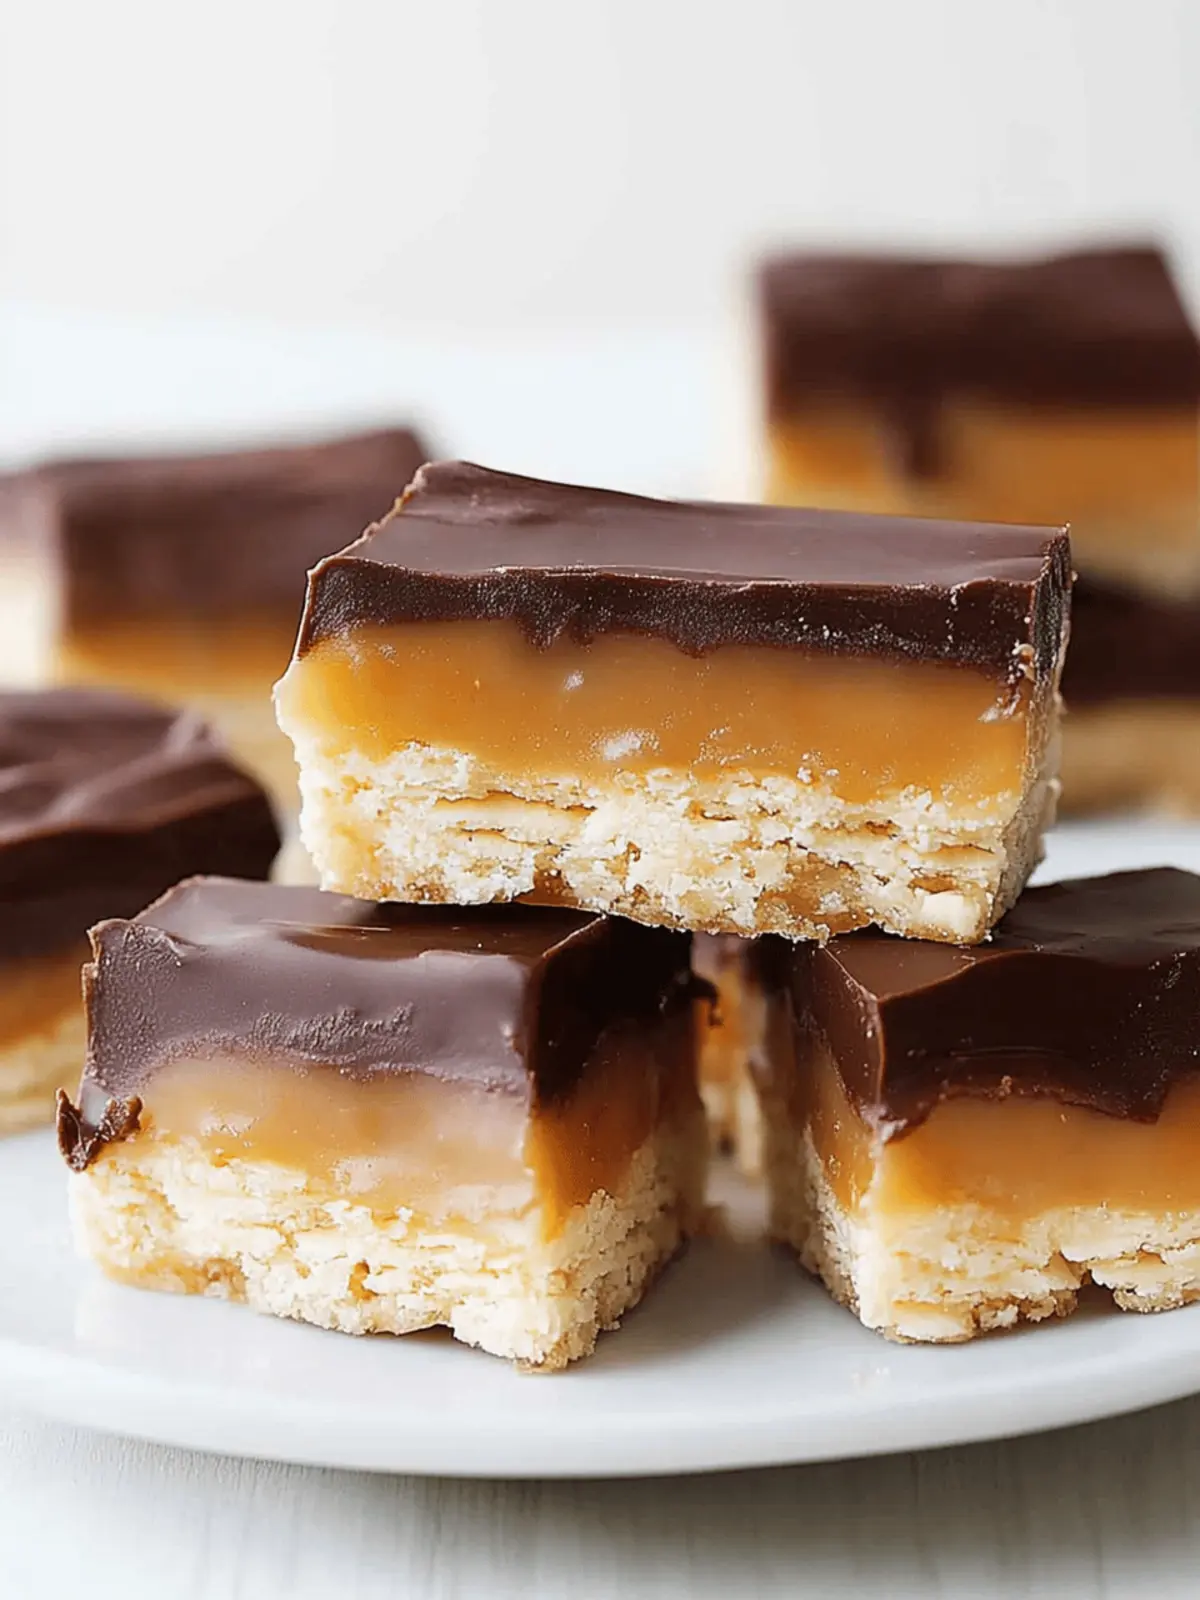
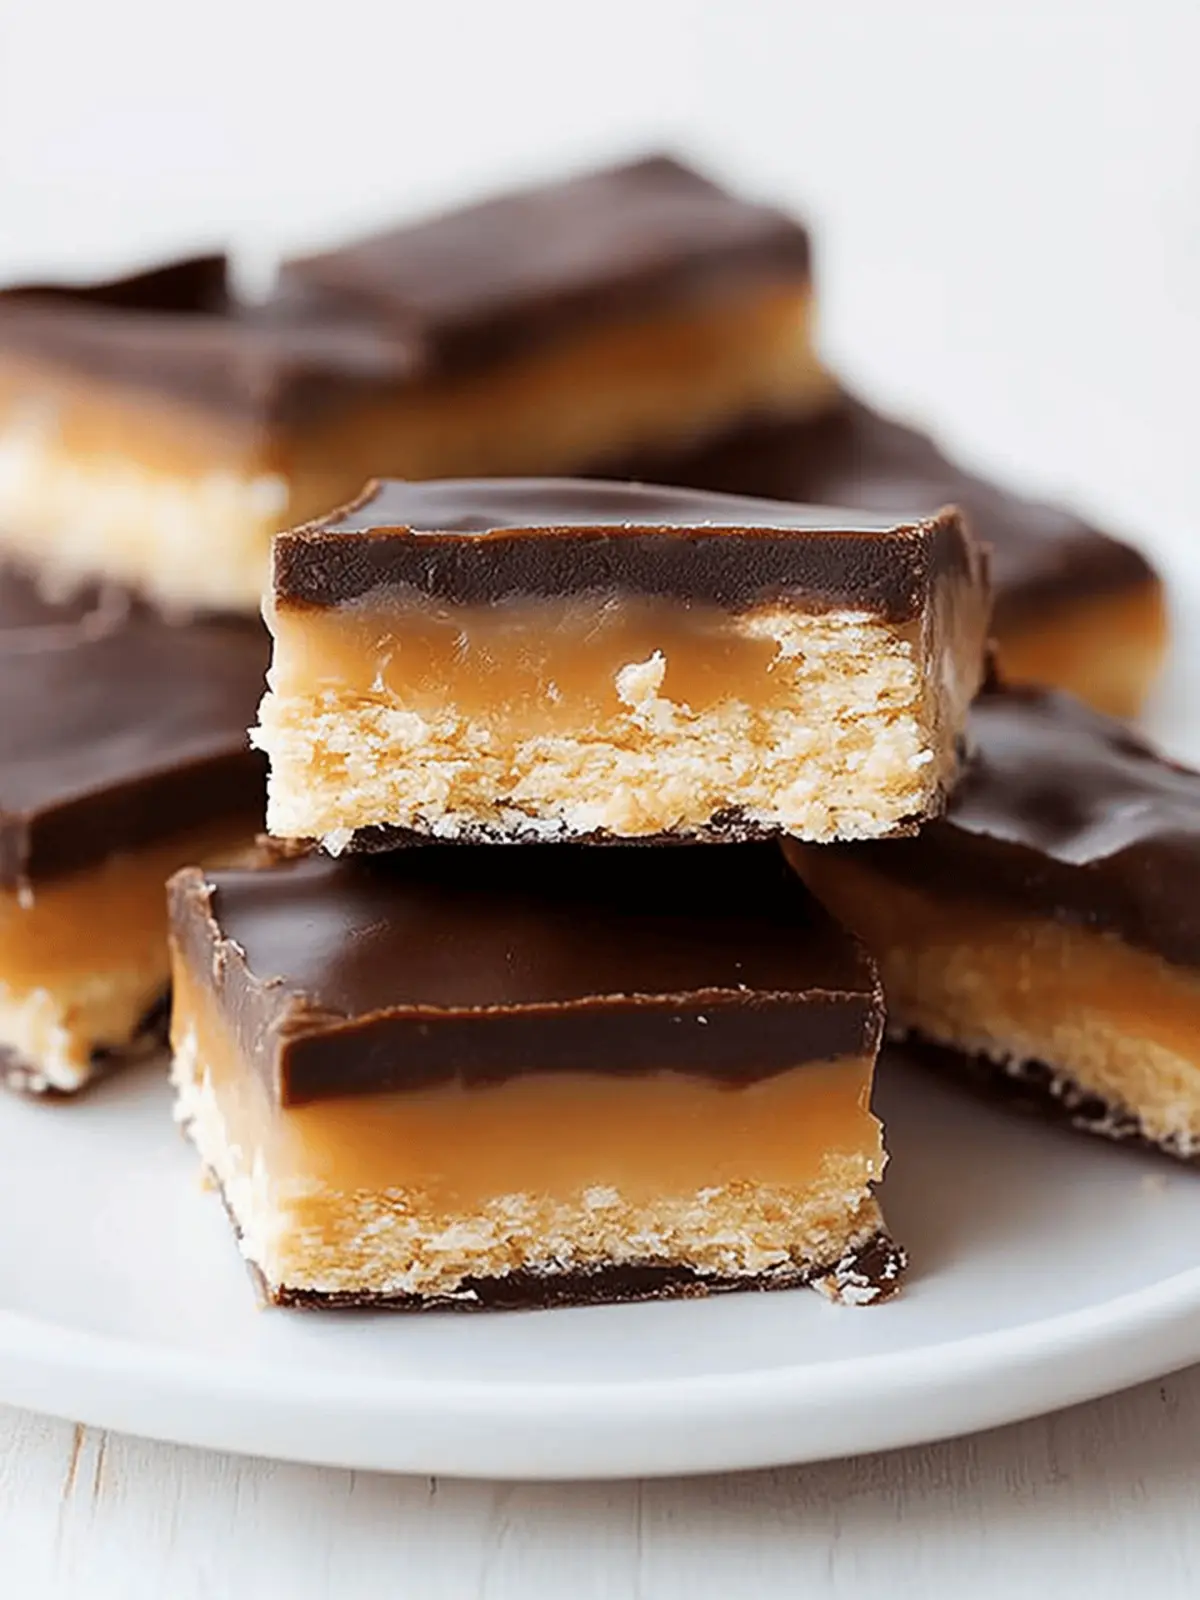
There’s something truly delightful about transforming classic candy into a homemade treat, especially when it requires no baking at all! As I stood in my kitchen, pondering what to satisfy my sweet tooth, I recalled the last time I indulged in a Twix bar—crunchy, chewy, and oh-so-sweet. I rolled up my sleeves, grabbed a few simple ingredients, and decided to recreate that chocolatey goodness right at home.
This No Bake Homemade Twix recipe has become my go-to solution for when I want something crowd-pleasing that doesn’t involve hours in the kitchen. With just vanilla wafers, gooey caramels, and silky chocolate melts, you can whip up a batch in under 15 minutes. Whether you’re hosting friends or simply treating yourself after a long day, these little bites of bliss will satisfy that craving without the fuss of complicated steps. So, let’s dive in and bring a little candy-store magic to your kitchen!
Why is No Bake Homemade Twix a Must-Try?
Speedy Preparation: With just 10 minutes of prep and 2 minutes of cook time, you can amaze your friends and family with this delicious treat in no time!
No Baking Required: Enjoy the ease of creating a decadent dessert without turning on the oven, making it perfect for busy days or last-minute cravings.
Sweet Nostalgia: These homemade Twix bars recreate the beloved candy’s classic combination of crunch, chew, and sweetness that everyone loves.
Crowd Pleaser: Ideal for parties or casual gatherings, this recipe appeals to both kids and adults alike, guaranteeing smiles around the table.
Want to impress more guests? Check out my easy chocolate desserts for a full sweets menu!
Ingredients for No Bake Homemade Twix
For the Cookies
• Vanilla wafers – these provide the perfect crunchy base for your Twix treats, adding that nostalgic flavor.
For the Caramel Layer
• Kraft caramels or Werther’s soft caramels – use soft caramels for a gooey texture that perfectly mimics the original candy bar experience.
For the Chocolate Coating
• Chocolate candy melts – melt these down for a silky, smooth finish that binds all the layers together beautifully.
When you have these key ingredients handy, you’re just minutes away from enjoying your homemade Twix goodness!
How to Make No Bake Homemade Twix
-
Prepare the Caramel
Unwrap the caramels and, using clean hands, smush each caramel into a circle about the size of your vanilla wafers. It should be soft and pliable, ready to sandwich. -
Melt the Chocolate
Pour the chocolate candy melts into a microwave-safe bowl. Heat in 30-second increments, stirring between each until the chocolate is fully melted and smooth, about 1-2 minutes total. -
Pipe the Chocolate
Transfer the melted chocolate to a decorated bag or a zip-top bag. Snip off a corner of the bag to create a piping tool for easy drizzling. -
Assemble the Bars
Pipe a generous amount of chocolate onto the flat side of two vanilla wafers. Make sure to cover them well for that rich chocolate taste. -
Create the Sandwich
Place the flattened caramel between the two cookies and press them together gently. Lay the assembled bars on parchment or wax paper to allow the chocolate to set. -
Repeat the Process
Continue assembling with the remaining cookies and caramels until all are made. Enjoy the simple, no-bake pleasure!
Optional: Drizzle extra chocolate over the finished bars for an elegant touch.
Exact quantities are listed in the recipe card below.
Expert Tips for No Bake Homemade Twix
-
Caramel Consistency: Ensure your caramels are soft enough to mold easily. If they’re stiff, warm them slightly in the microwave for a few seconds.
-
Chocolate Melting: Stir the chocolate melts frequently while microwaving to prevent scorching. Smooth, melted chocolate guarantees a beautiful coating on your No Bake Homemade Twix.
-
Wafers Stability: Use flat-side wafers for a sturdy base. If the cookies are uneven, they may not hold together well once assembled.
-
Cooling Time: Allow the chocolate to set fully before handling the bars. This prevents any messy breakage and ensures a delightful crunch with every bite.
-
Personal Touch: Feel free to customize with toppings! Consider adding sprinkles or sea salt for a fun twist on the classic flavor.
How to Store and Freeze No Bake Homemade Twix
Room Temperature: Store your No Bake Homemade Twix bars in an airtight container at room temperature for up to 3 days to maintain freshness and enjoy the perfect chewiness.
Fridge: For longer storage, keep the bars in the fridge for up to a week. Just be sure they are wrapped well to prevent moisture absorption.
Freezer: Freeze the assembled bars in a single layer on a baking sheet until solid, then transfer to a freezer-safe container for up to 3 months. Thaw in the fridge before enjoying.
Reheating: If you prefer them slightly warm, microwave each bar for about 10 seconds. It will soften the chocolate and enhance that gooey experience!
Variations & Substitutions for No Bake Homemade Twix
Feel free to get creative with this recipe and make it your own—there’s a world of delicious options waiting for you!
-
Gluten-Free: Swap vanilla wafers for gluten-free cookies or your favorite gluten-free shortbread to make this treat suitable for those avoiding gluten.
-
Nutty Twist: Add a layer of almond or peanut butter between the caramel and cookies for a delightful nutty flavor that complements the chocolate wonderfully.
-
Milk Chocolate: If you prefer a sweeter taste, use milk chocolate candy melts instead of dark or semi-sweet. The milk chocolate will make every bite even more indulgent.
-
Sea Salt Sprinkling: For a gourmet touch, sprinkle flaky sea salt on the melted chocolate before it sets. This savory contrast elevates the sweetness beautifully!
-
Flavorful Drizzle: Mix up the chocolate by adding a dash of mint or orange extract to the melted chocolate for a refreshing twist on classic Twix flavor.
-
Crispy Rice: Incorporate crispy rice cereal into the caramel layer for added texture and crunch. Your bars will have a delightful bite!
-
Spicy Kick: Mix a pinch of cayenne pepper or chili powder into the melted chocolate for a surprisingly delightful heat in contrast to the sweetness.
-
Vegan Option: Use dairy-free chocolate melts and plant-based caramels to create a delicious vegan version of this nostalgic treat everyone can enjoy!
What to Serve with No Bake Homemade Twix?
Looking to elevate your dessert game with some delightful additions? Here are some tempting pairings to make your treat time even sweeter.
-
Vanilla Ice Cream: The creamy, cold dessert complements the chewy caramel and crunchy wafers, providing a delightful contrast in texture.
-
Fresh Strawberries: Juicy, sweet strawberries offer a fresh burst of flavor that perfectly balances the richness of the Twix bars.
-
Espresso or Coffee: A strong brew cuts through the sweetness and enhances the chocolate flavors, making it an ideal pairing for a midday pick-me-up.
-
Chocolate Drizzle: Add extra melted chocolate on top for an indulgent touch—more chocolate never hurt anyone, right?
-
Peanut Butter Dip: Serve a side of creamy peanut butter for a savory twist, allowing guests to dunk their Twix bars for a delightful experience.
-
Mint Tea: The refreshing notes of mint tea cleanse the palate, making every bite of the No Bake Homemade Twix feel like a treat.
Imagine sharing these pairings with friends over a warm cup of coffee or during a cozy family gathering—perfect moments made more delicious!
Make Ahead Options
These No Bake Homemade Twix are perfect for busy home cooks looking to save time during the week! You can prepare the caramel and cookie sandwiches up to 24 hours in advance. To do this, simply assemble the cookies with the caramel layer and place them on a parchment-lined baking sheet. Then, cover them tightly with plastic wrap and refrigerate. When you’re ready to serve, simply melt the chocolate candy melts, pipe them onto the cookies, and let them set for about 10-15 minutes. This method keeps the bars just as delicious and prevents the cookies from becoming soggy. Enjoy a quick dessert with minimal effort, even on the busiest of nights!
No Bake Homemade Twix Recipe FAQs
What kind of vanilla wafers should I use?
I recommend using classic vanilla wafers, as they provide the perfect crunchy base for your No Bake Homemade Twix. Look for wafers that are flat and crisp for the best assembly.
How long can I store No Bake Homemade Twix?
You can keep your No Bake Homemade Twix bars at room temperature in an airtight container for up to 3 days. If you want to extend their freshness, store them in the fridge for up to a week.
Can I freeze No Bake Homemade Twix?
Absolutely! To freeze, lay the assembled bars in a single layer on a baking sheet until solid. Then transfer them to a freezer-safe container or zip-top bag. They can be stored for up to 3 months. When you’re ready to enjoy, thaw in the fridge overnight.
What if my caramels are too hard to shape?
If your caramels feel too firm to smush, don’t worry! Just pop them in the microwave for about 5-10 seconds to soften slightly. This will make them easier to mold into the circular shape for your bars, ensuring that delightful gooey texture!
Are there any dietary considerations I should keep in mind?
Yes, if you’re serving these to guests or family, be aware of any allergies. The recipe contains wheat from the vanilla wafers and possibly dairy from the chocolate and caramels. For a vegan option, look for dairy-free caramels and chocolate melts. Always check ingredient labels for allergens.
Can I customize the toppings for my No Bake Homemade Twix?
Absolutely! Personalizing your No Bake Homemade Twix is a fun way to add a special touch. You can sprinkle some sea salt on top for a savory contrast or add colorful sprinkles for a festive presentation. Just drizzle on the extras after the chocolate has set for a beautiful finish!
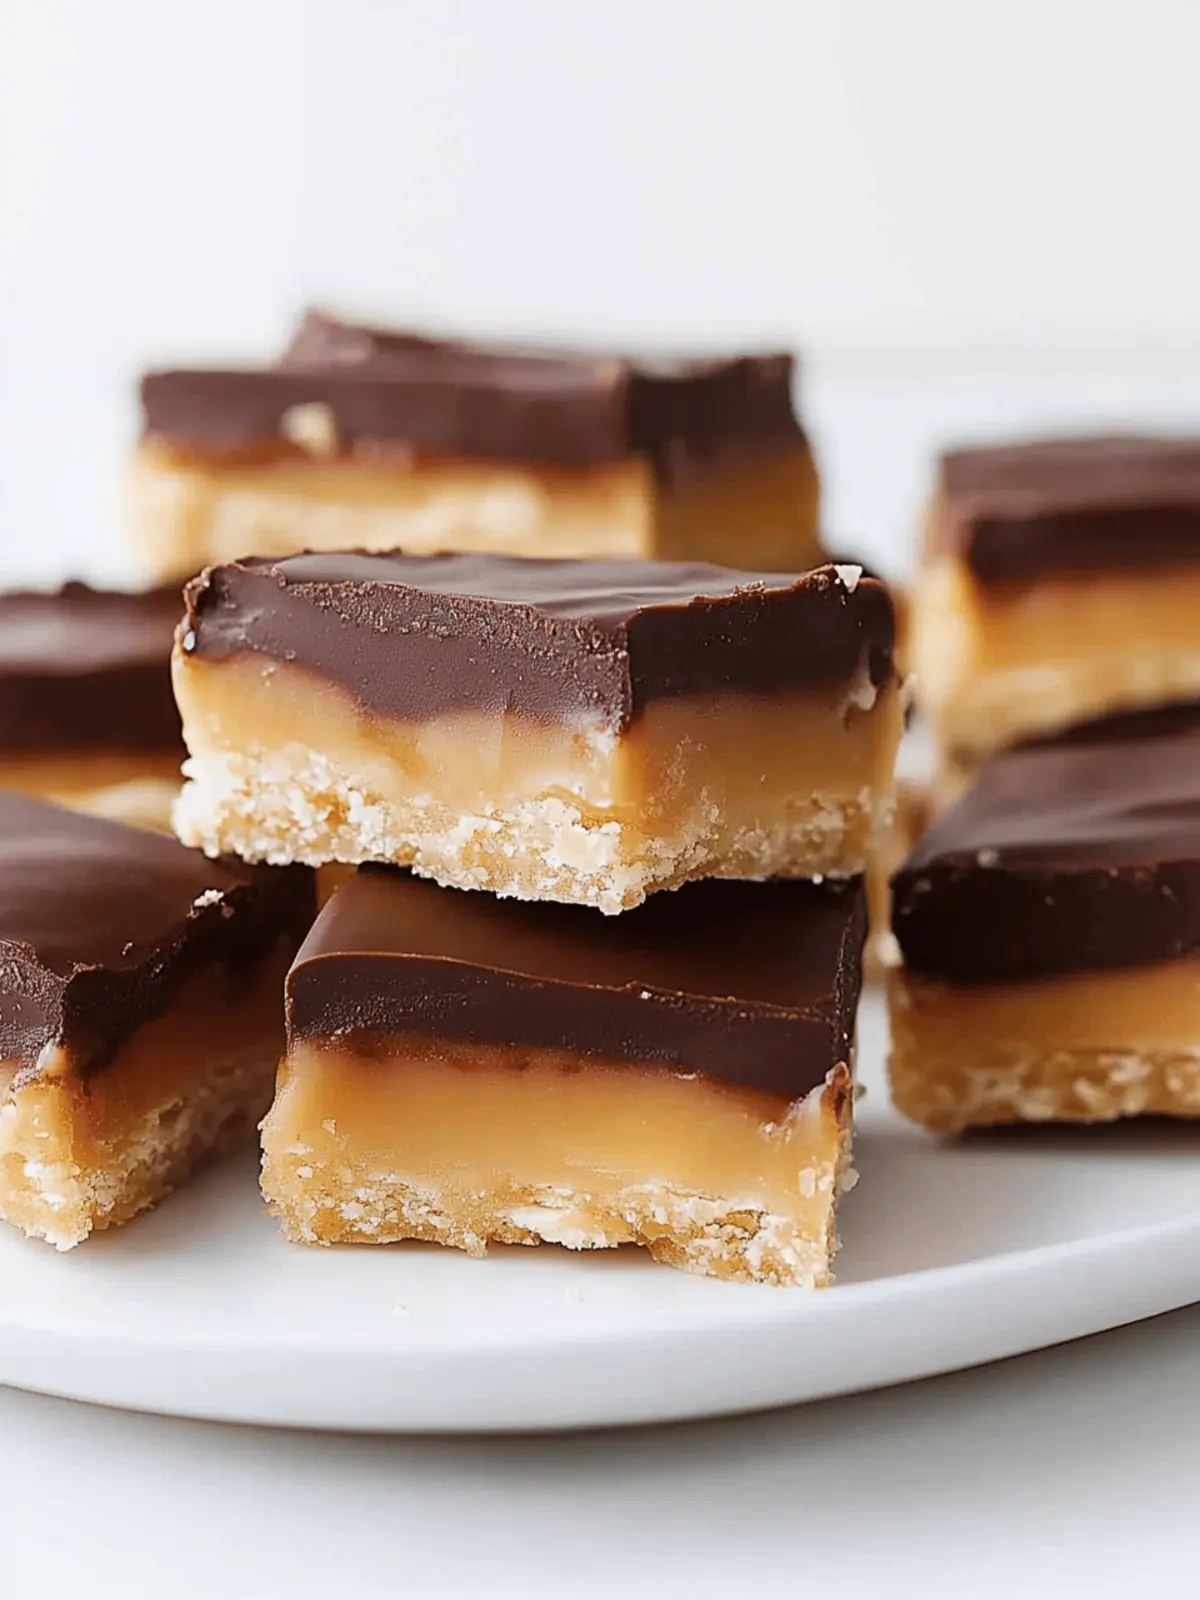
Delicious No Bake Homemade Twix in Just 12 Minutes
Ingredients
Equipment
Method
- Unwrap the caramels and smush each caramel into a circle about the size of your vanilla wafers.
- Pour the chocolate candy melts into a microwave-safe bowl. Heat in 30-second increments, stirring until smooth, about 1-2 minutes total.
- Transfer the melted chocolate to a decorated bag or zip-top bag and snip off a corner for easy drizzling.
- Pipe a generous amount of chocolate onto the flat side of two vanilla wafers.
- Place the flattened caramel between the two cookies and press them together gently.
- Continue assembling with remaining cookies and caramels until all are made.

