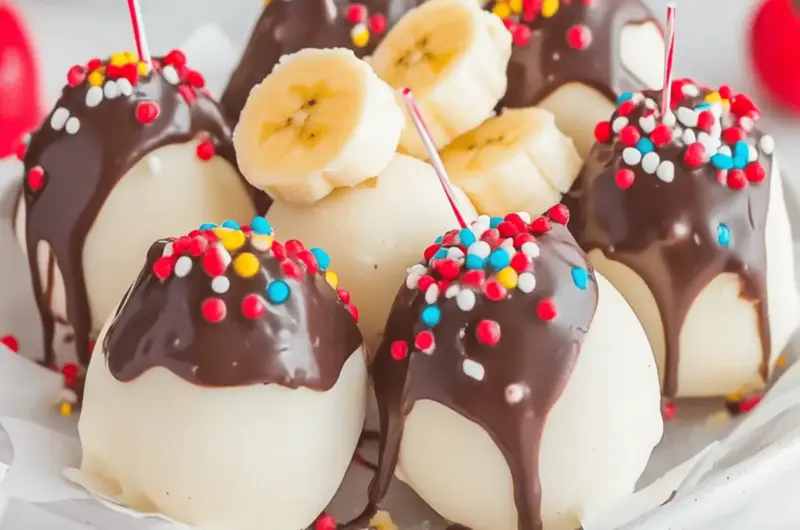
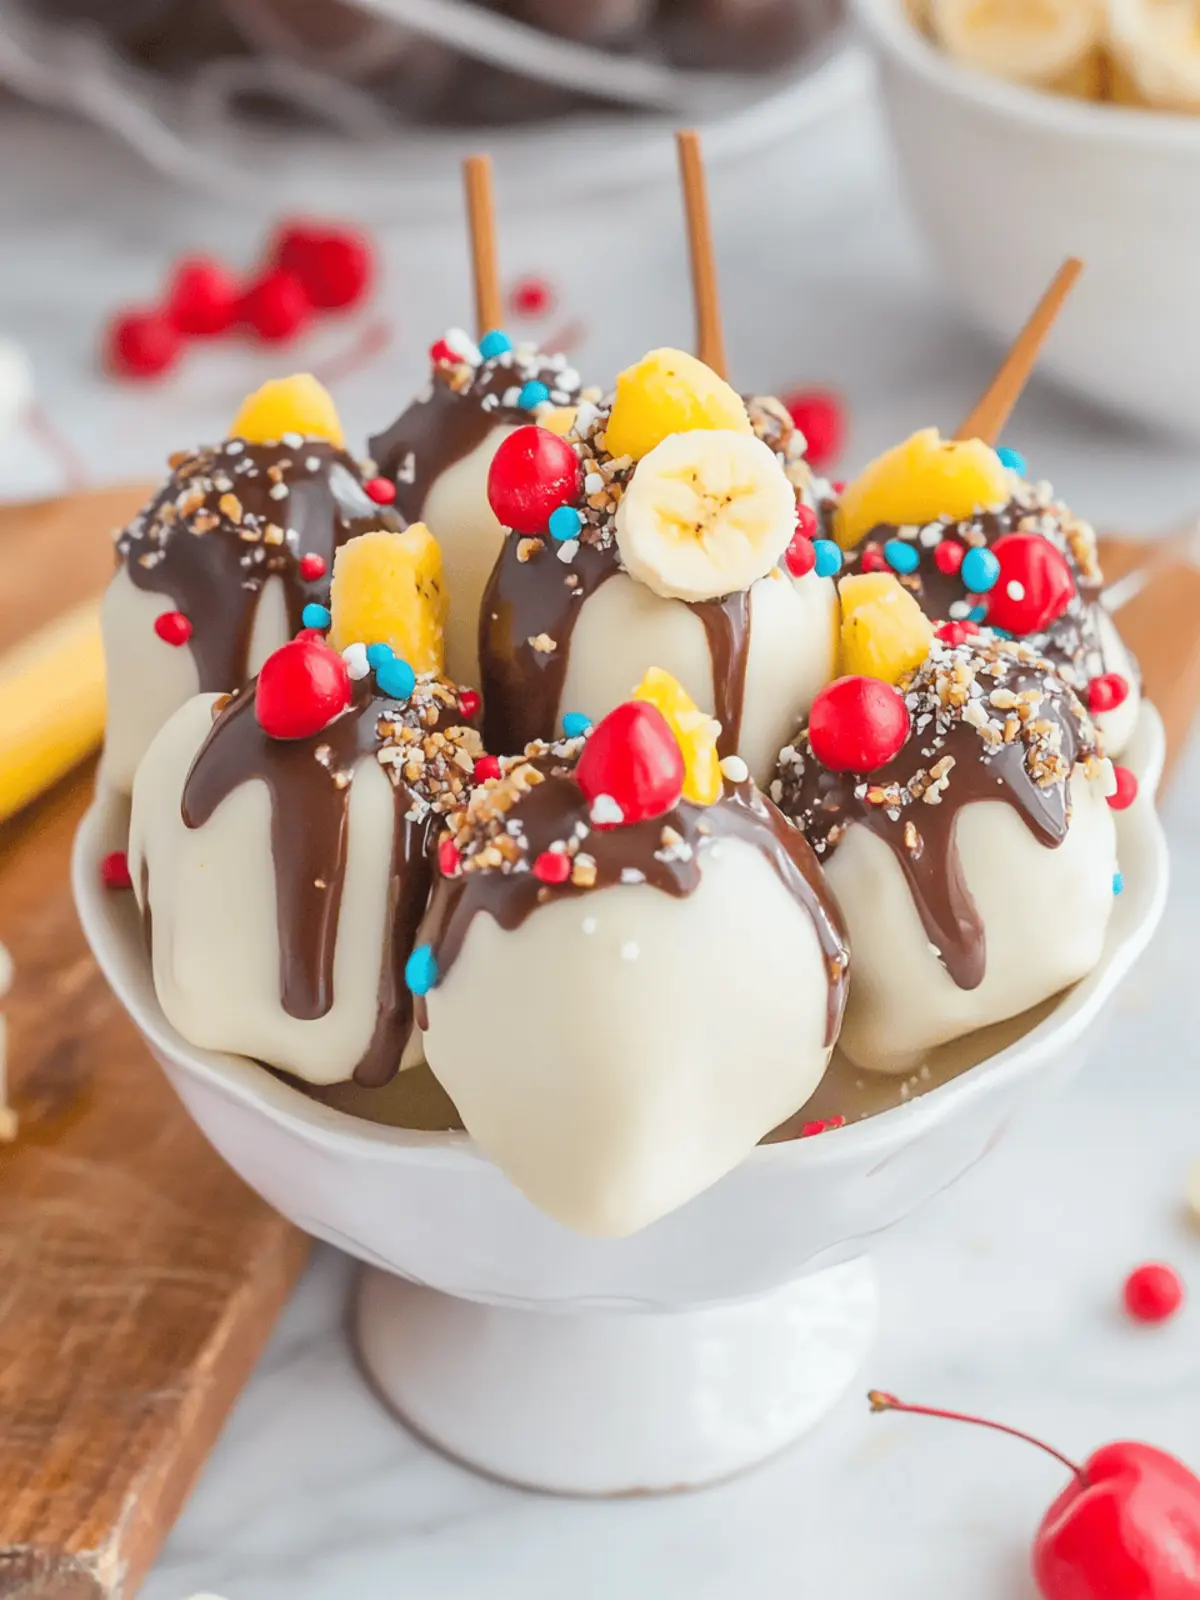
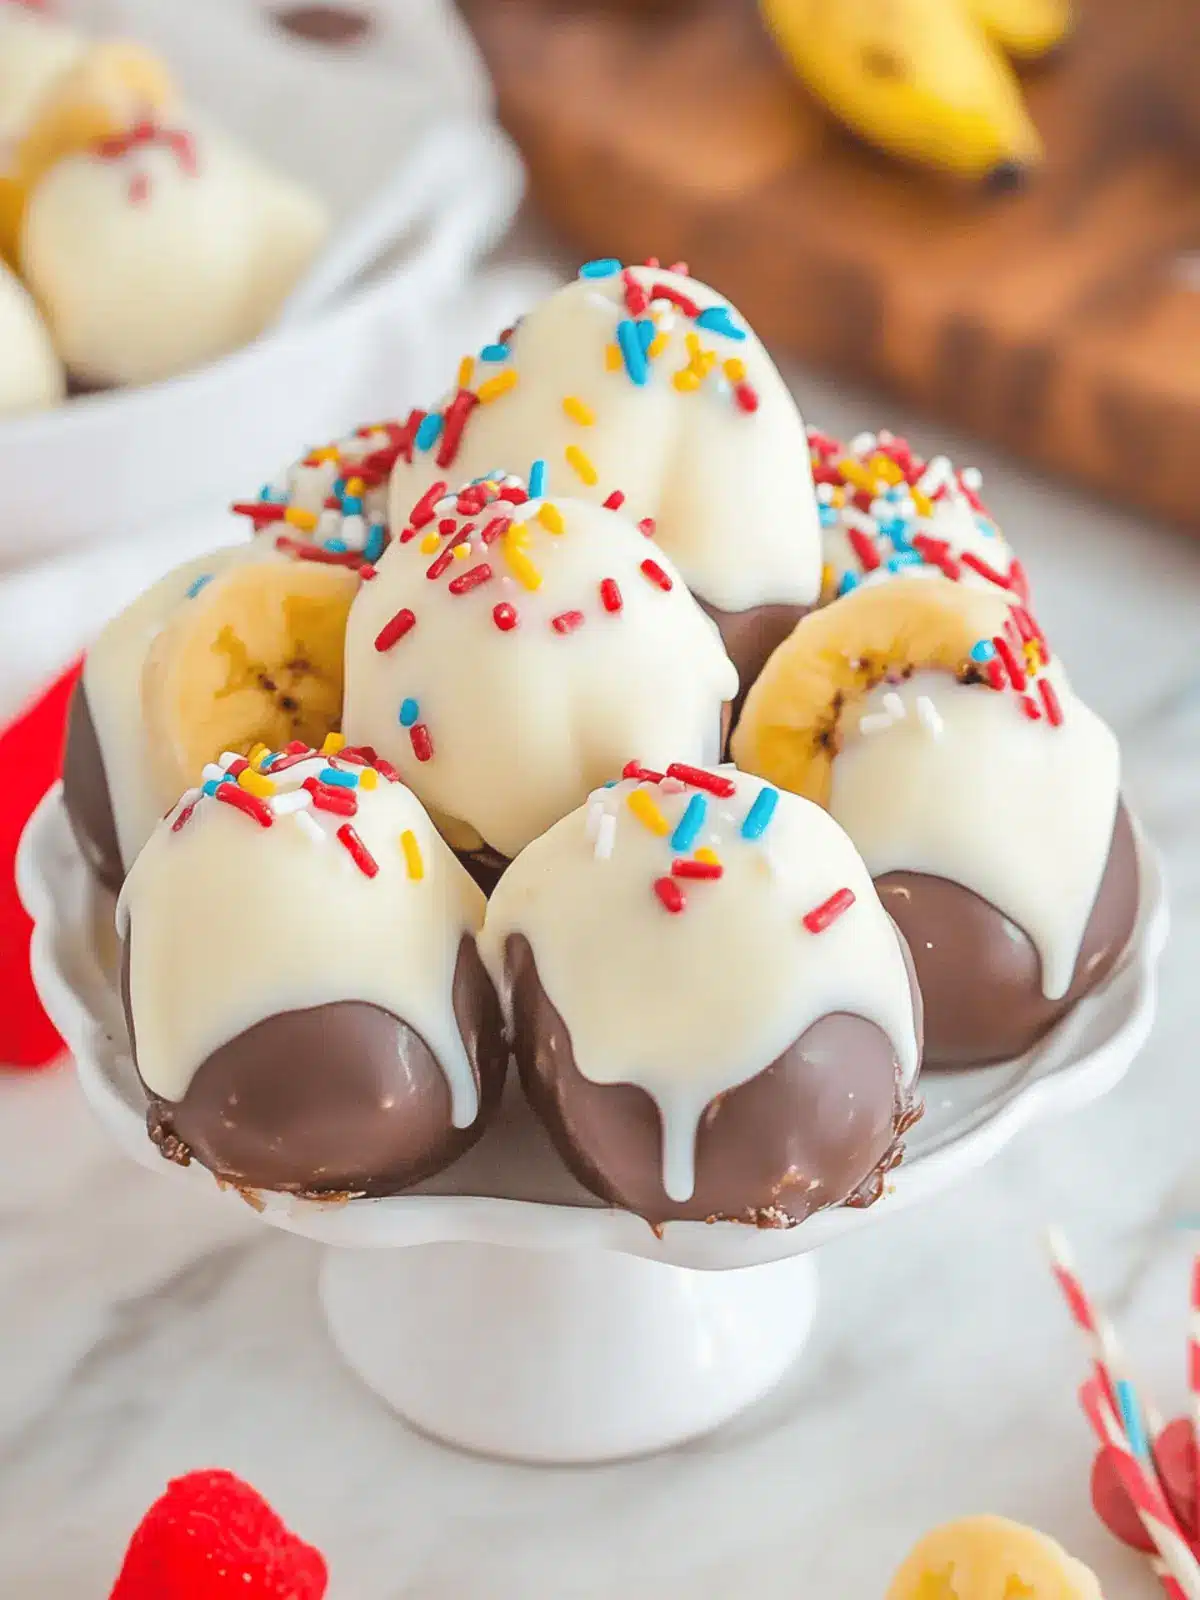
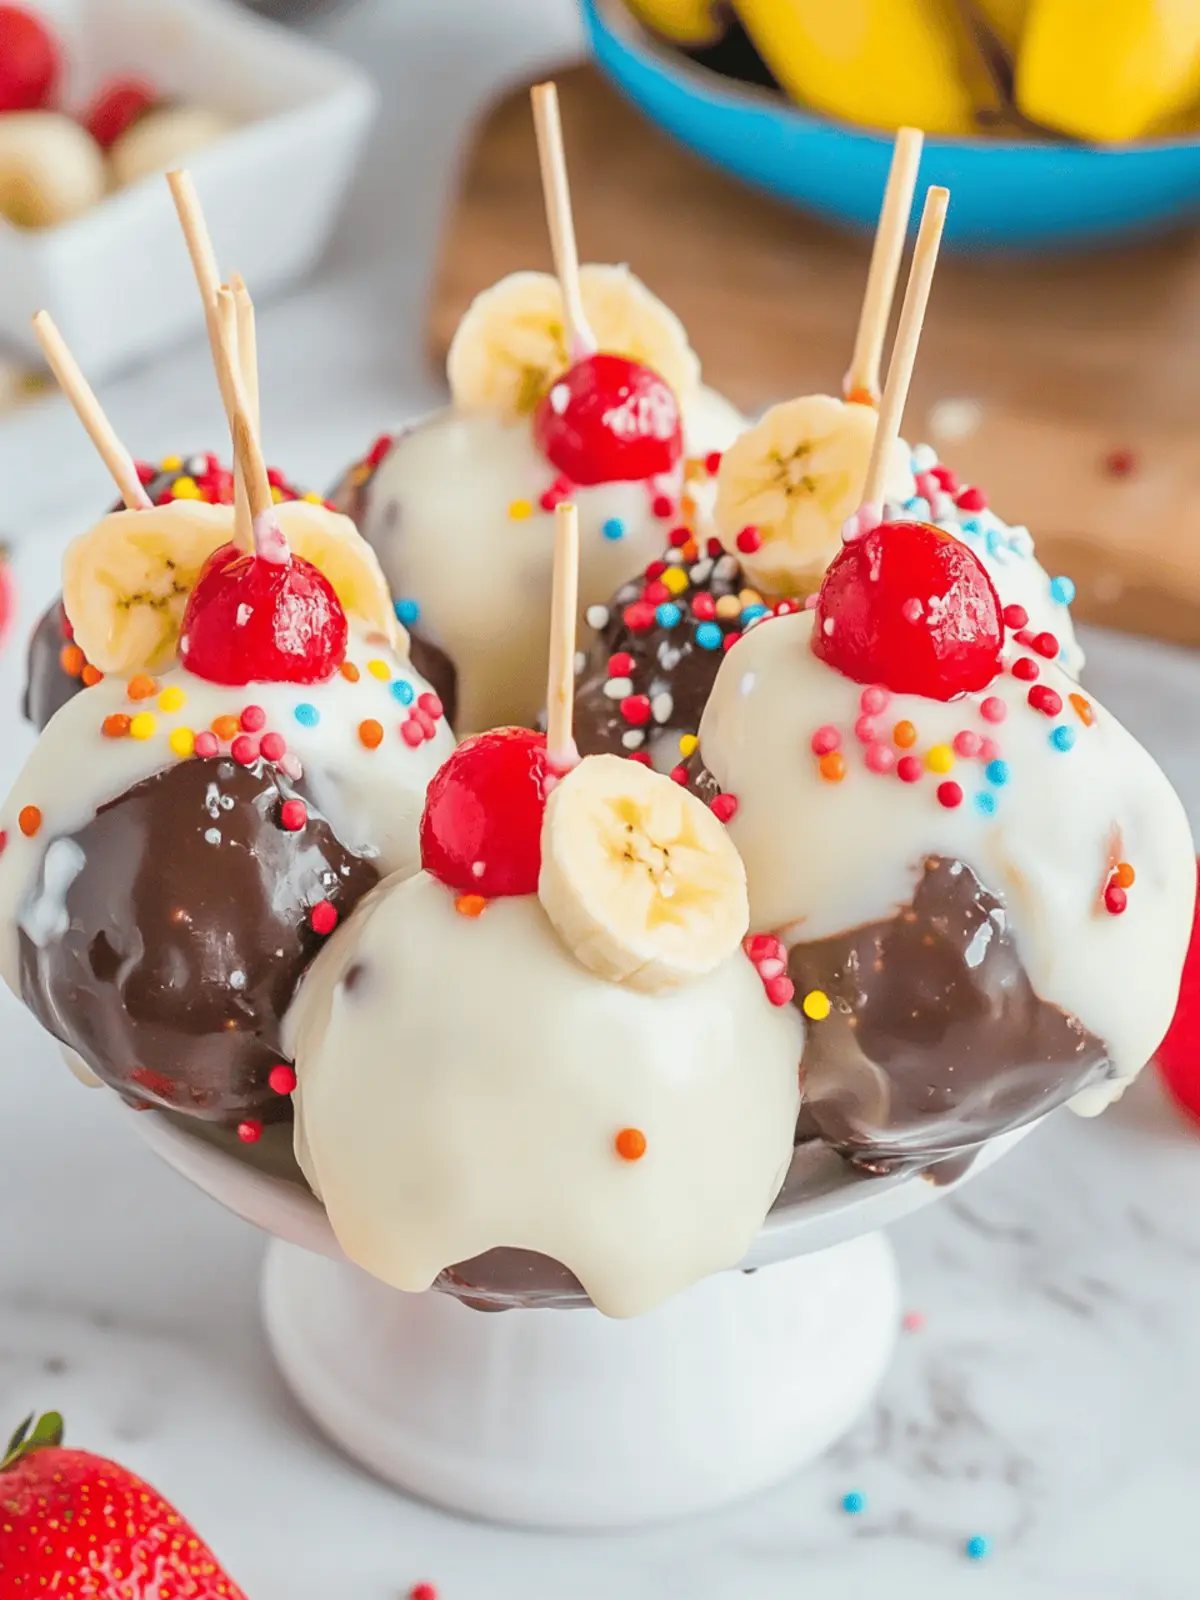
There’s a certain joy that comes from creating desserts that capture the essence of childhood treats. The moment I took a bite of these Banana Split Truffles, I was transported back to summertime picnics and ice cream trucks. Imagine luscious, creamy banana filling paired with the indulgent comfort of chocolate, all wrapped in a delightful no-bake treat that requires minimal effort. These truffles are not only incredibly easy to whip up but also promise to delight your guests and family alike.
Perfect for parties, casual gatherings, or even a cozy night in, these truffles bring the classic flavors of the beloved banana split into a delightful bite-sized form. With their vibrant colors and irresistible sweetness, they’re destined to be the highlight of any dessert table. So, if you’re tired of the same old fast-food desserts and are ready for a homemade indulgence that’s sure to impress, let’s dive into this delicious recipe!
Why are Banana Split Truffles a must-try?
Irresistible Flavor: Packed with the nostalgia of a classic banana split in every bite, these truffles deliver a burst of creamy banana and chocolate goodness.
No-Bake Convenience: Forget the oven! This no-bake treat saves time and energy, making it perfect for spontaneous dessert-making.
Perfect for Every Occasion: Whether it’s a birthday party or a casual movie night, these truffles are bound to impress guests and family alike.
Easy to Customize: Feel free to experiment with different toppings or cake flavors to create a unique twist on this dessert!
Visually Stunning: Their colorful as well as decadent look will elevate any dessert table, making them as delightful to admire as they are to eat.
Banana Split Truffles Ingredients
-
For the Truffle Base
• White Cake Mix – Provides a delicious base; ensure it’s heat-treated for safety.
• Cream Cheese – Adds richness and creaminess; opt for full-fat for the best flavor.
• Vanilla Extract – Enhances the overall taste; almond extract can be used for a unique twist.
• Crushed Pineapple – Infuses natural sweetness; make sure it’s well-drained to prevent sogginess.
• Chopped Walnuts – Introduces a nice crunch; can be skipped for a nut-free version.
• Banana – Fresh, ripe bananas are essential for maximizing that delightful banana flavor. -
For the Coating
• White Candy Coating – Provides a sweet finish; for a richer experience, consider dark chocolate.
• Chocolate Melting Wafers – Used for decorative drizzling on top; colored chocolate can add a fun flair.
• Rainbow Sprinkles and Stemmed Maraschino Cherries – Optional toppings that bring joy and festivity to your Banana Split Truffles.
How to Make Banana Split Truffles
-
Prepare the Cookie Sheet: Line a large cookie sheet with parchment paper to prevent sticking. This will be the perfect landing spot for your truffles once they’re shaped!
-
Mix Ingredients: In a medium bowl, combine the white cake mix, cream cheese, and vanilla extract. Stir until the mixture resembles a dough, which should be smooth and creamy.
-
Add Fillings: Gently incorporate the well-drained crushed pineapple, chopped walnuts, and banana slices into the dough. Mix until evenly distributed to ensure each truffle bursts with flavor!
-
Shape Truffles: Using a cookie scoop, portion the mixture into 1 to 1.5-inch balls. Roll them smoothly in your hands to form perfect, bite-sized truffles.
-
Chill: Place the rolled truffles onto the parchment-lined sheet and refrigerate for about 1 hour. This helps them firm up and makes them easier to coat.
-
Melt Coatings: Microwave the white candy coating according to melting instructions until smooth. Be careful not to overheat it; you want a silky texture!
-
Coat Truffles: Dip each chilled truffle ball into the melted coating, ensuring it’s fully covered. Place them back on the parchment paper to set.
-
Decorate: Drizzle melted chocolate wafers on top for that classic “chocolate syrup” effect. Add rainbow sprinkles and a maraschino cherry for a festive finish!
-
Chill Before Serving: Put the decorated truffles back in the fridge for another 30 minutes to set completely before serving. Trust me, the wait will be worth it!
Optional: Serve these truffles chilled on a platter with fresh banana slices for a beautiful presentation.
Exact quantities are listed in the recipe card below.
Storage Tips for Banana Split Truffles
Fridge: Store your Banana Split Truffles in an airtight container for up to 1 week. This keeps them fresh and ready to enjoy anytime.
Freezer: For longer storage, freeze the truffles in a single layer on a baking sheet, then transfer to an airtight container or freezer bag for up to 2 months.
Reheating: Thaw frozen truffles in the fridge overnight or at room temperature for about 30 minutes before serving. Avoid microwaving, as it can ruin their delicate texture.
Presentation: If desired, you can decorate the truffles just before serving to maintain their vibrant appeal.
Banana Split Truffles Variations
Feel inspired to put your own spin on these delicious truffles that everyone will adore!
- Nut-Free: Omit the walnuts entirely and use sunflower seeds for added crunch without the nuts.
- Gluten-Free: Swap the white cake mix for a gluten-free cake mix, ensuring everyone can join in on the treat!
- Tropical Twist: Add shredded coconut into the truffle mixture for an extra layer of tropical flavor that complements the banana beautifully.
- Chocolate Lovers: Use chocolate cake mix instead of white to intensify the chocolate flavor and turn these truffles into a decadent delight.
- Dairy-Free: Substitute cream cheese with a nut-based cream cheese and use dairy-free chocolate coating for a vegan-friendly option.
- Flavor Infusion: For a playful twist, add a splash of rum extract to the batter for an unexpected burst of flavor that elevates the nostalgia.
- Spicy Kick: Toss in a pinch of cayenne pepper or chili powder for those who like a little heat with their sweets—a daring dessert choice!
- Fruit Fusion: Swap out the banana for ripe mango or strawberries to create a fruity variation that’s just as delightful and refreshing.
What to Serve with Banana Split Truffles?
Looking to elevate your dessert experience? Complement these delightful treats with tantalizing sides that balance flavors and textures.
- Fresh Fruit Salad: A medley of seasonal fruits adds a refreshing contrast, balancing the sweetness of the truffles beautifully.
- Vanilla Ice Cream: A scoop of creamy vanilla ice cream enhances the nostalgic flavors, making every bite feel like a celebration.
- Chocolate Dipping Sauce: For those who crave extra richness, a warm chocolate sauce for dipping or drizzling is a decadent option!
- Whipped Cream: Light and airy, a dollop of homemade whipped cream adds a luxurious finish to each bite of these luscious truffles.
- Caramel Sauce: Drizzling caramel sauce over the top offers a sweet and salty element that’s truly irresistible, enhancing the flavor profile.
- Sparkling Water with Lime: For drinks, refreshing sparkling water with a hint of lime gives a zesty, revitalizing contrast without overpowering the dessert.
- Coffee or Espresso: Pairing these truffles with a cup of rich coffee or espresso creates an elegant dessert experience. The bitterness complements the sweetness!
- Chocolate-Covered Strawberries: These bite-sized delights mirror the truffle flavors and offer a beautiful presentation, perfect for gatherings.
- Mini Cupcakes: Serve some mini banana or chocolate cupcakes alongside for a delightful dessert spread that’s sure to impress your guests.
- Cheesecake Bites: These creamy bites offer a rich, tangy alternative that plays well with the sweet profile of the truffles, providing variety on the dessert table.
Make Ahead Options
These delightful Banana Split Truffles are perfect for meal prep, allowing you to enjoy homemade treats even on the busiest days! You can prepare the truffle mixture and shape it into balls up to 24 hours in advance; just store them in an airtight container in the refrigerator. To maintain their quality, ensure the truffles are chilled well before coating, as this helps them hold their shape better while being dipped. When you’re ready to serve, melt the white candy coating, dip each chilled truffle, and decorate them just before your guests arrive for that fresh finish. With a little advance prep, you’ll have impressive, no-bake desserts ready to enjoy!
Expert Tips for Banana Split Truffles
-
Heat-Treat Cake Mix: Always microwave or bake the cake mix before using to eliminate any potential bacteria, ensuring your Banana Split Truffles are safe to enjoy.
-
Smooth Truffle Texture: For creamier truffles, chill the mixture for a bit before rolling it. Reshape them into perfect balls for a professional finish!
-
Topping Station Fun: Set up a toppings bar with an array of options—this not only allows for customization but also adds an interactive element to your gatherings!
-
Control Moisture: Make sure the crushed pineapple is drained very well to avoid sogginess in your truffles. You want them to have a delightful texture!
-
Experiment with Flavors: Don’t hesitate to swap in different cake mix flavors or nuts. Get creative and find a personal twist to your Banana Split Truffles!
Banana Split Truffles Recipe FAQs
What type of bananas should I use?
Use fresh, ripe bananas for the best flavor in your Banana Split Truffles. Look for bananas with a few brown spots for optimal sweetness.
How can I store Banana Split Truffles?
Store your Banana Split Truffles in an airtight container in the refrigerator for up to 1 week. They’ll remain fresh and delightful for your snacking pleasure!
Can I freeze these truffles?
Absolutely! To freeze, place the truffles in a single layer on a baking sheet and freeze for about 1-2 hours until solid. Then, transfer them to an airtight container or freezer bag, where they can last for up to 2 months. To enjoy, thaw them in the fridge overnight or at room temperature for around 30 minutes.
What can I do if my truffles are too soft to shape?
If your truffle mixture is too soft, chill the dough in the refrigerator for about 30 minutes to firm it up. This will make it easier to roll into smooth balls. If it’s still challenging, consider adding a touch more cake mix to absorb some moisture.
Are there any dietary considerations for pets or allergies?
Yes! These truffles contain nuts and dairy, so ensure your guests know about these ingredients. Additionally, the bananas and chocolate may not be suitable for pets, particularly dogs, so keep them out of reach. If anyone has nut allergies, simply omit the walnuts from the recipe.
What variations can I try for these truffles?
Get creative! You can substitute different cake flavors or nuts—like pecans instead of walnuts— to customize your Banana Split Truffles. You can also add shredded coconut for a tropical twist or use dark chocolate for a richer coating.
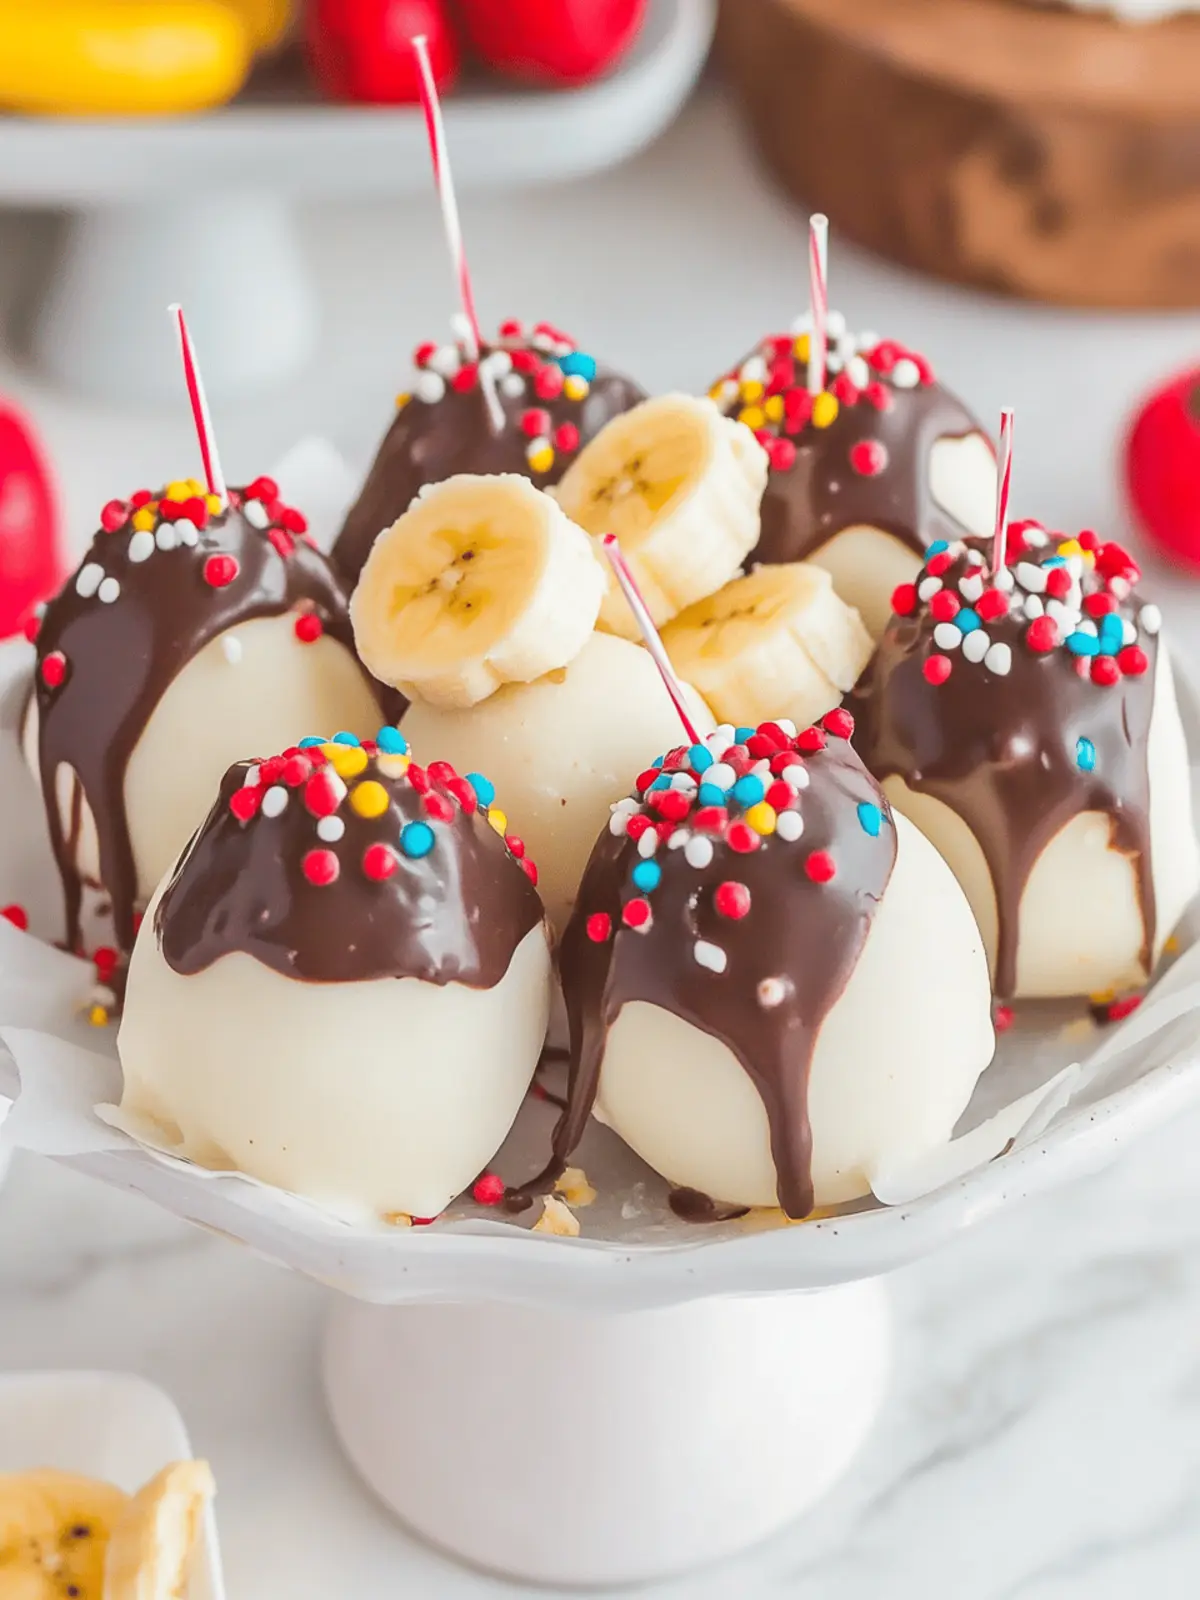
Banana Split Truffles: Your New Favorite No-Bake Dessert
Ingredients
Equipment
Method
- Prepare the Cookie Sheet: Line a large cookie sheet with parchment paper to prevent sticking.
- Mix Ingredients: In a medium bowl, combine the white cake mix, cream cheese, and vanilla extract. Stir until smooth and creamy.
- Add Fillings: Gently incorporate the well-drained crushed pineapple, chopped walnuts, and banana slices into the dough.
- Shape Truffles: Using a cookie scoop, portion the mixture into 1 to 1.5-inch balls and roll them smoothly.
- Chill: Place the rolled truffles on the parchment-lined sheet and refrigerate for about 1 hour.
- Melt Coatings: Microwave the white candy coating until smooth, being careful not to overheat.
- Coat Truffles: Dip each chilled truffle into the melted coating until fully covered.
- Decorate: Drizzle melted chocolate wafers on top, then add rainbow sprinkles and a maraschino cherry.
- Chill Before Serving: Put the decorated truffles back in the fridge for another 30 minutes before serving.

