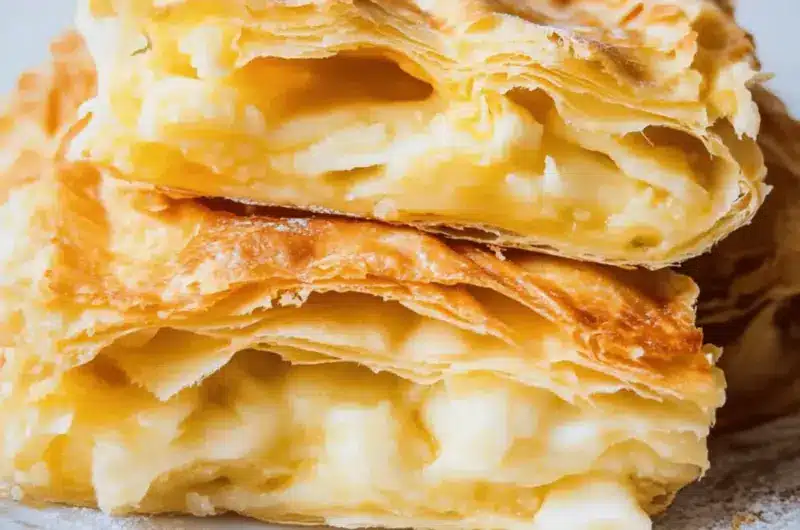
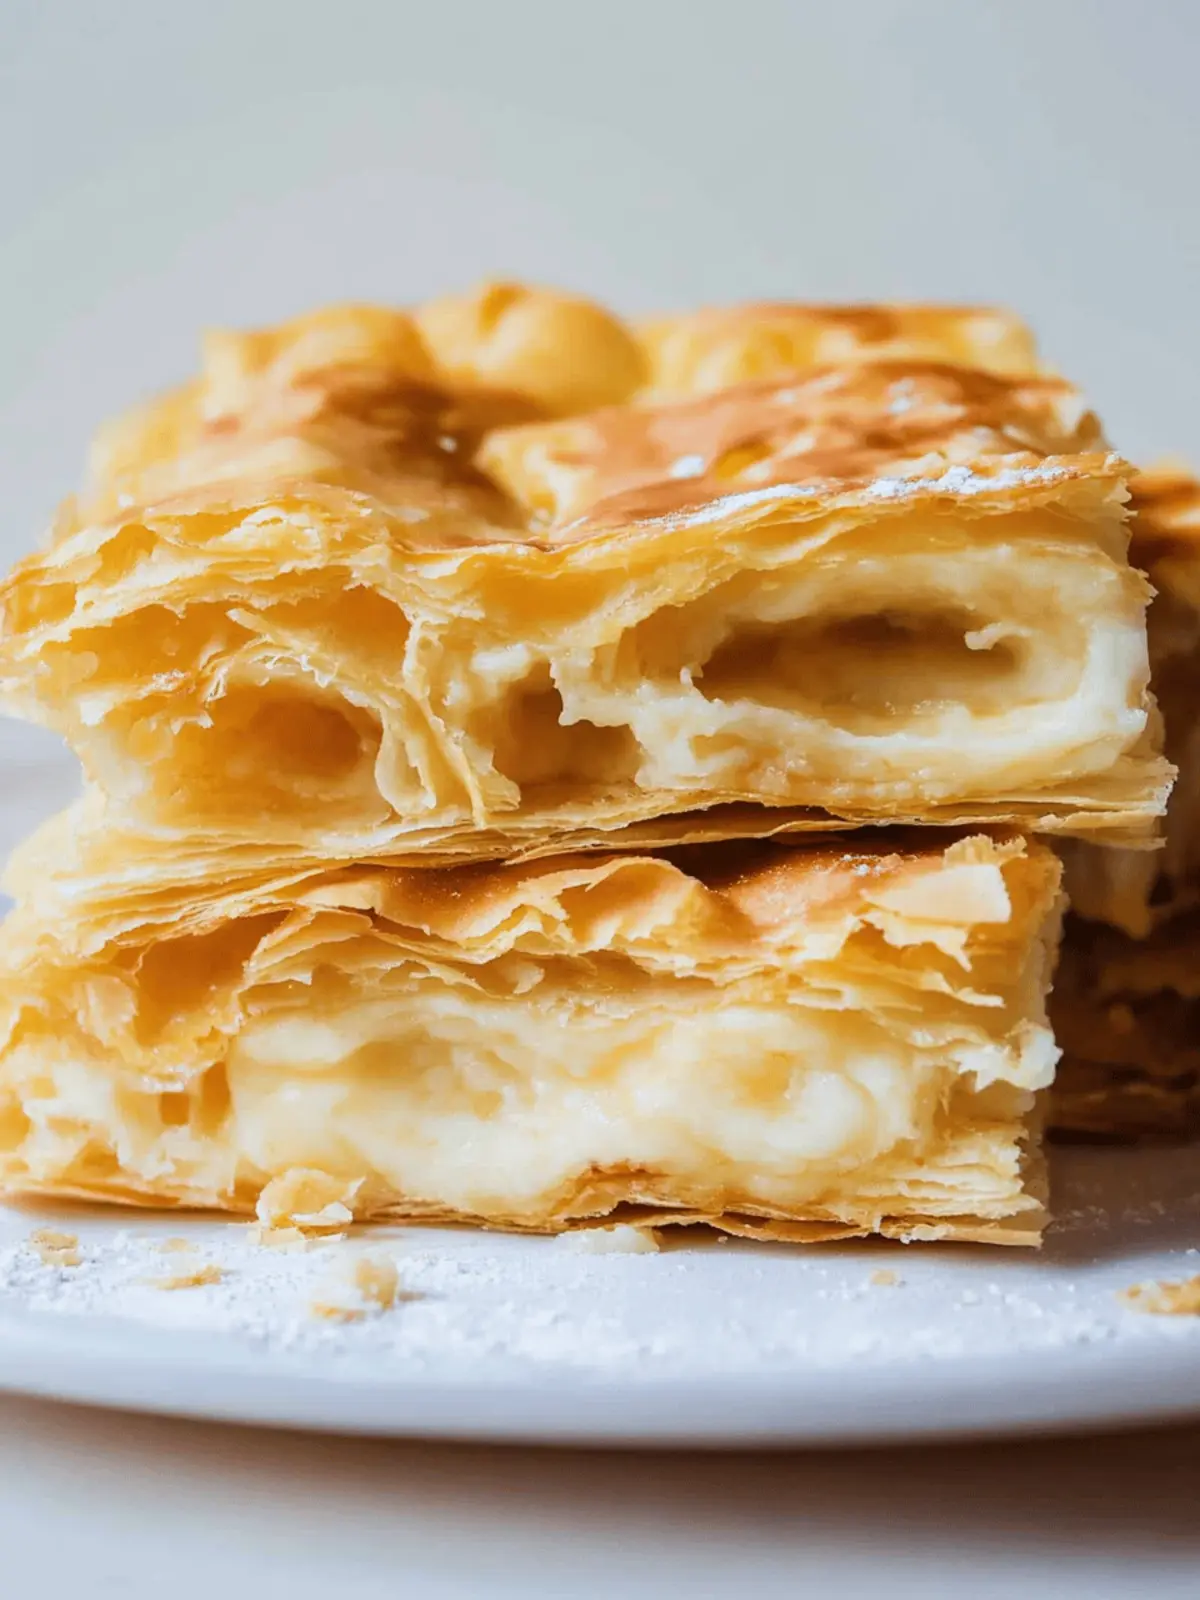
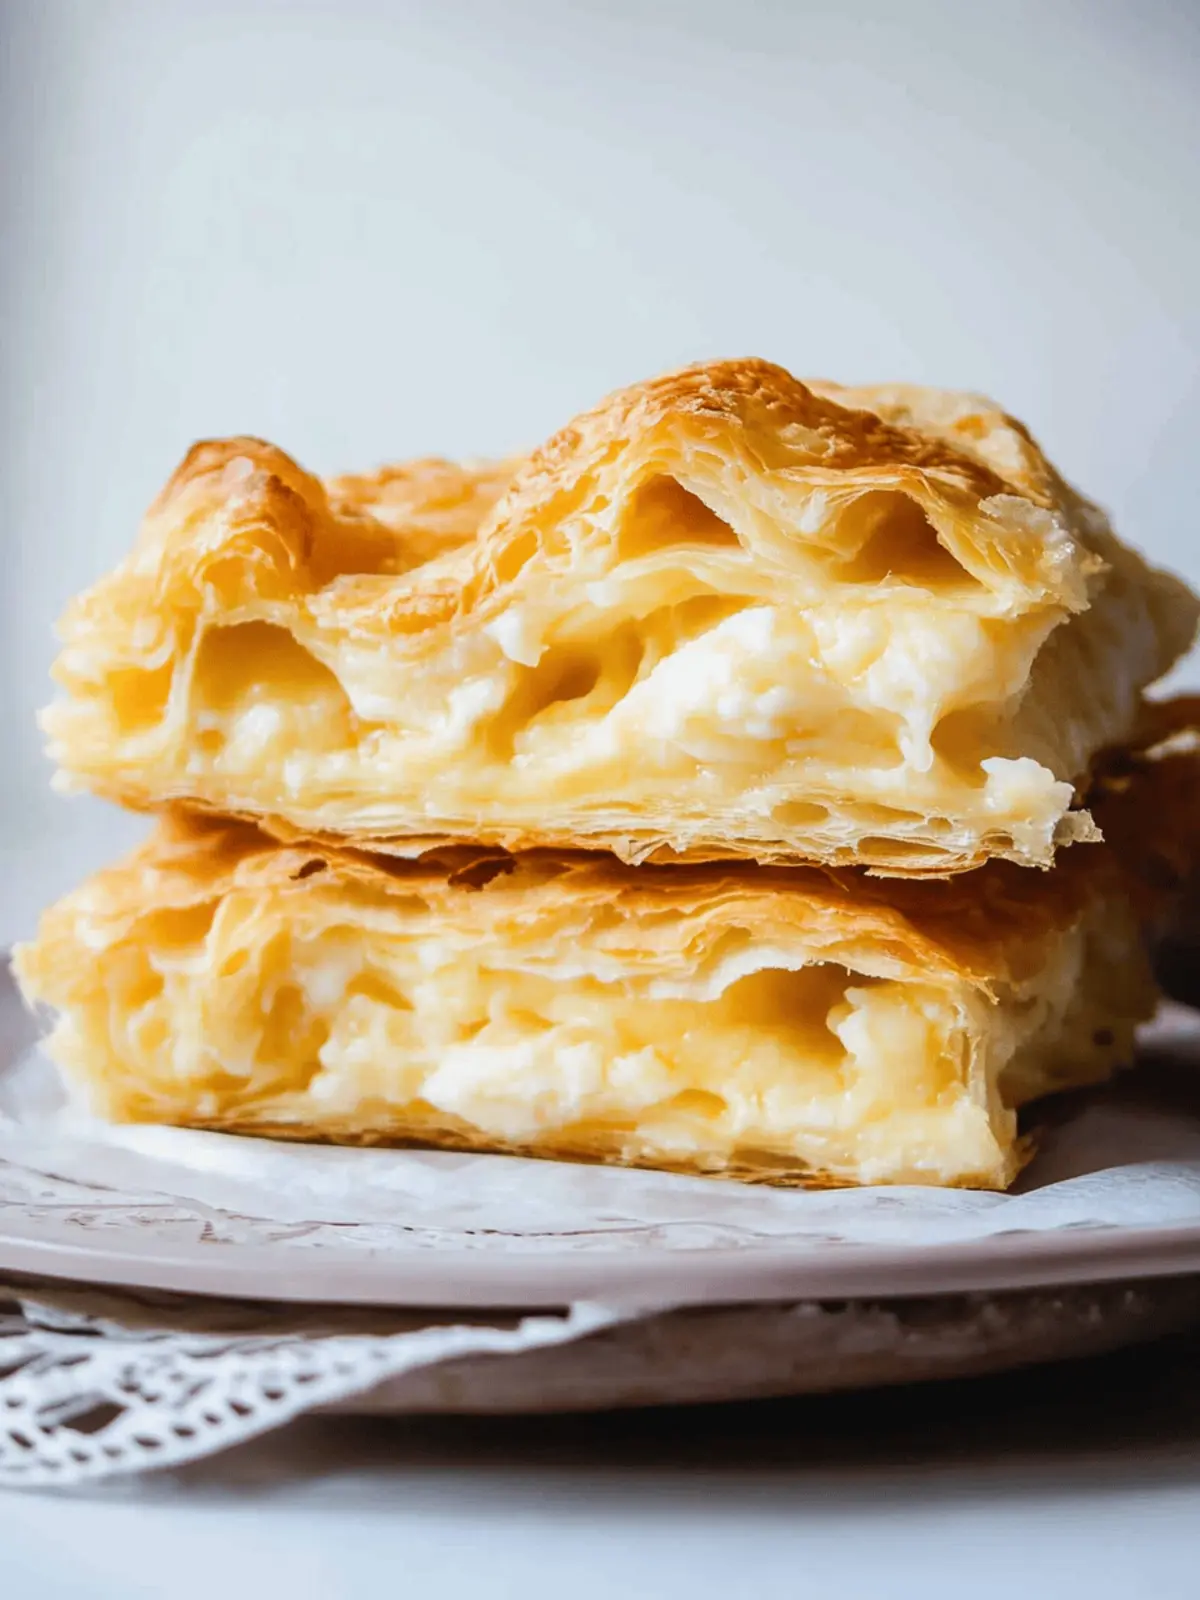
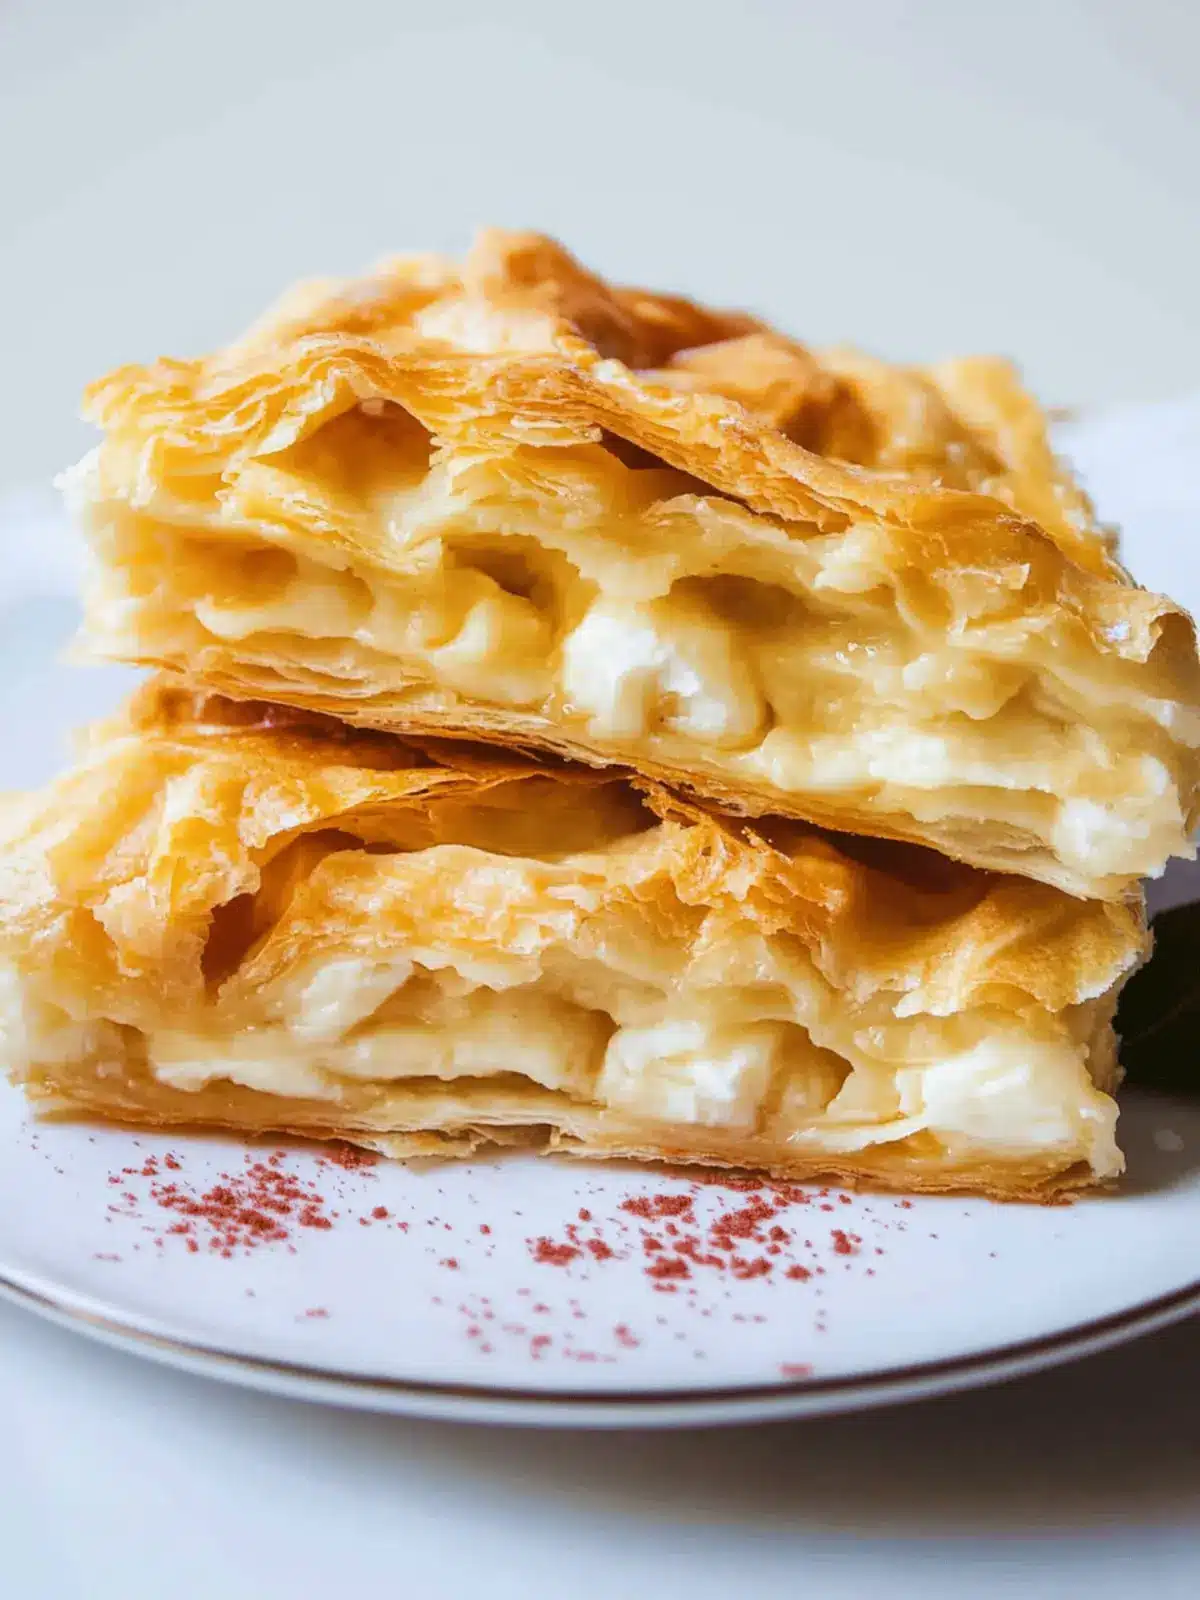
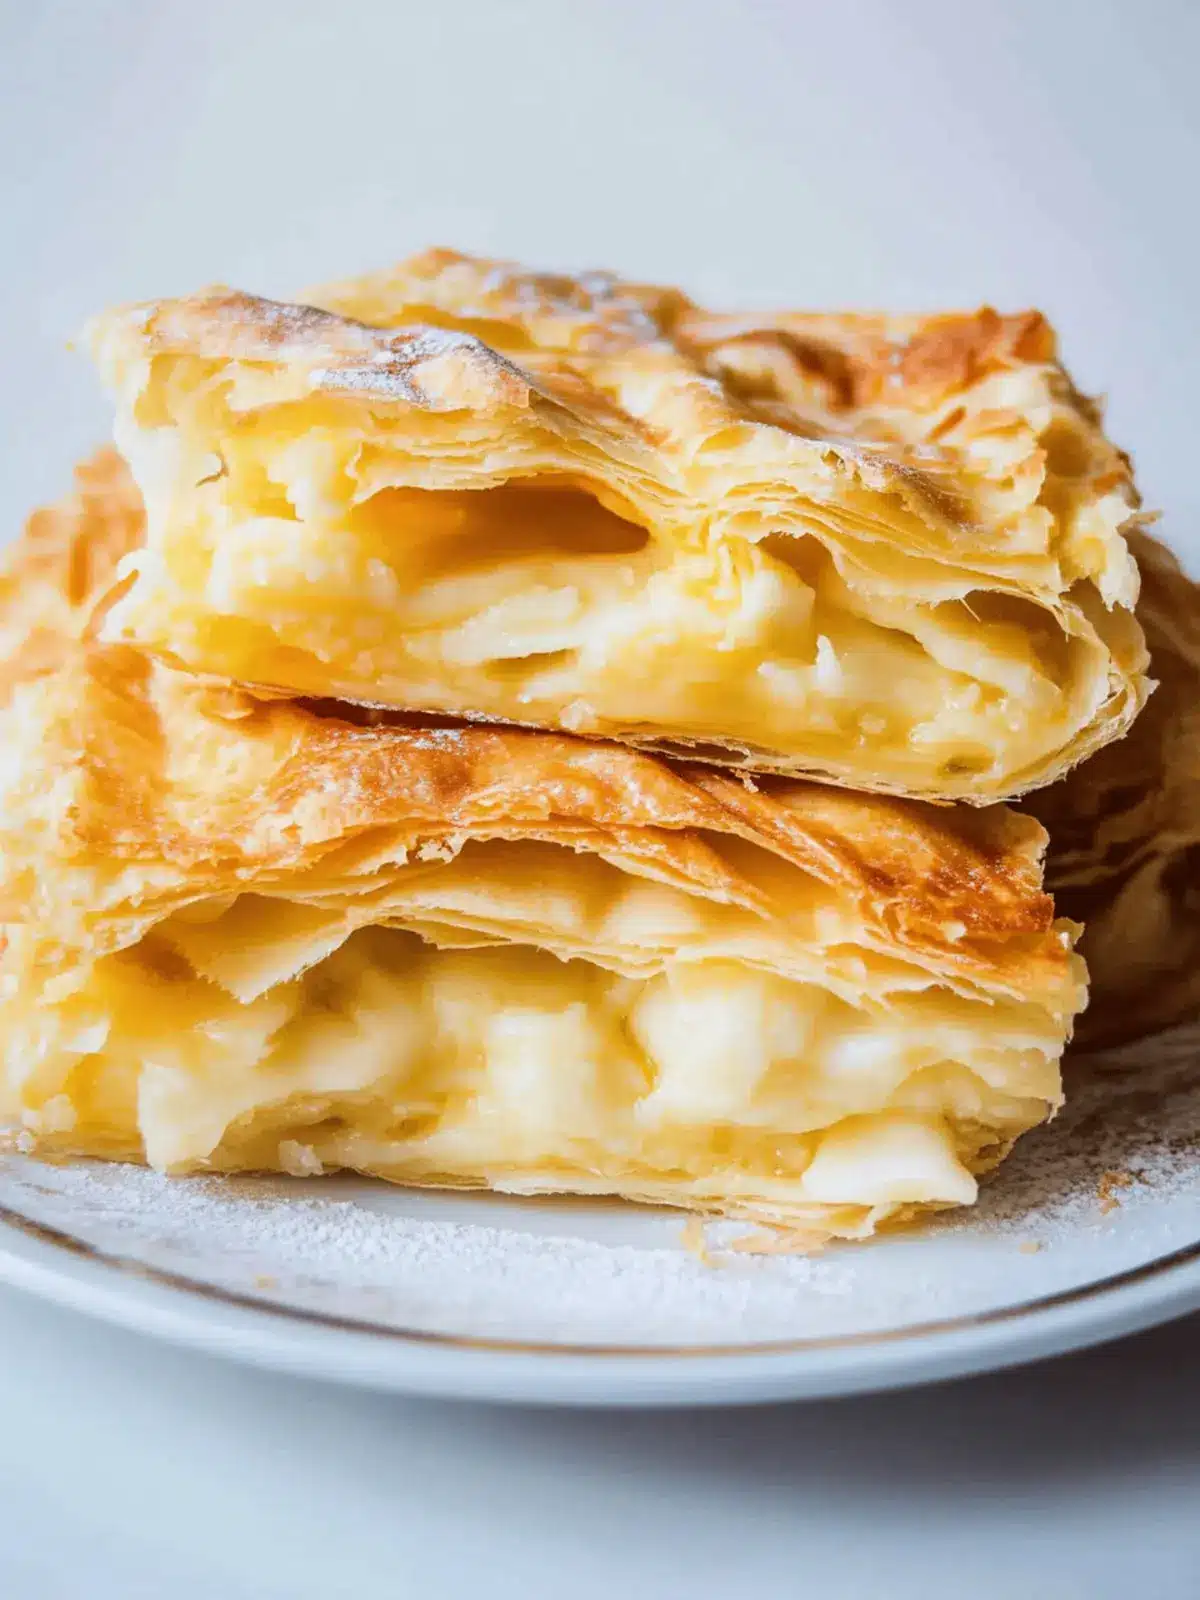
There’s something heartwarming about watching layers of phyllo dough transform into a beautiful, golden-brown dish—especially when that dish is Banitsa! I stumbled upon this delightful recipe during a conversation with a family friend, and the moment I tried it, I knew I had found a new favorite. The combination of creamy feta cheese and rich butter creates an indulgent filling that’s surprisingly easy to make.
As autumn settles in, the warmth of the oven and the aroma of baking Banitsa make for the perfect comfort food experience. You’ll only need a handful of ingredients—most of which might already be in your kitchen—to whip up this savory treat. In just 45 minutes, you can serve a dish that not only impresses but also delights both family and friends. So, let’s roll up our sleeves and dive into this simple yet satisfying recipe that’s perfect for any occasion!
Why is Banitsa a Must-Try Recipe?
Irresistible flavor: The combination of buttery phyllo and creamy feta provides a decadent taste experience.
Quick prep: Ready in just 15 minutes, you’ll spend minimal time in the kitchen.
Crowd pleaser: Perfect for gatherings, this dish will have everyone reaching for seconds!
Comforting dish: Warm, flaky layers evoke a sense of home and nostalgia.
Versatile: Perfect as an appetizer or main course, you can customize with your favorite herbs!
Banitsa Ingredients
• Get ready to create the ultimate cheesy delight!
For the Filling
- Butter – 1/2 cup / 100g, melted for that rich, savory flavor.
- Feta Cheese – 1/2 cup / 100g, crumbled for a deliciously creamy texture.
- Eggs – 5, to bind everything together and create a fluffy filling.
For the Dough
- Phyllo Sheets – 7 oz / 200g, the star of the show for that irresistible flaky crust.
This Banitsa recipe is not only easy but brings warmth to any table with its delicious layers!
How to Make Banitsa
-
Combine the eggs and melted butter in a bowl, mixing well until fully blended. Then, gently stir in the crumbled feta cheese, ensuring every bite will be packed with flavor.
-
Preheat your oven to 180°C (350°F), allowing it to reach the perfect baking temperature while you assemble your Banitsa.
-
Grease a smaller baking pan with a bit of butter or line it with parchment paper for easy removal. This will help achieve that delightful golden crust.
-
Layer the first sheet of phyllo dough in the greased pan. Spread a generous amount of the egg and feta filling evenly over the phyllo sheet in a thin layer, ensuring every edge is covered.
-
Repeat by adding another layer of phyllo dough on top of the filling. Continue this process, layering phyllo and filling, until you run out of the egg mixture, finishing with a top layer of phyllo.
-
Dot the top layer with a few chunks of butter, then sprinkle 1/2 cup of water evenly over the entire surface to ensure moisture while baking.
-
Bake in the preheated oven for about 30 minutes or until the Banitsa is golden brown and the edges are beautifully crisp. Keep an eye on it for that perfect color!
-
Slice and enjoy your warm, flaky Banitsa, savoring the delightful aroma as you share it with loved ones.
Optional: Serve with a side of yogurt for a refreshing contrast.
Exact quantities are listed in the recipe card below.
Expert Tips for Banitsa
-
Layer Wisely: Ensure you layer your phyllo and filling evenly. Avoid skipping layers as it helps achieve that classic flaky texture in your Banitsa.
-
Keep Moisture: Don’t skip sprinkling water on the top layer; this keeps your Banitsa moist while baking and prevents it from becoming too dry.
-
Watch the Baking Time: Ovens vary, so keep an eye on your Banitsa as it bakes. You want a perfect golden brown, not burnt edges!
-
Cool Before Slicing: Allow your Banitsa to cool for a few minutes before cutting. This helps set the layers and makes for a cleaner slice.
-
Experiment with Fillings: Feel free to add herbs or vegetables to the filling for more flavor. Spinach, herbs, or even seasoned meat can elevate your Banitsa experience!
How to Store and Freeze Banitsa
Fridge: Store leftover Banitsa in an airtight container in the fridge for up to 3 days. This keeps it fresh and ready to reheat whenever you need a comforting snack.
Freezer: Wrap individual slices tightly in plastic wrap and then in aluminum foil. Banitsa can be frozen for up to 2 months without losing flavor or texture.
Reheating: To reheat, simply place your Banitsa in a preheated oven at 180°C (350°F) for about 10-15 minutes until warmed through, ensuring that it retains its flaky goodness.
What to Serve with Banitsa?
Imagine gathering around the table with loved ones, ready to dive into a delicious spread that perfectly complements your warm, golden Banitsa.
-
Greek Salad: A refreshing mix of cucumbers, tomatoes, and olives adds a crunchy, zesty contrast to the richness of Banitsa. The flavors of fresh herbs brighten the entire meal.
-
Tzatziki Sauce: This creamy yogurt dip, infused with cucumber and garlic, elevates each bite of Banitsa, offering a refreshing tang that balances the warm filling.
-
Roasted Veggies: A medley of seasonal roasted vegetables brings earthy sweetness to your meal—think caramelized carrots, brussels sprouts, and bell peppers. Their vibrant colors will draw everyone’s attention.
-
Stuffed Grape Leaves: For a bite-sized companion, these vine-wrapped treats packed with rice and herbs deliver a burst of flavor that beautifully harmonizes with Banitsa.
-
White Wine: A glass of crisp, chilled white wine pairs beautifully, enhancing the complex flavors of your dish while providing a refreshing palate cleanse.
-
Baklava: For dessert, surprise your guests with sweet, flaky baklava. The honey and nuts create a delightful finish to an already indulgent meal, leaving everyone satisfied and smiling.
Banitsa Variations & Substitutions
Feel free to embrace your creativity and make this delightful dish your own!
-
Gluten-Free: Substitute phyllo with gluten-free pastry or homemade gluten-free dough for a suitable alternative.
-
Vegetarian Delight: Explore other cheeses like ricotta or goat cheese if feta isn’t your favorite, adding a new dimension of flavor.
-
Spice It Up: Add a pinch of red pepper flakes to the egg mixture for a subtle kick, turning up the heat with every bite.
-
Herbed Goodness: Incorporate fresh herbs like dill or parsley into the filling. This fragrant addition brightens the dish beautifully.
-
Savory Veggie: Add sautéed mushrooms or spinach to the filling mixture, introducing nutritious veggies for a heartier Banitsa that’s oh-so-satisfying.
-
Nutty Crunch: Sprinkle crushed nuts like walnuts or almonds on the layers for added texture and a delightful crunch that surprises the palate.
-
Smoky Flavor: Mix in a touch of smoked paprika for a warming, smoky essence that elevates the traditional taste profile.
-
Creamy Texture: Swap in a dollop of sour cream or Greek yogurt as part of the filling for an extra creamy and tangy surprise that enhances every bite.
Make Ahead Options
These Banitsa are perfect for busy home cooks looking to save time during the week! You can prepare the filling (with eggs, melted butter, and crumbled feta) up to 24 hours in advance. Just store it in an airtight container in the refrigerator to maintain its freshness. Additionally, you can layer the phyllo dough and the filling in your baking pan and refrigerate the assembled Banitsa for up to 3 days—just cover it tightly with plastic wrap. When you’re ready to enjoy, simply bake it at 180°C (350°F) for about 30 minutes until golden brown. This way, you still get that delicious flaky texture and cheesy goodness with minimal effort!
Banitsa Recipe FAQs
How do I choose the right phyllo sheets?
Absolutely! When selecting phyllo sheets, look for ones that are fresh, with no tears or dry spots. Fresh sheets should be pliable, and if they come in a box, check the expiry date. You want a pack that’s been kept in the fridge or freezer for best results.
What’s the best way to store leftover Banitsa?
Very! After you’ve enjoyed the deliciousness, place any leftovers in an airtight container and keep it in the fridge. It will stay fresh for up to 3 days. If you want to save it longer, you can wrap slices tightly in plastic wrap and then in aluminum foil, storing them in the freezer for up to 2 months.
Can I freeze Banitsa and how do I do it?
Absolutely! To freeze, first cool the Banitsa completely. Then, wrap individual slices tightly in plastic wrap, ensuring no air escapes to prevent freezer burn. Next, place the wrapped slices into a freezer-safe container or bag. Remember to label it with the date! When you’re ready to enjoy, simply reheat in a preheated oven at 180°C (350°F) for about 10-15 minutes until thoroughly warmed.
What if my Banitsa isn’t browning properly?
No worries! If you find your Banitsa is not browning as it should, check your oven temperature. Some ovens can be off by a few degrees, so if it’s cooking unevenly, you might want to rotate it halfway through cooking. Additionally, try adding a little more butter to the top layer, as it helps achieve that delightful golden color.
Is this recipe suitable for people with gluten allergies?
Very! Unfortunately, traditional phyllo dough contains gluten, so if you’re preparing for someone with gluten sensitivity, I recommend looking for gluten-free phyllo options available at health food stores or online. You could also experiment with similar recipes using gluten-free alternatives like almond flour or corn tortillas as a base.
Can I add other ingredients into my Banitsa?
Of course! The beauty of Banitsa lies in its versatility. You can easily mix in additional fillings like sautéed spinach, herbs, or even ground meat to create variations that cater to your taste preferences. Just make sure not to overload the filling, as it can make the phyllo difficult to work with. Happy cooking!
Irresistible Banitsa Recipe: Flaky, Cheesy Delight at Home
Ingredients
Equipment
Method
- Combine the eggs and melted butter in a bowl, mixing well until fully blended. Then, gently stir in the crumbled feta cheese, ensuring every bite will be packed with flavor.
- Preheat your oven to 180°C (350°F), allowing it to reach the perfect baking temperature while you assemble your Banitsa.
- Grease a smaller baking pan with a bit of butter or line it with parchment paper for easy removal.
- Layer the first sheet of phyllo dough in the greased pan. Spread a generous amount of the egg and feta filling evenly over the phyllo sheet.
- Repeat by adding another layer of phyllo dough on top of the filling. Continue this process until you run out of the egg mixture, finishing with a top layer of phyllo.
- Dot the top layer with a few chunks of butter, then sprinkle 1/2 cup of water evenly over the entire surface.
- Bake in the preheated oven for about 30 minutes or until the Banitsa is golden brown and the edges are beautifully crisp.
- Slice and enjoy your warm, flaky Banitsa.

