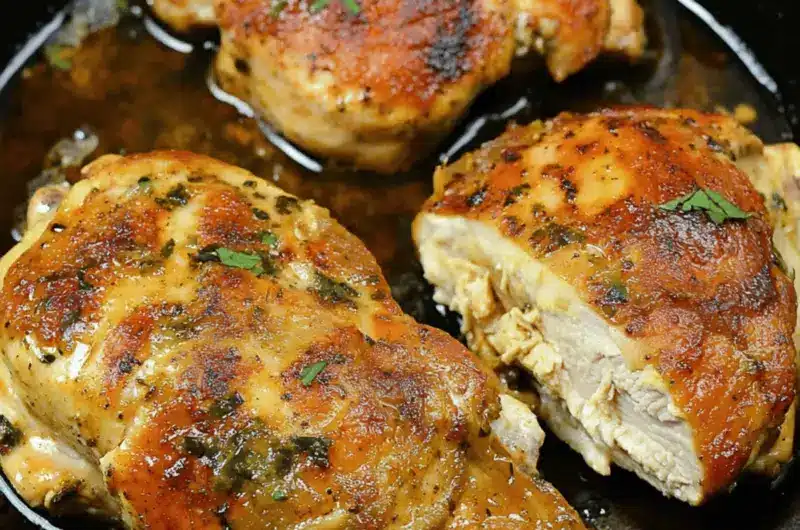
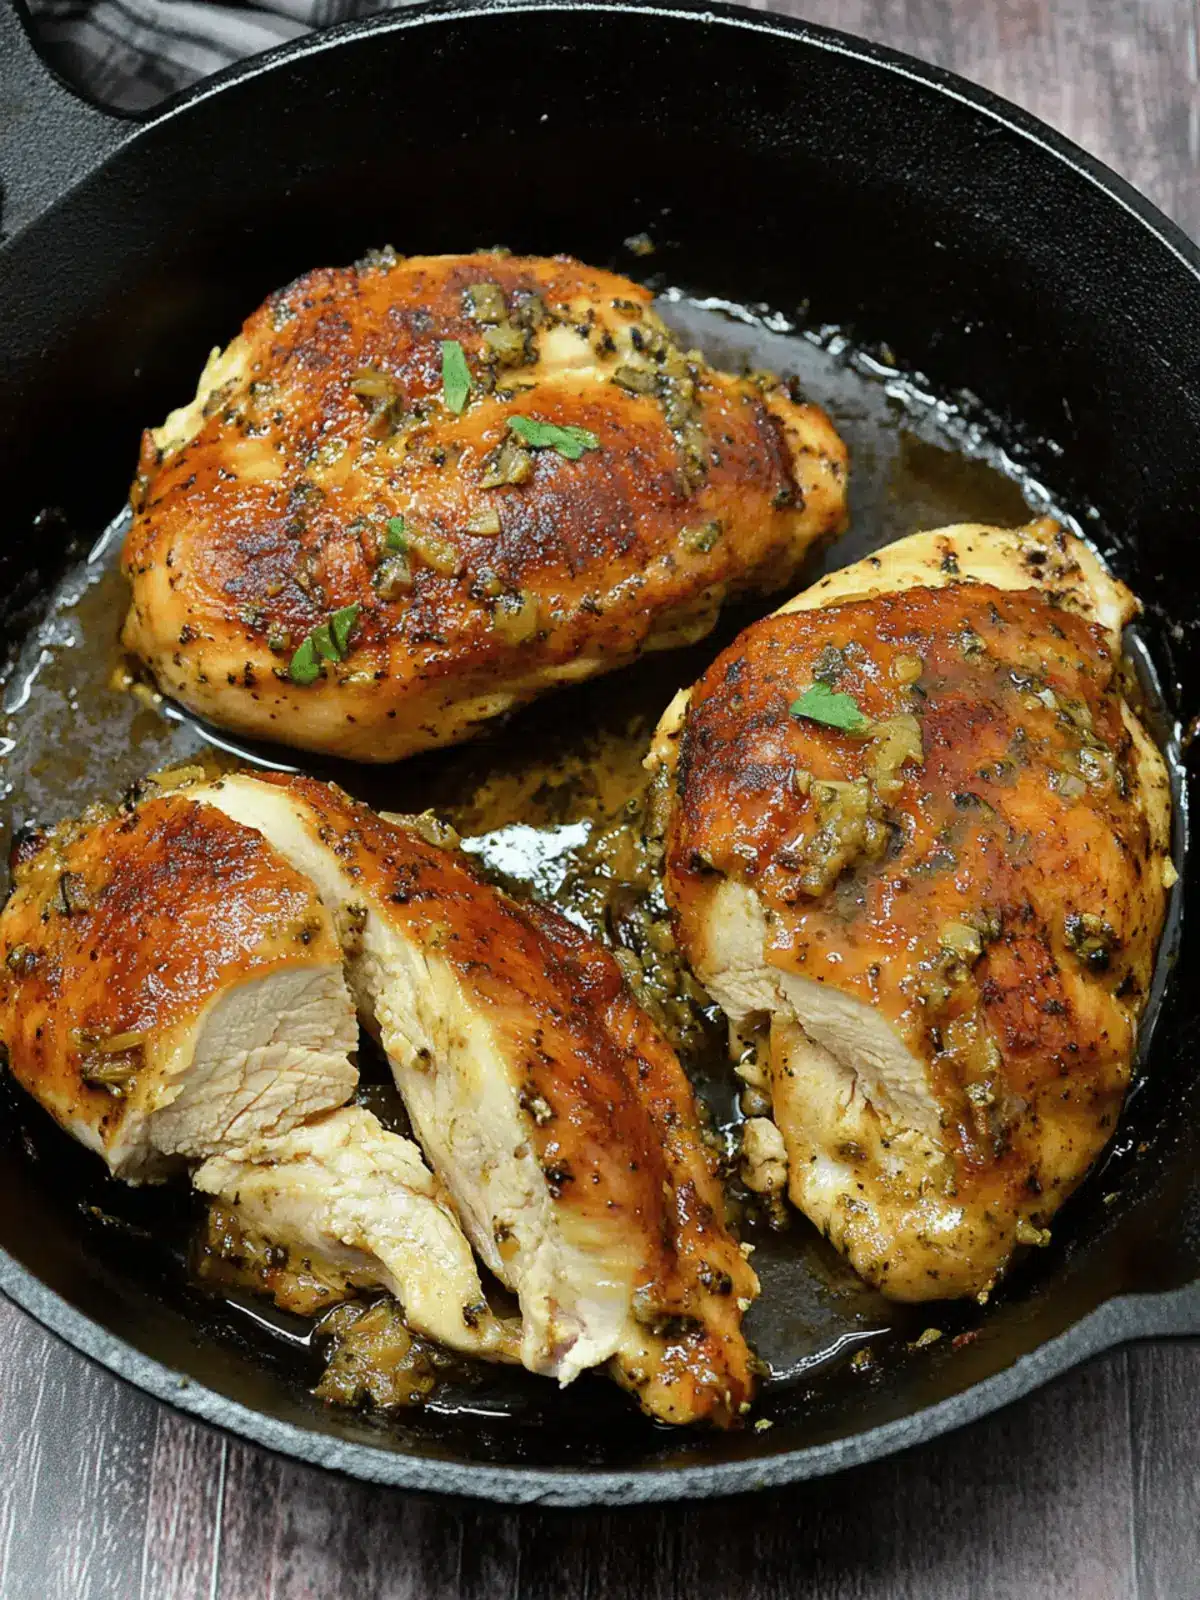
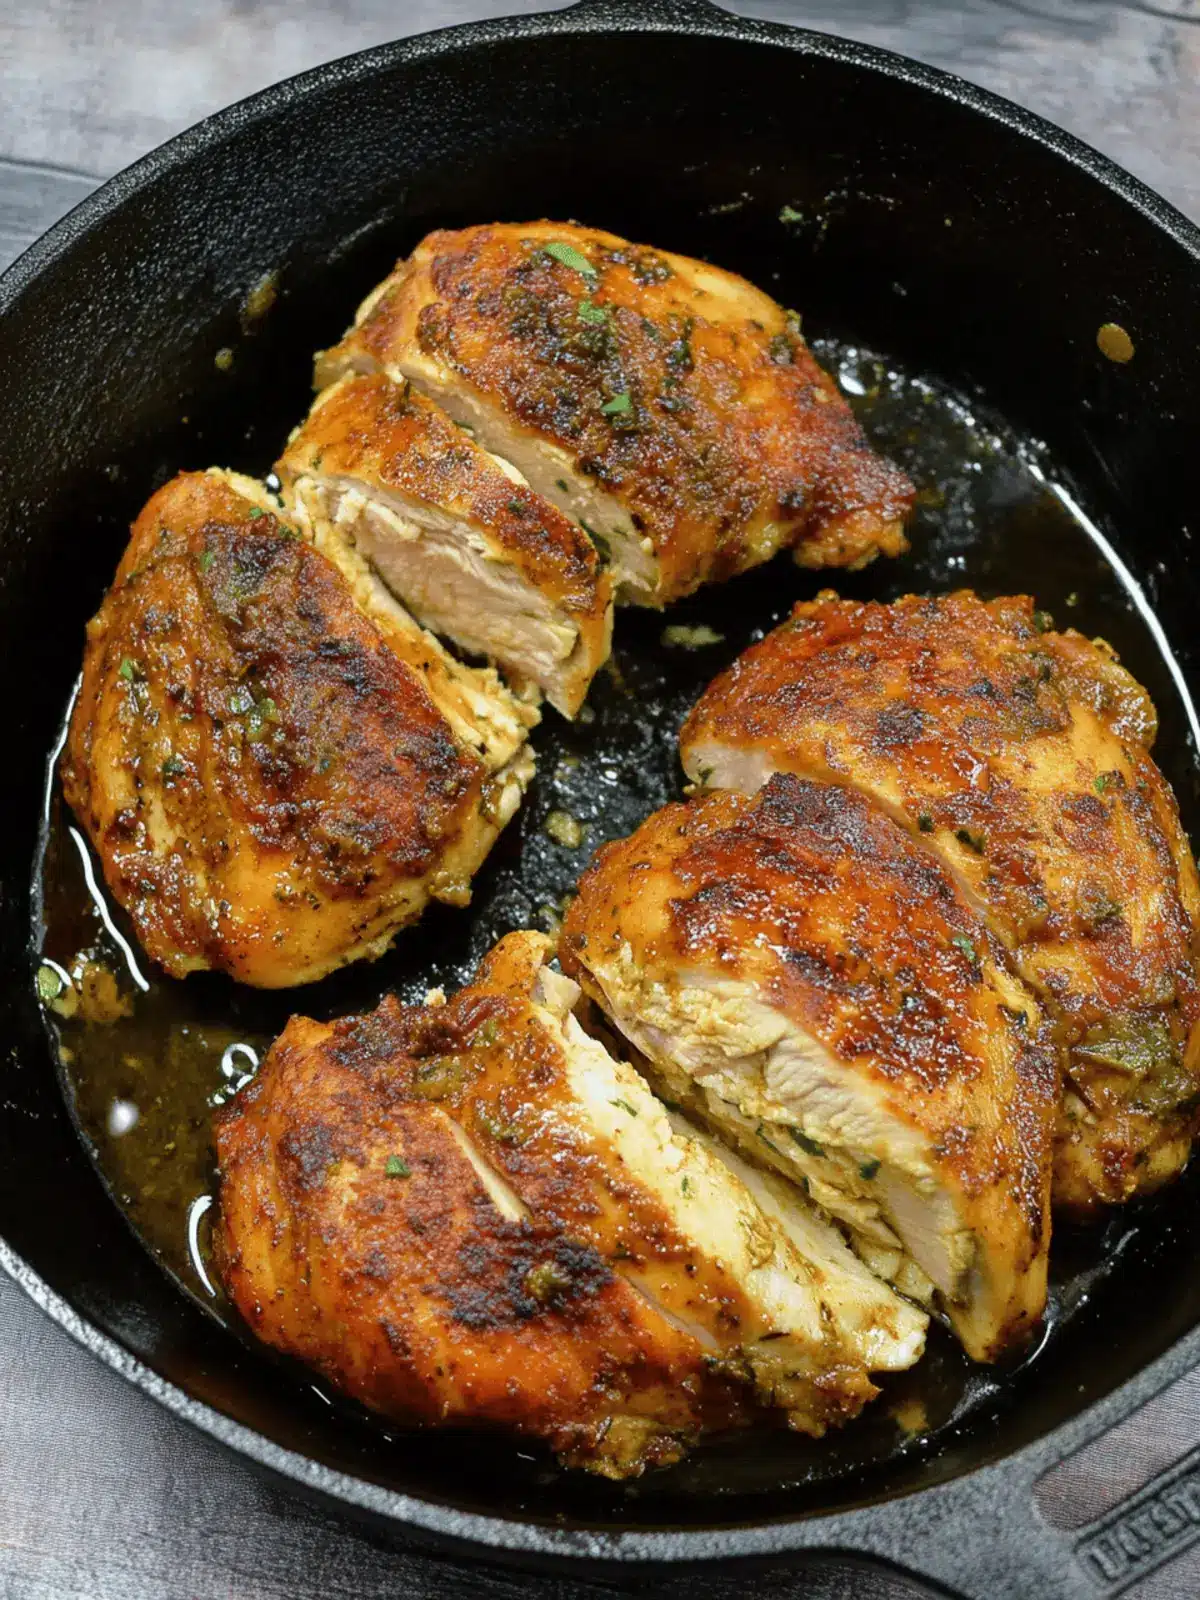
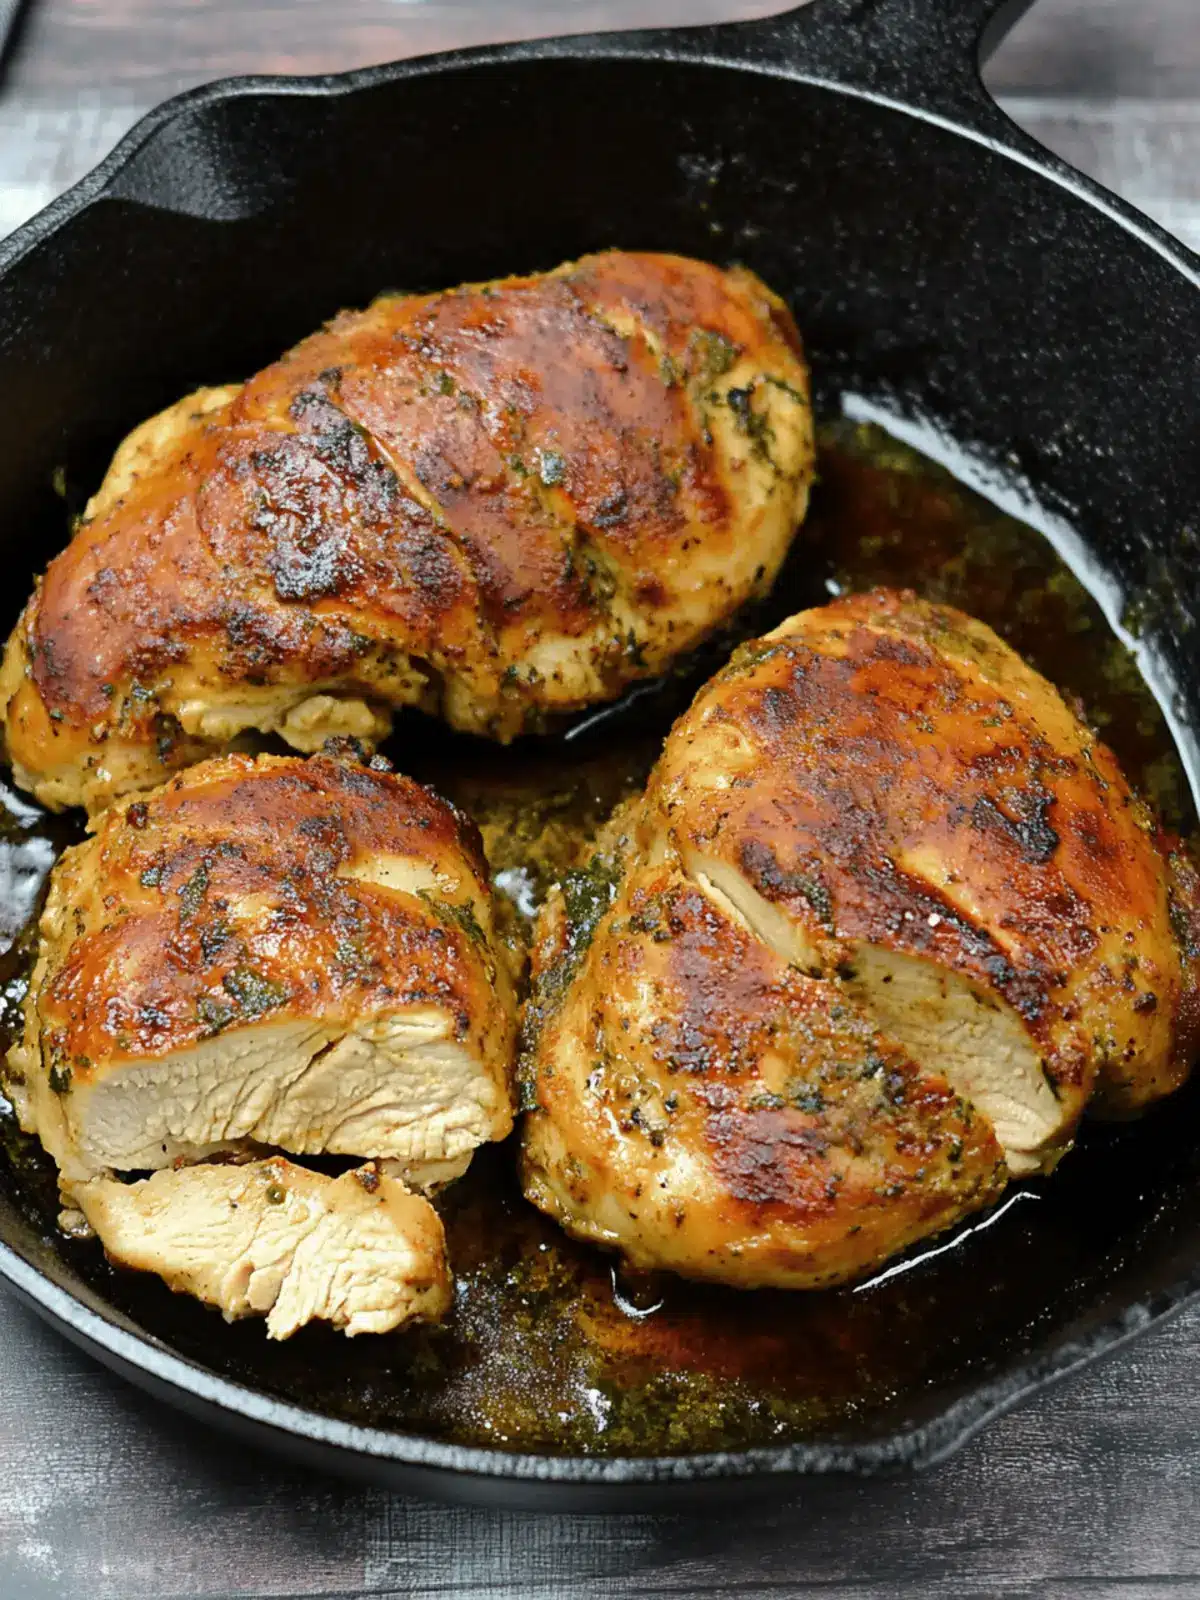
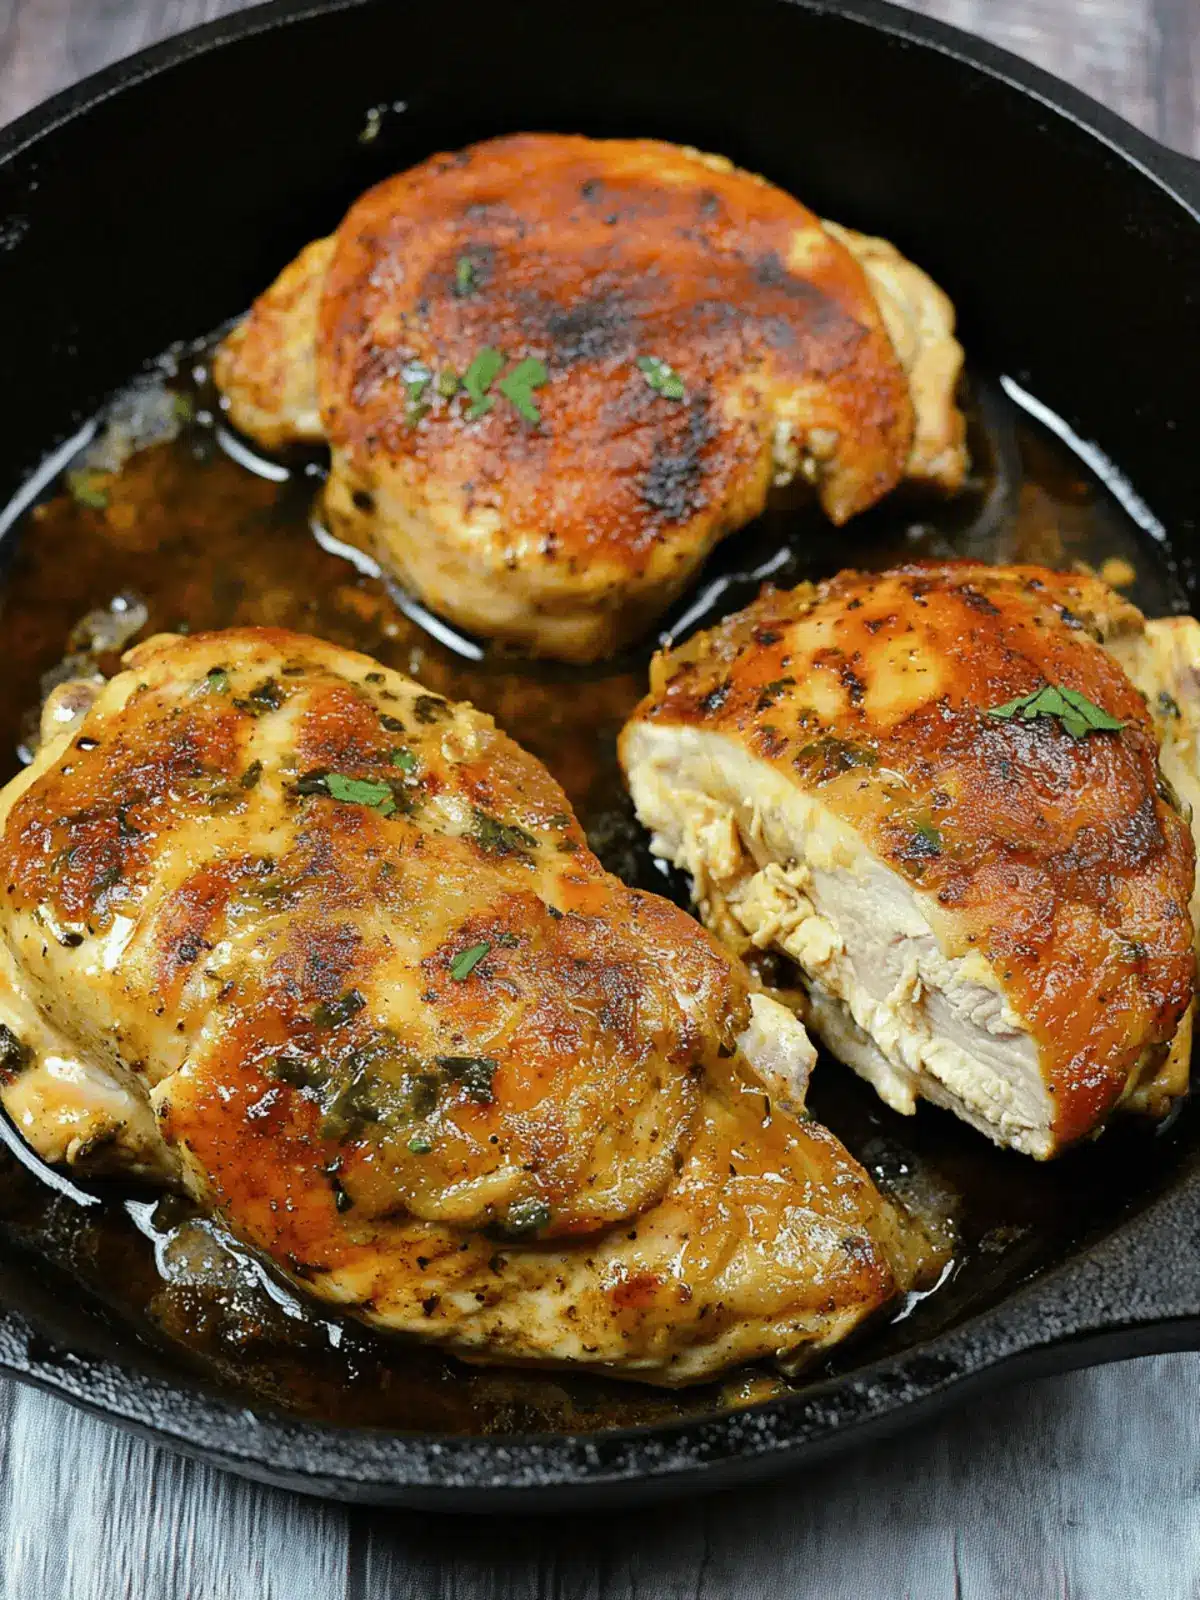
There’s nothing quite like the satisfying sound of sizzling chicken in a cast iron skillet, reminding me that great meals can be comforting yet uncomplicated. On those busy weeknights when the clock seems to race, this Easy One-Pan Cast Iron Skillet Chicken Breasts recipe becomes my secret weapon. With just a few simple ingredients and minimal cleanup, you can transform ordinary chicken into a juicy, golden masterpiece bursting with flavor.
I first fell for this dish when I noticed how effortlessly the cast iron skillet creates that perfect sear, locking in moisture and allowing me to whip up a weeknight dinner in under 30 minutes. Whether enjoyed on its own or tossed into a vibrant salad, this versatile recipe adapts effortlessly to my cravings.
Imagine indulging in chicken so tender it practically melts in your mouth, paired with the warm aroma of garlic and herbs. It’s the kind of meal that turns mundane evenings into culinary experiences worth savoring. Ready to bring this magic into your kitchen? Let’s dive in!
Why choose Cast Iron Skillet Chicken Breasts?
Simplicity at its finest: This recipe requires minimal prep and cleanup, making it perfect for busy weeknights.
Juicy Perfection: The cast iron skillet locks in moisture, ensuring each bite is tender and flavorful.
Flavorful Options: Versatile enough to adapt with different seasonings or toss in vegetables for a complete meal.
Crowd-Pleasing: Whether it’s a family dinner or a savory addition to a salad, this dish satisfies everyone’s palate.
Quick Cooking: Ready in under 30 minutes, it’s a fantastic solution for those hectic evenings when time is tight. Don’t forget to check out meal prep ideas to make your week even smoother!
Cast Iron Skillet Chicken Breasts Ingredients
• To create this mouthwatering dish, gather these essentials to ensure your Cast Iron Skillet Chicken Breasts are bursting with flavor.
For the Chicken
- Boneless, Skinless Chicken Breasts – About 2 pounds serves as the primary protein source; consider using thighs for a richer taste.
- Sea Salt – Enhances flavor; adjust according to your preference after cooking.
- Black Pepper – Adds a mild heat; white pepper can be used for a different touch.
For the Seasoning
- Paprika – Provides smokiness and vibrant color; use smoked paprika for an extra flavor punch.
- Garlic Powder – Imparts a savory depth; fresh minced garlic (1-2 cloves) serves as a great substitute.
- Dried Parsley – Offers a bright, herby note; fresh parsley can provide even better freshness.
For Cooking
- Olive Oil – Essential for searing to prevent sticking; avocado oil is a suitable high-heat substitute.
- Butter – Adds richness to the dish; using unsalted butter gives you better control over seasoning.
How to Make Cast Iron Skillet Chicken Breasts
-
Preheat the oven to 400°F. This step ensures that your chicken will cook evenly throughout, giving you that perfect texture.
-
Season the chicken breasts generously with sea salt, black pepper, paprika, garlic powder, and dried parsley. Feel free to adjust these seasonings to suit your taste!
-
Heat a cast iron skillet over medium heat and add olive oil. Once the oil is shimmering, carefully place the chicken breasts in the skillet. Sear for 5-10 minutes until they develop a beautiful golden brown color, turning once for even cooking.
-
Add butter to the skillet, allowing it to melt and mingle with the chicken juices. Baste the chicken with the melted juices for extra moisture and flavor.
-
Transfer the skillet to the preheated oven, baking the chicken for 15-20 minutes. You’ll know it’s ready when the juices run clear and a meat thermometer reads 165°F.
-
Remove the skillet from the oven, slice your chicken, and serve it with the flavorful juices left in the pan.
Optional: Drizzle with a squeeze of fresh lemon for a delightful burst of acidity.
Exact quantities are listed in the recipe card below.
Make Ahead Options
Meal prepping is a game changer for busy home cooks, and you can easily prepare components of these Cast Iron Skillet Chicken Breasts in advance! Season the chicken breasts (about 2 pounds) and store them in an airtight container in the refrigerator for up to 24 hours. This allows the flavors to meld beautifully. Additionally, you can chop your garlic and parsley ahead of time, storing them in separate containers for quick access. When you’re ready to cook, simply sear the chicken as instructed, baste with butter, then bake for 15-20 minutes until perfectly cooked. This method not only saves time but guarantees delicious, juicy chicken will grace your dinner table with minimal effort!
Expert Tips for Cast Iron Skillet Chicken Breasts
- Use a Thermometer: Always use an instant-read thermometer to ensure chicken reaches 165°F. This avoids overcooking while ensuring juicy perfection.
- Baste Often: Basting the chicken with melted butter and juices keeps it moist, amplifying flavor and tenderness in your cast iron skillet chicken breasts.
- Let It Rest: Allow the chicken to rest for a few minutes after cooking. This helps retain the juices, making every bite succulent and flavorful.
- Season Generously: Don’t shy away from seasoning; it’s key to elevating the taste of your cast iron skillet chicken breasts. Adjust to your preference, but remember, flavorful food is satisfying!
- Ensure a Good Sear: Make sure the skillet is hot enough before adding chicken to achieve that delicious golden-brown crust, enhancing both flavor and texture.
Cast Iron Skillet Chicken Breasts Variations
Get ready to unleash your culinary creativity with these delightful twists!
-
Thigh Swap: Use boneless, skinless chicken thighs for a richer, juicier flavor that truly satisfies. The extra fat content brings a depth of taste that’s hard to resist.
-
Herb Infusion: Swap in fresh herbs like thyme or rosemary for an aromatic lift. Just toss in a handful while searing for a fragrant boost that tantalizes your taste buds.
-
Smoky Flavor: Replace regular paprika with smoked paprika for a deeper, bolder flavor profile. It adds a lovely warmth that enhances the savory goodness of the chicken.
-
Citrus Zest: Add a sprinkle of lemon or orange zest to the seasoning mix. This refreshing twist brightens up the dish, elevating every bite with a zesty punch!
-
Colorful Veggies: Enhance your meal by adding veggies such as bell peppers, zucchini, or asparagus to the skillet. They roast beautifully alongside the chicken, creating a vibrant one-pan dinner.
-
Heat Factor: Spice things up by adding red pepper flakes or diced jalapeños to your seasoning. A little kick can take your chicken from simple to sensational!
-
Nutty Addition: For a delightful crunch, sprinkle some toasted almond or walnut slices on top before serving. It adds texture and an unexpected richness that complements the chicken perfectly.
-
Creamy Twist: Drizzle some heavy cream or add a dollop of sour cream at the end for a luscious, creamy sauce. It transforms your dish into a comforting masterpiece that’s hard to resist!
How to Store and Freeze Cast Iron Skillet Chicken Breasts
Fridge: Store leftovers in an airtight container for up to 4 days. Allow the chicken to cool to room temperature before refrigerating to maintain freshness.
Freezer: For longer storage, freeze the chicken in a sealed freezer-safe bag or container for up to 3 months. Be sure to label with the date!
Reheating: To reheat, place frozen chicken in the fridge overnight to thaw, then microwave or reheat in a skillet over low heat until warmed through.
Wrap and Protect: Wrap individual pieces in plastic wrap or foil before freezing to prevent freezer burn, keeping your cast iron skillet chicken breasts delicious for future meals.
What to Serve with Cast Iron Skillet Chicken Breasts?
Who doesn’t love a well-rounded meal that excites the senses and brings the family together?
-
Creamy Mashed Potatoes: Their smooth texture pairs wonderfully with the juicy chicken, soaking up the flavors from the pan drippings.
-
Honey Glazed Carrots: These sweet and tender veggies add a pop of color and a hint of sweetness, creating a delightful contrast.
-
Garlic Roasted Asparagus: With its crunchy exterior and tender bite, asparagus tossed in garlic complements the chicken’s savory profile beautifully.
-
Fresh Garden Salad: Toss in vibrant greens with a light lemon vinaigrette for a refreshing balance and to cut through the richness of the chicken.
-
Quinoa Pilaf: This nutty grain provides a protein-packed base that absorbs all the delicious flavors, transforming your meal into a hearty feast.
-
Crusty Artisan Bread: A slice of warm, crusty bread is perfect for mopping up juices, turning every bite into a delightful experience.
-
Sparkling Lemonade: A zesty drink gives a refreshing twist, enhancing the meal while cleansing the palate with each sip.
-
Chocolate Mousse: For dessert, this rich indulgence will punctuate your meal with a touch of elegance, ensuring everyone leaves satisfied.
Cast Iron Skillet Chicken Breasts Recipe FAQs
How do I choose the best chicken breasts for this recipe?
Absolutely! When selecting chicken breasts, look for boneless and skinless pieces that are plump and have a uniform color. Avoid those with dark spots or an off smell. Freshness is key! If you prefer a richer flavor, you might consider using boneless skinless chicken thighs instead.
What’s the best way to store leftover Cast Iron Skillet Chicken Breasts?
Very straightforward! Store your leftovers in an airtight container and refrigerate them for up to 4 days. It’s best to let the chicken cool to room temperature before sealing it to preserve its juiciness. If you have more than you can eat, consider freezing for later.
Can I freeze the cooked chicken? If so, how?
Yes, you can! To freeze your cast iron skillet chicken breasts, allow them to cool completely and wrap each piece tightly in plastic wrap or foil. Then, place them in a sealed freezer-safe bag or container, labeling it with the date. They can last in the freezer for up to 3 months. When ready to enjoy, thaw overnight in the fridge and reheat.
What should I do if my chicken breasts are dry after cooking?
Don’t worry; this can happen to the best of us! If your chicken is dry, remember to baste more during cooking next time, ensuring the melted butter envelops the chicken. Always use an instant-read thermometer to avoid overcooking. If dryness occurs, consider adding a sauce or topping such as a lemon garlic butter sauce to add moisture and flavor.
Are there any dietary considerations I should be aware of?
Absolutely! This recipe is naturally gluten-free and low-carb, making it a wonderful option for many diets. However, if you or anyone dining with you has allergies, ensure that the olive oil used is free from allergens. Additionally, if serving to pets, avoid garlic and onion, which can be harmful to them.
How can I add vegetables to this recipe for a complete meal?
Great idea! You can enhance your meal by adding vegetables. Simply chop your favorite veggies like bell peppers, asparagus, or zucchini, and toss them into the skillet around the chicken during the last 10 minutes of cooking. They’ll roast beautifully alongside your cast iron skillet chicken breasts, creating a flavorful one-pan dish!
Savory Cast Iron Skillet Chicken Breasts Made Easy at Home
Ingredients
Equipment
Method
- Preheat the oven to 400°F.
- Season the chicken breasts generously with sea salt, black pepper, paprika, garlic powder, and dried parsley.
- Heat a cast iron skillet over medium heat and add olive oil. Once the oil is shimmering, carefully place the chicken breasts in the skillet. Sear for 5-10 minutes until they develop a golden brown color, turning once.
- Add butter to the skillet, allowing it to melt and mingle with the chicken juices. Baste the chicken with the melted juices.
- Transfer the skillet to the preheated oven, baking the chicken for 15-20 minutes until the juices run clear and a meat thermometer reads 165°F.
- Remove the skillet from the oven, slice your chicken, and serve with the flavorful juices in the pan.
- Optional: Drizzle with a squeeze of fresh lemon for a delightful burst of acidity.

