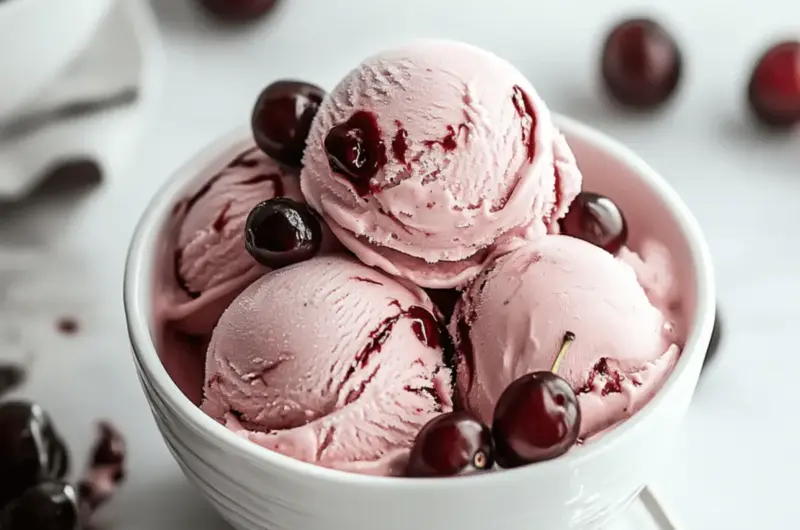
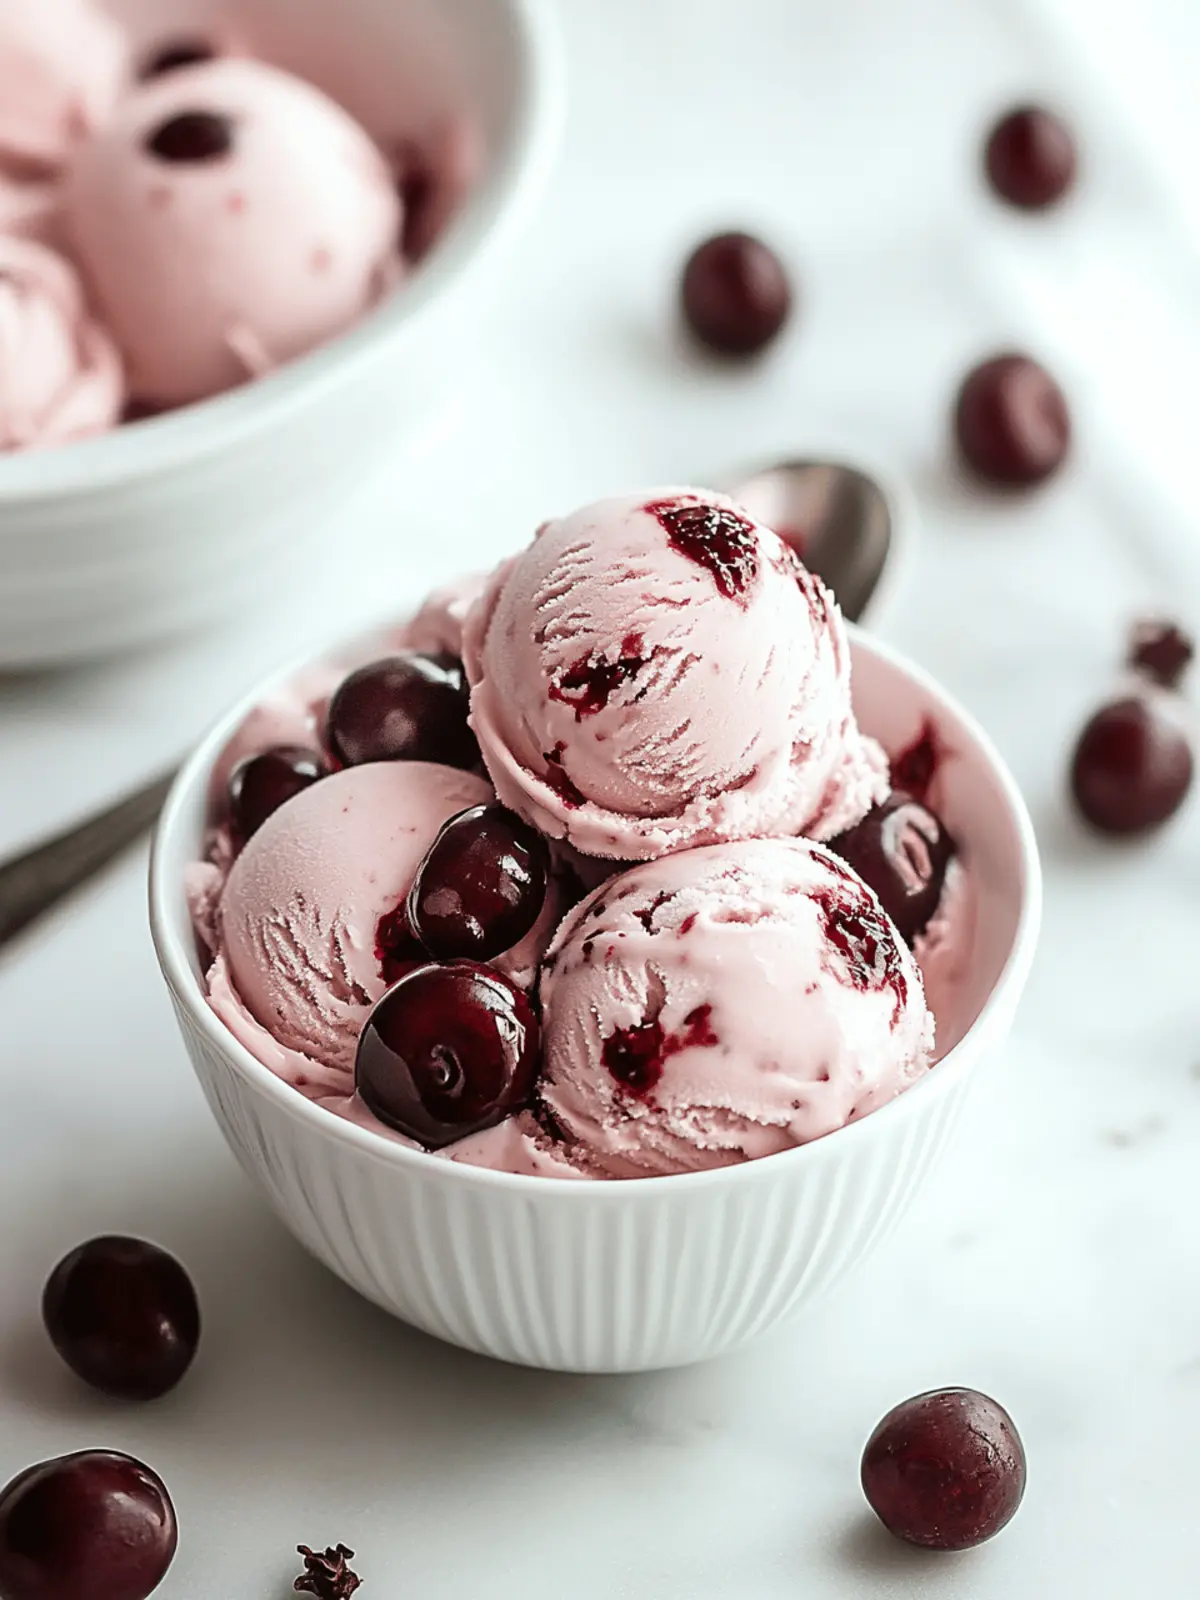
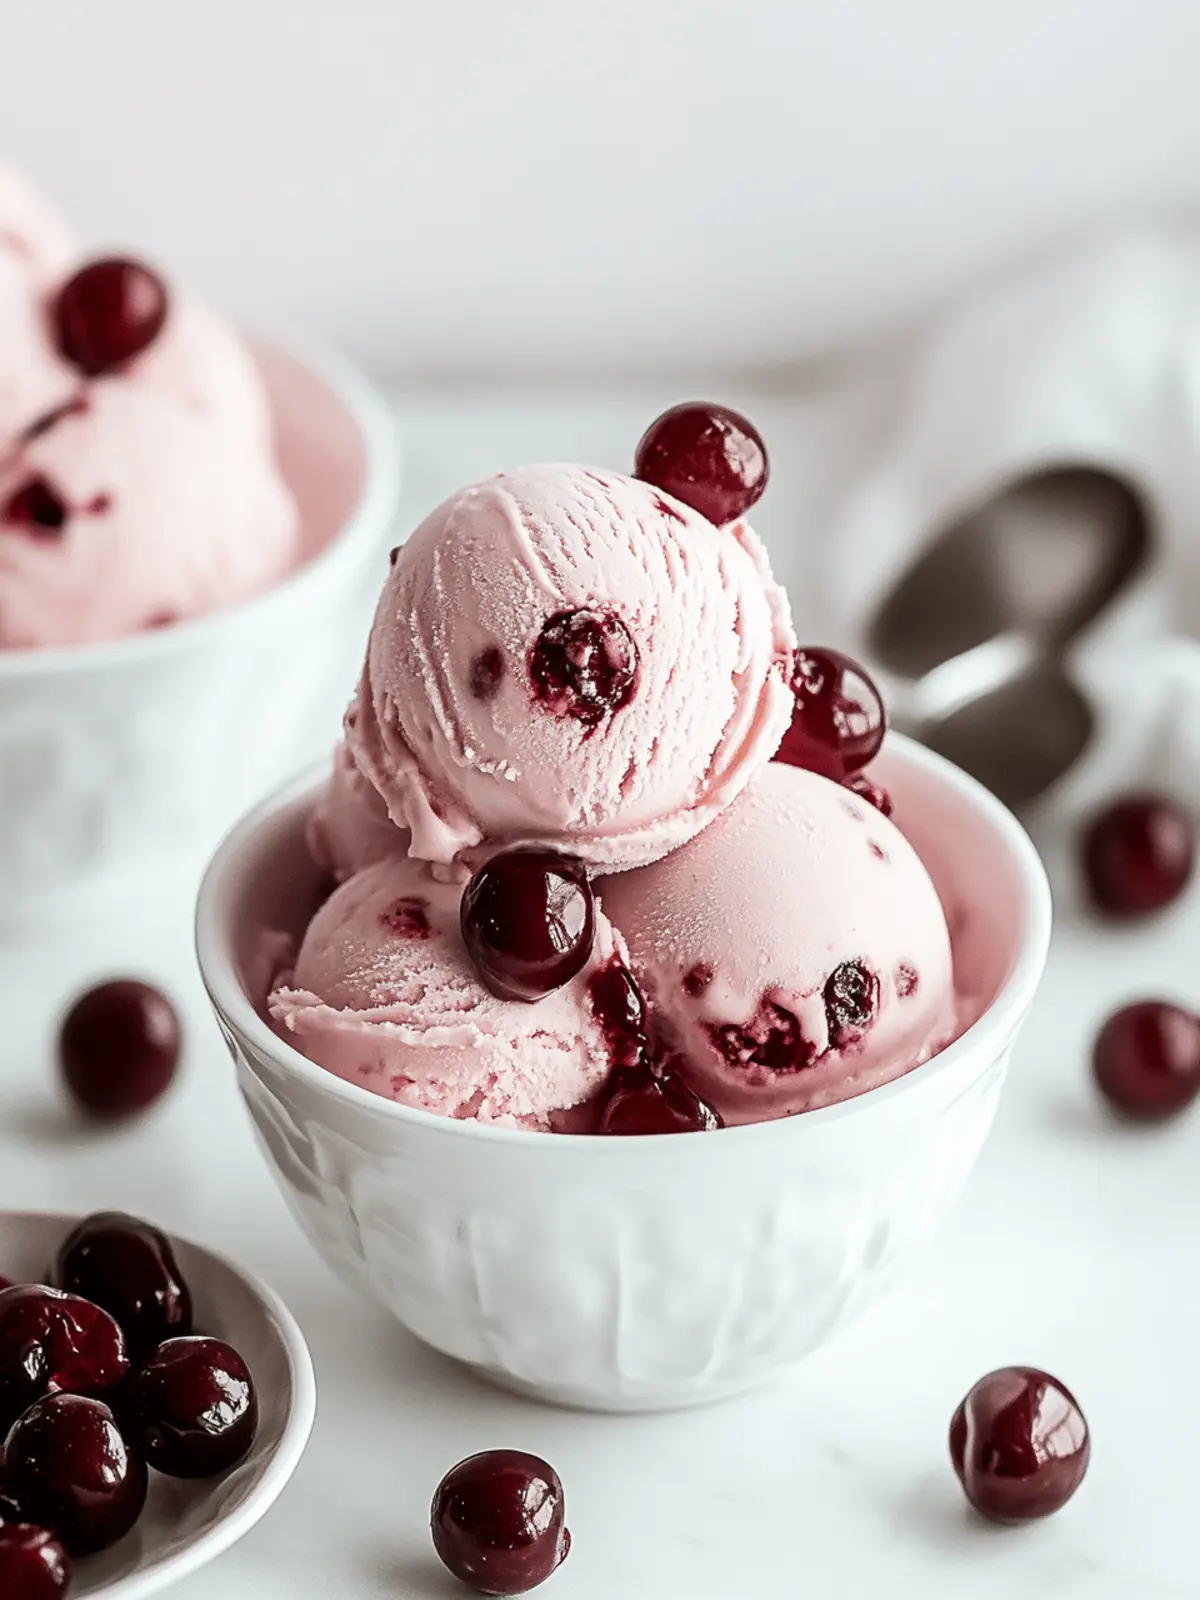
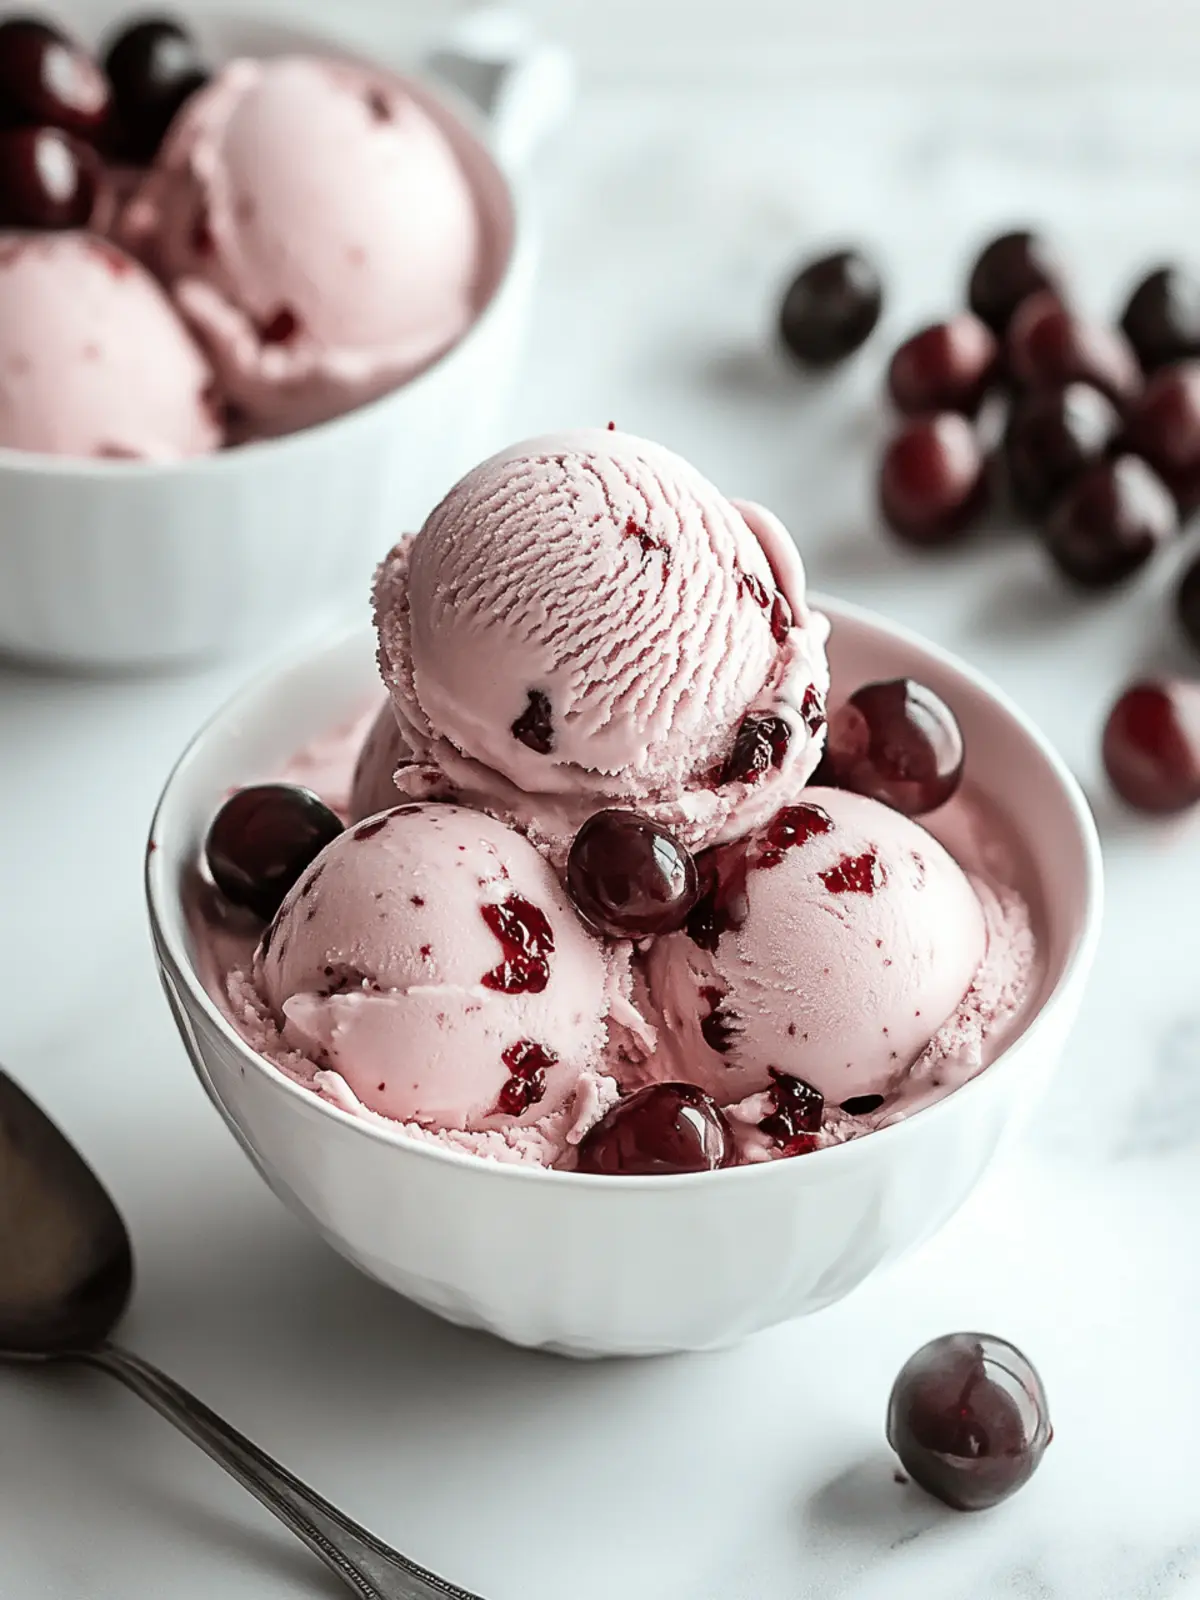
On a hot summer afternoon, nothing beats the rhythm of a homemade ice cream churning away in the kitchen, especially when that ice cream is Cherry Garcia. The harmony of fresh Bing cherries and luscious chocolate creates a delightful dance of flavors that is simply irresistible. I stumbled upon this crowd-pleasing recipe one day while searching for a way to indulge without the guilt of store-bought alternatives.
With just a handful of simple ingredients, you can craft a creamy, dreamy dessert that elevates any occasion—whether it’s a cozy night in or a festive backyard BBQ. Imagine digging into a bowl filled with velvety ice cream, where every scoop is a sprinkle of nostalgia combined with a burst of juicy cherries and decadent chocolate. If you’re ready to impress your friends and family or just treat yourself to something extraordinary, let’s dive into the creamy delight of homemade Cherry Garcia Ice Cream!
Why is Cherry Garcia Ice Cream a Must-Try?
Indulgent: Treat yourself to a delightful blend of rich chocolate and sweet cherries that will leave your taste buds dancing.
Easy to Make: With simple ingredients and straightforward steps, creating this ice cream is a breeze, even for beginners.
Crowd-Pleaser: Bring joy to gatherings or cozy nights by serving this nostalgic favorite that appeals to all ages.
Versatile: Perfect on its own or as a side to warm brownies; this treat is adaptable for any occasion.
Time-Saving: With a quick prep time and a few hours in the freezer, you’ll have a gourmet dessert ready in no time!
Cherry Garcia Ice Cream Ingredients
For the Base
- Heavy Cream – Adds richness and creaminess; substitute with half and half for a lighter treat.
- Milk – Provides body to the ice cream; use whole milk for the best creamy texture.
- Granulated Sugar – Sweetens the mix; brown sugar can lend a subtle caramel flavor.
- Eggs – Establishes the custard base for a velvety smooth finish; opt for pasteurized eggs if you’re concerned about raw consumption.
For the Flavor
- Fresh Bing Cherries – The star of the recipe, delivering juicy bursts of flavor; canned cherries can work in a pinch if drained thoroughly.
- Shaved Chocolate – Enhances the dessert with rich chocolate notes; dark or semi-sweet chocolate are great alternatives for varied sweetness.
This Cherry Garcia Ice Cream will surely be a showstopper at your next get-together!
How to Make Cherry Garcia Ice Cream
-
Chill: Begin by refrigerating the shaved chocolate and halved cherries separately to keep them fresh and ensure they retain their delicious textures.
-
Heat: In a saucepan over medium-low heat, combine the heavy cream and milk. Gently heat until just simmering, which should take about 5-7 minutes.
-
Whisk: In a separate bowl, whisk the eggs until fluffy. Gradually mix in the granulated sugar until it’s fully dissolved, creating a smooth mixture.
-
Temper: Carefully add about one-third of the hot cream/milk mixture to the egg mixture. This step is crucial to avoid curdling the eggs. After that, blend it all back with the remaining cream mixture.
-
Cook: Heat the custard mixture gently until it reaches 175°F, stirring constantly to prevent sticking, then chill it in the refrigerator until it cools to 40°F, which might take 1-2 hours.
-
Churn: Pour the chilled custard into your ice cream maker and churn according to the manufacturer’s instructions for about 20-25 minutes until thick and creamy.
-
Mix: Just before the churning completes, fold in the shaved chocolate and cherries, ensuring they’re evenly distributed. Transfer the ice cream to a container and freeze until firm, about 4-6 hours.
Optional: For an extra special touch, serve with a drizzle of chocolate sauce on top.
Exact quantities are listed in the recipe card below.
What to Serve with Cherry Garcia Ice Cream?
Indulging in a scoop of creamy Cherry Garcia Ice Cream is just the beginning; let’s create a delicious dining experience!
-
Warm Brownies: The gooey texture of brownies complements the creamy ice cream, creating a delightful contrast of warm and cold in every bite.
-
Chocolate Cake: A slice of rich chocolate cake pairs beautifully, amplifying the chocolate notes while the cherries add a refreshing twist.
-
Fresh Fruit Salad: Juicy fruits such as strawberries and kiwi lighten the dessert, balancing the decadence of the ice cream with fresh, light flavors.
-
Waffle Cones: Serve this ice cream in crisp waffle cones for an added crunch that enhances the creamy texture, making every bite delightful.
-
Chocolate Sauce: Drizzling warm chocolate sauce over your scoop takes the experience to a new level of indulgence, enhancing the chocolatey goodness.
-
Roasted Nuts: Toasted almonds or walnuts bring a satisfying crunch that contrasts with the creamy ice cream, adding a wonderful depth of flavor and texture.
-
Espresso: A shot of rich, hot espresso can intensify the flavors of the ice cream, making it an ideal pairing for coffee lovers.
-
Homemade Whipped Cream: Light, airy whipped cream adds a fluffy finish, complementing the creamy texture while elevating the dessert’s indulgence with every scoop.
Expert Tips for Cherry Garcia Ice Cream
-
Chill Well: Make sure the custard is completely chilled before churning; this ensures a smoother, creamier Cherry Garcia Ice Cream texture.
-
Cook Low and Slow: Keep the heat low when cooking the custard to avoid curdling the eggs, which can ruin the creamy base.
-
Tempering Technique: Don’t skip the tempering step! Gradually adding the hot mixture to the eggs prevents them from cooking too quickly, ensuring a velvety custard.
-
Batch Churn: If your ice cream maker has a smaller capacity, churn the ice cream in batches for the best results. Churning in small amounts helps incorporate air and prevents it from freezing too hard.
-
Storage Tips: Store your finished ice cream in an airtight container to keep it fresh and protect it from freezer burn; it will stay good for up to a month.
Cherry Garcia Ice Cream Variations & Substitutions
Feel free to get creative and personalize your Cherry Garcia Ice Cream experience with these delicious twists!
-
Cherry Explosion: Blend a handful of cherries into the custard for an extra fruity punch that makes every scoop a burst of flavor.
-
White Chocolate Delight: Swap dark chocolate with white chocolate for a sweeter, creamier contrast that pairs beautifully with vibrant cherries.
-
Nutty Crunch: Add finely chopped nuts like almonds or walnuts during the last minutes of churning for texture and a delightful crunch.
-
Frozen Banana Fudge: Incorporate blended frozen bananas into the custard for a luscious, creamy banana flavor that hints at dessert heaven.
-
Minty Fresh: Add a splash of mint extract or finely chopped fresh mint leaves for a refreshing, herbal twist that elevates the fruity notes.
-
Dairy-Free Option: Substitute heavy cream and milk with coconut milk or almond milk for a dairy-free version that doesn’t compromise on creaminess.
-
Spicy Surprise: For those who crave heat, sprinkle in a dash of cayenne pepper or chili powder for a surprising kick that complements the sweetness.
-
Caramel Swirl: Drizzle a bit of caramel sauce into the ice cream just before freezing for a luscious salted caramel flavor that balances the tart cherries.
Let your imagination run wild and enjoy the delightful journey of crafting your own perfect Cherry Garcia Ice Cream!
Make Ahead Options
These Cherry Garcia Ice Cream preparations are a lifesaver for busy weeknights or impromptu gatherings! You can prepare the custard base up to 24 hours in advance by chilling it overnight in the refrigerator. Store the shaved chocolate and halved cherries separately in airtight containers to maintain their freshness. When you’re ready to delight your family or guests, simply churn the chilled custard in your ice cream maker, then fold in the cherries and chocolate just before the process completes. This way, your homemade Cherry Garcia Ice Cream will be just as delicious and ready to serve with no extra fuss!
How to Store and Freeze Cherry Garcia Ice Cream
-
Freezer: Store your homemade Cherry Garcia Ice Cream in an airtight container for optimal freshness. It can be kept in the freezer for up to one month.
-
Wrapping: To prevent freezer burn, press plastic wrap directly against the surface of the ice cream before sealing the container. This extra layer helps maintain its creamy texture.
-
Serving: When ready to indulge, let the ice cream sit at room temperature for about 5-10 minutes before scooping for the best consistency, ensuring each scoop is smooth and enjoyable.
-
Reheating: If you find your ice cream has become too hard, pop it in the microwave on low for a few seconds, just until softened. Remember not to overheat!
Cherry Garcia Ice Cream Recipe FAQs
How do I select ripe cherries for this recipe?
Absolutely! When choosing fresh Bing cherries, look for those that are firm to the touch, shiny, and deep in color. Avoid any with dark spots all over, as these can indicate overripeness. If you can, give a gentle squeeze; they should yield slightly without being mushy.
How should I store leftover Cherry Garcia Ice Cream?
To maintain the delicious flavor and texture of your Cherry Garcia Ice Cream, store it in an airtight container in the freezer. It will stay fresh for up to one month. I recommend pressing plastic wrap directly against the surface before sealing the lid to prevent freezer burn!
Can I freeze Cherry Garcia Ice Cream for later?
Yes! You can freeze your homemade Cherry Garcia Ice Cream. After churning, transfer it to an airtight container and make sure to smooth the surface. Freeze for at least 4-6 hours until it becomes firm. When you’re ready to enjoy, let it sit out for about 5-10 minutes at room temperature for an easy scoop!
What should I do if my ice cream is too hard after freezing?
If your ice cream hardens too much, don’t worry! Just let it sit at room temperature for 5-10 minutes. If that doesn’t soften it enough, microwave it on low for just a few seconds. This should bring it back to that creamy, smooth texture we all love!
Are there any dietary considerations with this recipe?
Great question! This Cherry Garcia Ice Cream contains eggs and dairy, so if you have egg allergies, you might want to explore egg substitutes like silken tofu or commercial egg replacers. For those avoiding dairy, you can substitute the heavy cream and milk with non-dairy alternatives like coconut milk or almond milk, just ensure they are unsweetened for best results.
Can I use canned cherries instead of fresh ones?
Yes, you can use canned cherries in your Cherry Garcia Ice Cream! Just be sure to drain them well and pat them dry. This will help prevent excess liquid in your ice cream, ensuring it stays creamy. However, fresh cherries will provide the best flavor and texture, so I recommend using them if possible!
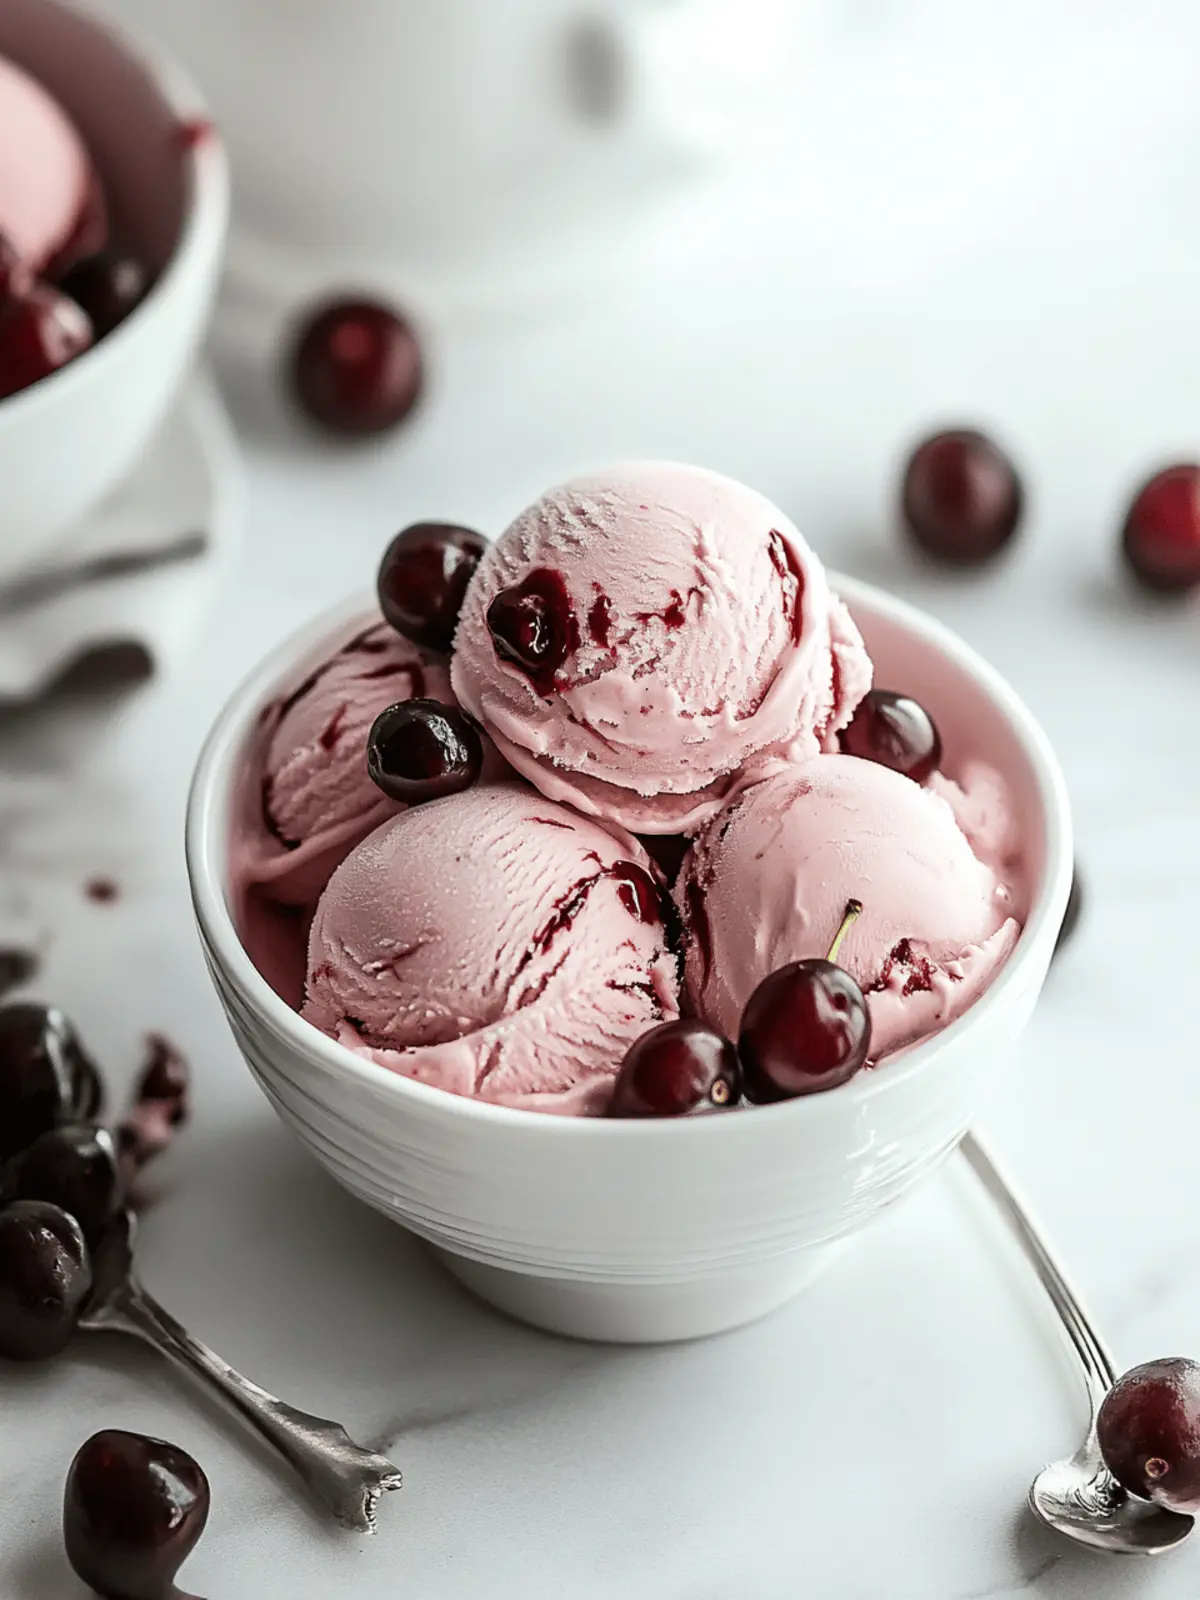
Creamy Cherry Garcia Ice Cream That’s Easy to Make at Home
Ingredients
Equipment
Method
- Chill: Begin by refrigerating the shaved chocolate and halved cherries separately to keep them fresh.
- Heat: In a saucepan over medium-low heat, combine the heavy cream and milk. Gently heat until just simmering, about 5-7 minutes.
- Whisk: In a separate bowl, whisk the eggs until fluffy. Gradually mix in the granulated sugar until fully dissolved.
- Temper: Carefully add about one-third of the hot cream/milk mixture to the egg mixture, then blend it all back with the remaining cream mixture.
- Cook: Heat the custard mixture gently until it reaches 175°F, stirring constantly, then chill in the refrigerator until it cools to 40°F, about 1-2 hours.
- Churn: Pour the chilled custard into the ice cream maker and churn for about 20-25 minutes until thick and creamy.
- Mix: Just before churning completes, fold in the shaved chocolate and cherries, then transfer to a container and freeze until firm, about 4-6 hours.
- Optional: Serve with a drizzle of chocolate sauce on top.

