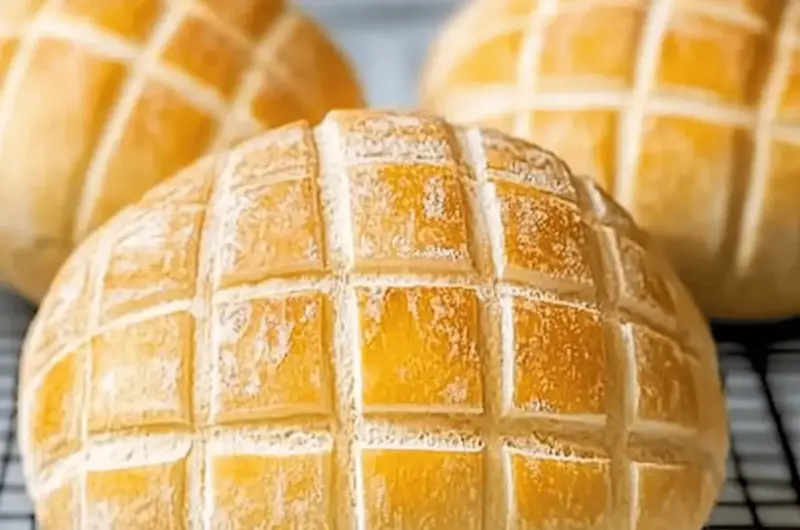
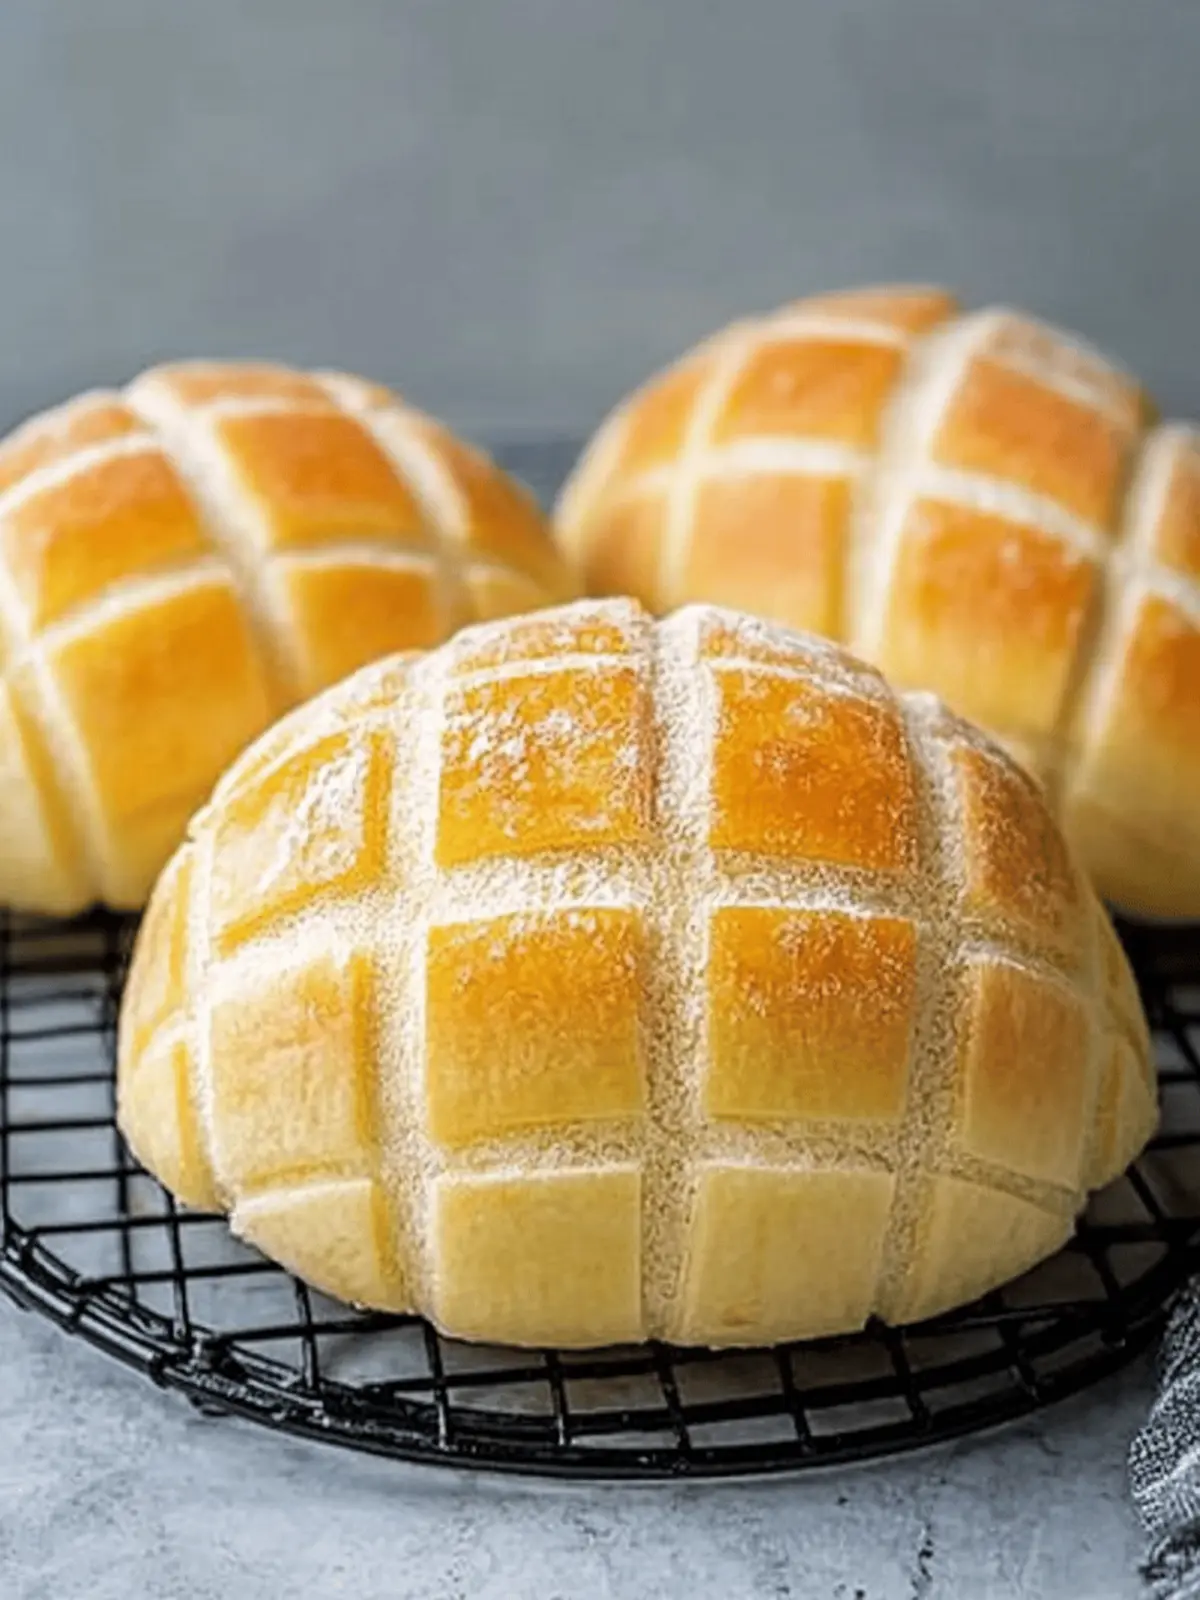
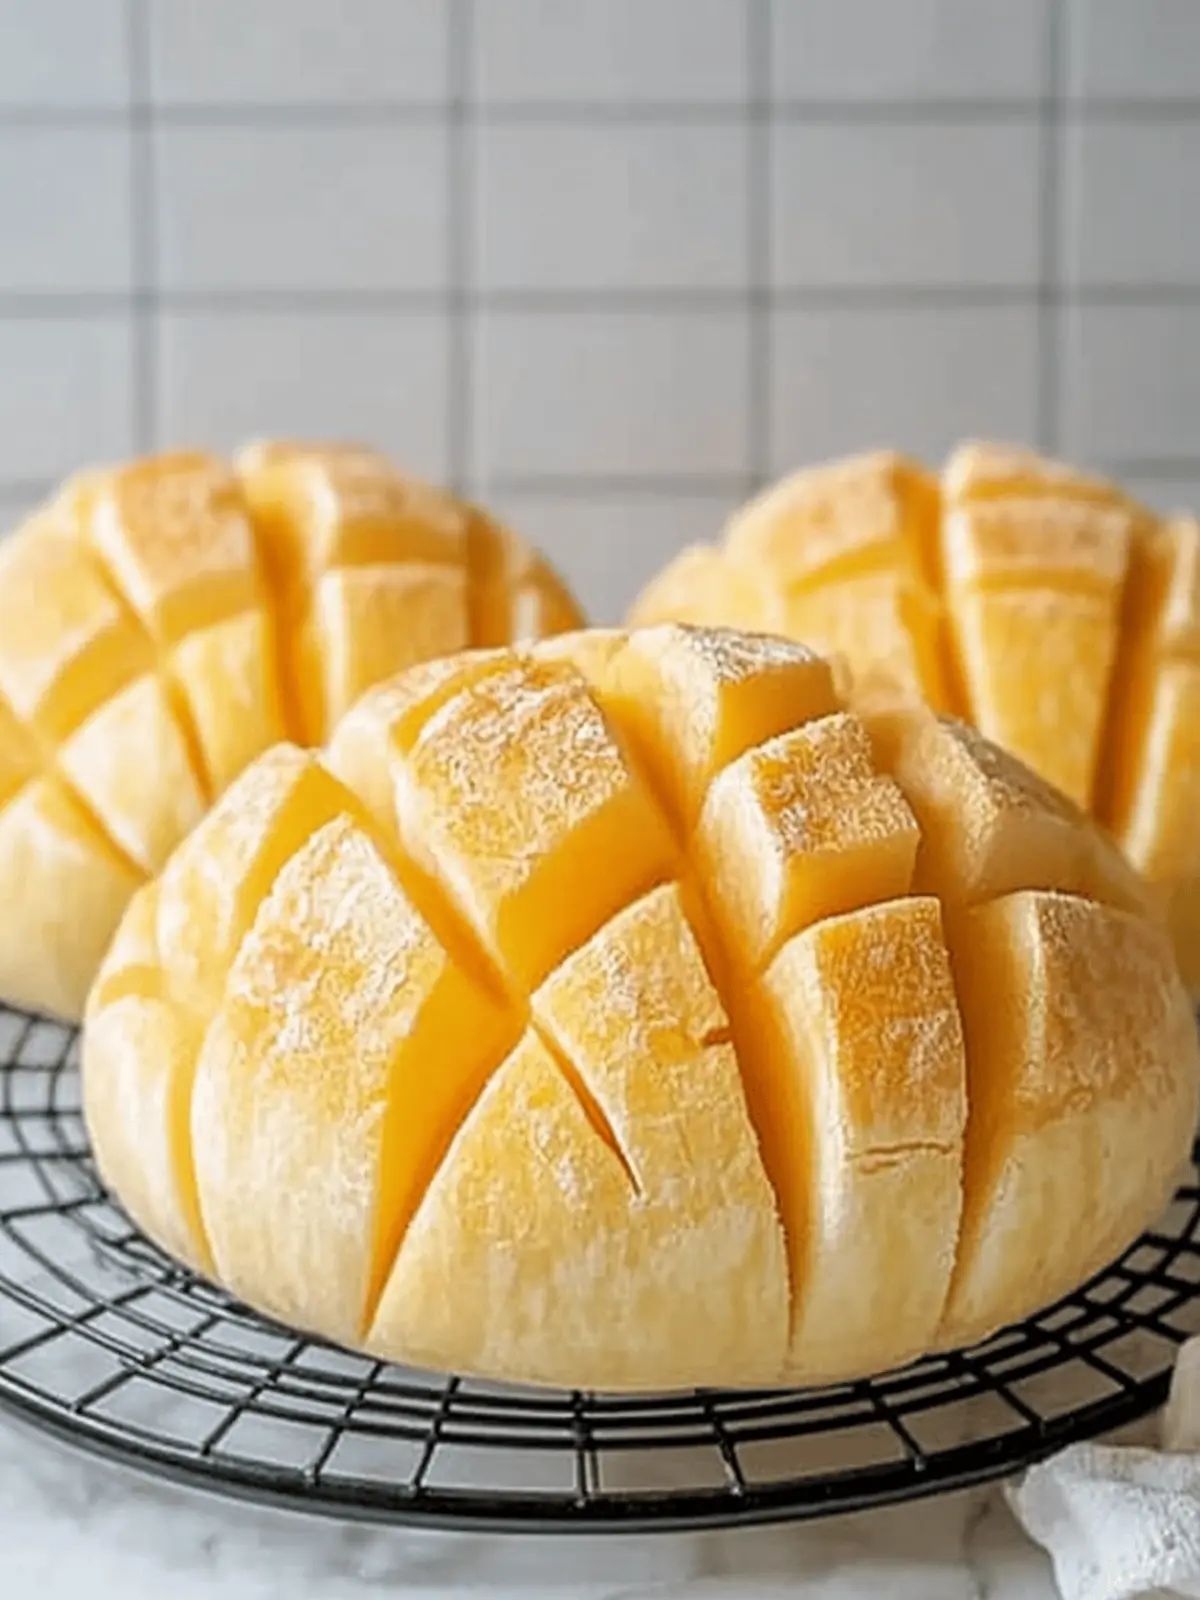
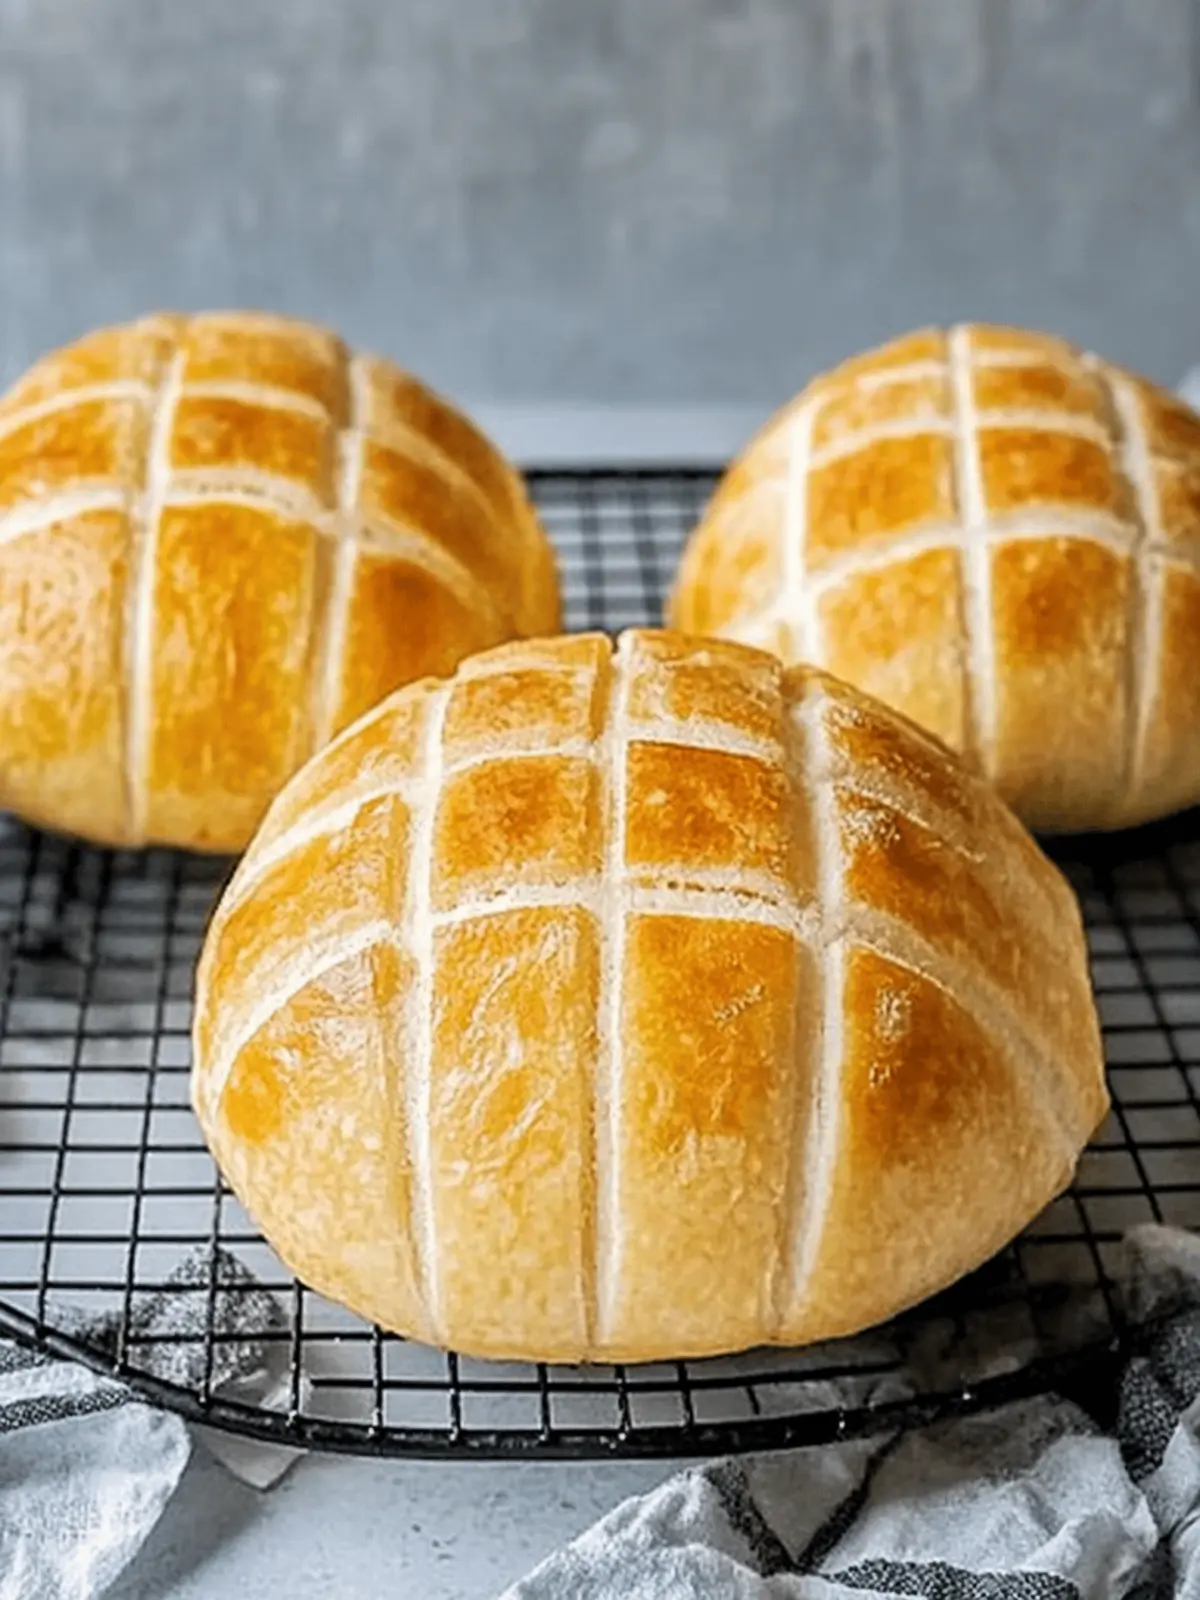
There’s a certain joy that comes with baking your own bread, and if you’ve never tried making Japanese Melon Pan, you’re in for a delightful surprise. Imagine the warm scent of freshly baked bread wafting through your kitchen, mingling with notes of vanilla and butter—pure bliss! This beloved Japanese treat may resemble a melon, but its unique appeal lies in the magical contrast of its crunchy, cookie-like exterior and soft, fluffy interior.
I first discovered Melon Pan during a trip to a quaint bakery in Tokyo, where each bite felt like a warm hug. Despite its seemingly complex appearance, you’ll find this recipe surprisingly simple and sure to impress your loved ones. Perfect for cozy breakfast moments or afternoon tea, this bread is not only a charming addition to your baking repertoire but also a fantastic way to switch up those mundane meals. Let’s dive in and create this sweet sensation that captures the essence of Japan, one soft, crunchy bite at a time!
Why is Melon Pan a Must-Bake?
Delightful Texture: Experience the perfect contrast of crunchy and soft in every bite.
Aromatic Bliss: The delightful aroma of baking bread infused with vanilla will brighten any day.
Impressive Presentation: Wow your guests with its gorgeous melon-like appearance—perfect for celebrations!
Versatile Treat: Enjoy it for breakfast, an afternoon snack, or dessert, and customize it with flavorful fillings.
Simple Steps: This recipe demystifies bread baking so that even beginners can create delicious results!
Bake your own Melon Pan and indulge in this delightful treat that is bound to make your taste buds sing!
Melon Pan Ingredients
For the Bread Dough
• Baker’s Flour – Provides structure and chewiness; substitute with bread flour for similar results.
• Butter (40 g + 80 g) – Adds richness and moisture; you can use unsalted margarine in a pinch.
• Sugar (25 g + 80 g) – Adds sweetness and helps with browning; feel free to adjust for your preferred sweetness.
• Salt (4 g) – Enhances flavor; it’s essential for balancing the sweetness.
• Milk (160 ml) – Hydrates the dough for a lovely texture; try using non-dairy milk for a lactose-free option.
• Egg (1 extra large) – Binds ingredients and adds richness; substitute with a flax or chia “egg” for a vegan alternative.
• Dry Yeast (3 g) – Leavens the dough for fluffiness; instant yeast works interchangeably.
For the Cookie Dough
• Plain Flour (240 g) – Forms the cookie dough; all-purpose flour is a good fit here.
• Baking Powder (1 tsp) – Provides leavening for that cookie dough crunch.
• Vanilla Essence (1/2 tsp) – Adds a delightful depth of flavor to the cookie dough.
• Granule Sugar – For sprinkling on top, enhances that signature crunchy crust of the Melon Pan.
Each ingredient plays a vital role in crafting this unique Japanese treat, so gather them all and let the magic of baking begin!
How to Make Melon Pan
-
Prepare Cookie Dough: In a bowl, beat together 40 g of butter and 25 g of sugar until creamy and pale. Incorporate the egg and vanilla essence until fully mixed, then fold in 240 g of plain flour and 1 tsp of baking powder. Divide the mixture into 8 balls and refrigerate for about 30 minutes.
-
Make Bread Dough: In a jug, combine one extra-large egg, 3 g of dry yeast, 160 ml of milk, and 80 g of sugar. In a large bowl, mix 240 g of baker’s flour and 4 g of salt, then create a well in the center and pour in the wet mixture. Stir to form a rough dough.
-
Knead Adding Butter: Transfer the dough to a mixer and knead it for 10 minutes until smooth. Gradually add 80 g of chopped butter, continuing to knead until you achieve a silky, elastic texture.
-
First Rise: Place your dough into a greased bowl, cover it with a damp cloth, and let it rise until doubled in size, which should take about 1 hour in a warm environment.
-
Shape: Divide the risen bread dough into 8 equal balls. Roll out the chilled cookie dough and wrap each ball of bread dough. Score the top with a sharp knife and sprinkle with granule sugar for that crunchy topping.
-
Second Rise: Arrange the wrapped dough on a lined baking tray, cover again, and let rise until they double in size, approximately 40 minutes.
-
Bake: Preheat your oven to 180°C (356°F). Bake the Melon Pan for about 15 minutes or until they turn golden brown and feel light to the touch.
Optional: Serve warm for an extra special experience!
Exact quantities are listed in the recipe card below.
What to Serve with Melon Pan?
Looking to create a full meal around this sweet and delightful Japanese treat?
- Fresh Fruit Salad: A vibrant mix of seasonal fruits enhances the sweetness, providing a refreshing contrast to the rich Melon Pan.
- Green Tea: The slight bitterness of this traditional beverage complements the sweetness beautifully, creating a balanced flavor profile.
- Matcha Latte: This creamy drink offers an earthy flavor that pairs well with the soft, sugary bread, making for a comforting treat.
- Custard Cream: The smooth, vanilla-infused richness adds an indulgent touch, perfect for complementing the crunchy exterior of the Melon Pan.
- Yogurt Parfait: Layered with granola and fresh berries, this light yet satisfying dish offers texture and a refreshing taste to balance the bread.
- Coconut Curry: Serve creamy coconut curry alongside for a surprising but delicious contrast that will elevate your dining experience.
- Sweet Red Bean Paste: A traditional Japanese accompaniment, this sweet filling can be enjoyed on the side or even stuffed inside your Melon Pan for extra delight.
- Sesame Seed Cookies: These add a crunchy finish to your spread, and their nutty flavor pairs wonderfully with the sweetness of the bread.
- Chilled Green Tea Ice Cream: This unique dessert serves as a cool and creamy finale that complements the warm, soft Melon Pan perfectly.
Expert Tips for Melon Pan
• Room Temperature: Ensure all ingredients are at room temperature for optimal mixing, leading to a better rise in your Melon Pan.
• Knead Thoroughly: Knead your dough until it’s smooth and elastic, which is key to achieving that soft, fluffy interior.
• Baking Watch: Keep an eye on baking times! Check for a golden crust and use the tap method—if it sounds hollow, your Melon Pan is ready.
• Chill Cookie Dough: Refrigerating the cookie dough helps maintain its shape while wrapping the bread dough, ensuring a well-defined crunch.
• Customize Fillings: Feel free to add flavor twists by incorporating fillings like chocolate chips or sweet red bean paste for a unique take on traditional Melon Pan.
Storage Tips for Melon Pan
Room Temperature: Keep baked Melon Pan in an airtight container at room temperature for up to 2 days to maintain freshness and flavor.
Fridge: If you prefer, you can extend shelf life by storing it in the fridge for up to 4 days; just be sure to wrap it tightly to prevent it from drying out.
Freezer: For longer storage, individually wrap each Melon Pan in plastic wrap and place them in a freezer bag. They can last in the freezer for up to a week without losing quality.
Reheating: To enjoy them warm and fresh, reheat frozen Melon Pan in a preheated oven at 180°C (356°F) for about 5-7 minutes, restoring the delightful texture.
Melon Pan Variations & Substitutions
Feel free to play with this recipe and make it your own—each variation brings a delightful twist to the original!
-
Matcha Twist: Incorporate 1–2 tablespoons of matcha powder into half of the cookie dough for a vibrant green tea flavor. This addition infuses your Melon Pan with an earthy essence that’s uniquely Japanese.
-
Filly Flavor: Add a dollop of sweet red bean paste in the center of each bread ball before wrapping with the cookie dough for a delicious surprise. This classic ingredient enhances the traditional experience beautifully!
-
Chocolate Chip Delight: Fold in a handful of chocolate chips into the bread dough for a sweet, gooey surprise with each bite. This twist marries the traditional flavors with a modern favorite that kids love!
-
Citrus Zing: Mix the zest of half an orange or lemon into the cookie dough to brighten the flavors. The citrus notes elevate the sweetness and add a refreshing component to every bite!
-
Spicy Kick: Add a pinch of cayenne pepper or ground ginger to the dough for a fascinating heat. Your guests will be intrigued by the surprising blend of flavors, creating an unexpected taste sensation!
-
Nutty Crunch: Mix in chopped nuts, such as almonds or hazelnuts, into the cookie dough for a delightful crunch. The added texture pairs wonderfully with the soft bread, taking each bite to an exciting new level.
-
Dairy-Free Option: Substitute butter with coconut oil and use non-dairy milk for a completely dairy-free Melon Pan. This version maintains the pop and sweetness while accommodating a lactose-free lifestyle.
-
Caramel Drizzle: After baking, drizzle caramel sauce over the top for an indulgent twist that makes every piece feel extra special. This decadent topping adds an irresistible sweetness and enhances visual appeal!
Make Ahead Options
Japanese Melon Pan is perfect for meal prep, allowing you to enjoy fresh-baked bread with minimal effort during busy weeknights. You can prepare the cookie dough up to 24 hours in advance by mixing all the ingredients and storing it in the refrigerator. Additionally, the bread dough can be made and left to rise for about an hour, then shaped, wrapped, and refrigerated for up to 3 days before the second rise. When you’re ready to bake, simply let the dough warm to room temperature and rise again for about 40 minutes, then bake for that delightful texture and flavor. This way, you’ll have warm, delicious Melon Pan ready to serve without the last-minute rush!
Melon Pan Recipe FAQs
How do I select ripe ingredients for Melon Pan?
For this recipe, it’s essential to use fresh ingredients. Choose baker’s flour that feels soft and is free of lumps. When selecting butter, aim for unsalted and fresh-looking sticks (without discoloration). For the milk, a fresh carton will ensure optimal flavor, and make sure your egg is large and free from any cracks.
How should I store leftover Melon Pan?
Store baked Melon Pan in an airtight container at room temperature for up to 2 days to maintain its delicious crunch and softness. If you want to keep them for longer, placing them in the fridge will extend their shelf life to about 4 days; just remember to wrap them tightly.
Can I freeze Melon Pan?
Absolutely! To freeze Melon Pan, individually wrap each piece tightly in plastic wrap and place them in a freezer bag. They can be stored in the freezer for up to a week without losing quality. When you’re ready to enjoy, simply reheat them in a preheated oven at 180°C (356°F) for about 5-7 minutes until warmed through.
What if my Melon Pan dough didn’t rise well?
If your dough is not rising, it might be due to inactive yeast. Ensure your yeast is fresh by checking the expiration date. If you suspect it’s old, activate it by mixing it with warm milk and a little sugar before adding it to your dough. Also, ensure that your dough is kept in a warm area during the rising time, away from drafts.
Is Melon Pan suitable for people with allergies?
Melon Pan contains dairy and eggs, making it unsuitable for those with lactose intolerance or egg allergies. For a lactose-free alternative, you can use non-dairy milk and for egg replacements, consider flaxseed or chia seed “eggs.” If you have specific allergies, always check the ingredients and opt for substitutes that fit your dietary needs.
How can I enhance the flavor of my Melon Pan?
Consider experimenting with fillings or flavorings! Adding matcha powder to the cookie dough creates a delightful green tea twist. Alternatively, filling the dough with sweet red bean paste or chocolate chips introduces a fun surprise in each bite. The more the merrier when it comes to flavors!
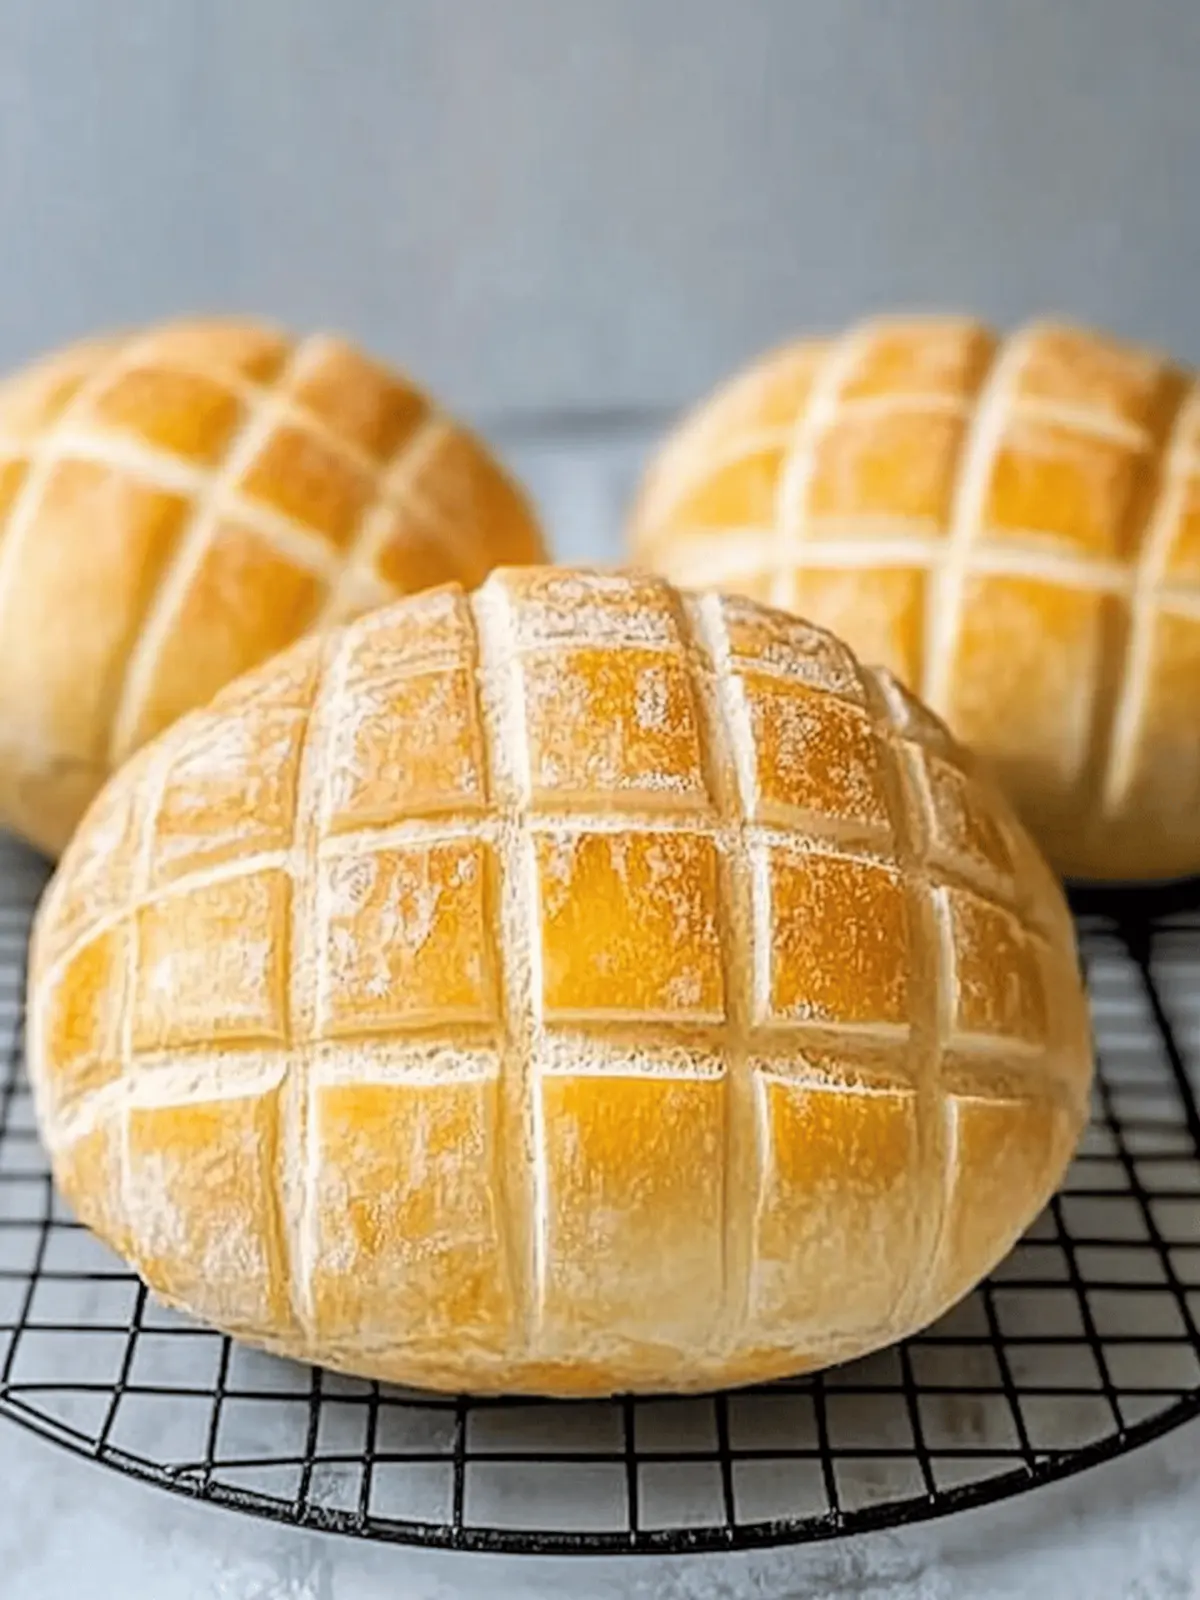
Mouthwatering Melon Pan: A Sweet Japanese Treat to Bake Home
Ingredients
Equipment
Method
- In a bowl, beat together 40 g of butter and 25 g of sugar until creamy and pale. Incorporate the egg and vanilla essence until fully mixed, then fold in 240 g of plain flour and 1 tsp of baking powder. Divide the mixture into 8 balls and refrigerate for about 30 minutes.
- In a jug, combine one extra-large egg, 3 g of dry yeast, 160 ml of milk, and 80 g of sugar. In a large bowl, mix 240 g of baker’s flour and 4 g of salt, then create a well in the center and pour in the wet mixture. Stir to form a rough dough.
- Transfer the dough to a mixer and knead it for 10 minutes until smooth. Gradually add 80 g of chopped butter, continuing to knead until you achieve a silky, elastic texture.
- Place your dough into a greased bowl, cover it with a damp cloth, and let it rise until doubled in size, which should take about 1 hour in a warm environment.
- Divide the risen bread dough into 8 equal balls. Roll out the chilled cookie dough and wrap each ball of bread dough. Score the top with a sharp knife and sprinkle with granule sugar for that crunchy topping.
- Arrange the wrapped dough on a lined baking tray, cover again, and let rise until they double in size, approximately 40 minutes.
- Preheat your oven to 180°C (356°F). Bake the Melon Pan for about 15 minutes or until they turn golden brown and feel light to the touch.

