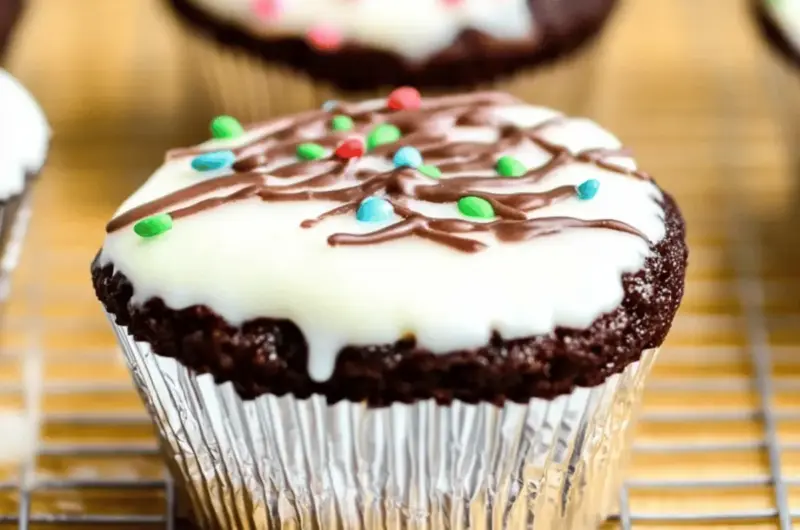
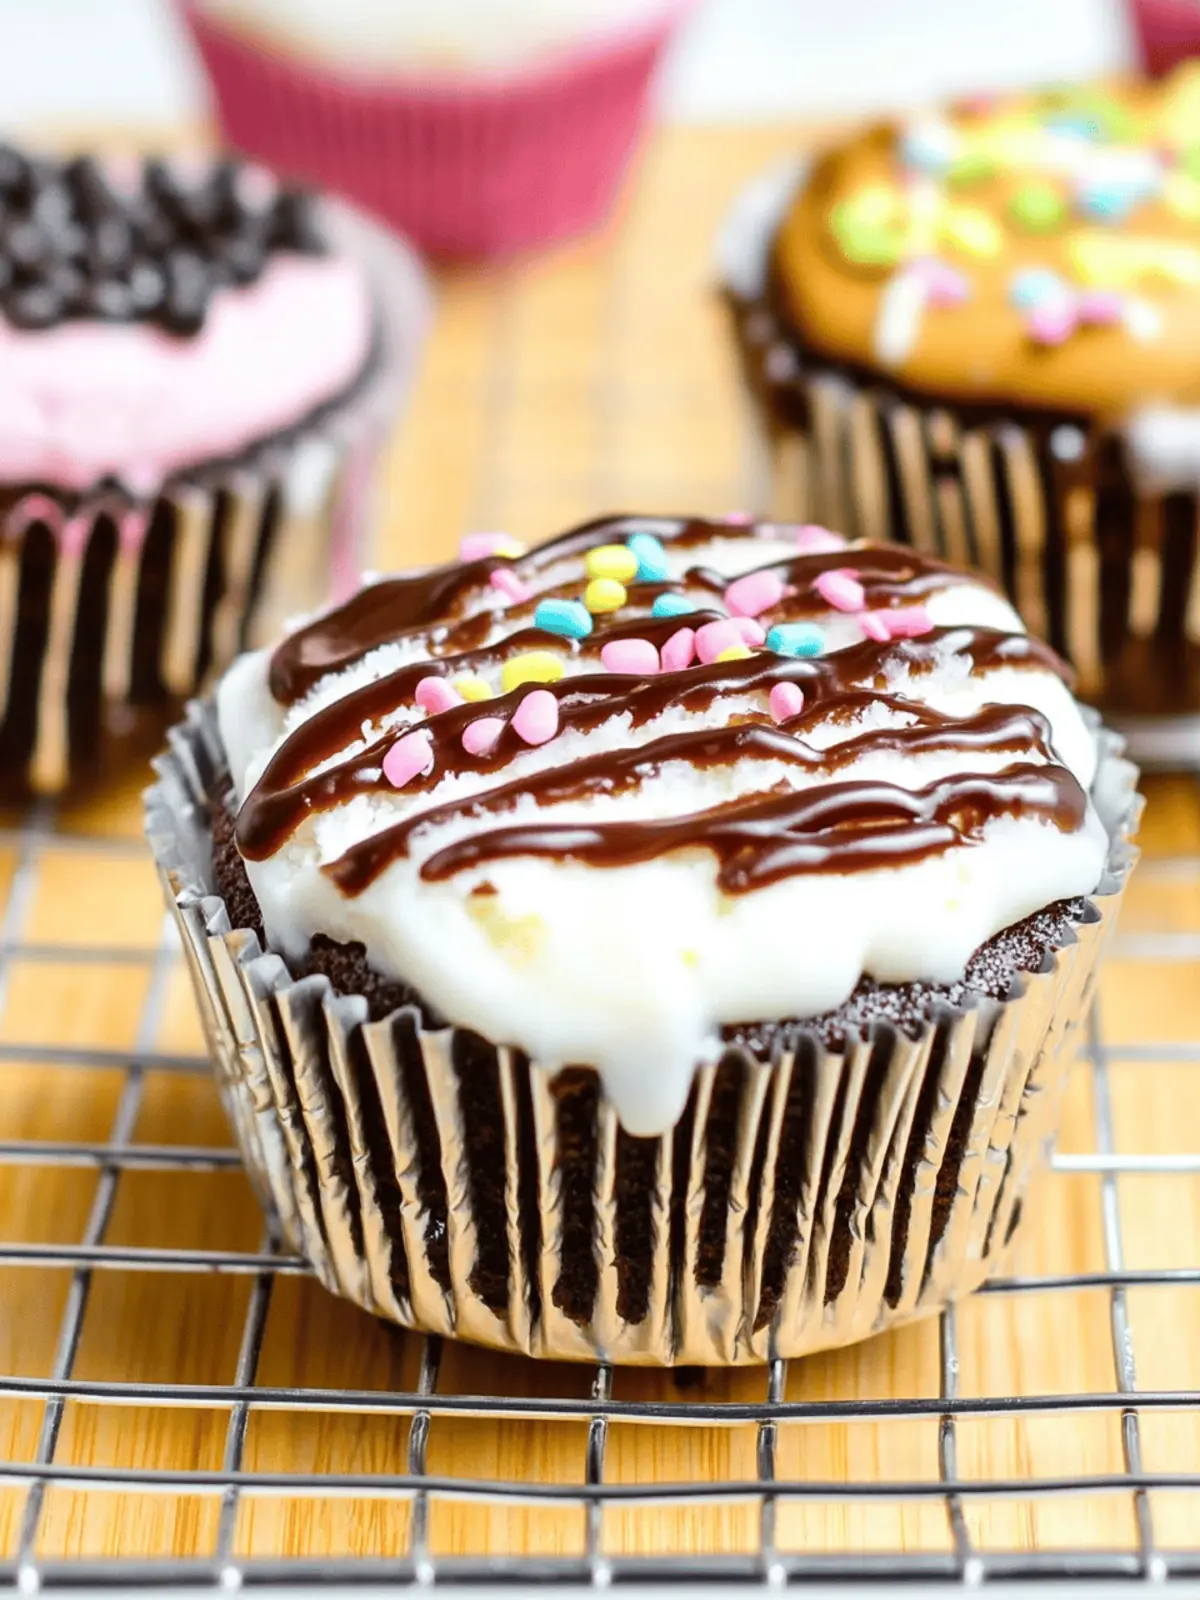
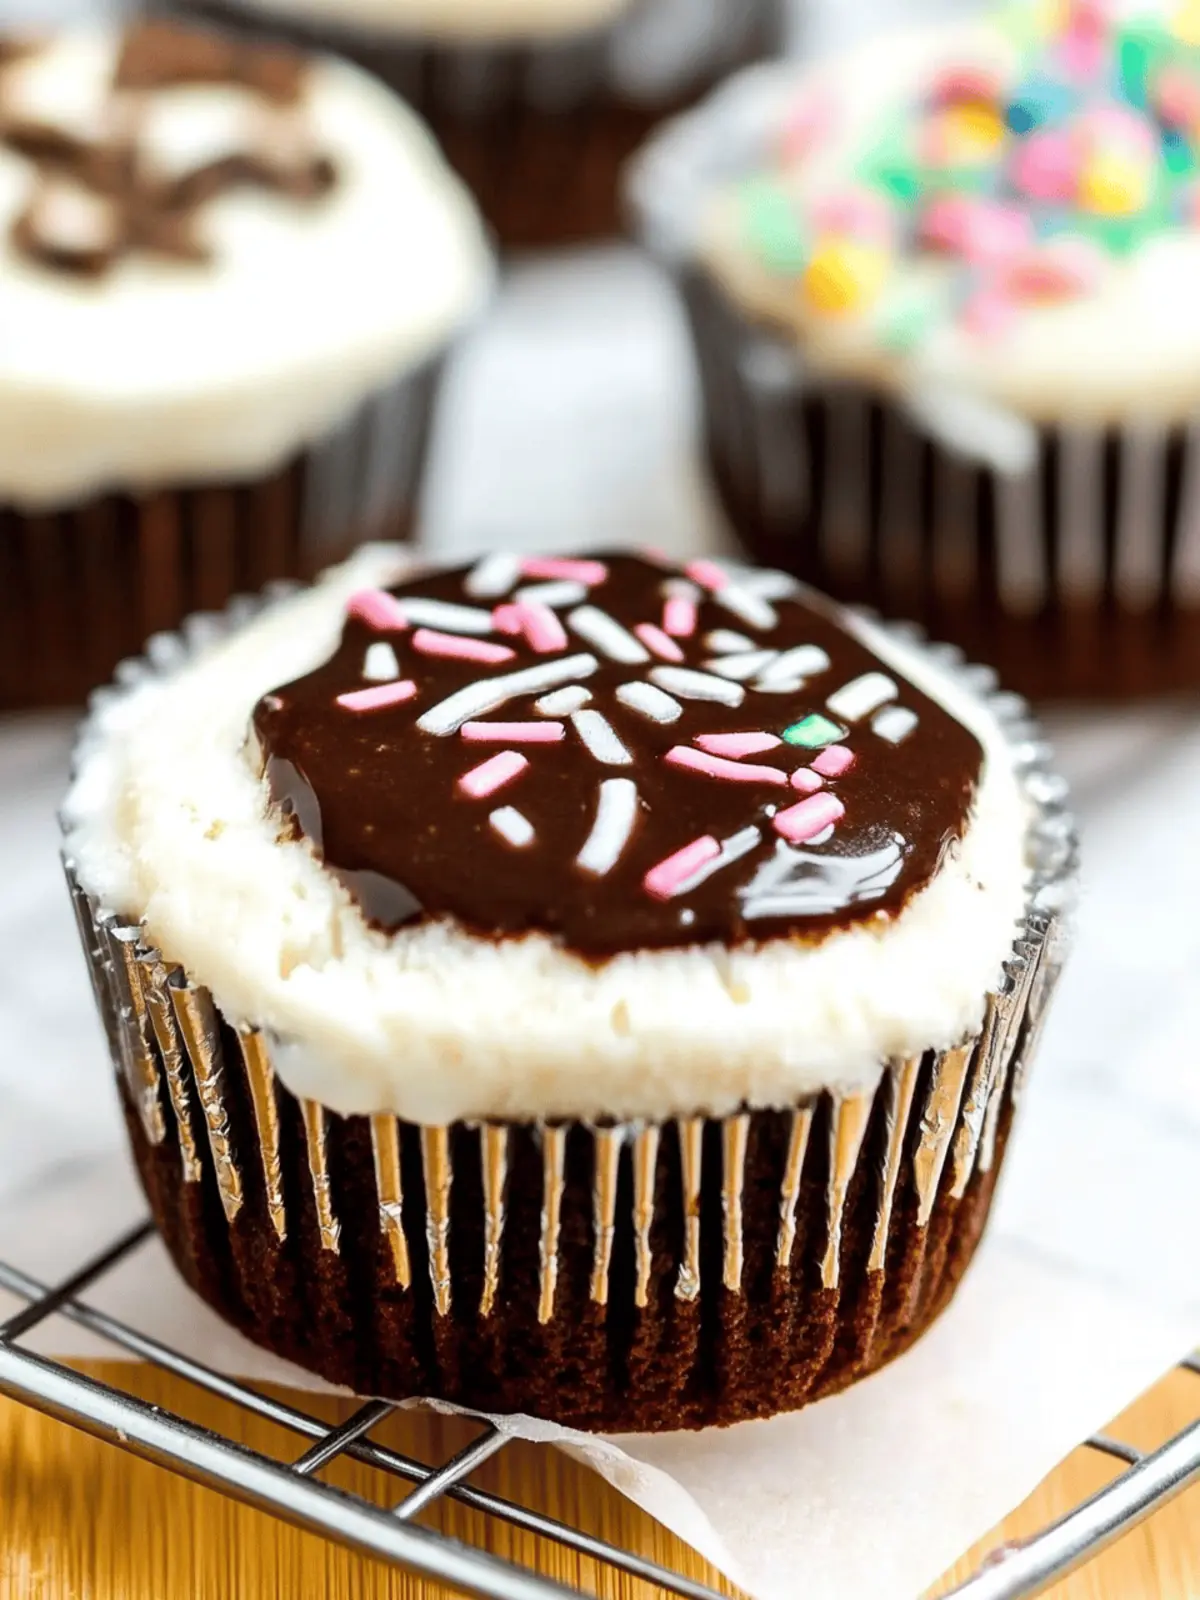
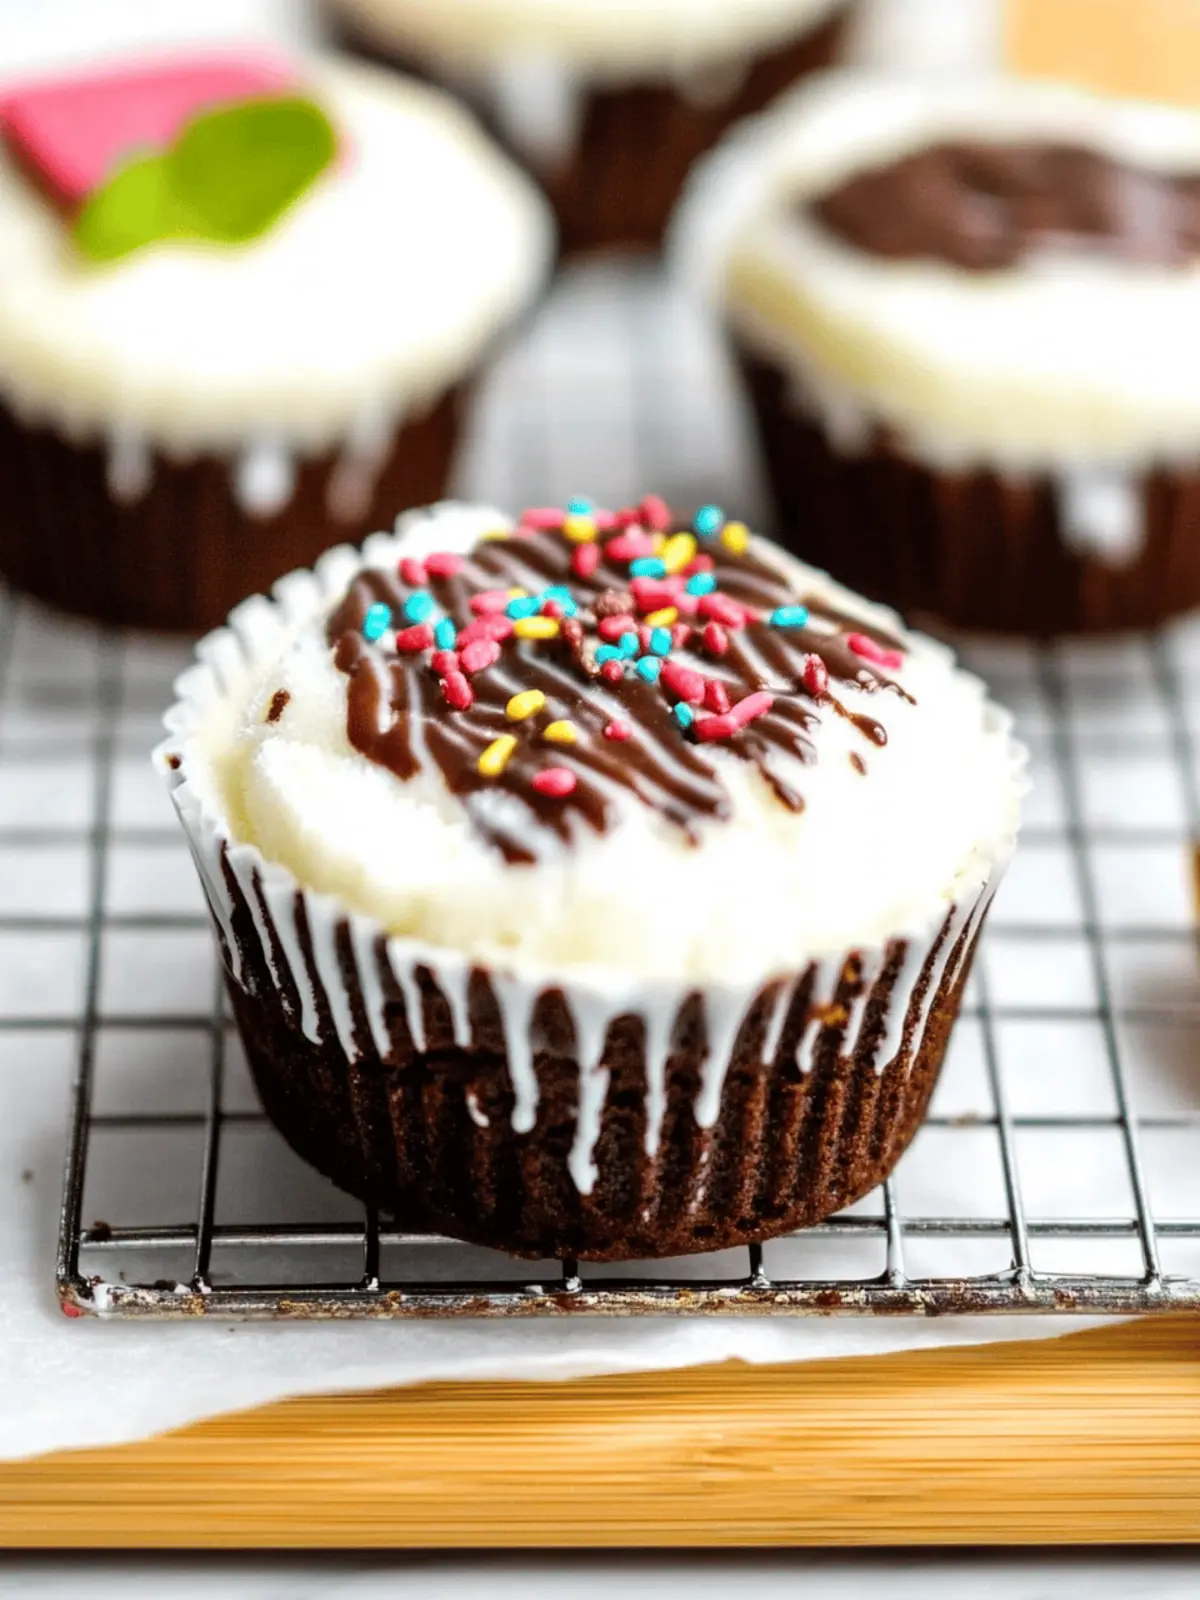
There’s a certain delight that comes with crafting your own desserts, especially when they’re as playful as Mini Ice Cream Cakes. Picture this: a warm summer evening, laughter bouncing off the walls, and you unveil a tray of these adorable treats. With layers of creamy ice cream and crunchy Oreo goodness, they are sure to steal the spotlight!
I stumbled upon this recipe during a family gathering when someone requested a sweet ending. With minimal effort and maximum impact, these Mini Ice Cream Cakes save the day! The beauty lies in their versatility— personalize them with your favorite flavors or toppings to cater to everyone’s taste. And let’s not forget about the magic shell topping that will make everyone’s eyes sparkle in anticipation.
After just a bit of prep and some patience while they chill in the freezer, you’ll be rewarded with treats that are not just delicious but also fun to share. Ready to impress your friends and family? Let’s dive into this simple yet delightful recipe and bring a little more joy to your next gathering!
Why Love These Mini Ice Cream Cakes?
Irresistible Appeal: These Mini Ice Cream Cakes combine creamy texture with crunchy Oreo, making them a guaranteed crowd-pleaser.
Quick Prep: With just 30 minutes of preparation, you can whip up a batch of these delightful treats!
Versatile Flavors: Choose your favorite ice cream and toppings to create unique desserts for every occasion.
Fun to Assemble: Involving friends and family in the layering process adds laughter and joy, making it a perfect party activity.
Perfectly Portable: These mini cakes are easy to serve and pack, making them ideal for picnics or potlucks.
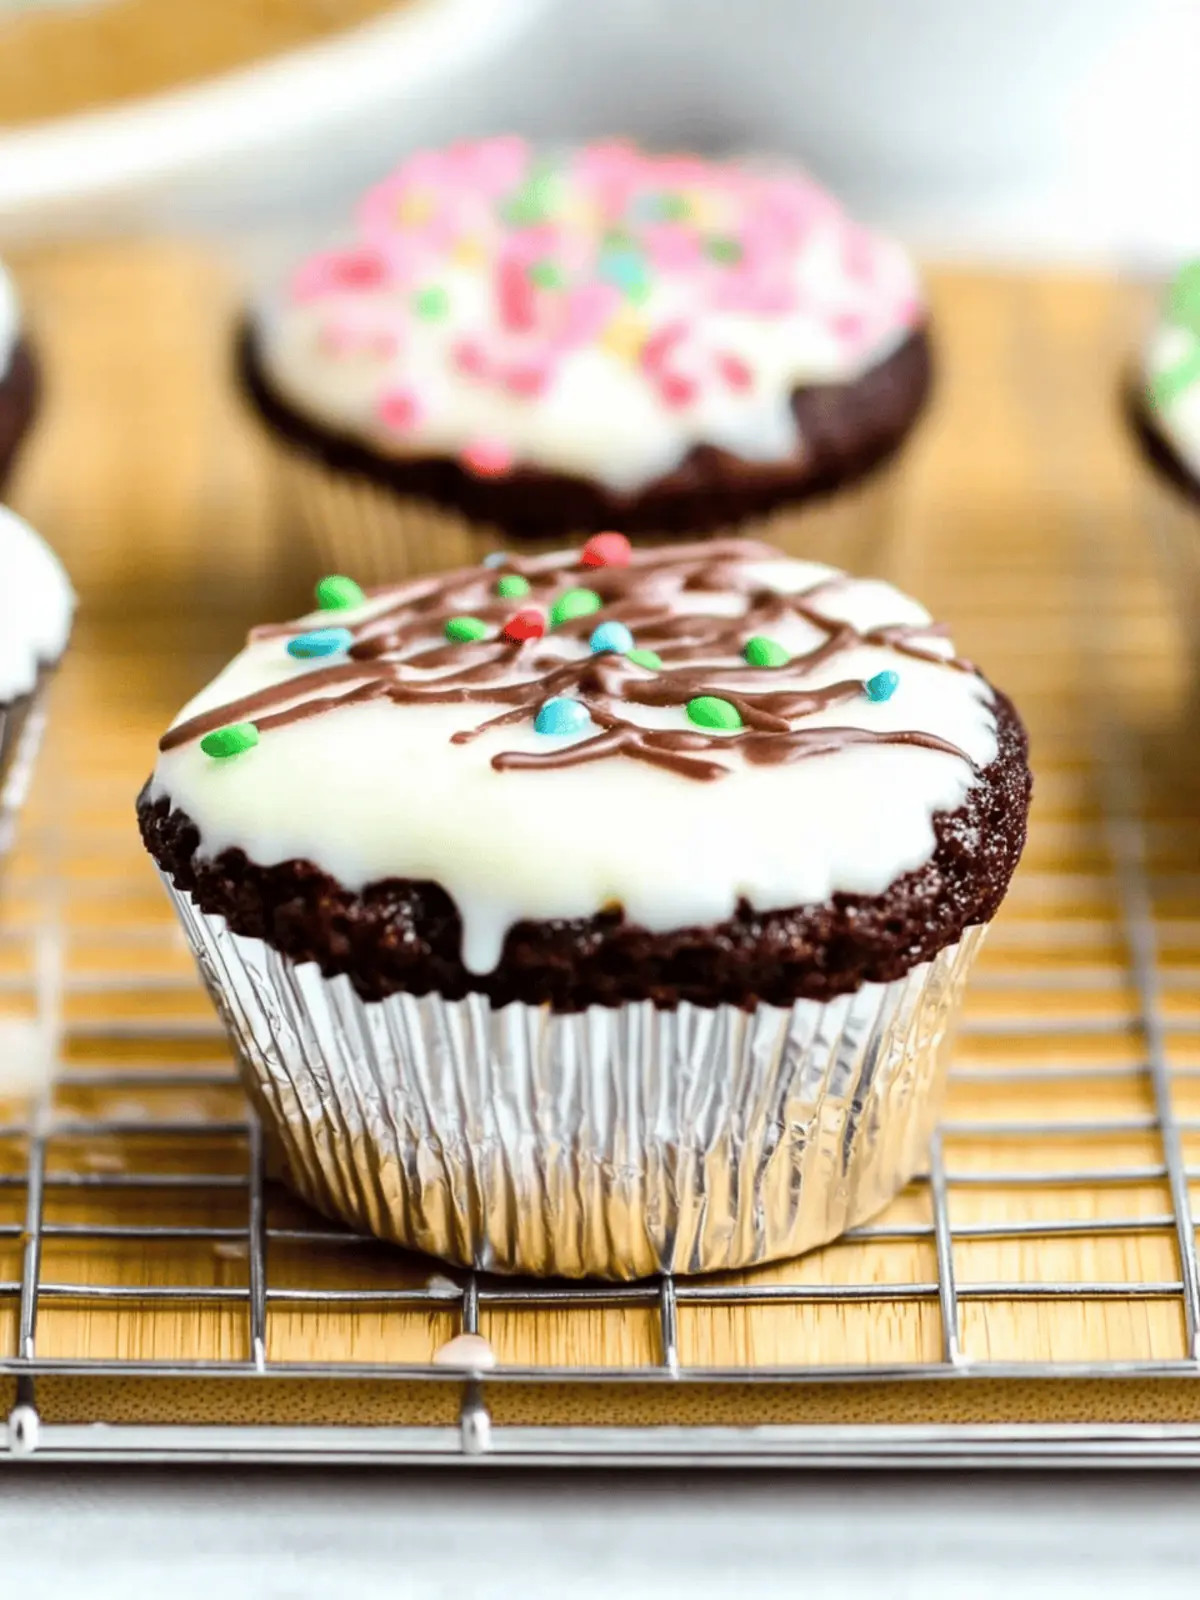
Showstopper Presentation: The stunning appearance of these cakes, especially with a drizzle of magic shell, will wow your guests every time!
Mini Ice Cream Cakes Ingredients
For the Ice Cream Layer
- 4 cups ice cream – make sure it’s thawed just enough to spoon easily for a smooth layer.
For the Crunchy Layer
- 7 Oreos – crushed Oreos add the perfect amount of crunch and chocolatey goodness.
For the Magic Shell Topping
- 4 ounces semi-sweet chocolate – this rich chocolate will create a deliciously sweet shell.
- 2 tablespoons coconut oil – helps the chocolate become pourable and creates that irresistible sheen.
Each element in these Mini Ice Cream Cakes brings a unique texture and flavor, ensuring your guests will be coming back for seconds!
How to Make Mini Ice Cream Cakes
-
Soften Ice Cream: Take your ice cream out of the freezer and let it soften until it’s mostly thawed. This should take about 10-15 minutes to become scoopable.
-
Prepare Muffin Pan: Line a muffin pan with paper muffin liners. This will make removing the mini cakes a breeze after they freeze!
-
Crush Oreos: Crush the Oreos into fine crumbs. You can do this using a food processor or by placing them in a ziplock bag and gently rolling over them with a rolling pin until finely crushed.
-
Layer Ice Cream: Spoon the melted ice cream into the muffin liners, filling them halfway. Cover the pan tightly with plastic wrap and aluminum foil, then freeze for about 1 hour until firm.
-
Add Crunch Layer: Take the pan out of the freezer and sprinkle a layer of the crushed Oreos over the ice cream. Add more ice cream on top, covering the crumbs fully. Cover again and return to the freezer. Let it freeze for at least 4 hours or overnight for the best texture.
-
Serve Cakes: When ready to serve, carefully remove the mini ice cream cakes from the paper liners and place them on a plate. Add your favorite toppings like whipped cream or chocolate sauce for extra deliciousness!
-
Make Magic Shell: For the magic shell topping, combine chocolate and coconut oil in a medium bowl. Microwave them on low in 30-second bursts, stirring until completely smooth. Let it cool slightly before using.
-
Top with Magic Shell: Drizzle the magic shell over the mini ice cream cakes right before serving for that beautiful glossy finish.
Optional: Sprinkle additional Oreo crumbs on top for an extra crunch!
Exact quantities are listed in the recipe card below.
How to Store and Freeze Mini Ice Cream Cakes
Fridge: Keep any leftover Mini Ice Cream Cakes in the refrigerator for up to 3 days in an airtight container to maintain their creamy texture.
Freezer: For longer storage, freeze the mini ice cream cakes in a sealed container for up to 2 months. Ensure they are well-wrapped to prevent freezer burn.
Thawing: To enjoy after freezing, transfer them to the fridge for about 30 minutes to soften slightly before serving—this helps regain some of the original creaminess.
Serving Suggestion: If you’re planning to top them with magic shell, drizzle it just before serving for that perfect glossy finish!
Helpful Tricks for Mini Ice Cream Cakes
Texture Tip: Use soft ice cream: Ensure your ice cream is softened enough to scoop easily, but not fully melted, for the best layering.
Oreo Crumb Consistency: Crush finely: Aim for a fine crumb for the Oreos to create a smoother layer and more even texture in your Mini Ice Cream Cakes.
Freeze in Stages: Don’t rush freezing: Allow adequate time for each layer to freeze solidly before adding more ice cream to prevent mixing of layers.
Perfect Chocolate Shell: Cool properly: Let the melted chocolate and coconut oil cool slightly before drizzling to prevent it from melting the ice cream layer below.
Presentation Matters: Use a nice platter: Serving your mini cakes on a vibrant plate or tray enhances visual appeal and makes them look professionally made!
What to Serve with Mini Ice Cream Cakes?
Imagine the delighted gasps as your loved ones eagerly anticipate the delightful flavors that accompany these adorable desserts. Let’s create a feast that enhances their charm!
-
Fresh Fruit Salad: Bright, juicy fruits like berries and melons add a refreshing contrast, balancing the creamy sweetness of the cakes.
-
Chocolate-Dipped Strawberries: These decadent bites are both visually stunning and satisfyingly sweet, making them the perfect foil to your mini cakes.
-
Whipped Cream: A dollop of light, fluffy whipped cream on top adds a playful cloud-like texture that complements each bite beautifully.
-
Caramel Sauce: Drizzling warm caramel over the cakes provides a rich and buttery taste that pairs wonderfully with Oreo and ice cream.
-
Ice Cream Sundae Toppings: Set up a topping bar with sprinkles, nuts, and chocolate chips for guests to customize their mini cakes. It makes serving fun and interactive!
-
Mint Iced Tea: This refreshing drink cleanses the palate and adds a hint of herbal brightness that contrasts charmingly with the sweet treats.
-
Chocolate Milkshake: For a truly indulgent experience, serve ice-cold chocolate milkshakes that echo the flavors of your mini cakes while providing a delightful beverage option.
-
Coconut Macaroons: Their chewy, slightly toasted sweetness and inviting aroma echo the coconut oil, creating a harmonious flavor pairing that delights the senses.
Make Ahead Options
These Mini Ice Cream Cakes are perfect for meal prep and can be made up to 3 days in advance! To get started, prepare the ice cream layers and assemble them in the muffin pan, then cover tightly and freeze as instructed. You can even add the crunchy Oreo layer immediately after the first ice cream freeze to save time. Just be sure to keep them well-wrapped in plastic wrap and aluminum foil to maintain their creamy texture. When you’re ready to serve, simply drizzle the magic shell topping over the cakes just before enjoying. This way, you’ll have delicious, crowd-pleasing treats that are just as delightful as when they were first made!
Mini Ice Cream Cakes Variations
Feel free to let your creativity shine as you put your unique twist on these delightful treats!
- Dairy-Free: Use coconut or almond milk ice cream to create a plant-based version that’s just as indulgent.
- Gluten-Free: Swap Oreos for gluten-free chocolate cookies to cater to gluten sensitivities while keeping that yummy flavor.
- Nutty Delight: Add crushed nuts between layers for a delightful crunch; toasted almonds or pecans work beautifully!
- Fruity Twist: Incorporate fresh fruit puree or sliced strawberries in between the ice cream layers for a fresh burst of flavor.
- Chocolate Lovers: Mix in chocolate chips or chunks within the ice cream layer for an extra chocolaty experience.
- Spicy Kick: For an adventurous twist, add a pinch of cayenne pepper or chili powder to the magic shell for subtle heat.
- Layered Goodness: Alternate flavors of ice cream – try mint chocolate chip, raspberry, or coffee for a mixed flavor experience!
- Fun Sprinkles: Top with colorful sprinkles or your favorite candy pieces right before serving for added fun and a pop of color!
With these variations, you can turn your Mini Ice Cream Cakes into a personalized masterpiece that everyone will love!
Mini Ice Cream Cakes Recipe FAQs
How do I choose the right ice cream for my Mini Ice Cream Cakes?
Absolutely! The best ice cream for your Mini Ice Cream Cakes is one that you enjoy eating. Go for flavors that complement Oreos, like vanilla, cookies and cream, or chocolate. Make sure the ice cream is soft enough to scoop easily but not completely melted, as this will help create smooth layers.
What’s the best way to store leftover Mini Ice Cream Cakes?
To store leftovers, keep your Mini Ice Cream Cakes in the refrigerator in an airtight container for up to 3 days. If you want to keep them longer, transfer them to a sealed container and freeze them for up to 2 months. Just make sure they’re well-wrapped to prevent freezer burn!
How can I freeze Mini Ice Cream Cakes properly?
Freezing Mini Ice Cream Cakes is quite straightforward! After assembling the cakes in a muffin pan, cover the pan tightly with plastic wrap and aluminum foil. This protects the cakes from freezer odors and ice crystals. For the best flavor and texture, they can be frozen for up to 2 months. To serve after freezing, transfer them to the fridge for about 30 minutes to allow them to soften slightly.
I’m having trouble getting the cakes out of the muffin liners. Any tips?
Very! If the mini cakes are sticking to the liners, try running a warm, wet cloth around the muffin tin to slightly loosen them. Another trick is to let them sit at room temperature for about 5 minutes before attempting to remove them. If you want an easier removal experience next time, consider using silicone muffin liners; they are fantastic for releasing the cakes effortlessly.
Can I make Mini Ice Cream Cakes for someone with dietary restrictions?
Definitely! You can customize your Mini Ice Cream Cakes to accommodate various dietary needs. For a dairy-free option, use dairy-free ice cream and check that your chocolate is dairy-free. If you want to cater to nut allergies, ensure the cookies and any toppings you use are nut-free. Always check labels, and feel free to substitute any ingredients that may cause an allergy for safe, delicious results!
Delicious Mini Ice Cream Cakes That Will Wow Your Guests
Ingredients
Equipment
Method
- Soften Ice Cream: Take your ice cream out of the freezer and let it soften until it's mostly thawed. This should take about 10-15 minutes to become scoopable.
- Prepare Muffin Pan: Line a muffin pan with paper muffin liners. This will make removing the mini cakes a breeze after they freeze!
- Crush Oreos: Crush the Oreos into fine crumbs using a food processor or by placing them in a ziplock bag and gently rolling over them with a rolling pin.
- Layer Ice Cream: Spoon the melted ice cream into the muffin liners, filling them halfway. Cover tightly with plastic wrap and aluminum foil, then freeze for about 1 hour.
- Add Crunch Layer: Take the pan out of the freezer, sprinkle a layer of crushed Oreos over the ice cream, then add more ice cream to cover the crumbs fully. Return to the freezer.
- Serve Cakes: Carefully remove the mini ice cream cakes from the paper liners and place them on a plate. Add toppings like whipped cream or chocolate sauce.
- Make Magic Shell: In a bowl, combine chocolate and coconut oil. Microwave on low in 30-second bursts, stirring until smooth. Let cool slightly.
- Top with Magic Shell: Drizzle the magic shell over the mini ice cream cakes just before serving for a beautiful glossy finish.

