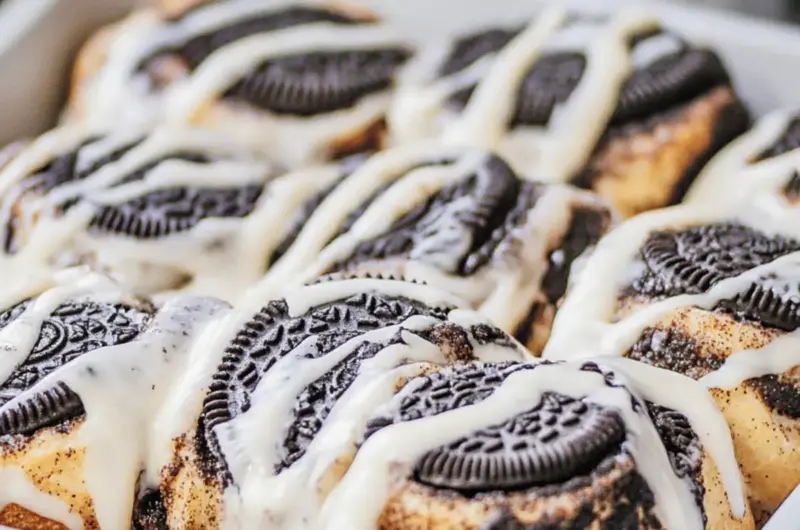
There’s an undeniable charm in the warmth of homemade treats, especially when they come straight from your oven, filling your kitchen with the heavenly aroma of cinnamon and chocolate. That’s exactly what you’ll experience with these decadent Oreo Cinnamon Rolls. When I first dreamed up this recipe, I envisioned a breakfast that brought comfort and indulgence together in every fluffy bite.
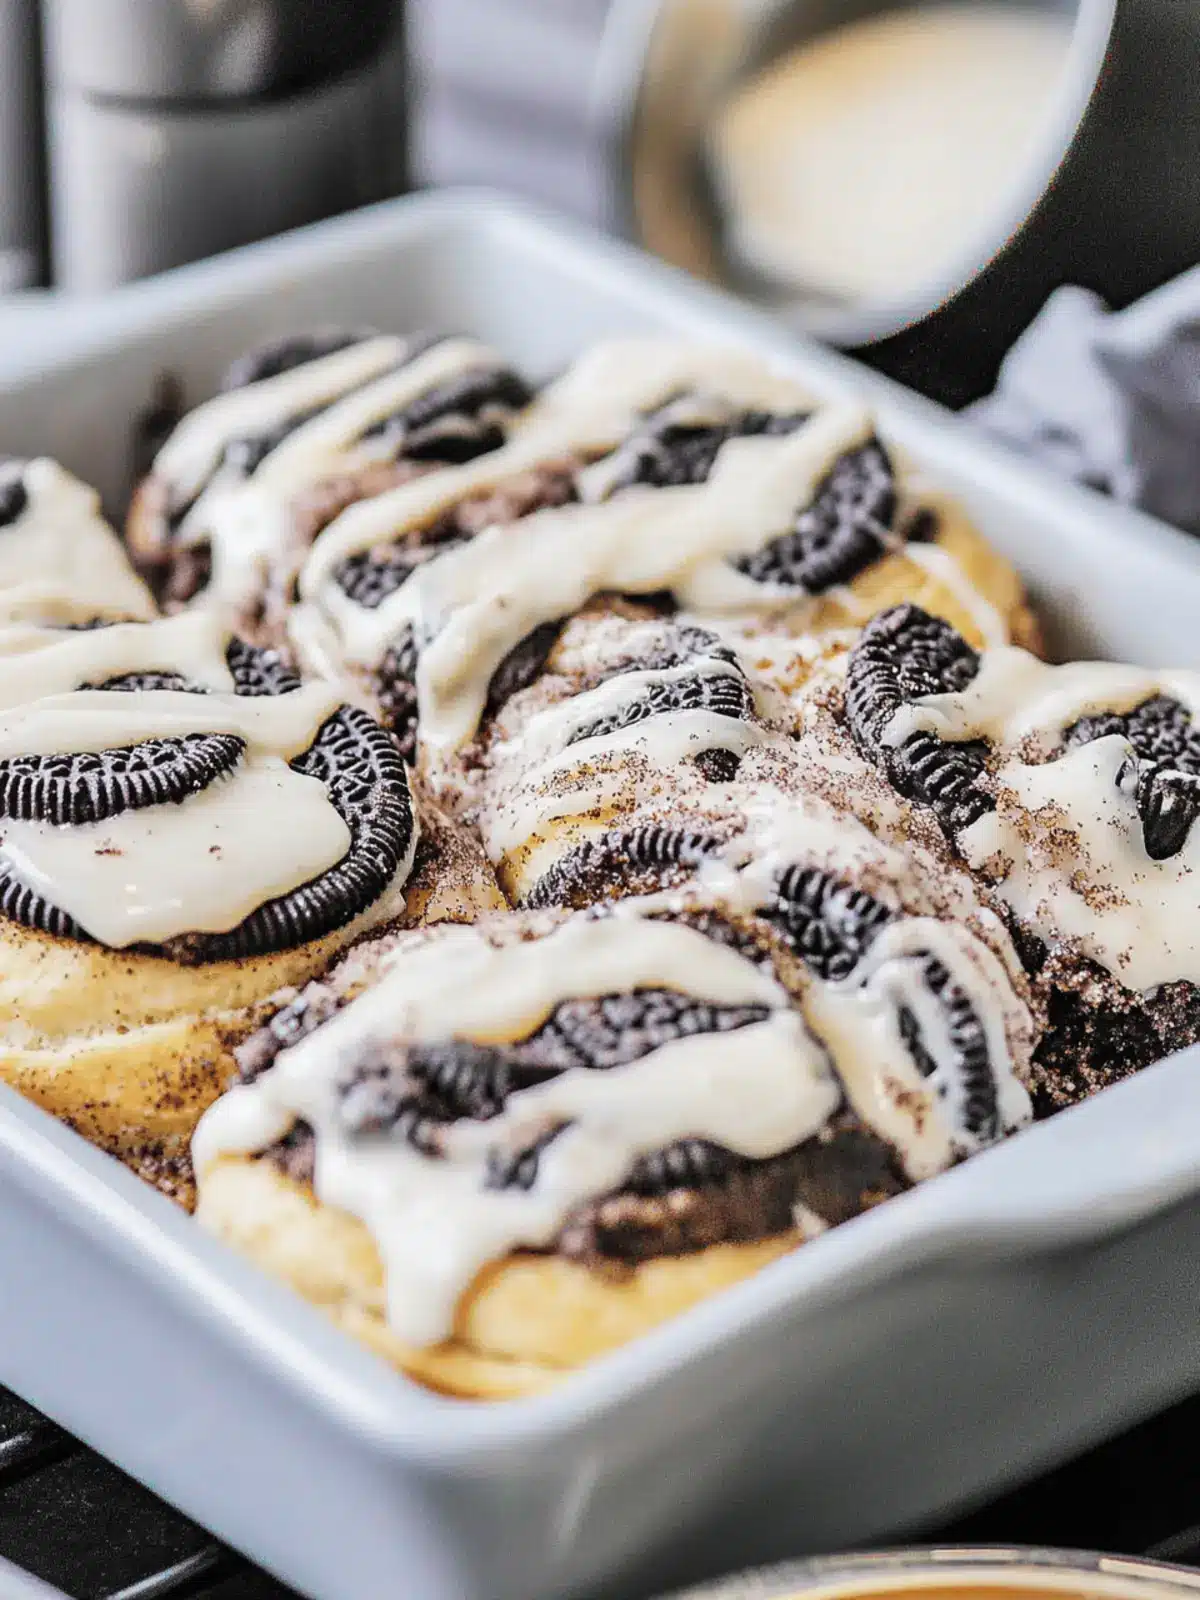
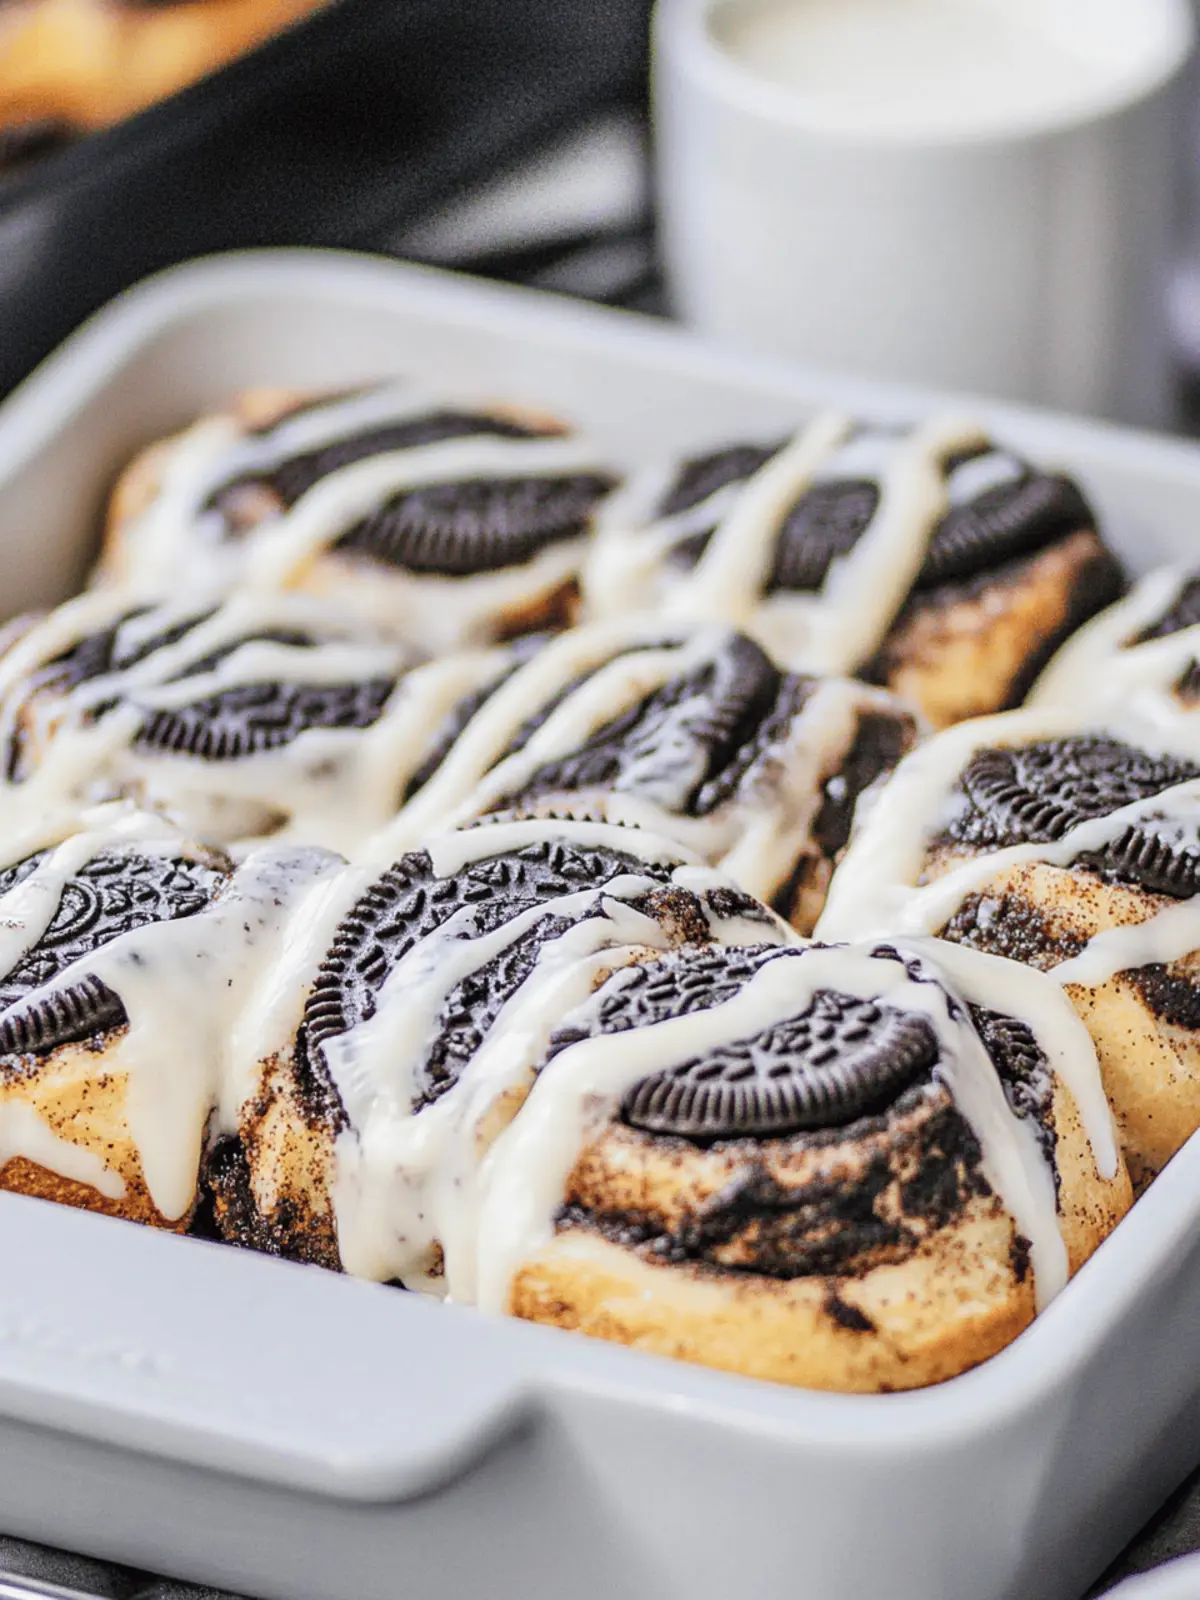
These rolls are not just a feast for the tummy; they’re also a visual delight, swirled with rich cocoa and crunchy Oreos, then drizzled with a sweet vanilla glaze that beckons for your attention. Perfect for lazy weekend brunches, or as a show-stopping centerpiece on special occasions, these rolls play a starring role in elevating breakfast to a whole new level.
Whether you’re looking to impress guests or simply treat yourself to something extraordinary, these Oreo Cinnamon Rolls are bound to become your new favorite. Let’s dive into this delightful recipe that combines ease with delightful flavors, proving that with a bit of creativity, comfort food can be both indulgent and heartwarming!
Why are Oreo Cinnamon Rolls so irresistible?
Irresistible Appeal: The Oreo Cinnamon Rolls are a delightful twist on two favorites, combining the familiar comfort of cinnamon rolls with the decadent taste of cookies and cream.
Visual Delight: Swirled with vibrant cocoa and crushed Oreo bits, they’re a feast for the eyes as well as the palate.
Crowd-Pleasing: Perfect for brunch gatherings or casual family breakfasts, these rolls will leave everyone wanting seconds!
Easy to Make: With straightforward steps, anyone can whip up this indulgent treat without professional baking skills.
Versatile Options: Feel free to experiment with flavors—try using different cookies or adding nuts for a personalized touch!
Treat yourself and loved ones to these rollers, and you may just find them becoming a staple in your weekend breakfast lineup!
Oreo Cinnamon Rolls Ingredients
-
For the Dough
-
All-Purpose Flour – The backbone of your rolls, ensuring a fluffy texture. Gluten-free 1:1 flour can be used, though the texture may vary.
-
Granulated Sugar – Sweetens the dough beautifully. Coconut sugar can be swapped for a lower glycemic index alternative.
-
Instant Dry Yeast – Helps the dough rise to fluffy perfection. Active dry yeast can work but may require more time to proof.
-
Fine Salt – Enhances all the flavors in the dough. An essential ingredient—do not skip this step!
-
Whole Milk – Adds moisture and richness to the dough. Non-dairy alternatives can also be used, adjusting liquid ratios as needed.
-
Unsalted Butter – Provides richness and a tender crumb. Dairy-free butter can be a delicious alternative.
-
Egg – Binds the ingredients together for a harmonious texture. For a vegan option, a flax egg works well.
-
For the Filling
-
Light Brown Sugar – Adds that perfect touch of sweetness and moisture. Can be substituted with granulated sugar if needed.
-
Black Cocoa Powder – Delivers a deep, chocolaty flavor that echoes the taste of Oreos. Dark cocoa powder can also be a great substitute.
-
Ground Cinnamon – Infuses warm spices, enhancing the flavor profile. Reduce the amount for a milder taste if desired.
-
Crushed Oreos – Brings that signature cookie taste and texture to your rolls. Any chocolate cookie can work in place of Oreos if you’re in a pinch.
-
For the Glaze
-
Powdered Sugar – Sweetens and thickens your glaze perfectly. Erythritol can be used for a low-sugar version.
-
Vanilla Extract – Adds a delightful aroma and flavor to the glaze. Using fresh vanilla pod or bean paste can intensify the flavor.
With this ingredient list, you’re on your way to creating scrumptious Oreo Cinnamon Rolls that will charm everyone at the breakfast table!
How to Make Oreo Cinnamon Rolls
-
Dough Prep: In a large mixing bowl, combine 3.5 cups of all-purpose flour, instant dry yeast, and fine salt. In a saucepan, heat whole milk, unsalted butter, and granulated sugar until melted. Mix this warm liquid into the dry ingredients until well combined.
-
Knead Dough: Add the egg and mix until a sticky dough forms. Gradually incorporate up to ½ cup of extra flour until the dough is tacky but not overly sticky. Cover with a clean towel and let rest for 10-15 minutes to relax the gluten.
-
Filling Prep: In a separate bowl, mix together light brown sugar, black cocoa powder, and ground cinnamon. Set this delightful mixture aside while your dough rises.
-
Roll Out Dough: Lightly flour your surface and roll the dough into a 12×18-inch rectangle. Spread a generous layer of softened butter over the surface, then sprinkle the filling mixture evenly. Finally, top with crushed Oreos for extra deliciousness.
-
Shape Rolls: Starting from the long side, roll the dough tightly into a log. Using dental floss, cut the rolled dough into 9 equal pieces for even baking.
-
Second Rise: Place the cut rolls into a greased baking pan, cover, and let rise in a turned-off oven for about 30 minutes, allowing them to puff up beautifully.
-
Bake: Preheat your oven to 350°F and bake the rolls for 26-30 minutes or until they are golden brown and your kitchen is filled with mouthwatering aromas.
-
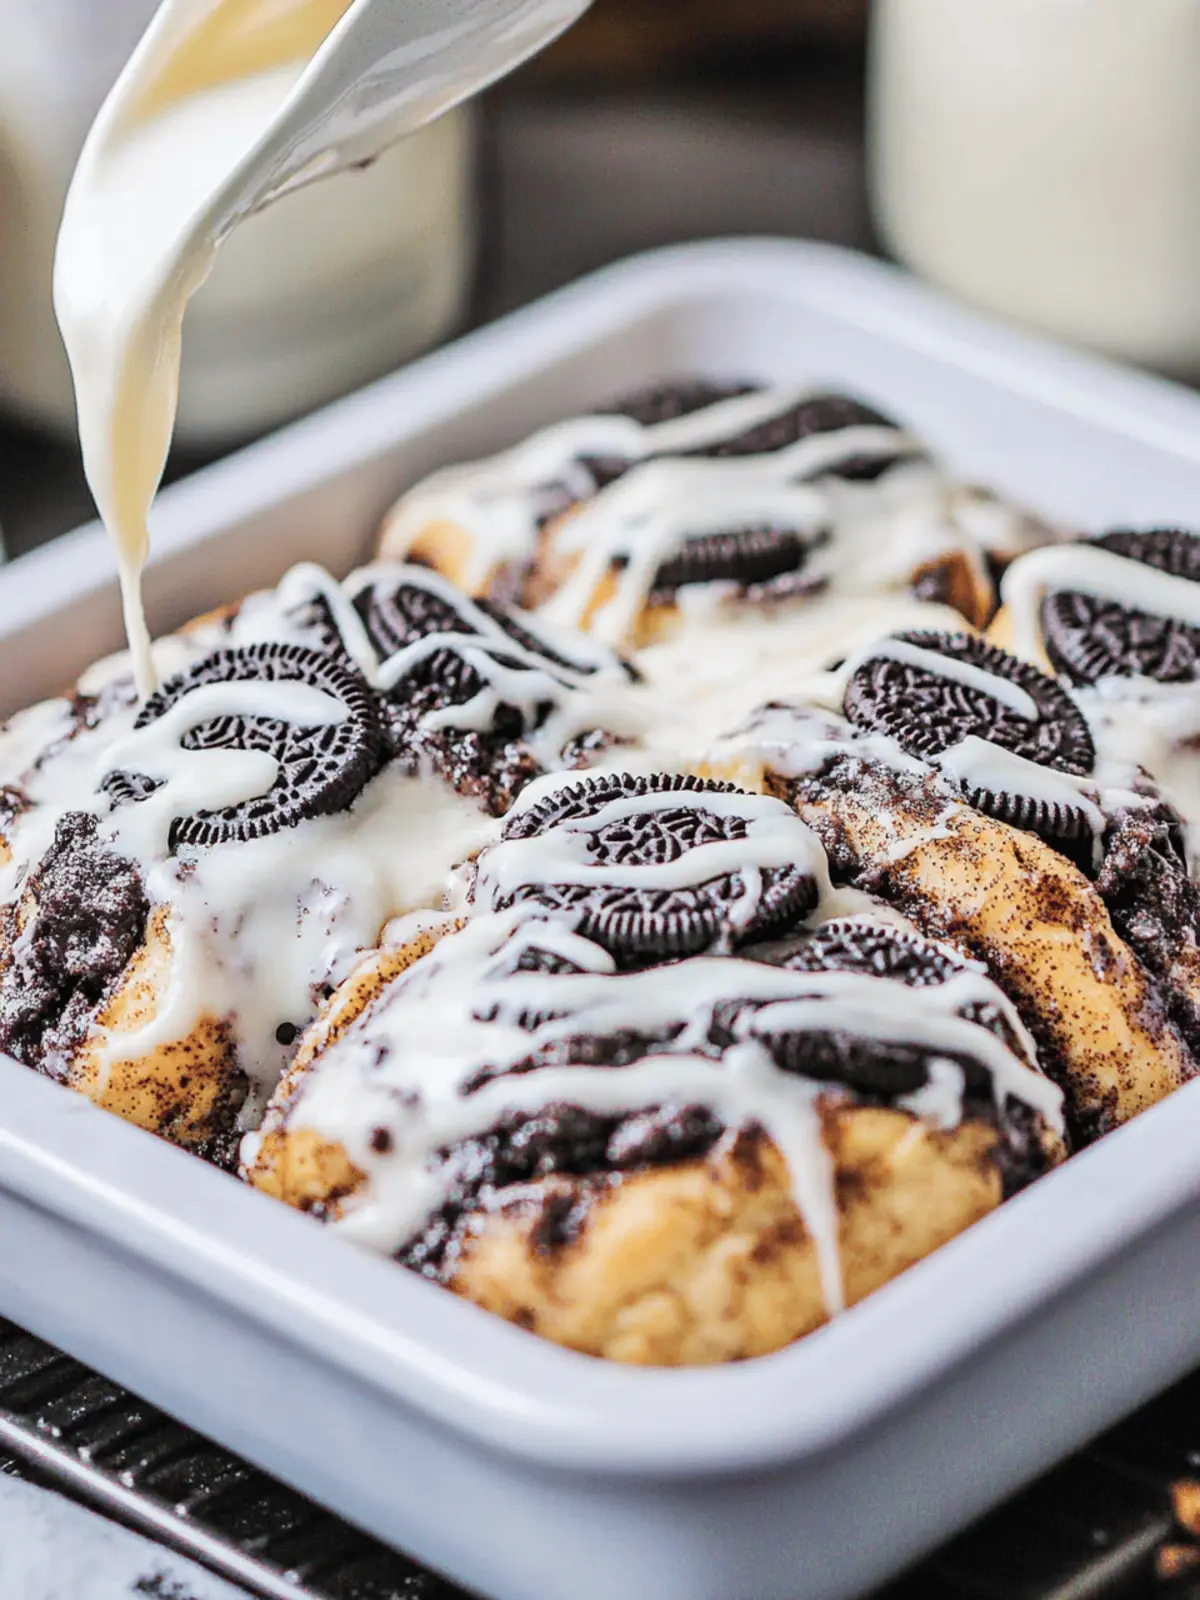
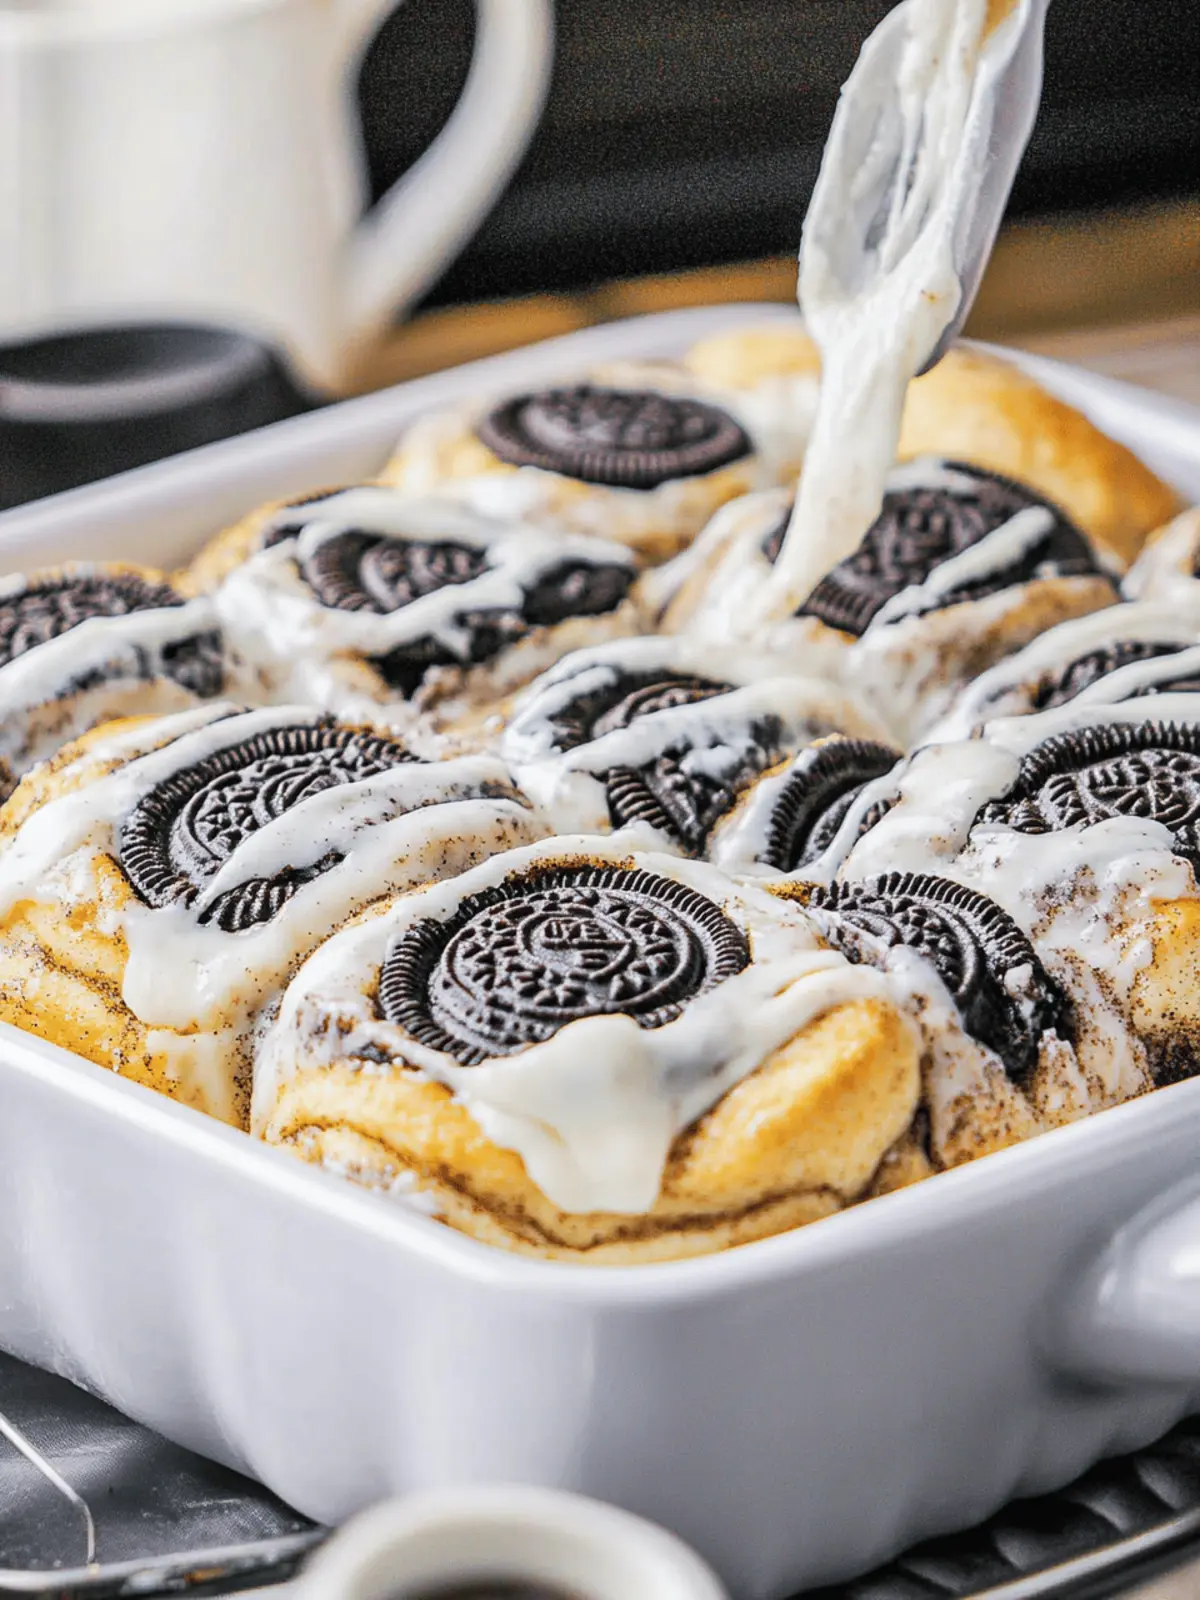
Glaze Preparation: In a bowl, mix the powdered sugar and vanilla extract until smooth. Drizzle this sweet glaze over the warm rolls after they’ve cooled for 10-20 minutes.
Optional: Top with chocolate sprinkles for an extra touch of indulgence!
Exact quantities are listed in the recipe card below.
Oreo Cinnamon Rolls Variations
Feel free to get creative with these scrumptious rolls—there’s a world of possibilities to explore!
-
Cookie Swap: Replace Oreos with any type of chocolate cookie for a fun flavor twist. Peanut butter cookies can add a delightful crunch and sweetness!
-
Nutty Addition: Stir in your favorite chopped nuts like pecans or walnuts into the filling for an enticing crunch in every bite. This twist brings a wonderful texture and nuttiness to the rolls.
-
Spice It Up: Add a pinch of cayenne pepper or chili powder to the filling for a subtle heat that complements the chocolate beautifully and awakens your taste buds.
-
Fruit Infusion: Mix in some dried fruits like raisins or chopped dried cherries into the filling for a pop of fruity flavor and chewy texture. The fruitiness will add a refreshing contrast to the rich chocolate.
-
Cream Cheese Glaze: Swap the vanilla glaze with a tangy cream cheese frosting for a richer taste that perfectly balances the sweetness of the rolls and adds an indulgent touch.
-
Dairy-Free Delight: Use almond milk and dairy-free butter in the dough and glaze. You’ll achieve delicious rolls that everyone can enjoy, regardless of dietary restrictions.
-
Chocolate Lover’s Dream: Include chocolate chips in the filling for an extra surprise of melty goodness with every bite. They add a layer of rich chocolate that takes these rolls to the next level.
-
Herbal Twist: Infuse fresh herbs like mint or rosemary in the glaze for an unexpected burst of flavor that dances on your palate and elevates the classic cinnamon roll experience.
With these variations, you can transform your Oreo Cinnamon Rolls into a new treat every time you bake! Enjoy the journey of flavor exploration!
Tips for the Best Oreo Cinnamon Rolls
- Precision Matters: Use a kitchen scale for weighing ingredients to ensure accuracy, particularly for flour, which affects the rolls’ texture significantly.
- Tacky Dough: Make sure the dough remains slightly tacky, as this helps achieve the best fluffy texture in your Oreo Cinnamon Rolls. Gradually adjust flour as needed.
- Room Temperature: If you’re refrigerating rolls overnight, wrap them tightly to prevent drying. Allow them to come to room temperature prior to baking for optimal rise.
- Proofing Time: If using active dry yeast instead of instant yeast, be prepared for a longer proofing time, typically an additional 10-15 minutes, to ensure sufficient rise.
- Avoid Overbaking: Keep a close eye on your rolls while baking to prevent over-browning; they should emerge golden and fluffy, not dark and dry!
What to Serve with Oreo Cinnamon Rolls?
These delightful treats can transform your breakfast table into a cozy gathering spot filled with warmth and comfort.
- Fresh Fruit Salad: A vibrant mix of berries, melons, and citrus brightens your plate and adds a refreshing contrast to the rich rolls.
- Coffee: A steaming cup of your favorite brew perfectly balances the sweetness of the rolls while adding a touch of sophistication.
- Hot Chocolate: For a decadent pairing, serve these rolls alongside creamy hot chocolate, reminiscent of a sweet café experience at home.
- Maple Syrup Drizzle: A splash of maple syrup brings a lovely earthy sweetness that harmonizes beautifully with the rich Oreo filling.
- Whipped Cream: Light and fluffy, a dollop of whipped cream on the side makes each bite an indulgent experience—like dessert for breakfast!
- Bacon or Sausage: Savory breakfast meats provide a delightful contrast, balancing the sweetness of the cinnamon rolls with salty goodness. A protein boost makes this breakfast even more satisfying.
- Cream Cheese Frosting: Opt for a cream cheese glaze instead of vanilla for an extra layer of tangy richness that takes your rolls to a whole new level of decadence.
Make Ahead Options
These Oreo Cinnamon Rolls are perfect for busy home cooks looking to save time during the week! You can prepare the dough and fill it up to 24 hours in advance. Simply follow the initial steps to mix and knead the dough, then roll it out, spread with filling, and cut into rolls. Instead of letting them rise, cover them tightly with plastic wrap and refrigerate overnight. When you’re ready to bake, let the rolls come to room temperature while preheating the oven, then continue with the second rise and bake as directed. This approach ensures your rolls are just as delicious, fluffy, and decadent with minimal effort on the day of serving!
Storage Tips for Oreo Cinnamon Rolls
-
Room Temperature: Store covered at room temperature for up to 2 days. Enjoy the rolls while they’re fresh for the best flavor and texture.
-
Fridge: If you need to keep them longer, wrap the Oreo cinnamon rolls tightly in plastic wrap and refrigerate for up to 5 days. Allow them to come to room temperature before serving for the softest texture.
-
Freezer: For extended storage, freeze the rolls tightly wrapped in plastic, followed by aluminum foil, for up to 3 months. Thaw overnight in the refrigerator before reheating.
-
Reheating: To reheat, warm the rolls in a 350°F oven for about 10–15 minutes or until heated through, restoring their delightful softness and gooey filling.
Oreo Cinnamon Rolls Recipe FAQs
What type of Oreo cookies should I use for the filling?
You can use any classic Oreo cookies for the filling to achieve that rich, chocolaty flavor. If Oreos aren’t available, feel free to substitute them with any chocolate cookie of your choice. The key is to get a cookie that has a nice crunchy texture to complement the soft dough.
How should I store leftover Oreo Cinnamon Rolls?
Store the rolls covered at room temperature for up to 2 days to maintain their freshness. If you need to keep them longer, tightly wrap them in plastic wrap and refrigerate for up to 5 days. Just let them come back to room temperature before enjoying them again for the best soft texture!
Can I freeze Oreo Cinnamon Rolls?
Absolutely! For longer storage, you can freeze the rolls. Wrap them tightly in plastic wrap, followed by aluminum foil, for up to 3 months. When you’re ready to enjoy them, thaw overnight in the refrigerator. Before serving, reheat in a 350°F oven for about 10–15 minutes to revive their delightful gooeyness.
What should I do if my dough isn’t rising properly?
If your dough isn’t rising, it might be due to the yeast being expired or not activated properly. Always check the expiration date on your yeast. Make sure you activate the yeast with warm milk (around 110°F) and a bit of sugar first; it should bubbly after about 5-10 minutes. If using active dry yeast, give it a bit longer to proof as compared to instant yeast.
Are Oreo Cinnamon Rolls suitable for people with nut allergies?
Yes, this recipe does not include any nuts, making it a safe option for those with nut allergies. However, always double-check the labels of your ingredients, particularly the Oreos, to ensure they’re produced in a nut-free facility if allergies are severe.
Can I use non-dairy alternatives in this recipe?
Very much so! You can substitute whole milk with almond milk, oat milk, or any other non-dairy milk. Additionally, use a dairy-free butter substitute in place of unsalted butter, and a flax egg instead of a regular egg for a completely dairy-free and vegan alternative. Just keep in mind that it may slightly alter the texture of the rolls.
Oreo Cinnamon Rolls: Indulge in Sweet Breakfast Bliss
Ingredients
Equipment
Method
- In a large mixing bowl, combine 3.5 cups of all-purpose flour, instant dry yeast, and fine salt. In a saucepan, heat whole milk, unsalted butter, and granulated sugar until melted. Mix this warm liquid into the dry ingredients until well combined.
- Add the egg and mix until a sticky dough forms. Gradually incorporate up to ½ cup of extra flour until the dough is tacky but not overly sticky. Cover with a clean towel and let rest for 10-15 minutes to relax the gluten.
- In a separate bowl, mix together light brown sugar, black cocoa powder, and ground cinnamon. Set this delightful mixture aside while your dough rises.
- Lightly flour your surface and roll the dough into a 12x18-inch rectangle. Spread a generous layer of softened butter over the surface, then sprinkle the filling mixture evenly. Finally, top with crushed Oreos.
- Starting from the long side, roll the dough tightly into a log. Using dental floss, cut the rolled dough into 9 equal pieces for even baking.
- Place the cut rolls into a greased baking pan, cover, and let rise in a turned-off oven for about 30 minutes.
- Preheat your oven to 350°F and bake the rolls for 26-30 minutes or until they are golden brown.
- In a bowl, mix the powdered sugar and vanilla extract until smooth. Drizzle this sweet glaze over the warm rolls after they’ve cooled for 10-20 minutes.

