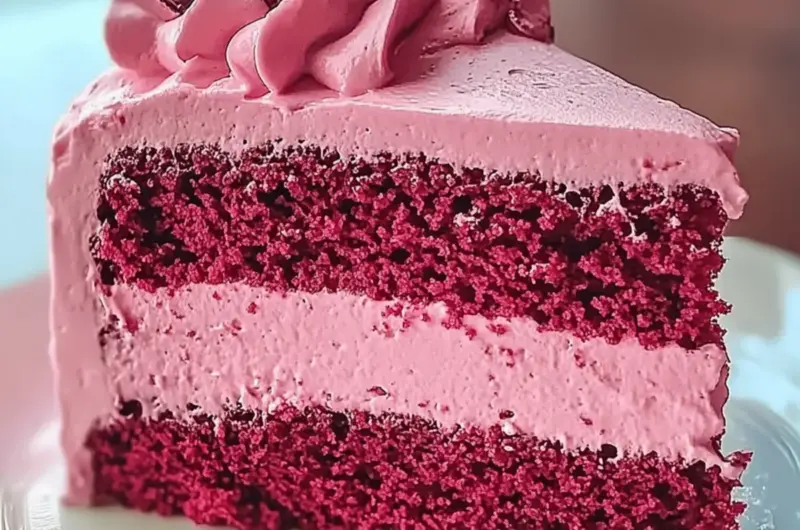
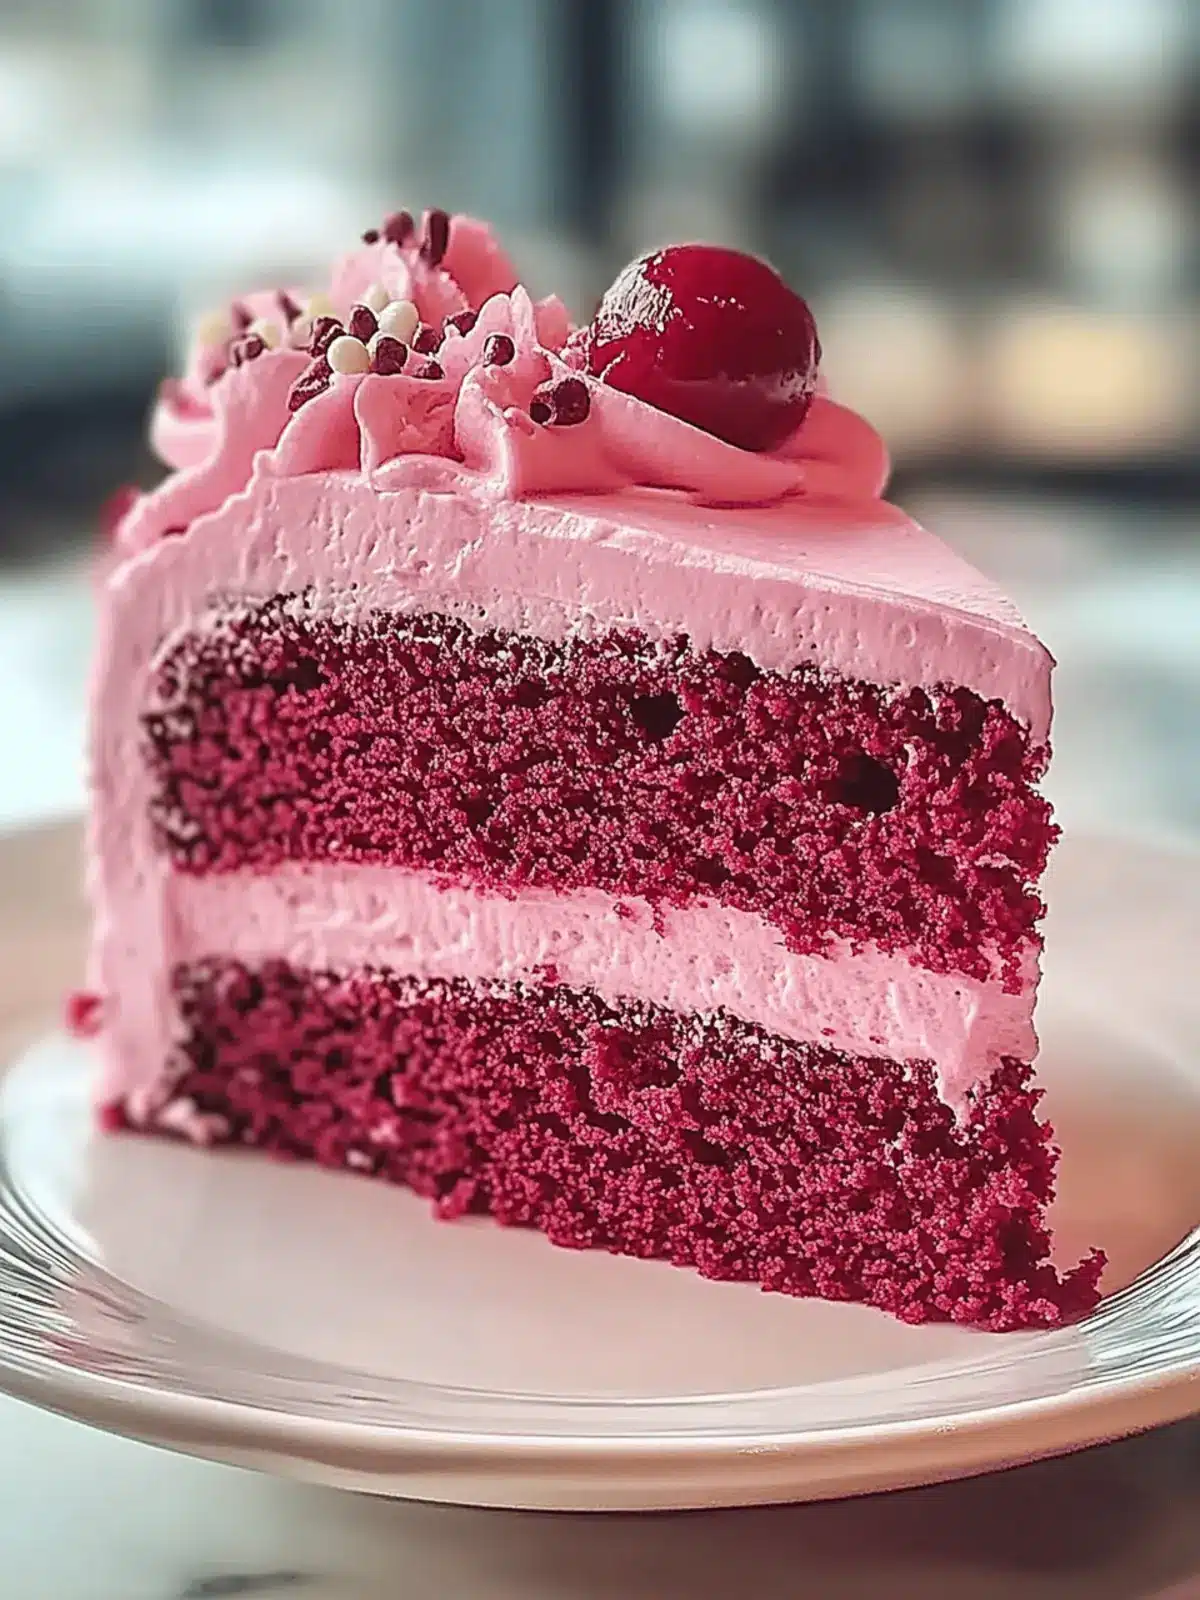
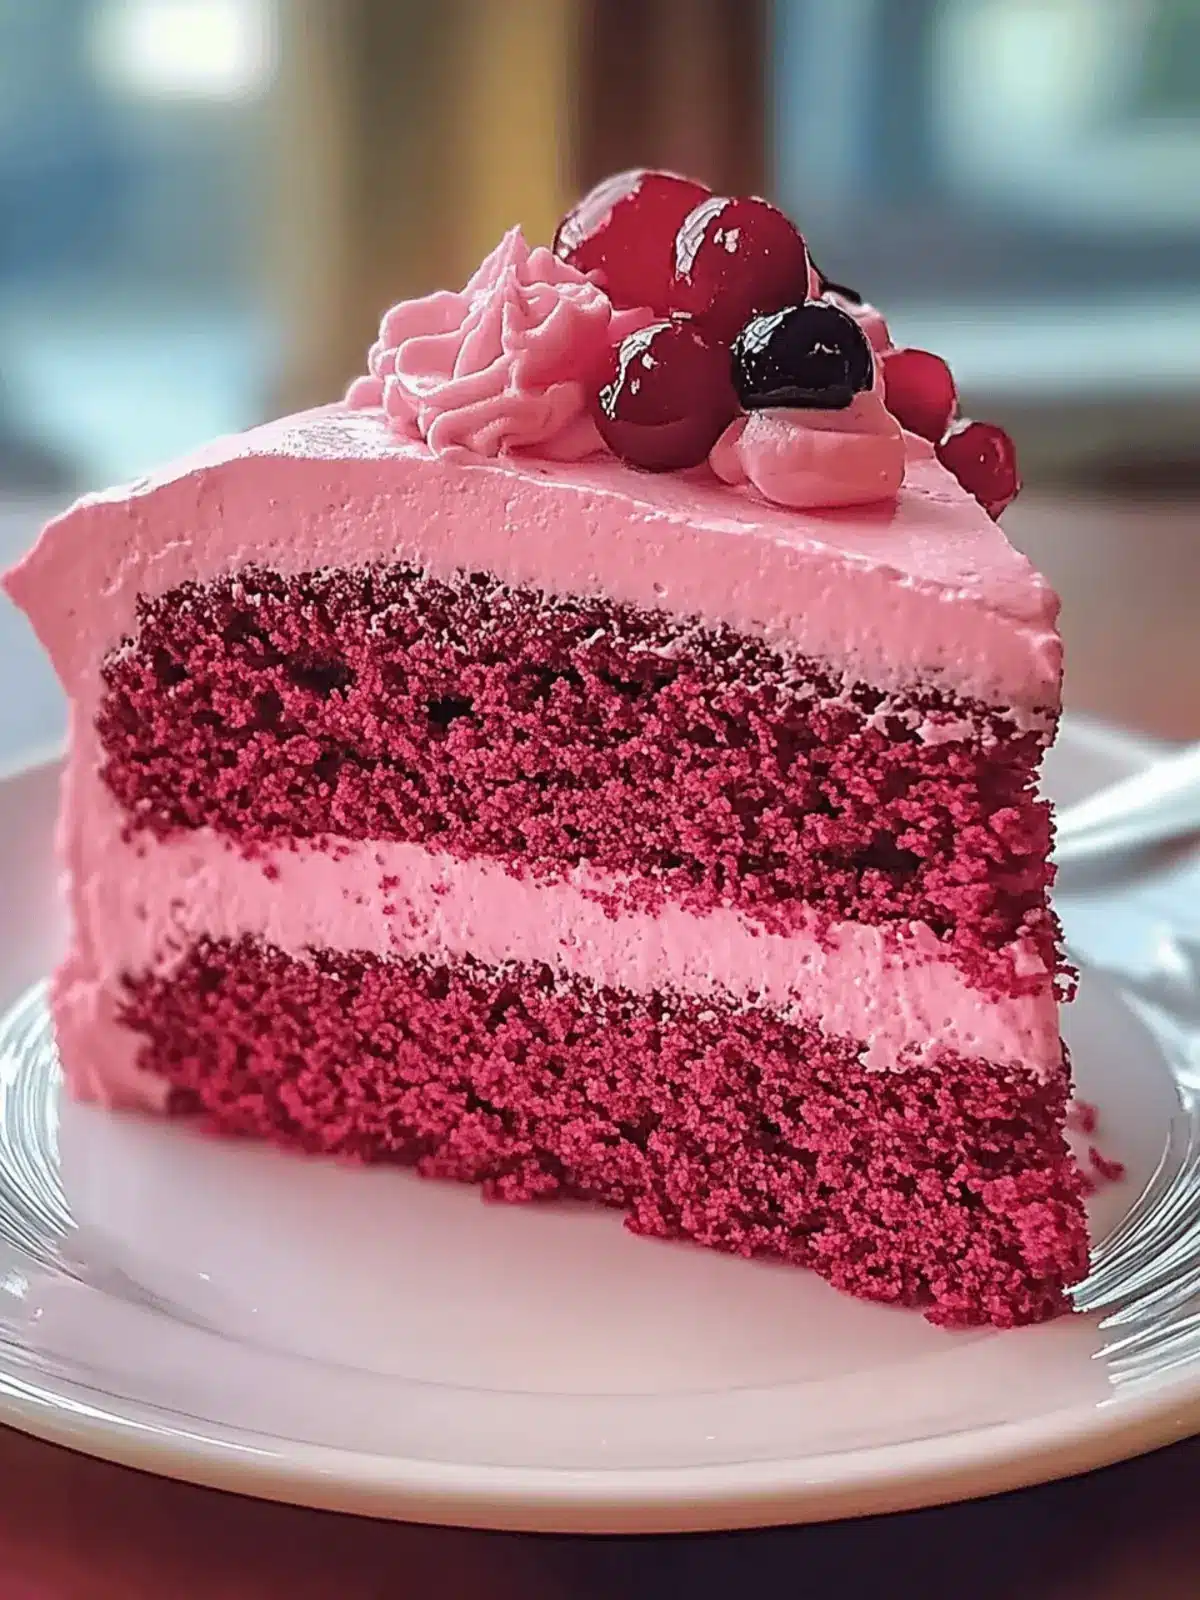
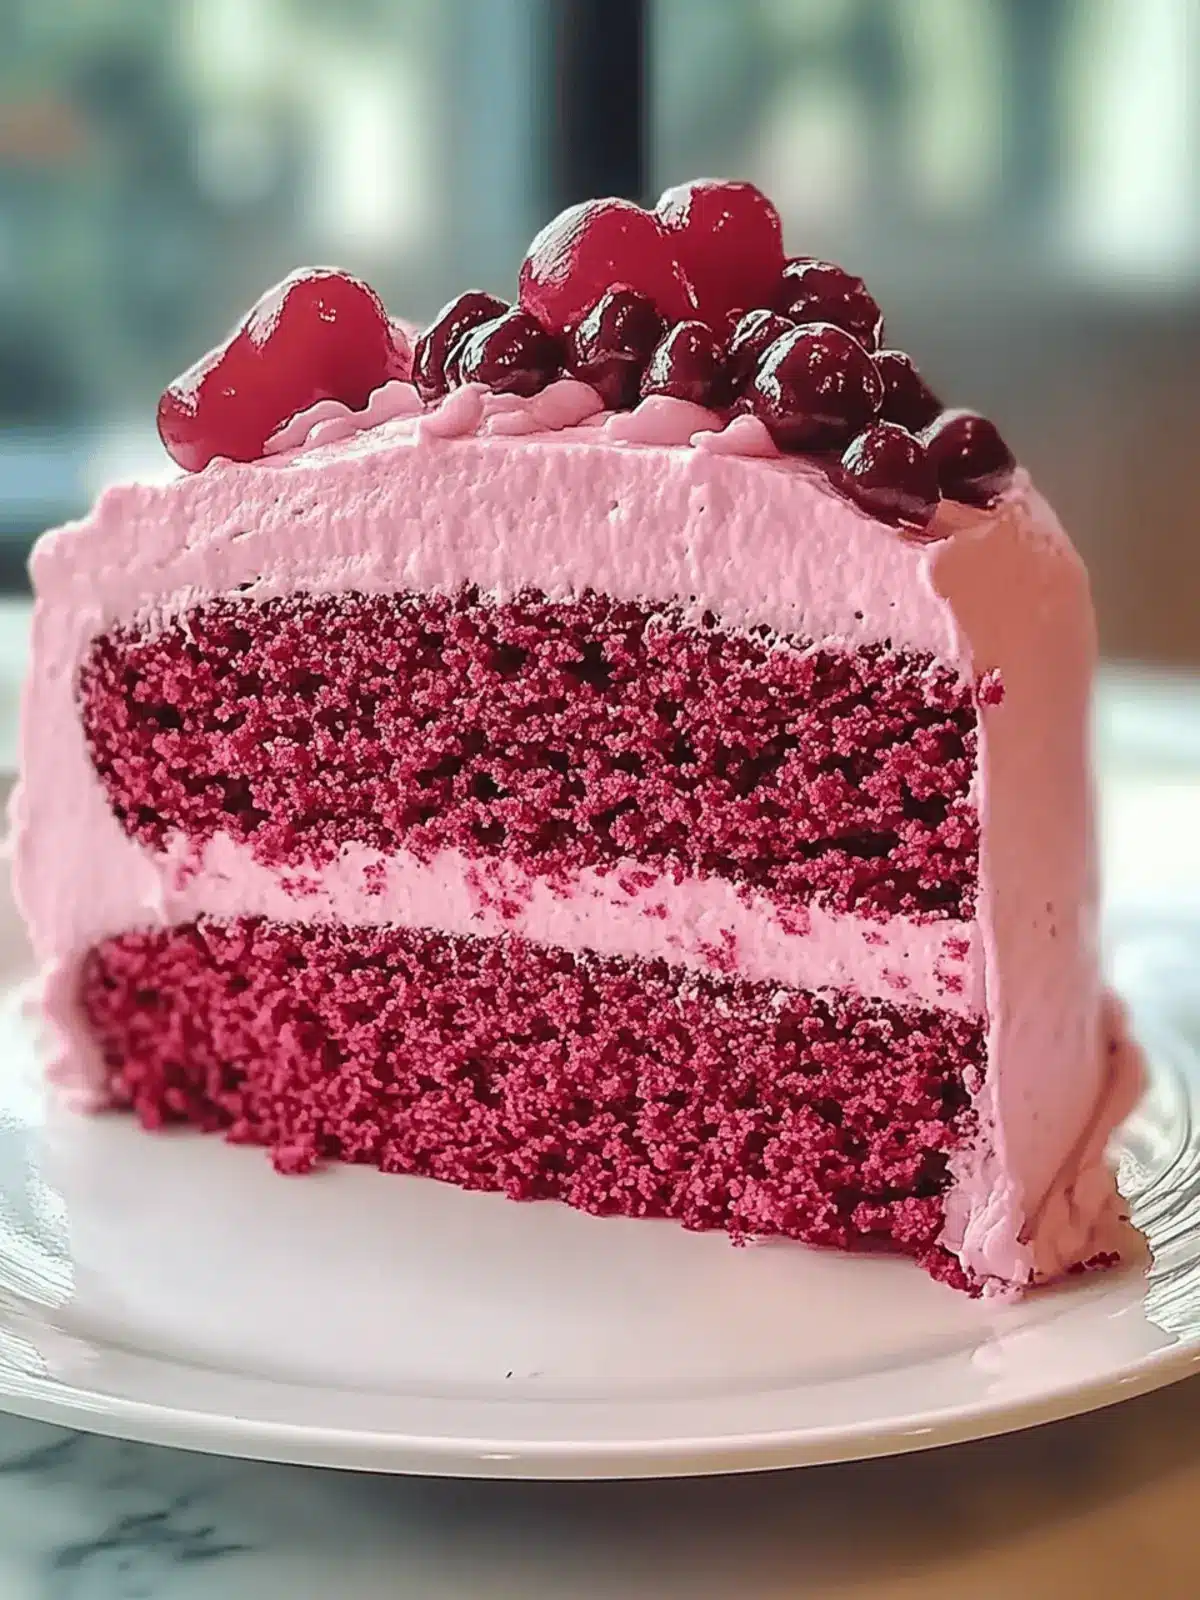
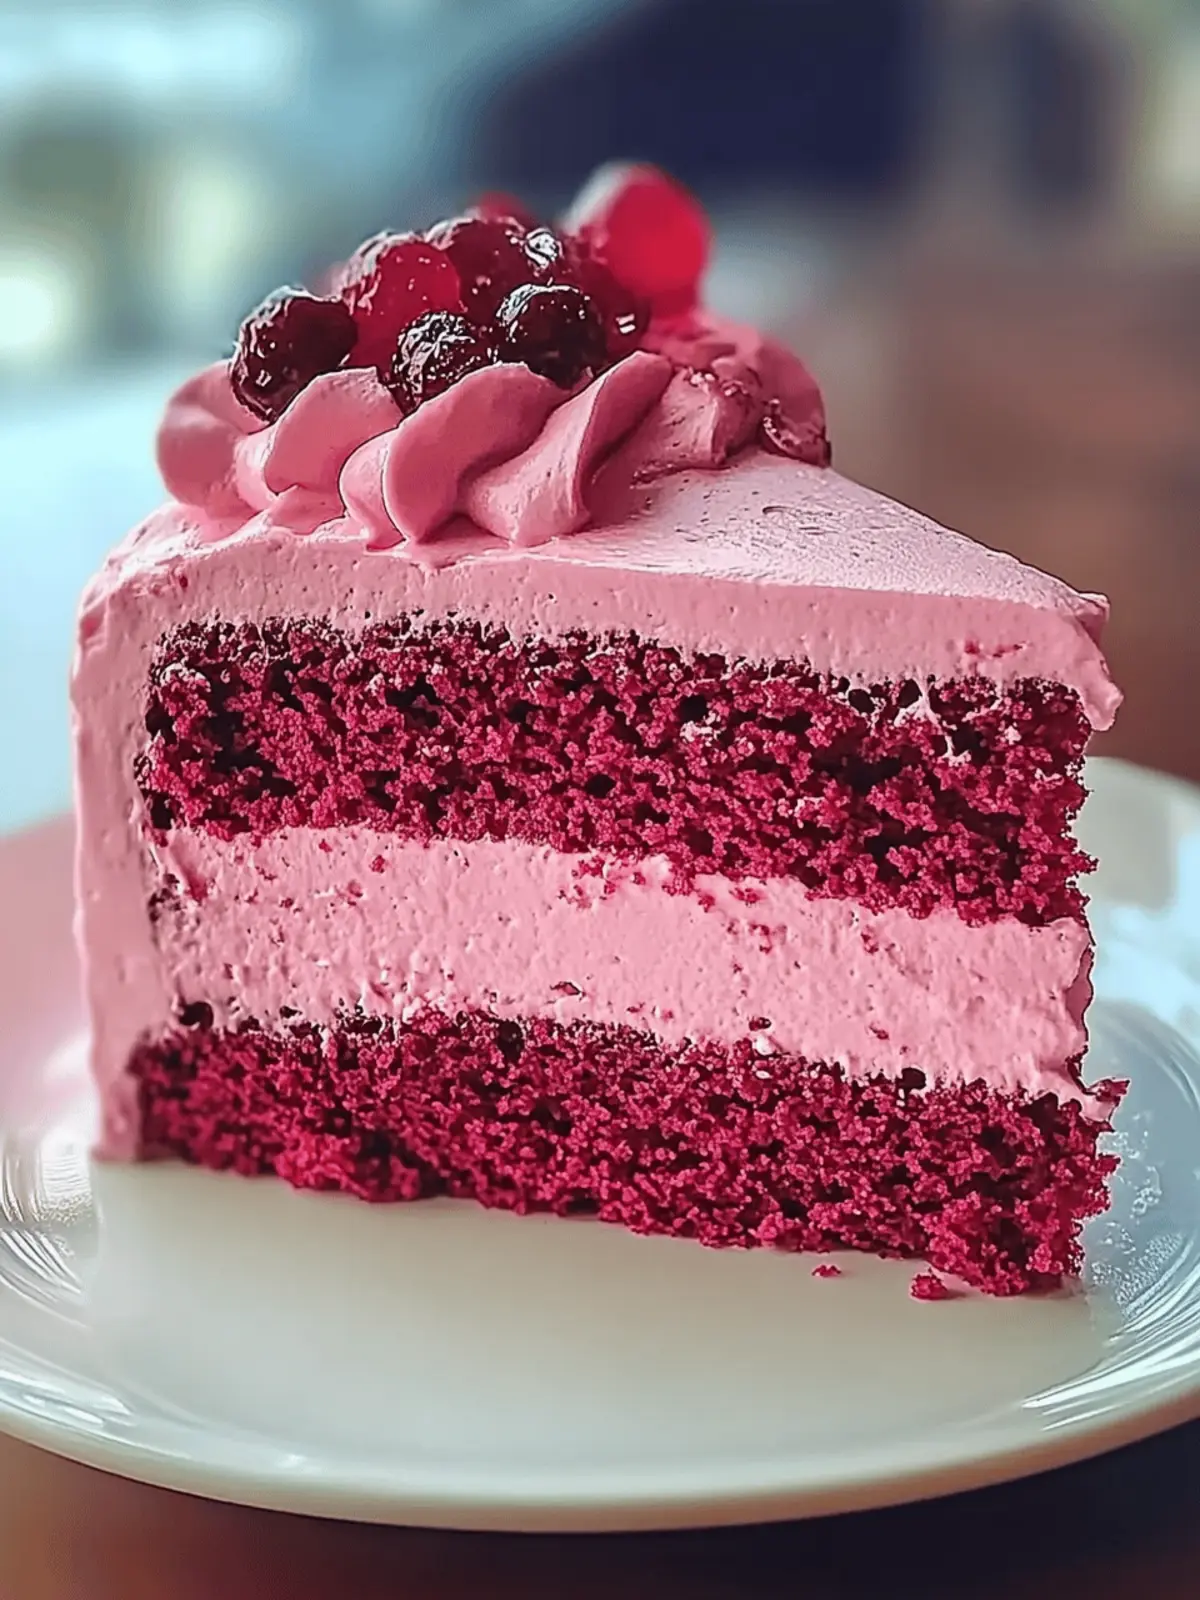
As spring blossoms into full bloom, the special day dedicated to celebrating our amazing mothers approaches. The vibrant hues of pink around us remind me of the enchanting Pink Velvet Cake that has become a staple in our family for Mother’s Day. This eye-catching creation isn’t just about its stunning color; it embodies warmth, love, and a dash of sweetness that every mom deserves.
There’s something utterly delightful about slicing into a cake that’s as soft and fluffy as a cloud but with an unexpected cocoa twist. Each bite melts in your mouth, perfectly complemented by the rich cream cheese frosting that invites smiles and hugs. The beautiful presentation alone is enough to light up any gathering, making it a perfect centerpiece for birthdays or just a sweet surprise during a cozy family dinner.
Let’s dive into this charming recipe that promises to bring joy and flair to your next special occasion, all while keeping the cooking stress at bay!
Why will you love this Pink Velvet Cake?
Irresistible Fluffiness: The texture is unlike any cake you’ve made before—soft, pillowy, and oh-so-delicious!
Unforgettable Flavor: A perfect blend of cocoa and vanilla brings a unique twist to the classic velvet cake experience.
Vibrant Presentation: Its stunning pink hue instantly livens up any celebration, making it the star of the show.
Versatile Delight: Perfect for Mother’s Day or birthdays, this cake adapts to any occasion with charm.
Stress-Free Baking: With straightforward steps, even novice bakers can impress their loved ones with this magical treat.
Perfect Pairing: The creamy frosting atop each slice harmonizes beautifully, creating a delightful flavor explosion in every bite.
Elevate your baking game with this enchanting recipe that promises to enchant your family and friends.
Pink Velvet Cake Ingredients
For the Cake
- Cake Flour – Provides structure and lightness to the cake. Substitute with all-purpose flour if needed, but the texture may vary.
- Granulated Sugar – Adds sweetness and helps create a fluffy texture. Use brown sugar for a richer flavor if desired.
- Cocoa Powder – Contributes a deep chocolate flavor while keeping the cake moist. Use Dutch-process cocoa for a more intense chocolate taste.
- Baking Powder – Acts as a leavening agent for rise. Ensure it’s fresh for best results.
- Salt – Balances sweetness and enhances flavor. Do not omit this essential ingredient.
- Unsalted Butter – Adds richness and moisture to the cake. Swap with unsalted margarine for a dairy-free option.
- Eggs – Provide stability and moisture to the batter. Use room temperature eggs for better incorporation and fluffiness.
- Buttermilk – Adds tang and moisture to enhance flavor. Greek yogurt diluted with water or milk is a good substitute.
- Vanilla Extract – Infuses warmth and enhances the cake’s flavor. Opt for pure vanilla for the best taste.
- Red Food Coloring – Achieves the signature pink hue. Gel food coloring is recommended for vibrancy without altering flavor.
For the Frosting
- Cream Cheese Frosting – Adds creamy texture and flavor to complement the cake. Buttercream can be substituted if you prefer a lighter frosting.
This Pink Velvet Cake is not just about delightful flavors; it’s a centerpiece for any special occasion that surely brings joy and warmth to the table!
How to Make Pink Velvet Cake
-
Preheat Oven: Begin by preheating your oven to 350°F (175°C). Grease and flour two 9-inch round cake pans to prevent sticking.
-
Mix Dry Ingredients: In a mixing bowl, whisk together the cake flour, cocoa powder, baking powder, and salt until well combined. This ensures a light, fluffy cake.
-
Cream Butter and Sugar: In a separate bowl, cream the softened unsalted butter and granulated sugar together until the mixture is light and fluffy, about 3 minutes. This step is key for a tender cake.
-
Add Eggs: Beat in the eggs, one at a time, ensuring each egg is well incorporated before adding the next. This creates a smooth batter.
-
Combine Wet Ingredients: Mix the buttermilk, vanilla extract, and red food coloring into the wet mixture until fully blended. Avoid overmixing to keep the cake airy.
-
Incorporate Dry Ingredients: Gradually add the dry ingredients into the wet mixture in three parts. Gently fold with a spatula to maintain the aeration, resulting in a smooth batter.
-
Prepare for Baking: Divide the batter evenly between the prepared cake pans, smoothing the tops with a spatula. Bake for 25-30 minutes, or until a toothpick inserted in the center comes out clean.
-
Cool the Cakes: Once baked, cool the cakes in their pans for about 10 minutes. Carefully transfer them to wire racks to cool completely before frosting.
-
Frost the Cake: Once cooled, spread cream cheese frosting generously between the layers and on top of the cake, creating a delightful creamy layer.
Optional: Top with fresh strawberries or edible flowers for a beautiful finish.
Exact quantities are listed in the recipe card below.
How to Store and Freeze Pink Velvet Cake
Room Temperature: Store leftover Pink Velvet Cake in an airtight container at room temperature for up to 3 days to maintain its moistness and flavor.
Fridge: For longer storage, place the cake in the refrigerator, wrapped tightly in plastic wrap; it can last up to a week without losing quality.
Freezer: To freeze, slice the Pink Velvet Cake and wrap each piece in plastic wrap, then place them in a freezer-safe bag. It can be frozen for up to 3 months.
Reheating: To enjoy, thaw slices in the refrigerator overnight, and bring to room temperature before serving, or gently warm them in the microwave for a few seconds if desired.
Pink Velvet Cake Variations
Feel free to explore these delightful twists to make your Pink Velvet Cake even more special!
- Dairy-Free: Substitute buttermilk with almond milk or coconut milk mixed with lemon juice for a creamy alternative.
- Nutty Infusion: Add a teaspoon of almond extract to the batter for a delightful nutty flavor that elevates the cake.
- Fruity Topping: Garnish with fresh strawberries or raspberries on top of the frosting for a refreshing twist and vibrant color.
- Chocolate Drizzle: Drizzle melted dark chocolate over the frosted cake for an indulgent chocolatey surprise that complements the pink velvet.
- Layered Delight: Create a layered cake by adding a hidden layer of fruit preserves between the frosting layers for a burst of flavor in each slice.
- Coconut Cream: Replace the cream cheese frosting with coconut whipped cream for a tropical flair and a lighter texture.
- Spicy Kick: Fold in a pinch of cayenne pepper to the batter for a subtle, warm undertone that enhances the chocolate flavor.
- Zesty Brightness: Mix in the zest of a lemon or lime to the batter to brighten the flavor profile, adding a delightful zing that surprises the taste buds.
Expert Tips for Pink Velvet Cake
-
Perfect Mixing: Avoid overmixing the batter after adding the dry ingredients; this keeps your Pink Velvet Cake airy and light.
-
Room Temperature Ingredients: Use room temperature eggs and buttermilk for better incorporation, resulting in a smoother batter that bakes evenly.
-
Cooling Time: Allow the cakes to cool completely before frosting to prevent the cream cheese frosting from melting.
-
Baking Time: Start checking for doneness at 25 minutes; ovens vary, and you want to catch that perfect moment where the cake is fluffy and moist.
-
Color Intensity: For a vibrant pink hue, opt for gel food coloring, which adds color without compromising the cake’s flavor.
What to Serve with Mother’s Day Pink Velvet Cake?
Elevate your Mother’s Day celebration with paired dishes that perfectly complement the enchanting flavors of this delightful cake.
-
Fresh Berry Salad: A medley of mixed berries provides a refreshing contrast to the rich cake, enhancing its sweetness with vibrant, tangy flavors.
-
Vanilla Ice Cream: The creaminess of vanilla ice cream pairs beautifully with the cake, creating a dreamy texture and balancing the flavors.
-
Sparkling Lemonade: This refreshing drink with a fizzy twist adds a bright and zesty note, elevating the cake’s enchanting charm while keeping the celebration lively.
-
Creamy Mashed Potatoes: For a unique twist, serve mashed potatoes as a side, as the creaminess and buttery flavors make an unexpected yet delightful combination with dessert.
-
Pistachio-Pistachio Zucchini Bread: This nutty bread serves as a delicious contrast to the sweetness of the cake, providing a complementary texture and flavor profile.
-
Chocolate-Covered Strawberries: These indulgent treats mirror the cocoa notes of the cake while adding elegance and fresh elements, making your dessert table look extra festive.
Make Ahead Options
This enchanting Pink Velvet Cake is perfect for making ahead of time, saving you valuable moments on special occasions. You can bake the cake layers up to 24 hours in advance; simply cool them completely and wrap them tightly in plastic wrap before refrigerating to keep them moist. The cream cheese frosting can also be prepared up to 3 days ahead; store it in an airtight container in the fridge. When you’re ready to serve, take the cake layers out, let them come to room temperature, and frost them generously. This way, you’ll still enjoy that wonderful fluffy texture and delightful flavor, just as if you’d baked it fresh!
Pink Velvet Cake Recipe FAQs
How do I choose the right food coloring for my Pink Velvet Cake?
Absolutely! For a vibrant pink hue, I recommend using gel food coloring instead of liquid food coloring. Gel coloring packs a punch without adding extra moisture, ensuring the cake remains fluffy and flavorful. Look for brands that specify “gel” on the label, as these provide the best color payoff.
How should I store leftover Pink Velvet Cake?
You can store leftover Pink Velvet Cake in an airtight container at room temperature for up to 3 days. If you want to keep it longer, wrap it tightly in plastic wrap and refrigerate it; it’ll stay fresh for about a week. Just ensure it’s sealed well to prevent it from drying out.
Can I freeze Pink Velvet Cake? How do I do it?
Yes, you can absolutely freeze your Pink Velvet Cake! Here’s how: First, slice the cake into individual portions for easier thawing later. Wrap each slice tightly in plastic wrap, then place them in a freezer-safe bag or container. It can be frozen for up to 3 months. When you’re ready to enjoy a slice, simply thaw it in the refrigerator overnight, and allow it to come to room temperature before serving.
What if my cake doesn’t rise properly?
If your Pink Velvet Cake doesn’t rise as expected, it might be due to using old baking powder. Always check the expiration date to ensure it’s fresh! Additionally, make sure you’re not overmixing the batter after adding the dry ingredients, as this can lead to a dense texture rather than the light, fluffy cake you desire.
Are there any dietary considerations for this recipe?
Yes! If you have dietary restrictions, this recipe can be modified. For a dairy-free option, you can replace the butter with unsalted margarine and use a dairy-free milk instead of buttermilk. Just dilute yogurt with water or milk if needed. Always double-check for any allergies with ingredients, especially the food coloring, as some may contain allergens.
Deliciously Soft Pink Velvet Cake for Mother’s Day Magic
Ingredients
Equipment
Method
- Preheat your oven to 350°F (175°C). Grease and flour two 9-inch round cake pans to prevent sticking.
- In a mixing bowl, whisk together the cake flour, cocoa powder, baking powder, and salt until well combined.
- Cream the softened unsalted butter and granulated sugar together until light and fluffy, about 3 minutes.
- Beat in the eggs, one at a time, ensuring each egg is well incorporated before adding the next.
- Mix the buttermilk, vanilla extract, and red food coloring into the wet mixture until fully blended.
- Gradually add the dry ingredients into the wet mixture in three parts. Gently fold with a spatula to maintain aeration.
- Divide the batter evenly between the prepared cake pans. Bake for 25-30 minutes, until a toothpick comes out clean.
- Cool the cakes in their pans for about 10 minutes before transferring them to wire racks to cool completely.
- Spread cream cheese frosting between the layers and on top of the cake.

