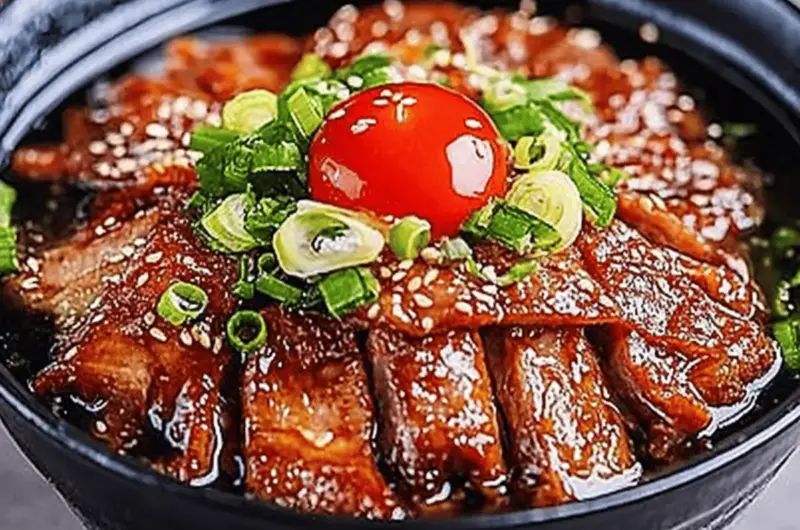
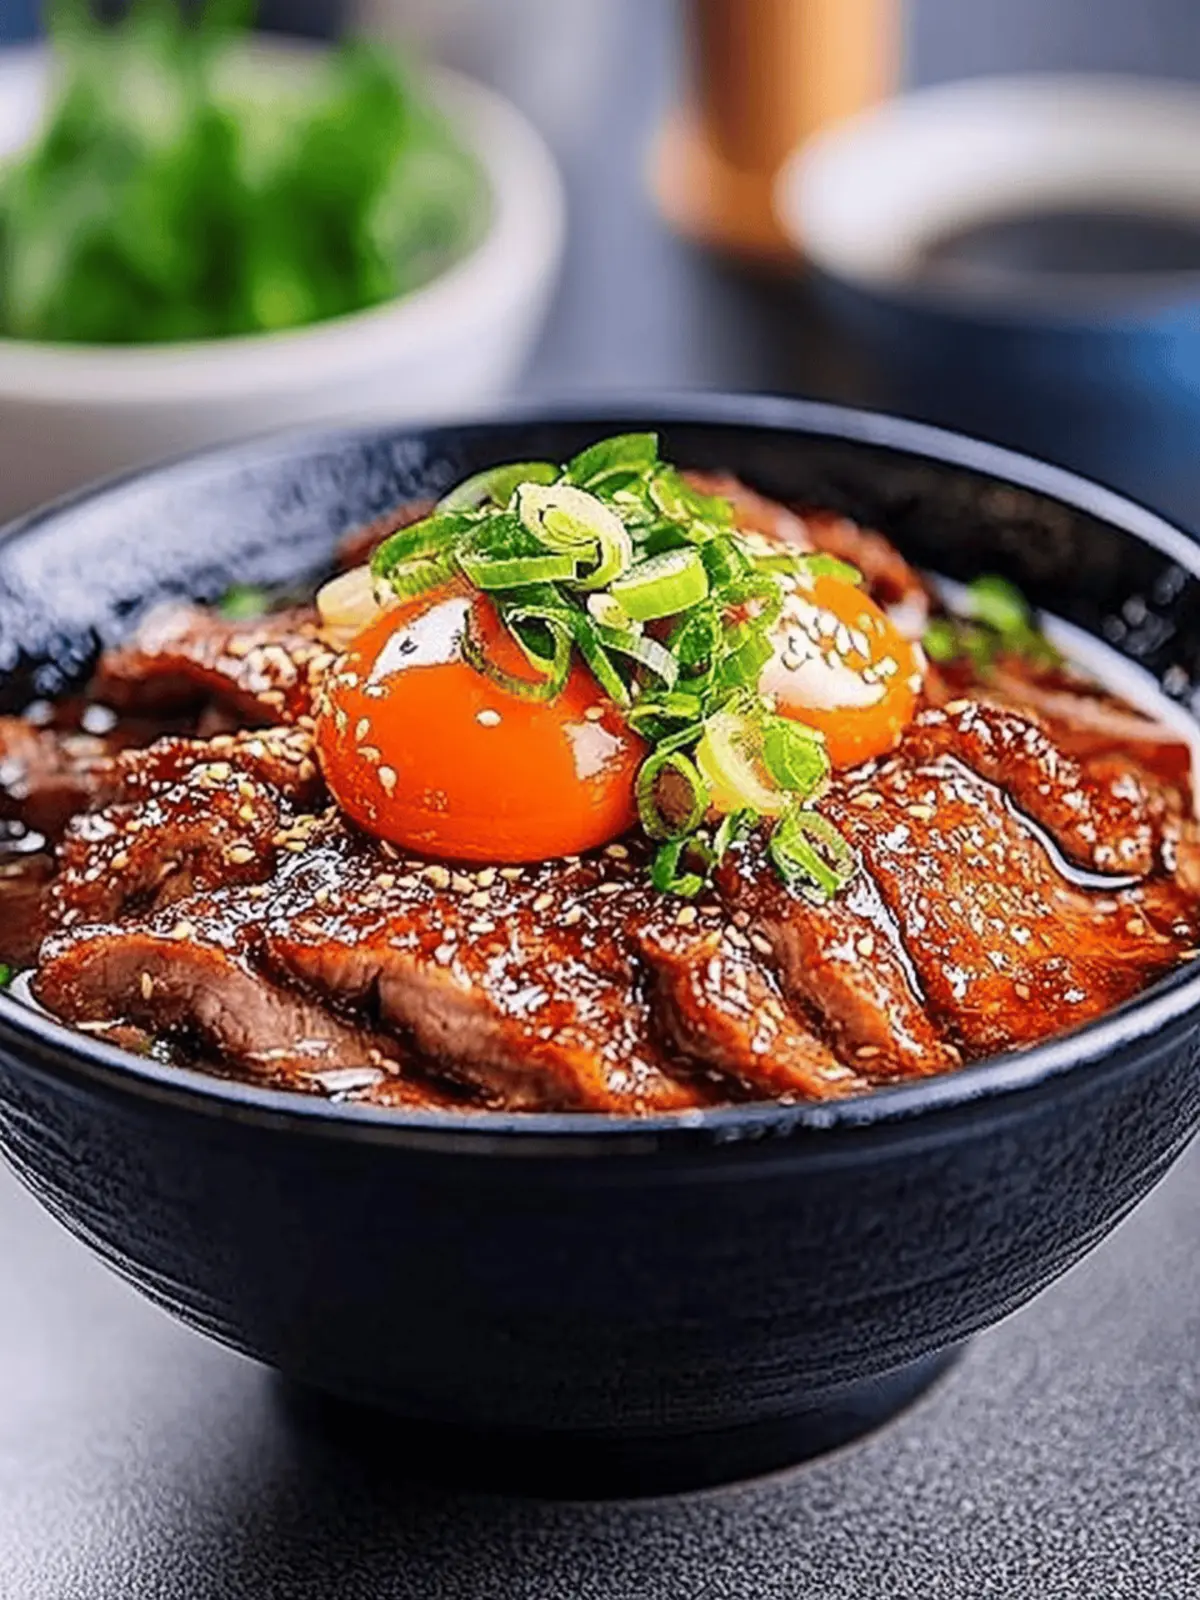
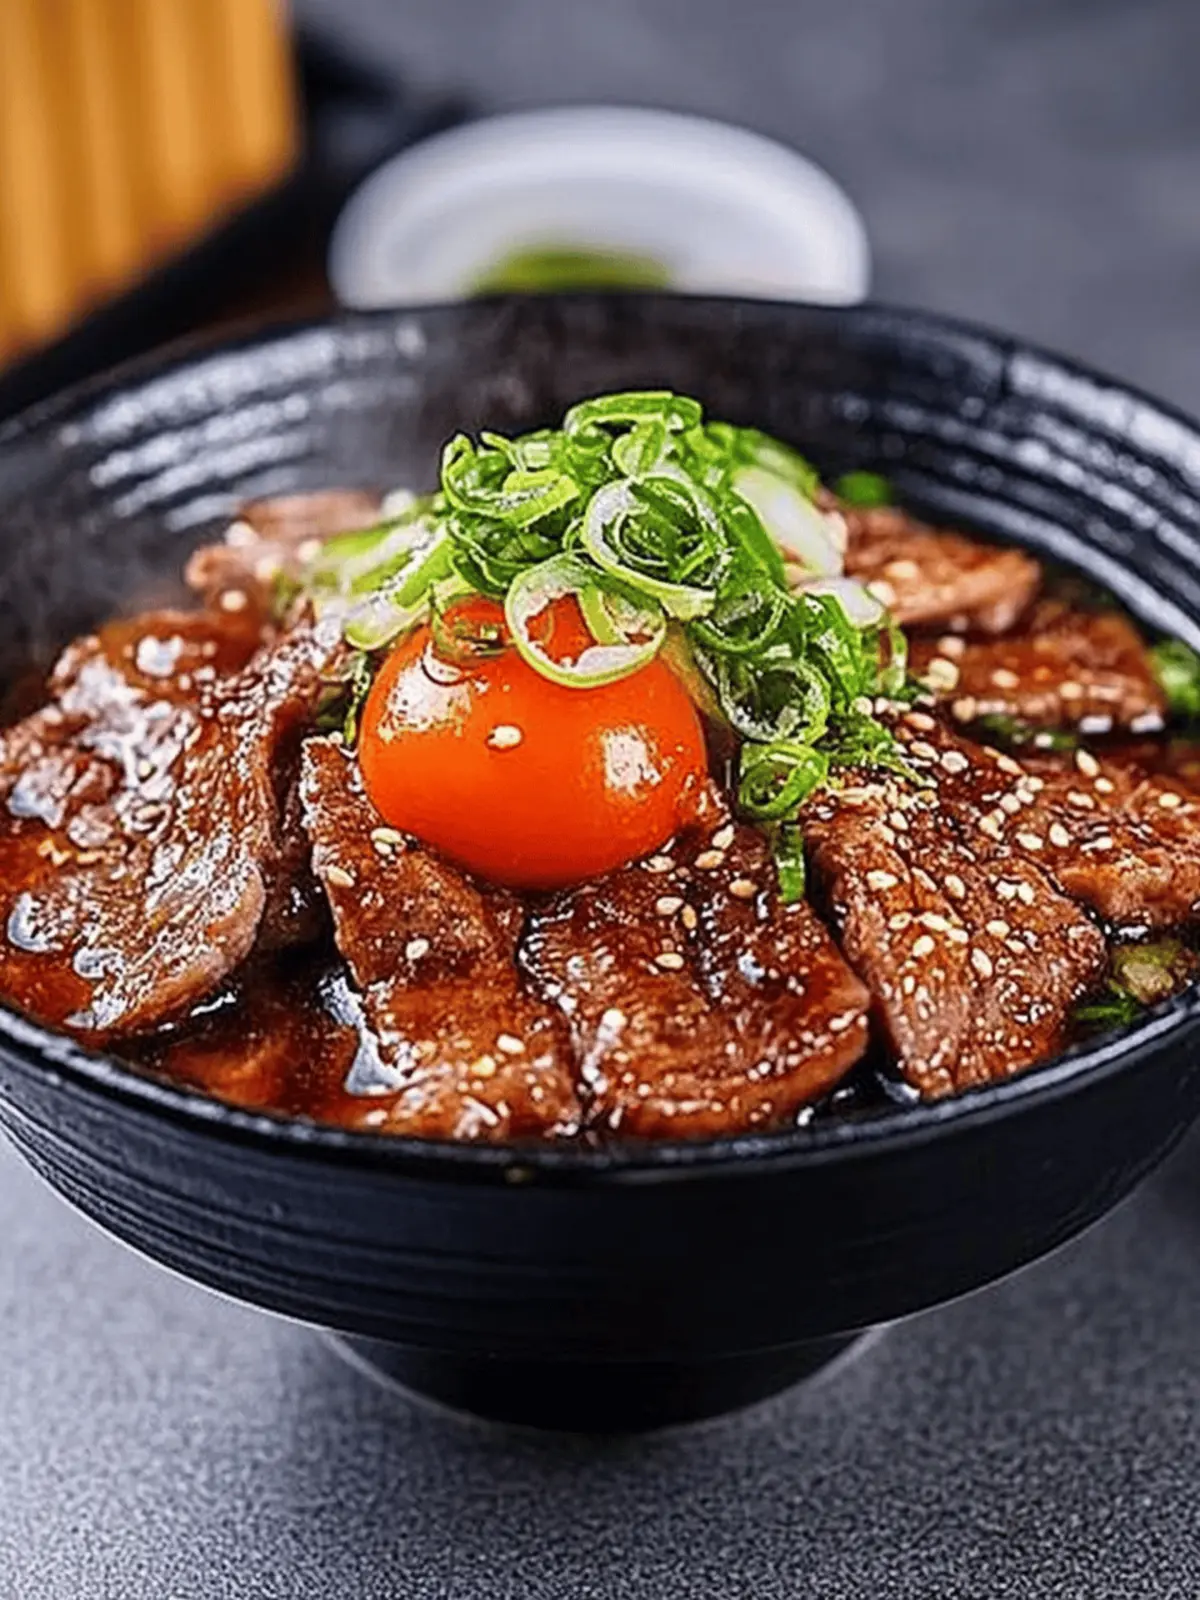
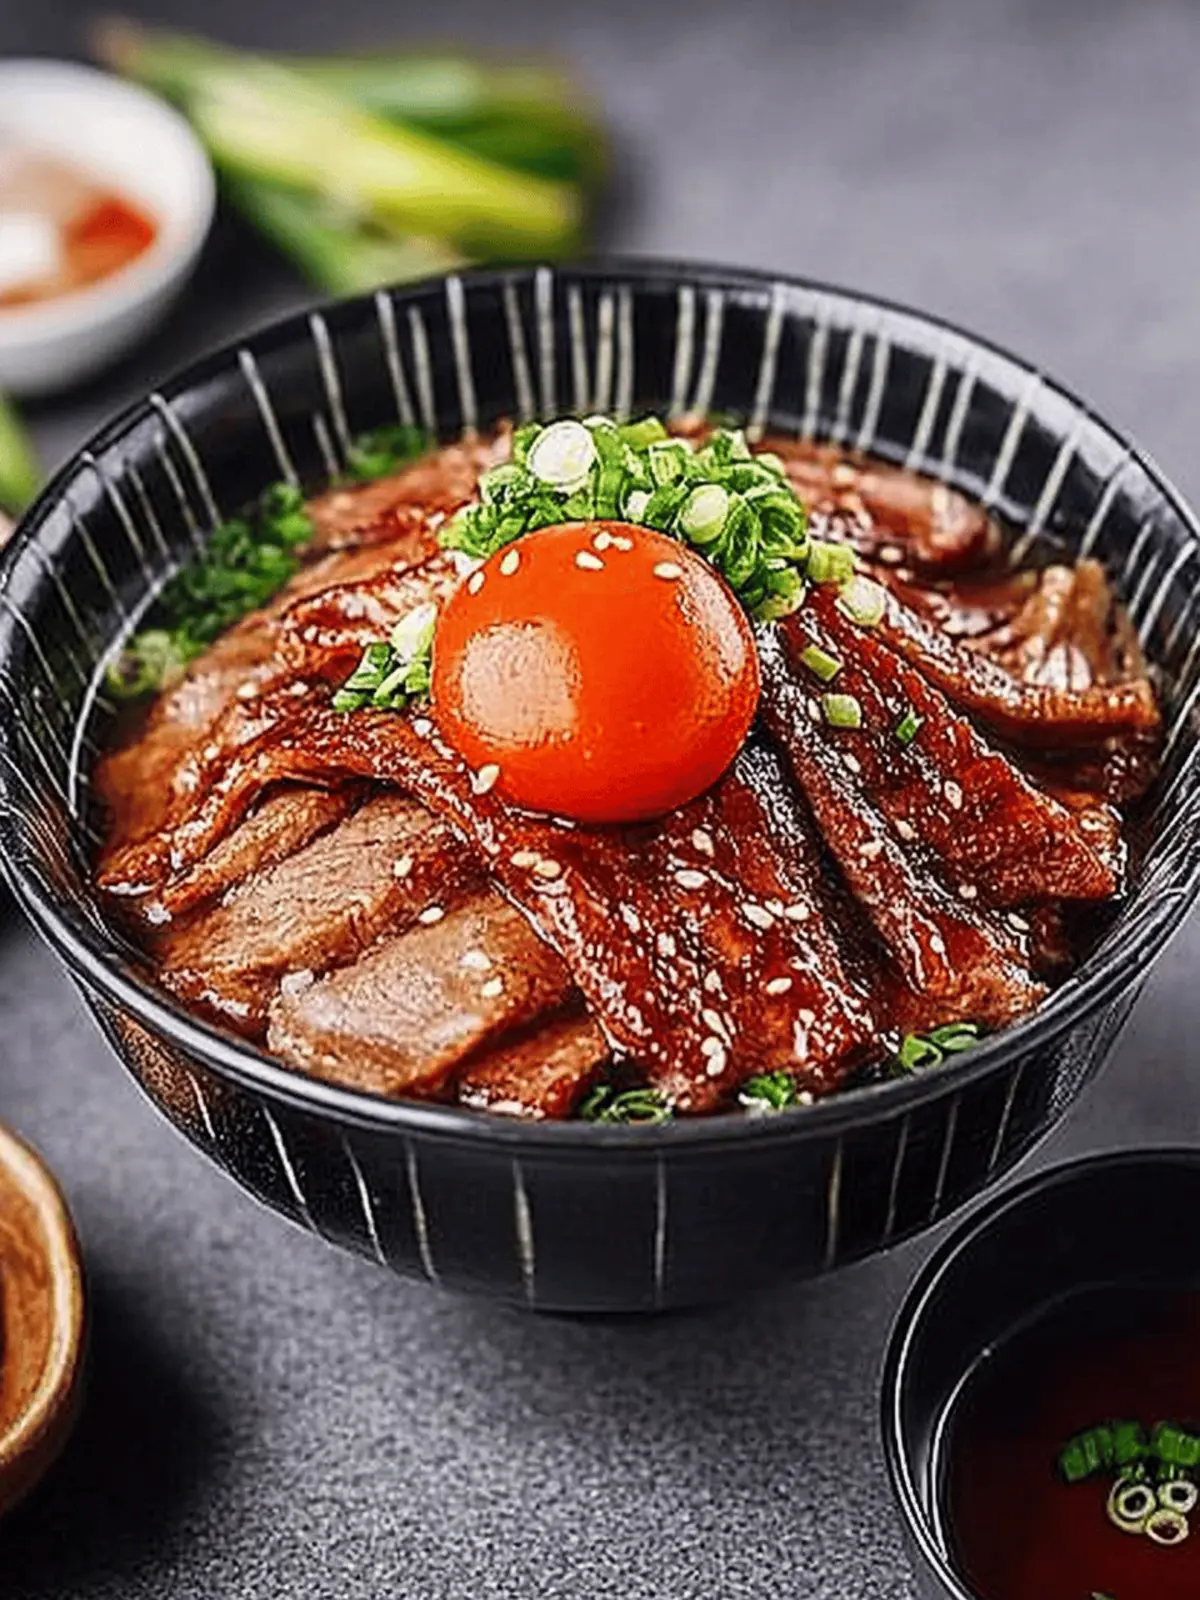
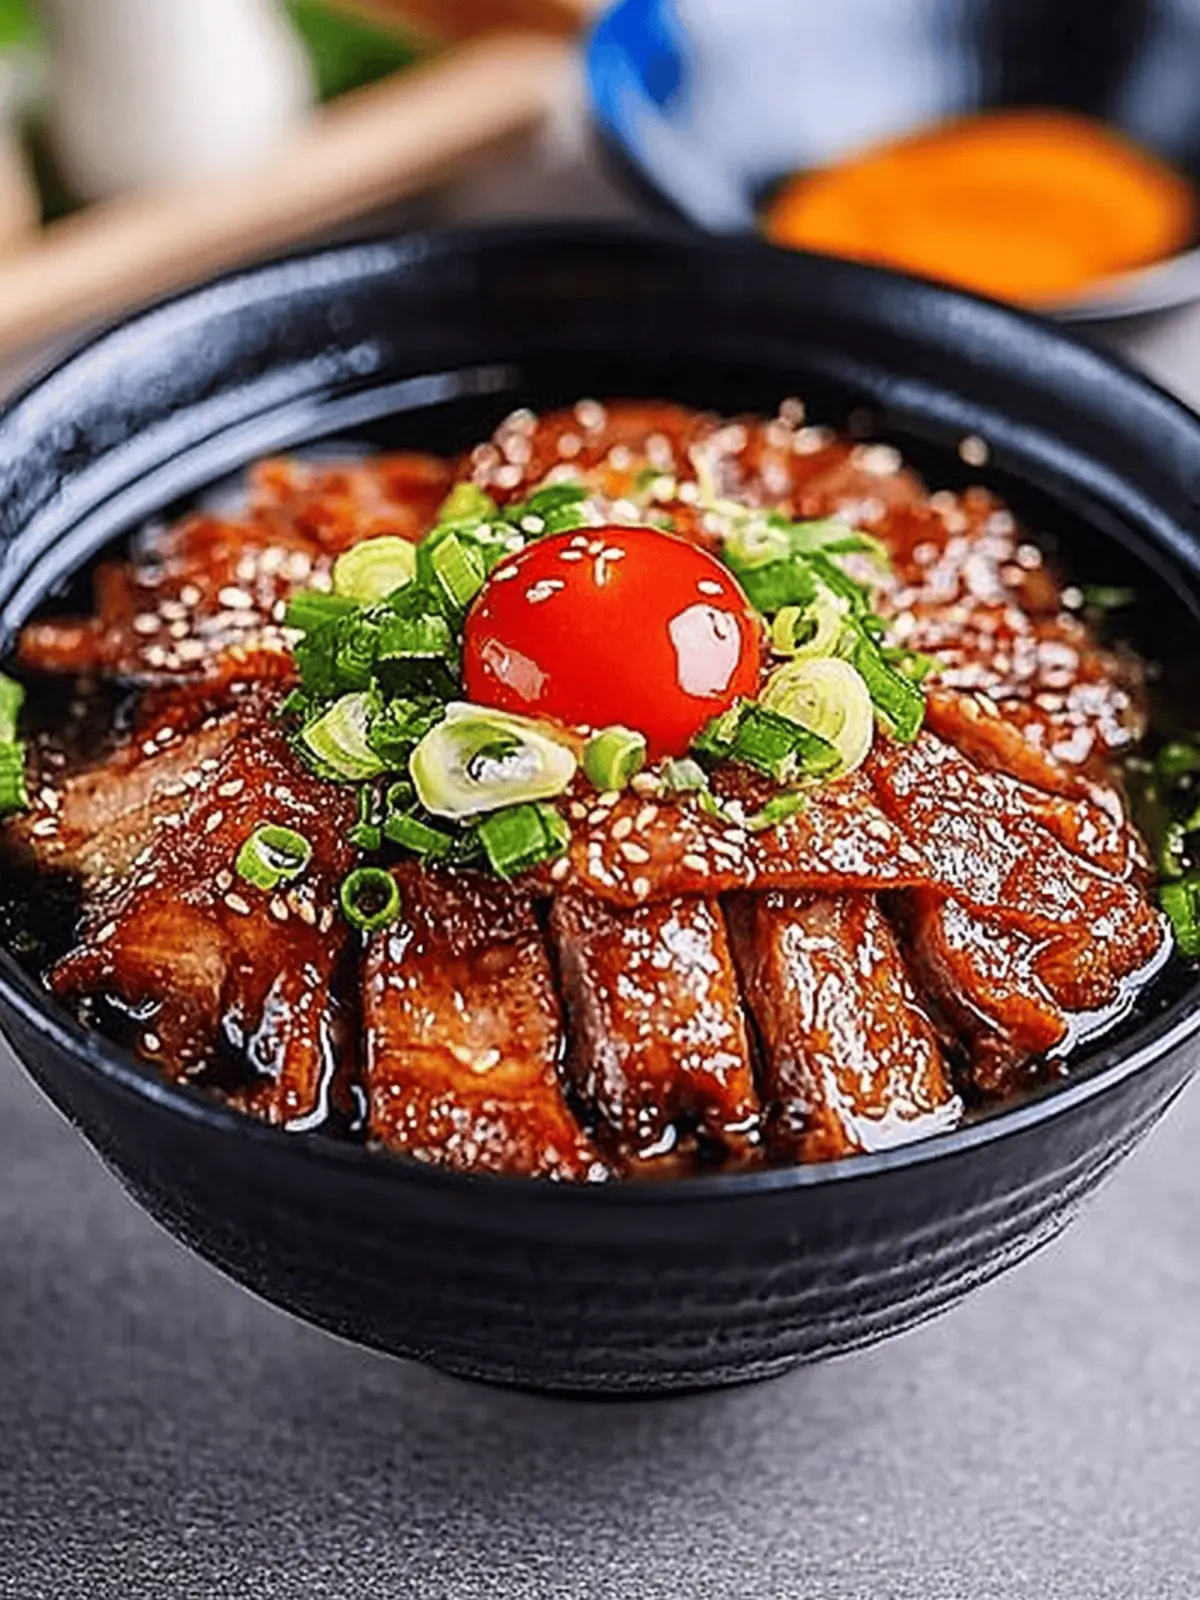
There’s something incredibly satisfying about savoring a warm bowl of Yakiniku Don after a long day. The rich aroma of beef caramelizing in a sweet and savory sauce fills the kitchen, instantly transporting me to the comforting eateries of Tokyo. I remember the first time I had this delightful dish—each mouthful was a perfect balance of tender meat over fluffy rice, enhanced by a sprinkle of green onions and a touch of egg.
What I love most about Yakiniku Don is its versatility. It’s not just a quick meal; it’s a canvas for your creativity, allowing you to switch up the proteins or spice level based on your mood. Plus, it comes together in just 10 minutes, making it a perfect solution for weeknight dinners when I’m tired of the takeout routine. Join me in discovering how this crowd-pleaser can become your go-to comfort food, ready to impress family and friends alike!
Why is Yakiniku Don so amazing?
Quick Prep: In just 10 minutes, you can whip up this delicious meal, making it perfect for busy weeknights.
Savory Goodness: The incredible blend of sauces creates a rich and aromatic flavor that will have everyone asking for seconds.
Customizable: Switch up the protein or add extra veggies for a personal touch that suits your family’s taste preferences.
Crowd-Pleaser: Ideal for family dinners or gatherings, this dish can easily be scaled up to satisfy a hungry group.
Comforting Texture: The juicy, tender beef served over fluffy rice creates a delightful eating experience that feels like a warm hug.
Experiment with your creativity in the kitchen, and for more quick ideas, don’t forget to check out my post on easy weeknight dinners.
Yakiniku Don Ingredients
For the Sauce
- Japanese soy sauce – This essential ingredient infuses the dish with a deep umami flavor.
- Mirin – Adds a slight sweetness to balance the savory notes of the soy sauce.
- Tomato ketchup – A surprising twist that adds depth and tartness to the sauce.
- Honey – Enhances the sweetness and helps caramelize the meat beautifully.
- Garlic paste – Use for a punch of flavor; fresh crushed garlic works well too!
- Ginger paste – Fresh ginger adds warmth and a fragrant zing to the dish.
- Toasted sesame oil – Gives a nutty richness that elevates the entire recipe.
For the Beef
- Thinly sliced beef – The star of your Yakiniku Don; select your preferred cut for tenderness.
- Chili powder – Adjust this to taste for a kick of heat; omit for a milder dish.
- Ground black pepper – A pinch enhances the savory profile of the meat.
For Serving
- Cooked Japanese short-grain rice – This sticky rice is perfect for holding all those rich flavors.
- Finely chopped green onions – Adds freshness and a burst of color on top.
- Soft-boiled eggs or egg yolk – Optional, but adds a creamy richness that’s hard to resist!
Transform your kitchen into a cozy eatery with this Yakiniku Don recipe, where each ingredient plays a vital role in creating a warm and flavorful experience!
How to Make Yakiniku Don
-
Mix the Sauce: Measure out all the sauce ingredients into a small bowl and mix thoroughly. This blend is the heart of your Yakiniku Don!
-
Sear the Beef: Heat a frying pan over high heat. Once hot, drizzle in a small amount of oil and add the thinly sliced beef. Sear it for a minute on each side until just browned—don’t cook it all the way through!
-
Stir-Fry with Sauce: Add the prepared sauce to the pan and stir-fry the beef for about 1 minute and 30 seconds. Stir continuously to ensure nothing burns, allowing the sauce to coat the meat beautifully.
-
Prepare the Rice: Remove the pan from the heat while you prepare the cooked Japanese short-grain rice. Once it’s ready, arrange the seared beef on top and drizzle the sauce from the pan over everything—yum!
-
Garnish and Serve: Sprinkle each bowl with finely chopped spring onion. For an extra indulgence, top with a soft-boiled egg or egg yolk (if using) for a luscious finish!
Optional: Add a sprinkle of toasted sesame seeds for added crunch and flavor!
Exact quantities are listed in the recipe card below.
How to Store and Freeze Yakiniku Don
Fridge: Store leftover Yakiniku Don in an airtight container for up to 3 days. Be sure to cool it to room temperature before sealing to maintain freshness.
Freezer: If you want to save for a later meal, freeze the cooked beef and sauce separately from the rice in freezer-safe containers for up to 2 months.
Reheating: Thaw overnight in the fridge and reheat in a pan over medium heat until hot. You can add a splash of water or broth to keep the meat tender while reheating.
Serve Fresh: For the best flavor and texture, it’s ideal to enjoy your Yakiniku Don fresh, especially with that perfectly cooked rice!
Make Ahead Options
Yakiniku Don is a fantastic choice for meal prep enthusiasts! You can prepare the sauce up to 24 hours in advance by mixing all the sauce ingredients together and storing it in an airtight container in the fridge. The thinly sliced beef can also be marinated in the sauce for added flavor, which will keep for about 3 days if refrigerated. To maintain the quality, be sure to keep the beef separate from the cooked rice until you’re ready to serve. When it’s mealtime, just sear the marinated beef and assemble your Yakiniku Don as instructed—each bite will be just as delicious and satisfying even after being prepped ahead!
Yakiniku Don Variations
Customize your Yakiniku Don to suit your taste buds with these fun and flavorful twists!
-
Vegetarian: Replace beef with thinly sliced tempeh or seitan, marinating it in the sauce for extra flavor.
-
Spicy Kick: Add chopped fresh chili peppers or sriracha to the sauce for a fiery twist that will ignite your taste buds!
-
Extra Veggies: Toss in some bell peppers, broccoli, or snap peas when stir-frying for a delightful crunch and a nutritional boost.
-
Fusion Flavor: Swap out the rice for quinoa or cauliflower rice for a unique spin that’s packed with protein and low-carb goodness.
-
Honey-Free: Use maple syrup or agave nectar instead of honey for a vegan-friendly sweetness that still caramelizes beautifully.
-
Citrus Zing: Incorporate zest from an orange or lime for a refreshing citrus twist that brightens the savory notes of the dish.
-
Asian Twist: Try adding in some bok choy or napa cabbage, wilting them at the end of cooking for an authentic touch to your Yakiniku Don!
-
Nutty Goodness: Top with crushed peanuts or toasted cashews for an added layer of crunch and a delicious nutty flavor.
Let your imagination run wild as you tweak this dish according to your cravings!
Expert Tips for Yakiniku Don
• Choose Quality Beef: Select tender cuts like ribeye or sirloin for the best flavor and texture in your Yakiniku Don.
• Don’t Overcook Meat: Sear the beef just until browned to maintain its juicy tenderness—overcooking can lead to tough meat.
• Sauce Consistency: Ensure your sauce ingredients are well-mixed to create a balanced flavor that clings to the meat effortlessly.
• Spice It Up: Feel free to adjust the chili powder to match your spice tolerance; a little can go a long way in enhancing your Yakiniku Don.
• Garnish Generously: Don’t skimp on the green onions! They add a refreshing crunch and bright color, elevating the overall presentation.
What to Serve with Yakiniku Don?
Transform your Yakiniku Don into a complete dining experience with these delightful pairings that enhance its savory richness.
-
Crispy Tempura: The light, airy batter of tempura adds a delightful crunch, complementing the tender beef beautifully.
-
Pickled Vegetables: A tangy side of pickled cucumbers or radishes offers a refreshing contrast that balances the richness of the dish.
-
Japanese Miso Soup: Warm and comforting, miso soup brings in umami flavors that harmonize with the savory notes of your Yakiniku Don.
-
Steamed Edamame: Simple and nutritious, these pop-in-your-mouth young soybeans provide a delightful bite that fits perfectly within a Japanese meal.
-
Sesame Spinach Salad: The nutty flavor of sesame pairs beautifully with the beef, while the fresh, crisp spinach lightens each bite of your Yakiniku Don.
-
Chilled Sake: For the adults, a glass of chilled sake serves as a perfect drink pairing, enhancing the meal’s rich and savory flavors.
-
Green Tea Ice Cream: End the meal on a sweet note with this creamy dessert that brings a unique, refreshing finish after the bold flavors of Yakiniku Don.
Yakiniku Don Recipe FAQs
How do I choose ripe and fresh ingredients for Yakiniku Don?
Absolutely! When selecting beef, look for cuts with a vibrant red color and good marbling, which indicates tenderness. Fresh ginger should feel firm and not have dark spots, while garlic cloves should be plump and have a fresh scent. For the best quality, check that your ingredients’ expiration dates are current, and always opt for high-quality soy sauce and mirin for unmatched flavor.
What’s the best way to store leftover Yakiniku Don?
Store any leftover Yakiniku Don in an airtight container in the fridge for up to 3 days. Make sure to let it cool down to room temperature before sealing—this helps retain the dish’s freshness. For optimal taste, it’s a good idea to consume it within this time frame, as the flavors will start to diminish afterward.
Can I freeze Yakiniku Don for later meals?
Definitely! To freeze Yakiniku Don, store the cooked beef and sauce in a freezer-safe container for up to 2 months. It’s best to freeze the rice separately to maintain texture. When you’re ready to enjoy it, simply thaw the beef and sauce in the fridge overnight, then reheat in a pan over medium heat, adding a splash of water to ensure the meat stays tender.
What if the beef turns tough while cooking?
Very common! To avoid tough meat, be sure not to overcook the beef during the searing step. It should only be browned on the outside—remember that it will continue to cook slightly when the sauce is added. If you notice the beef getting tough, you may have cooked it at too high of a temperature or left it on the heat for too long. Use a lower heat if necessary, and keep an eye on it.
Are there any dietary considerations or allergies I should be aware of when making Yakiniku Don?
Yes! If you have dietary restrictions, consider using gluten-free soy sauce to accommodate those with gluten sensitivities. Additionally, those with shellfish allergies should ensure that the mirin does not have any additives that could include shellfish-derived ingredients. For a vegetarian version, swap out the beef for tofu or seitan, while adjusting the cooking time accordingly!
Savory Yakiniku Don: Quick & Easy Home Cooking Delight
Ingredients
Equipment
Method
- Mix the Sauce: Measure out all the sauce ingredients into a small bowl and mix thoroughly.
- Sear the Beef: Heat a frying pan over high heat, drizzle oil, and sear the beef for 1 minute on each side.
- Stir-Fry with Sauce: Add the prepared sauce to the pan and stir-fry for about 1 minute and 30 seconds.
- Prepare the Rice: Arrange the seared beef on top of the cooked rice and drizzle with sauce.
- Garnish and Serve: Top with green onions and optional soft-boiled egg or yolk.

