After a long week, there’s nothing quite like the satisfaction of indulging in a flavorful homemade treat. That’s when I discovered my absolute favorite comfort dish: Cheesy Taco Sticks. Picture this: warm, gooey cheese paired with seasoned meat, all tucked inside golden, crispy breadsticks, and oh, the aroma that fills the kitchen!
I stumbled upon this delightful recipe one rainy afternoon while trying to use up some leftover taco ingredients. The result was a culinary explosion that has become a staple in my household. These Cheesy Taco Stuffed Breadsticks are not just a feast for the senses; they’re also quick and easy to whip up, making them perfect for both cozy family nights and casual gatherings with friends.
What I love most is their versatility—you can easily customize the filling to suit your preferences. Serve them with salsa and sour cream, and you’re bound to see smiles all around. If you’re tired of the same old fast food, these flavorful sticks might just become your new go-to. Let’s get cooking!
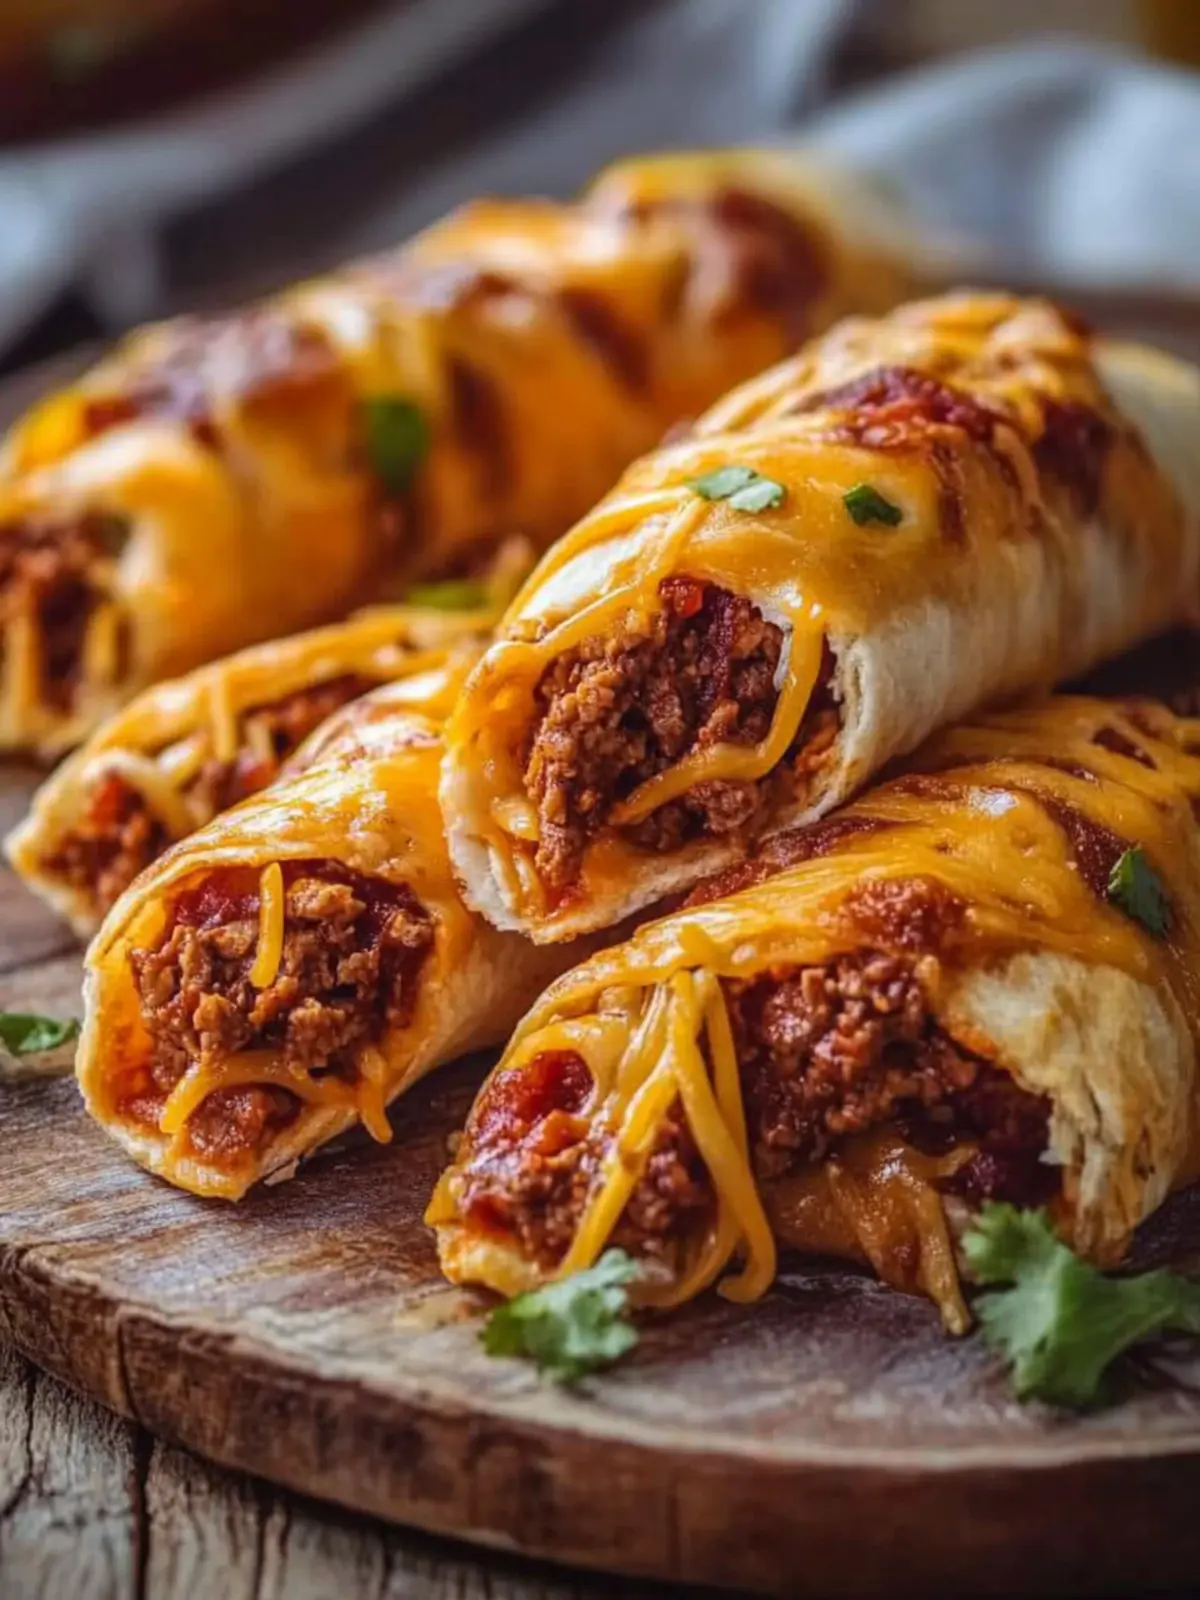
Why are Cheesy Taco Sticks a Must-Try?
Irresistible Flavor: The blend of seasoned beef and gooey cheese creates a flavor explosion that will leave everyone craving more.
Easy to Make: With just 10 minutes of prep time, even busy cooks can manage this satisfying dish.
Customizable: Whether you prefer spicy or mild, these sticks can be tailored to fit any taste bud.
Perfect for Sharing: Great for parties or family dinners, they disappear quickly!
Dinner in 30 Minutes: Quick and delightful, these cheesy treats will become a weeknight favorite in no time.
Make sure to serve them with your favorite dipping sauces for the ultimate experience!
Cheesy Taco Sticks Ingredients
For the Dough
• Refrigerated pizza dough – This is the base that makes these cheesy taco sticks incredibly convenient to prepare.
For the Filling
• Ground beef – A hearty protein that packs in flavor along with the taco seasoning.
• Taco seasoning – Infuses the meat with zesty Mexican flavors that bring the dish to life.
• Shredded cheddar cheese – Adds a sharp, tangy note that complements the warm taco flavors.
• Shredded mozzarella cheese – Provides a delicious, gooey texture for that perfect cheesy pull in every bite.
For Topping
• Butter – Melted for brushing on top, it helps achieve a golden, crispy crust when baked.
• Garlic powder – Enhances the aroma and adds a savory note that pairs beautifully with the cheese.
For Dipping
• Salsa – A tangy, fresh accompaniment that adds a burst of flavor to each cheesy taco stick.
• Sour cream – Creamy and cool, it balances the warmth and spices of the filling.
As you gather these ingredients, you’ll see just how simple it is to create these delicious Cheesy Taco Sticks—perfect for a night in or a fun get-together!
How to Make Cheesy Taco Sticks
-
Preheat your oven to 375°F (190°C). This step is essential to ensure your cheesy taco sticks get that crispy, golden finish.
-
Brown the ground beef in a skillet over medium heat until it’s fully cooked and no longer pink. Drain any excess fat and stir in the taco seasoning, following the packet instructions. Set aside to let the flavors mingle.
-
Roll out the pizza dough on a floured surface into a large rectangle, making it thin enough to hold the filling without tearing. This will be the perfect shell for your cheesy goodness!
-
Spread the cooked taco meat evenly over one half of the dough. Then, sprinkle the shredded cheddar and mozzarella cheese generously on top for that irresistible combination of flavors and textures.
-
Fold the other half of the dough over the filling and press the edges firmly to seal in all that cheesy goodness. This step makes sure each bite is filled with delicious taco flavor!
-
Cut the stuffed dough into strips about 1 inch wide. Twist each strip gently to create fun shapes and place them on a parchment-lined baking sheet for easy clean-up.
-
Brush the tops of the twisted sticks with melted butter, ensuring every inch is coated for that golden finish, then sprinkle with garlic powder for an extra kick.
-
Bake for 15–20 minutes, or until they are golden brown and crispy. Keep an eye on them; you want that perfect golden hue!
-
Serve warm with salsa and sour cream for dipping, elevating your cheesy taco sticks to a delightful meal.
Optional: Garnish with fresh cilantro for an extra pop of flavor and color!
Exact quantities are listed in the recipe card below.
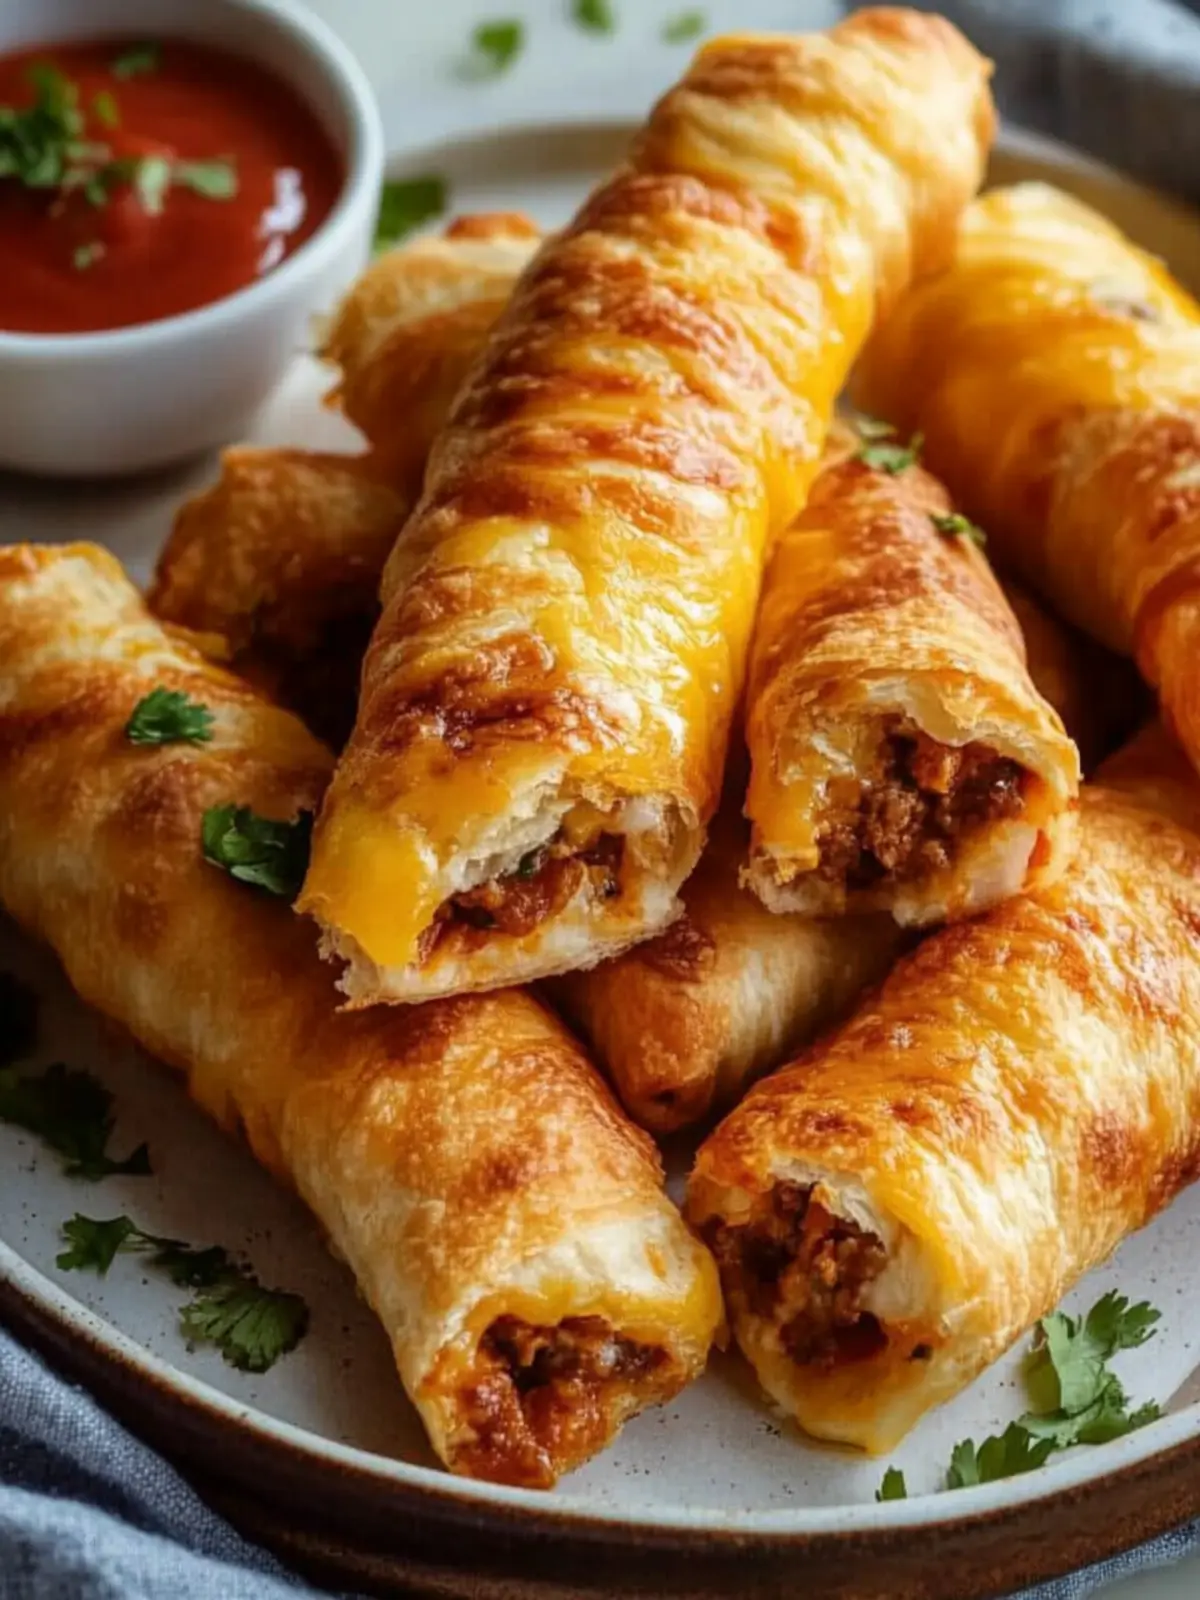
Storage Tips for Cheesy Taco Sticks
Room Temperature: Allow the cheesy taco sticks to cool completely before storing them. They can be kept at room temperature for up to 2 hours.
Fridge: Place the sticks in an airtight container and store them in the fridge for up to 3 days. Reheat in the oven for the best texture!
Freezer: For longer storage, wrap the cheesy taco sticks tightly in plastic wrap and then in aluminum foil. They can be frozen for up to 3 months.
Reheating: When ready to enjoy your frozen cheesy taco sticks, reheat them in a preheated oven at 350°F (175°C) for 15-20 minutes, until heated through and crispy.
What to Serve with Cheesy Taco Stuffed Breadsticks?
Imagine a lively dinner filled with laughter, delicious aromas, and delightful flavors—it’s the perfect setting to complement your cheesy taco sticks.
-
Crispy Nacho Salad: A fresh, crunchy salad with tortilla chips and zesty dressing provides a contrasting texture to the cheesy sticks. The vibrant flavors will brighten your meal!
-
Loaded Guacamole: Creamy and flavorful, this avocado dip offers a rich taste that enhances the taco essence and pairs perfectly with your warm, cheesy delights.
-
Spicy Mexican Rice: Fluffy, seasoned rice brings a comforting touch and rounds out the meal. Its mild spice ensures it won’t compete with the bold flavors of the taco sticks.
-
Grilled Corn on the Cob: Sweet, charred corn drizzled with lime and sprinkle of chili powder offers a refreshing side that compliments and contrasts the cheesiest of bites.
-
Margaritas: A classic pairing, the perfect blend of sweetness and tartness refreshes your palate between bites, making each cheesy taco stick even more enjoyable.
-
Churros with Chocolate Sauce: End your meal on a heavenly note! These warm, sugary pastries are perfect for dipping into rich chocolate, providing a sweet finish that everyone will love.
Gather your loved ones and enjoy the delightful combination of flavors!
Cheesy Taco Sticks Variations
Get ready to explore delightful twists on your cheesy taco sticks that will spark your creativity and tantalize your taste buds!
- Veggie-Loaded: Add your favorite chopped vegetables like bell peppers and onions for a healthy crunch. They’ll bring fresh flavors into every bite!
- Chicken Twist: Substitute ground beef with shredded chicken seasoned with taco spices. It’s a lighter alternative that’s just as delicious.
- Spicy Kick: Mix in diced jalapeños or a sprinkle of cayenne pepper to the filling for those who crave a bit of heat. The zing will wow your senses!
- Cheese Overload: Use a combination of different cheeses like pepper jack or queso blanco for diverse taste and melting goodness. You’ll achieve a cheesy delight in every pull!
- Gluten-Free: Opt for gluten-free pizza dough to make this recipe suitable for gluten-sensitive friends and family. Enjoy the same incredible flavors without the worry!
- Sweet Surprise: Add a touch of sweetness by incorporating some sweet corn or a drizzle of honey inside before sealing. This playful contrast will surprise your palate!
- Mediterranean Flair: Swap the taco seasoning for Italian herbs and use feta cheese, spinach, and olives for a Mediterranean-inspired version. A delightful twist on a classic!
- Baked vs. Fried: If you’re feeling adventurous, try frying the sticks instead of baking for a crispy texture that’s incredibly satisfying. Just remember to keep an eye on them!
Embrace these variations and let your taste buds lead the way to personalized cheesy taco sticks!
Helpful Tricks for Cheesy Taco Sticks
Mind the Dough: When rolling out the pizza dough, keep it an even thickness. Too thin, and it might tear; too thick, and it won’t crisp up nicely.
Seasoning Pro: Make sure to thoroughly cook the ground beef before adding the taco seasoning. This ensures the flavors are absorbed evenly for perfect Cheesy Taco Sticks.
Sealing Matters: Press the edges of the folded dough tightly to avoid any filling leakage during baking. A tight seal means every bite is a burst of flavor!
Bake with Care: Watch your Cheesy Taco Sticks closely during the last few minutes of baking. They can go from golden to burnt quite quickly!
Serve Fresh: For the best experience, enjoy the sticks warm right out of the oven. The cheese will be gooey and delicious, making them irresistible!
Make Ahead Options
These Cheesy Taco Sticks are perfect for meal prep, saving you precious time during busy weeknights! You can prepare the filling (cooked ground beef mixed with taco seasoning) and refrigerate it in an airtight container for up to 3 days. Additionally, you can cut the pizza dough and twist the sticks, then place them on a parchment-lined baking sheet, cover tightly with plastic wrap, and refrigerate up to 24 hours. To maintain the quality, make sure to keep the dough sealed to prevent it from drying out. When ready to bake, simply preheat the oven and brush your prepared sticks with melted butter and garlic powder, then bake as directed for delicious, restaurant-quality results with minimal effort!
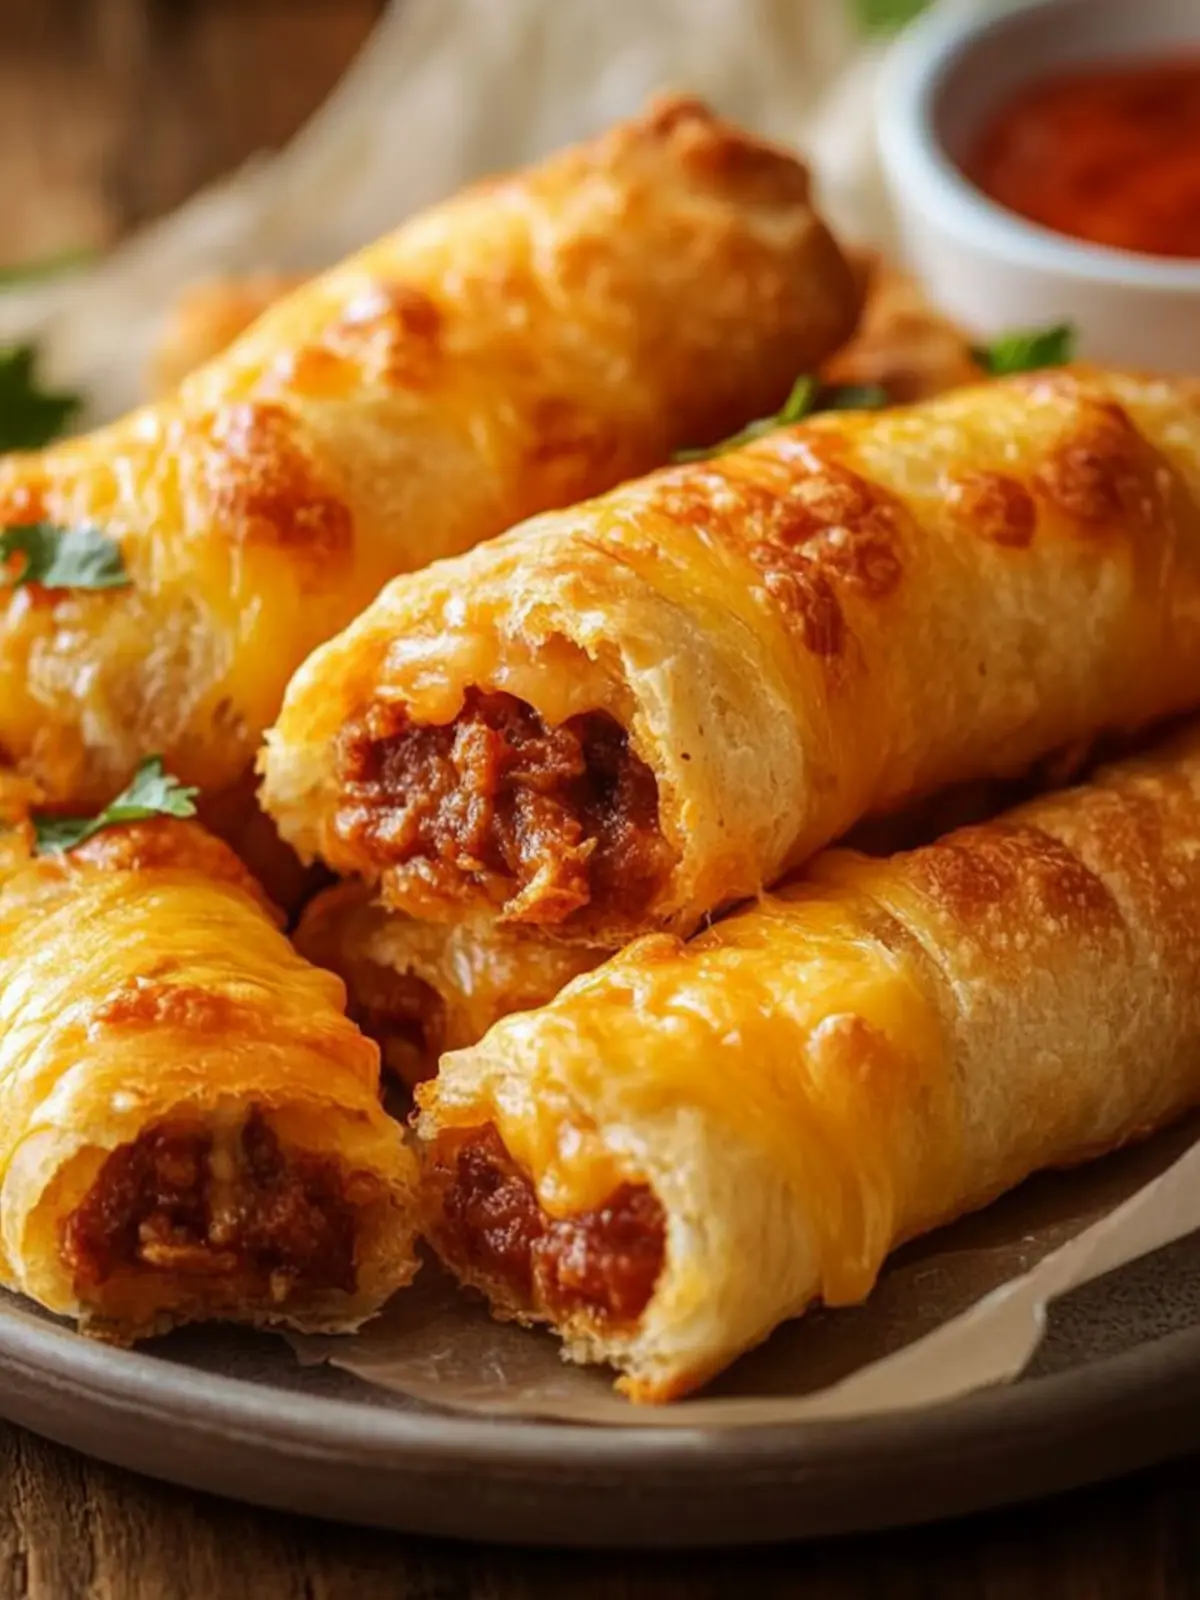
Cheesy Taco Stuffed Breadsticks Recipe FAQs
How do I know the ground beef is cooked properly?
Absolutely! The ground beef should be brown with no pink remaining. Using a meat thermometer, ensure it reaches an internal temperature of 160°F (70°C) for safety.
What’s the best way to store leftover Cheesy Taco Sticks?
Very! Allow them to cool completely, then place in an airtight container. They can last in the fridge for up to 3 days. I often reheat them in the oven for that freshly baked texture—just 10 minutes at 350°F (175°C) does the trick!
Can I freeze Cheesy Taco Sticks?
Absolutely! To freeze, wrap each stick tightly in plastic wrap, then cover with aluminum foil. They can be frozen for up to 3 months. I recommend labeling the date, so you know when to enjoy them next!
What if my dough is too sticky to roll out?
Don’t worry! If the dough is sticky, lightly flour the surface and your rolling pin. If needed, sprinkle a bit more flour on the dough itself as you roll it out. This ensures a smooth process without any tearing.
Are Cheesy Taco Sticks suitable for my child with dairy allergies?
If you’re considering a dairy-free alternative, you can use dairy-free cheese or omit the cheese altogether. Fill the sticks with additional seasoned meat or veggies for a flavorful option that everyone can enjoy!
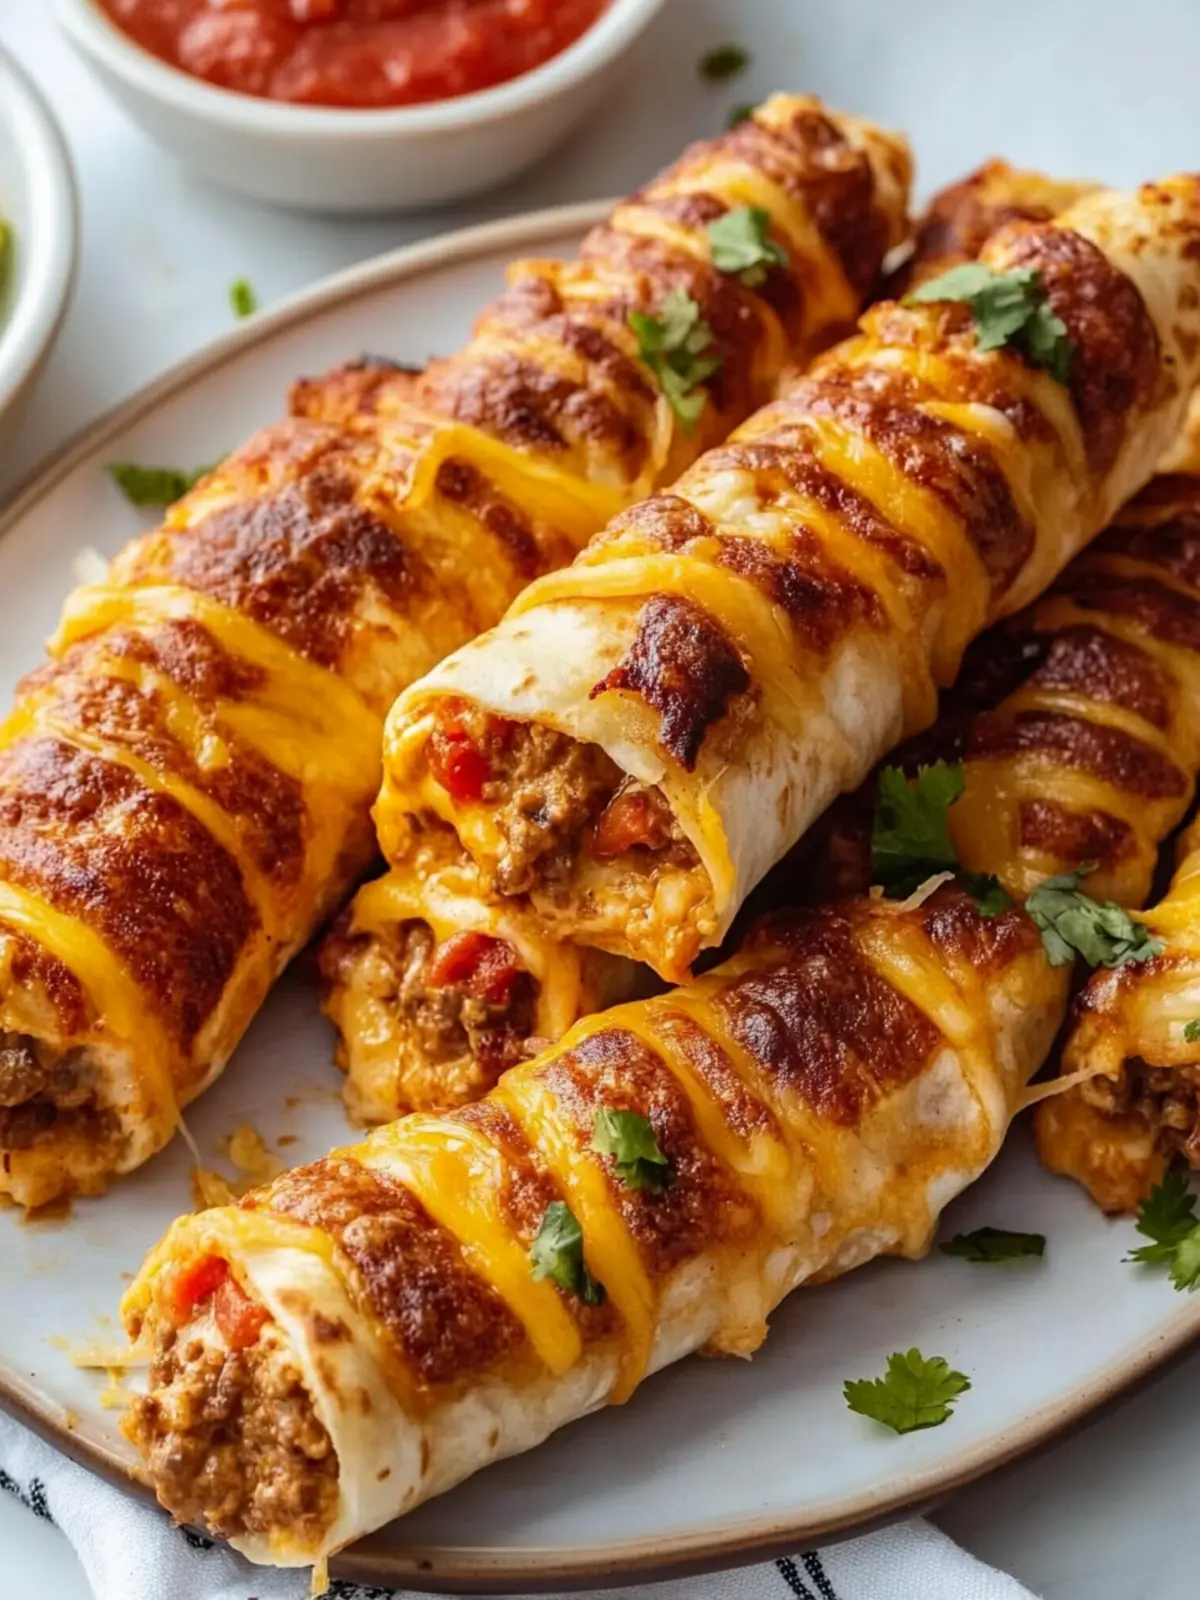
Irresistibly Cheesy Taco Sticks for Easy Family Dinners
Ingredients
Equipment
Method
- Preheat your oven to 375°F (190°C).
- Brown the ground beef in a skillet over medium heat until fully cooked.
- Roll out the pizza dough on a floured surface into a large rectangle.
- Spread the cooked taco meat evenly over one half of the dough.
- Sprinkle shredded cheddar and mozzarella cheese over the meat.
- Fold the other half of the dough over the filling and press edges firmly.
- Cut the stuffed dough into strips about 1 inch wide.
- Twist each strip gently, then place them on a parchment-lined baking sheet.
- Brush the tops with melted butter and sprinkle with garlic powder.
- Bake for 15–20 minutes, until golden brown and crispy.
- Serve warm with salsa and sour cream.