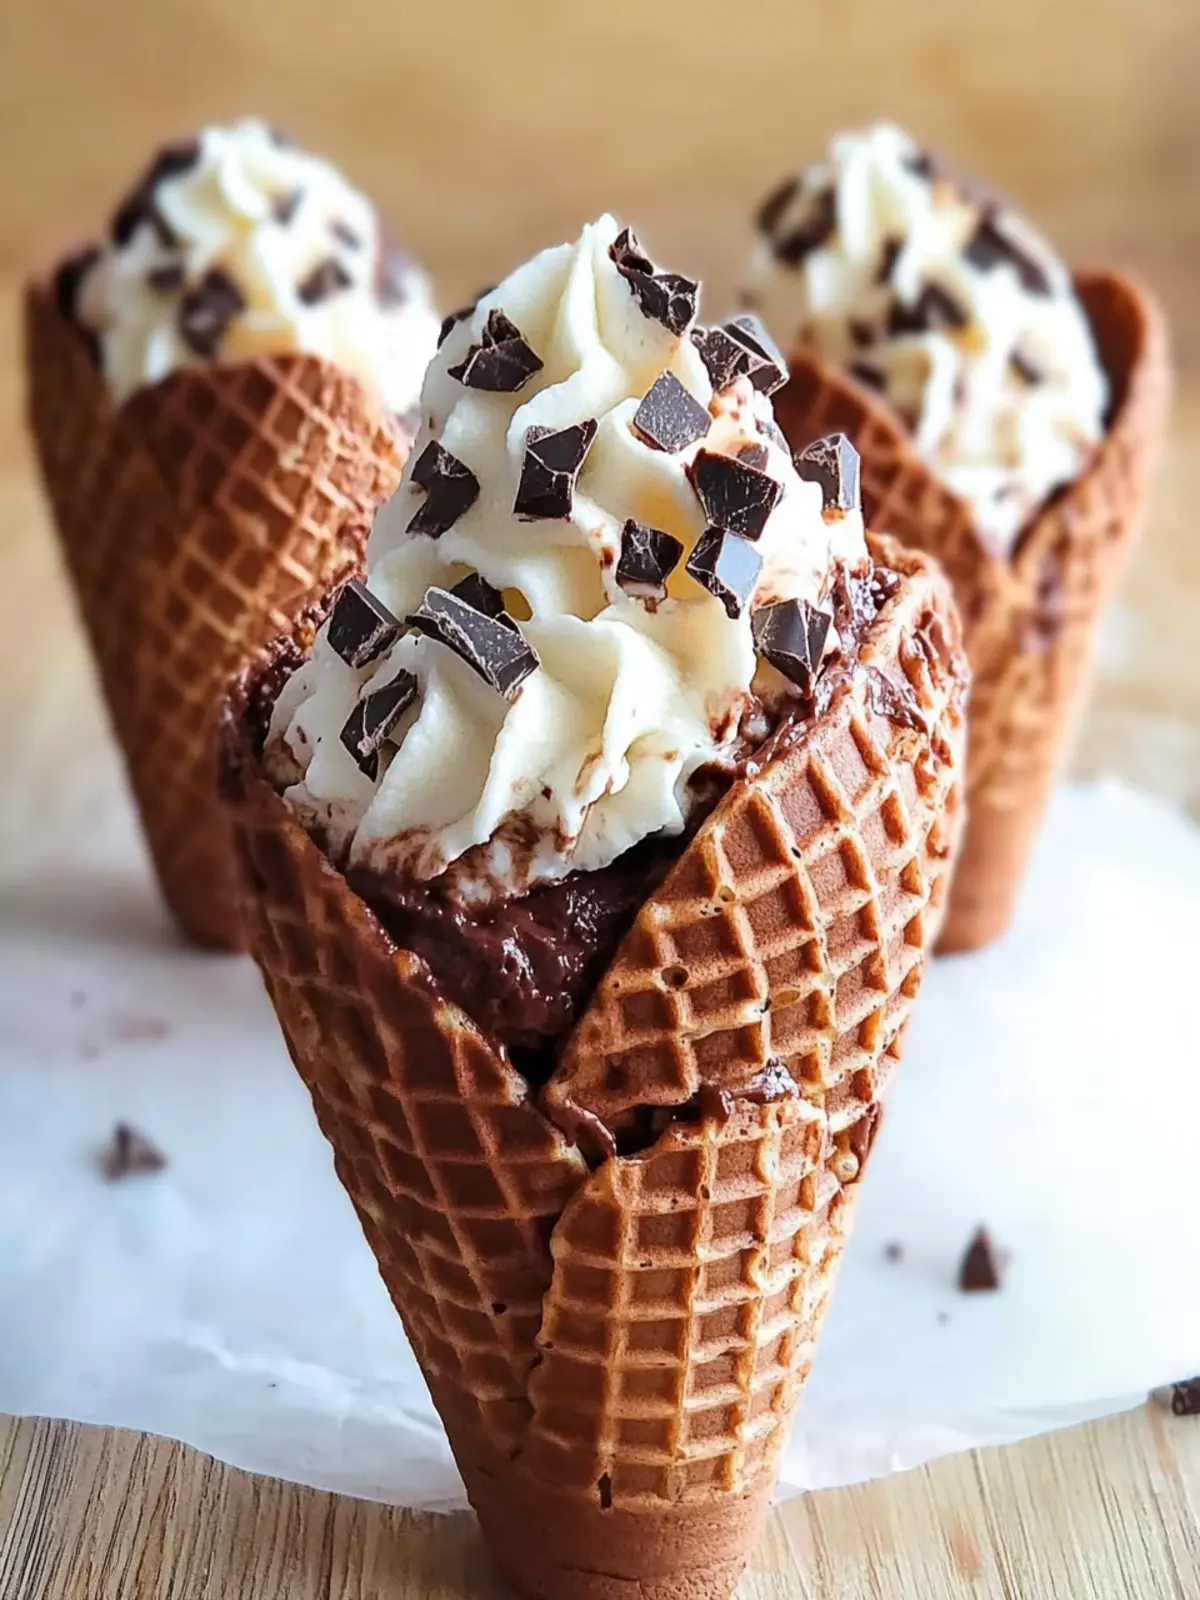
There’s nothing quite like the thrill of crafting your own dessert, and today, I’m thrilled to share my latest obsession: Gluten Free Chocolate Waffle Cones! Picture this: you’re perched on the patio, the sun is shining, and the air is infused with the rich scent of chocolate and vanilla wafting from your kitchen. What could be more delightful?
This recipe sprang to life during a recent weekend when I found myself avoiding the fast food joints in search of something genuinely satisfying. With just a few simple ingredients and a sprinkle of creativity, I transformed a classic treat into a gluten-free indulgence that’s perfectly crispy, slightly sweet, and irresistibly chocolatey. Whether you’re filling these cones with your favorite frozen yogurt, gelato, or a simple scoop of fresh fruit, they are bound to impress. Fast food can’t hold a candle to the joy of homemade!
Join me on this delectable journey as we whip up these crunchy, chocolatey vessels of happiness that will have everyone asking for seconds. Get ready to delight your taste buds and elevate your dessert game!

Why will you love Gluten Free Chocolate Waffle Cones?
Homemade Delight: Experience the joy of creating your own dessert instead of relying on fast food.
Gluten-Free Option: Perfect for those who need to avoid gluten but don’t want to compromise on flavor.
Rich Chocolate Flavor: The combination of cocoa and espresso elevates the taste, resulting in a decadent treat.
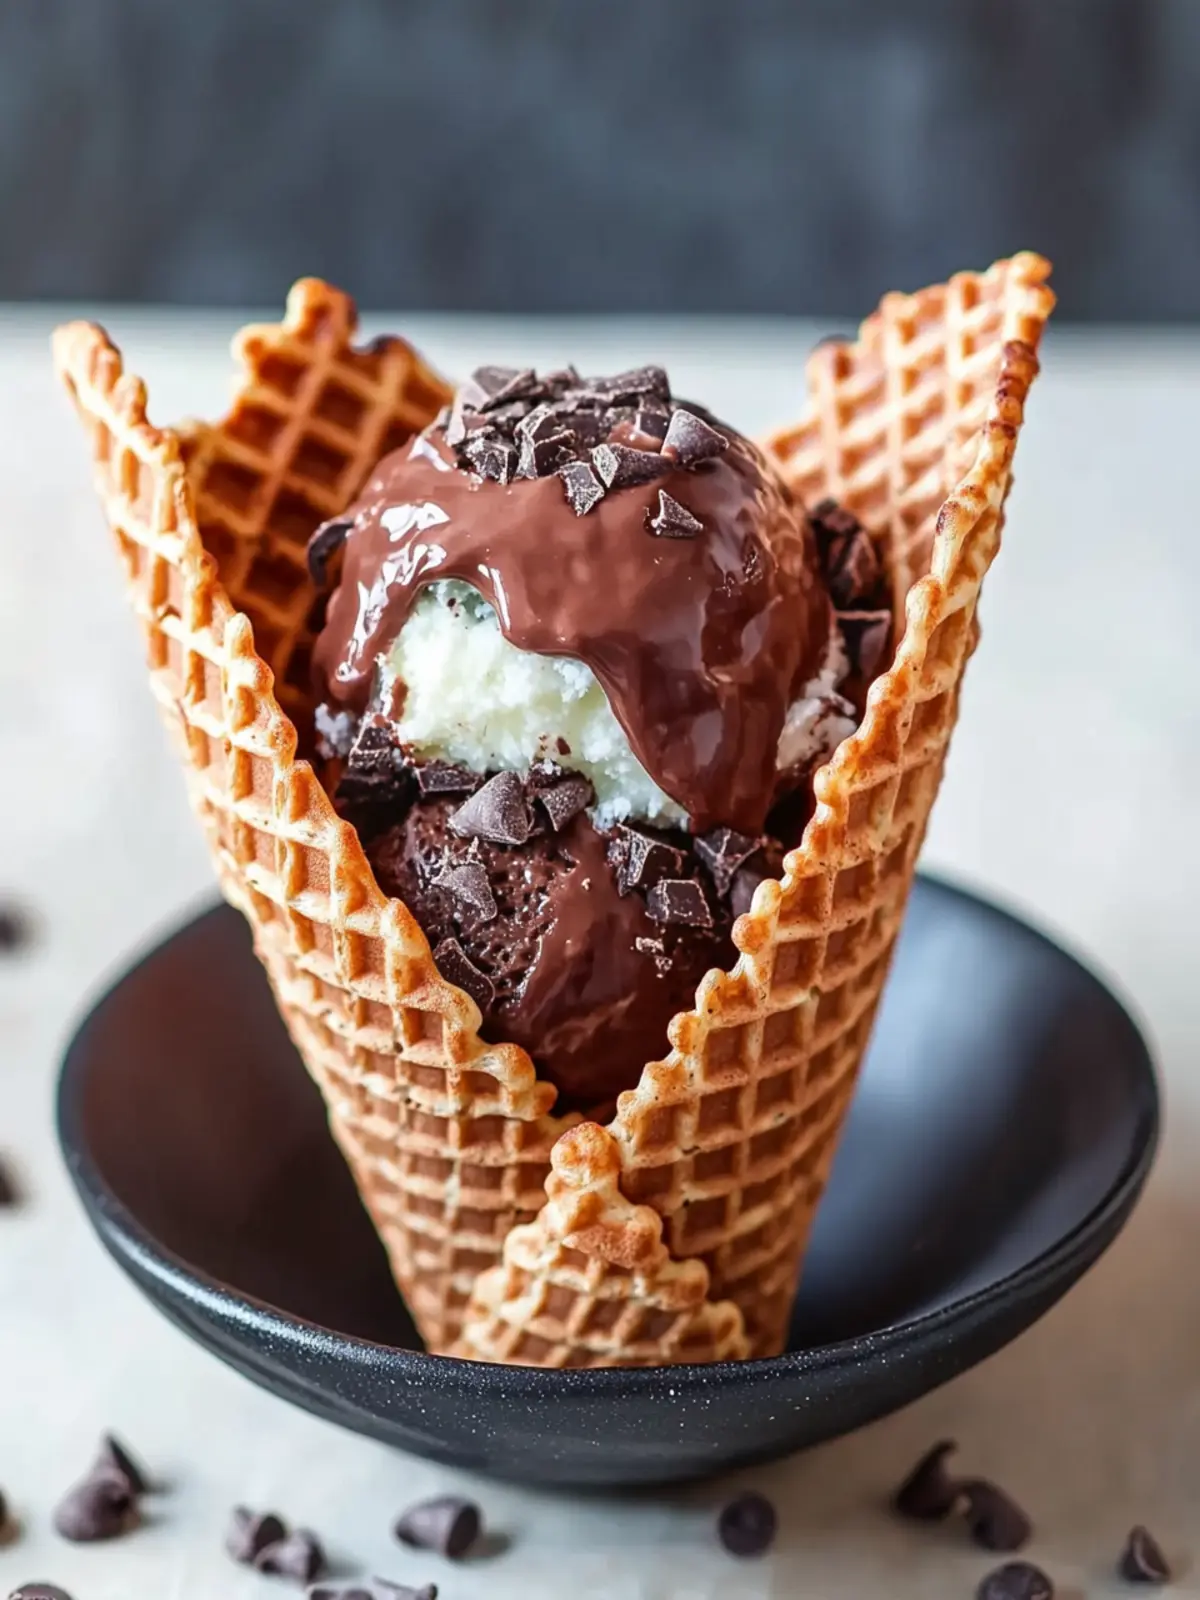
Customizable Delight: Fill these cones with anything from ice cream to fresh fruit, making them versatile for any occasion.
Quick and Easy: With a total time of just 50 minutes, you can whip up these beauties in no time.
Crowd-Pleasing Treats: Everyone loves a good waffle cone, ensuring that these are a hit at parties or gatherings!
Gluten Free Chocolate Waffle Cone Ingredients
For the Cone Batter
• Unsalted butter – 45 grams, can be cold; this adds richness to the cones.
• Egg whites – 2 large (around 70 grams); they create a light and airy texture.
• Granulated sugar – 60 grams; sweetens the batter and balances the cocoa.
• Light brown sugar – 20 grams; adds moisture and depth of flavor.
• Vanilla extract – 1 teaspoon; enhances the chocolatey goodness.
• Gluten free flour – 70 grams (preferably Cup4Cup Copycat Flour); it keeps the recipe gluten-free without sacrificing texture.
• Dutch processed cocoa powder – 15 grams; for that rich chocolate flavor that will captivate your taste buds.
• Kosher salt – ½ teaspoon; balances the sweetness and intensifies the chocolate flavor.
• Instant espresso – ¼-1/2 teaspoon; optional, but it boosts the chocolate profile beautifully.
For Cooking
• Non-Stick Cooking Spray – essential for greasing the waffle cone maker, ensuring your cones release easily.
How to Make Gluten Free Chocolate Waffle Cones
-
Whisk Dry Ingredients: In a small bowl, combine the gluten free flour, Dutch-process cocoa powder, kosher salt, and instant espresso powder if you choose to use it. Sift to ensure a lump-free mixture.
-
Beat the Egg Whites: Grab a medium mixing bowl and whisk together the egg whites, granulated sugar, light brown sugar, and vanilla extract until the mixture becomes light and frothy, which should take about 3 minutes.
-
Combine Ingredients: Gently fold half of your dry ingredients into the frothy egg white mixture, whisking until just combined. This step helps keep the batter light!
-
Incorporate Butter: Stir in the cooled melted butter slowly, ensuring it’s fully mixed in before moving on. The batter should now be rich and smooth.
-
Final Mix: Add the remaining dry ingredients, whisking until no dry streaks remain. Let the batter rest for 10 minutes while your waffle cone maker heats up.
-
Preheat Maker: Turn on your waffle cone maker to get it nice and hot.
-
Grease the Maker: Lightly spray the cooking surfaces with non-stick cooking spray or a little oil to ensure your cones don’t stick.
-
Add Batter: Spoon one large cookie scoop of batter onto the center of the hot waffle iron, then carefully close the lid while gently pressing down.
-
Cook Perfectly: Cook for about 90 seconds to 2 minutes. Your waffle cone is done when the surface looks set, slightly dry, and smells deliciously toasted!
-
Transfer with Care: Once cooked, swiftly transfer the hot waffle to a clean surface.
-
Shape the Cone: Position the cone shaper at a slight angle, and carefully roll the waffle around it tightly, pinching the tip closed to seal it.
-
Hold in Place: Keep the cone in position for 30-45 seconds to ensure it holds its shape before gently removing the shaper.
-
Cool Down: Place your finished cone on a cooling rack and let it cool completely.
-
Repeat: Use the remaining batter, giving the waffle cone maker time to reheat between each cone for best results.
Optional: Drizzle some melted chocolate on top for an extra treat!
Exact quantities are listed in the recipe card below.
How to Store and Freeze Gluten Free Chocolate Waffle Cones
Room Temperature: Let the cones cool completely before storing them at room temperature for up to 3 days in an airtight container to maintain their crispiness.
Fridge: If you need to keep them longer, store in the fridge in an airtight container for up to 5 days, but be aware that they may lose some crunch.
Freezer: Freeze the cones in a zip-top freezer bag or wrapped tightly in plastic wrap for up to 2 months. Allow to come to room temperature before serving for the best texture.
Reheating: To restore crispiness, place frozen cones in a preheated oven at 350°F (175°C) for about 5 minutes, then let them cool before filling.
Make Ahead Options
These Gluten Free Chocolate Waffle Cones are a fantastic meal prep solution for busy home cooks! You can prepare the batter up to 24 hours in advance by mixing all the ingredient components and storing the batter in an airtight container in the refrigerator. This step keeps the flavors fresh and ready to go. When you’re ready to indulge, simply allow the batter to sit at room temperature for about 10 minutes, then proceed to cook and shape the cones as directed. This prep-ahead strategy ensures that you’ll have delicious, homemade waffle cones ready in a snap, making your dessert game effortless and stress-free!
Expert Tips for Gluten Free Chocolate Waffle Cones
-
Choose Flour Wisely: Use a high-quality gluten-free flour blend, like Cup4Cup, for the best texture and flavor in your waffle cones.
-
Whisk Egg Whites: Make sure to whisk the egg whites until they are frothy; this step adds lightness and ensures your waffle cones are wonderfully airy.
-
Avoid Overmixing: When combining wet and dry ingredients, mix until just combined to prevent tough cones—no one wants a chewy treat!
-
Temperature Matters: Always preheat your waffle cone maker fully before cooking; this ensures a crispy exterior and prevents sticking.
-
Shape Quickly: Roll your waffles around the cone shaper while they are still hot to maintain their shape; if they cool too much, they’ll crack.
-
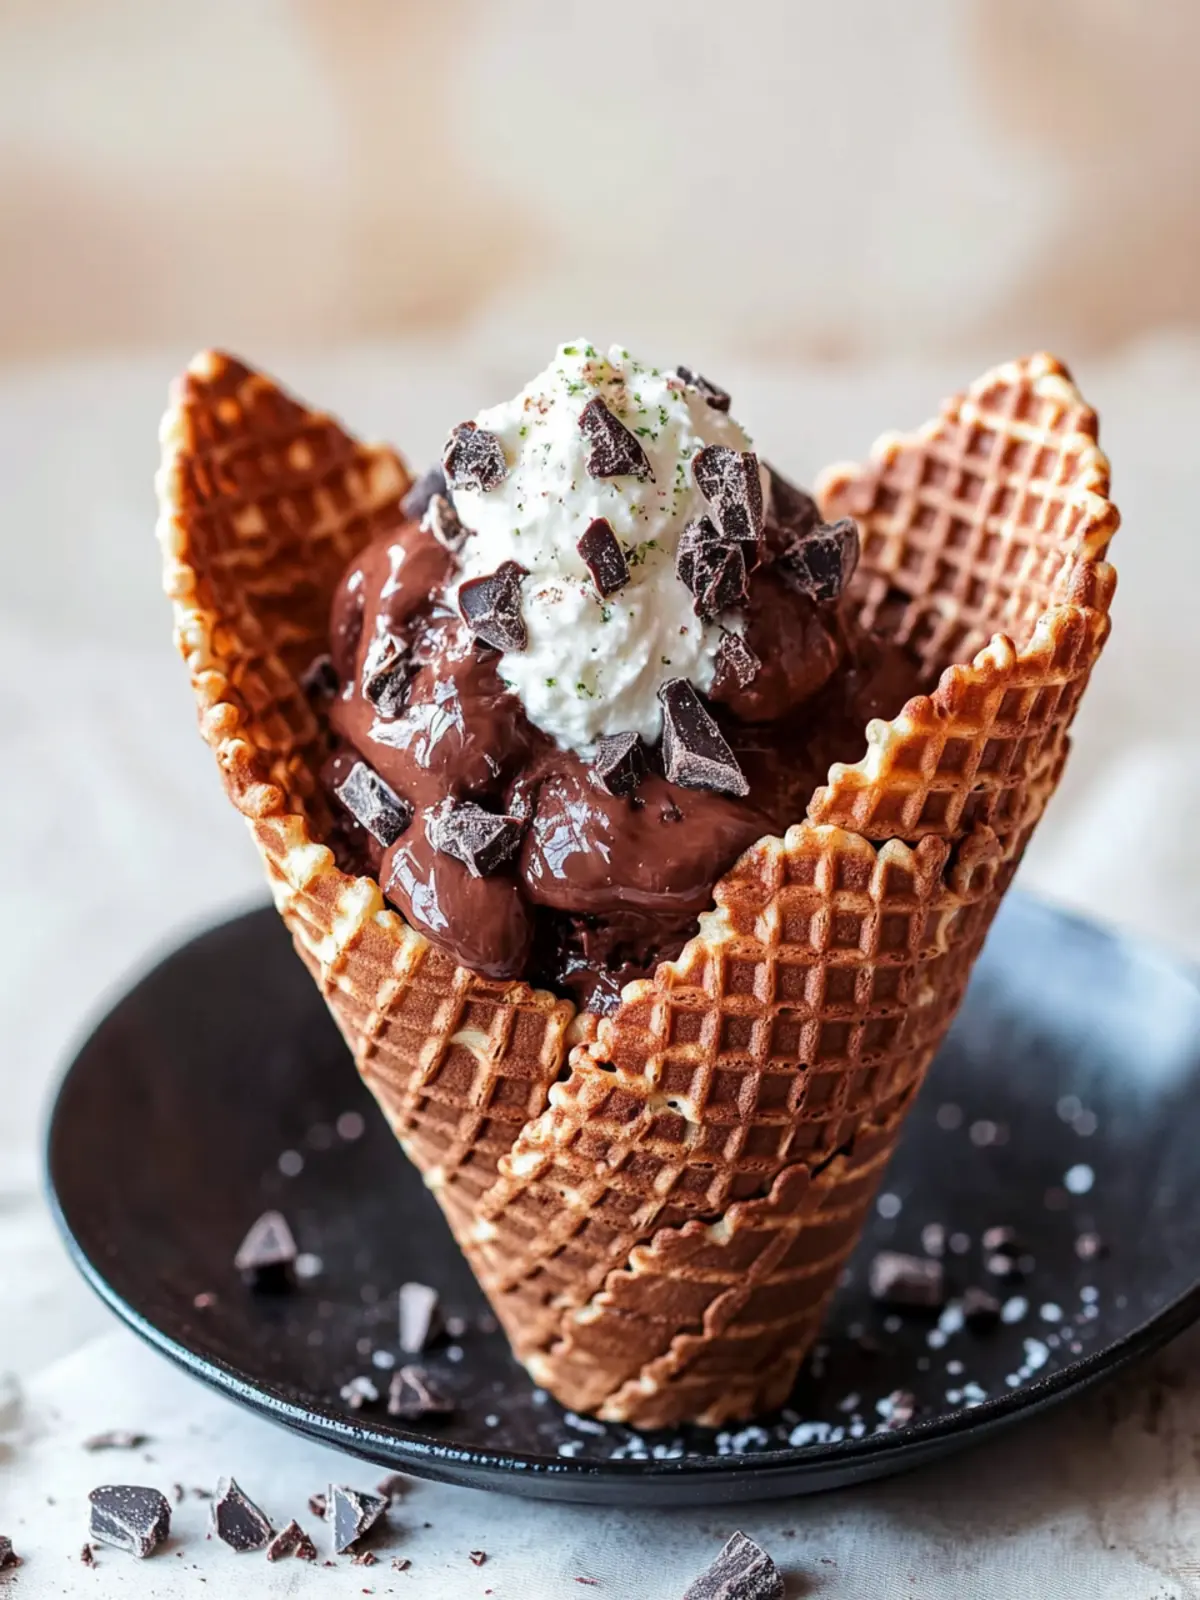
Add Personal Touches: Get creative with fillings! These gluten-free chocolate waffle cones can be filled with ice cream, yogurt, or fresh fruit for an unforgettable dessert experience.
What to Serve with Gluten Free Chocolate Waffle Cones?
These delightful treats are perfect for elevating your dessert experience, enticing your senses with their chocolatey aroma.
-
Silky Ice Cream: Pair with rich chocolate or vanilla ice cream for a classic combo that enhances the cones’ crispy texture and chocolatey flavor.
-
Fresh Berries: Juicy strawberries, raspberries, or blueberries add a refreshing element that cuts through the sweetness of the cones.
-
Whipped Cream: Light and fluffy whipped cream adds a cloud-like texture, making each bite a creamy delight.
-
Chocolate Sauce: Drizzling warm chocolate sauce over the filled cones creates an indulgent treat that no sweet tooth can resist.
-
Nutella Spread: Fill your waffle cones with Nutella for a deliciously decadent twist on the classic – chocolate lovers will rejoice!
-
Homemade Fruit Sorbet: A fruity, refreshing sorbet complements the rich cocoa, delivering a cool contrast perfect for hot summer days.
-
Espresso Shot: For the coffee lovers, a shot of espresso served alongside will intensify the flavor of the chocolate and make this pairing delightful.
-
Caramel Drizzle: A touch of caramel adds a sweet contrast that pairs beautifully with chocolate, giving a depth of flavor to each cone.
-
Snack Mix: Serve your cones with a crunchy snack mix on the side – a harmonious blend of textures and flavors to make dessert time even more fun!
Gluten Free Chocolate Waffle Cones Variations & Substitutions
Feel free to get creative with these gluten-free cones and tailor them to your tastes!
- Vegan: Substitute the egg whites with aquafaba (chickpea brine), whipping it until frothy for a plant-based option.
- Nut-Free: Swap the gluten-free flour for a nut-free blend like brown rice flour or oat flour to keep it allergy-friendly.
- Extra Chocolatey: Add 30 grams of chocolate chips to the batter for an indulgent chocolate explosion in every cone.
- Flavor Boost: Try incorporating ½ teaspoon of almond or peppermint extract for a delightful twist on the classic flavors.
- Spicy Kick: Mix in a pinch of cayenne pepper to the batter for a surprising and tasty heat that complements the chocolate.
- Fruity Flavors: Toss in a handful of freeze-dried strawberry or raspberry pieces to create a chocolate-fruit fusion that is irresistible.
- Cocoa Variance: Experiment with different types of cocoa powder, such as raw cacao or sweetened cocoa, to find your ideal flavor palette.
- Sweetener Swap: Use honey or maple syrup instead of granulated sugar for a naturally sweetened treat that adds a unique flavor profile.
Gluten Free Chocolate Waffle Cones Recipe FAQs
How do I know if my ingredients are ripe or fresh?
When it comes to baking, freshness is key! For the best results, ensure your egg whites are fresh—check the expiration date on the carton. Your butter should be slightly chilled but still soft to the touch. Lastly, examine your gluten-free flour; it should have a fresh, pleasant aroma without an off odor.
How should I store my leftover gluten-free chocolate waffle cones?
Absolutely! After the cones have cooled completely, store them in an airtight container at room temperature for up to 3 days. If you plan to keep them longer, refrigerate for up to 5 days. Just remember, storing them in the fridge may make them slightly less crispy.
Can I freeze my gluten-free chocolate waffle cones?
Very! To freeze, wrap each cooled cone tightly in plastic wrap and place them in a zip-top freezer bag, making sure to remove as much air as possible. They’ll stay fresh for up to 2 months. When you’re ready to enjoy, allow them to come to room temperature; if they feel a bit soft, pop them in a preheated oven at 350°F (175°C) for about 5 minutes to regain their crunch.
What should I do if my waffle cones aren’t holding their shape?
If your cones are cracking or not holding their shape, it could be due to a few things. First, make sure you’re rolling them tightly while they’re still hot; the heat helps them maintain their form. Also, ensure that you’re not overmixing your batter; this can lead to denser, less pliable cones. Lastly, check if your waffle cone maker is properly preheated; a hot iron is essential for creating the perfect crispy texture.
Are gluten-free chocolate waffle cones safe for people with allergies?
Absolutely! However, you should double-check your ingredient labels for any potential allergens. The cocoa powder and sugars are typically safe, but if you have concerns about cross-contamination, ensure your gluten-free flour is certified gluten-free. For extra safety, you can substitute the egg whites with a vegan egg replacer if you need to avoid eggs. Always listen to your body and tailor the recipe to your needs!
Irresistible Gluten Free Chocolate Waffle Cones
Ingredients
Equipment
Method
- In a small bowl, combine the gluten free flour, Dutch-process cocoa powder, kosher salt, and instant espresso powder if using. Sift to ensure a lump-free mixture.
- In a medium mixing bowl, whisk together the egg whites, granulated sugar, light brown sugar, and vanilla extract until light and frothy, about 3 minutes.
- Gently fold half the dry ingredients into the frothy egg white mixture, whisking until just combined.
- Stir in the cooled melted butter slowly, ensuring it’s mixed in before proceeding.
- Add the remaining dry ingredients, whisking until no dry streaks remain. Let the batter rest for 10 minutes.
- Turn on your waffle cone maker to preheat.
- Lightly spray the cooking surfaces with non-stick cooking spray.
- Spoon one large cookie scoop of batter onto the center of the hot waffle iron and close the lid while gently pressing down.
- Cook for 90 seconds to 2 minutes until the surface looks set and toasted.
- Swiftly transfer the hot waffle to a clean surface.
- Position the cone shaper at a slight angle, and roll the waffle around it tightly, pinching the tip closed.
- Hold the cone for 30-45 seconds to ensure it holds its shape.
- Place on a cooling rack to let it cool completely.
- Use the remaining batter, allowing the waffle cone maker to reheat between each cone.