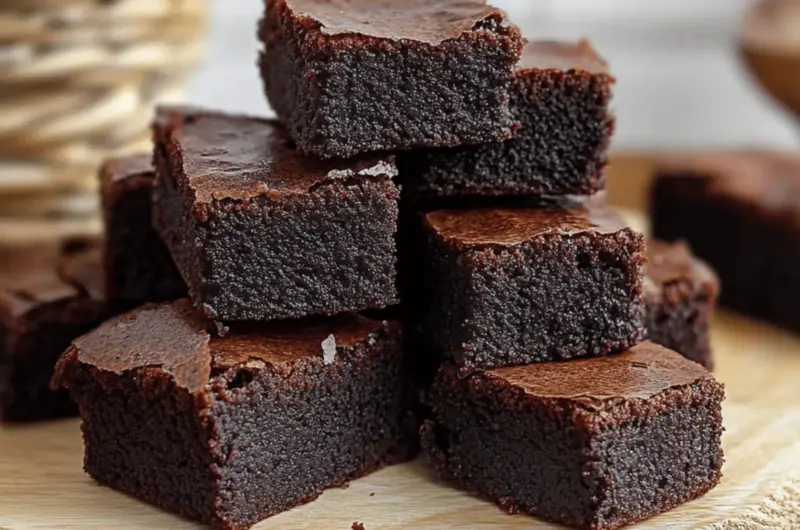
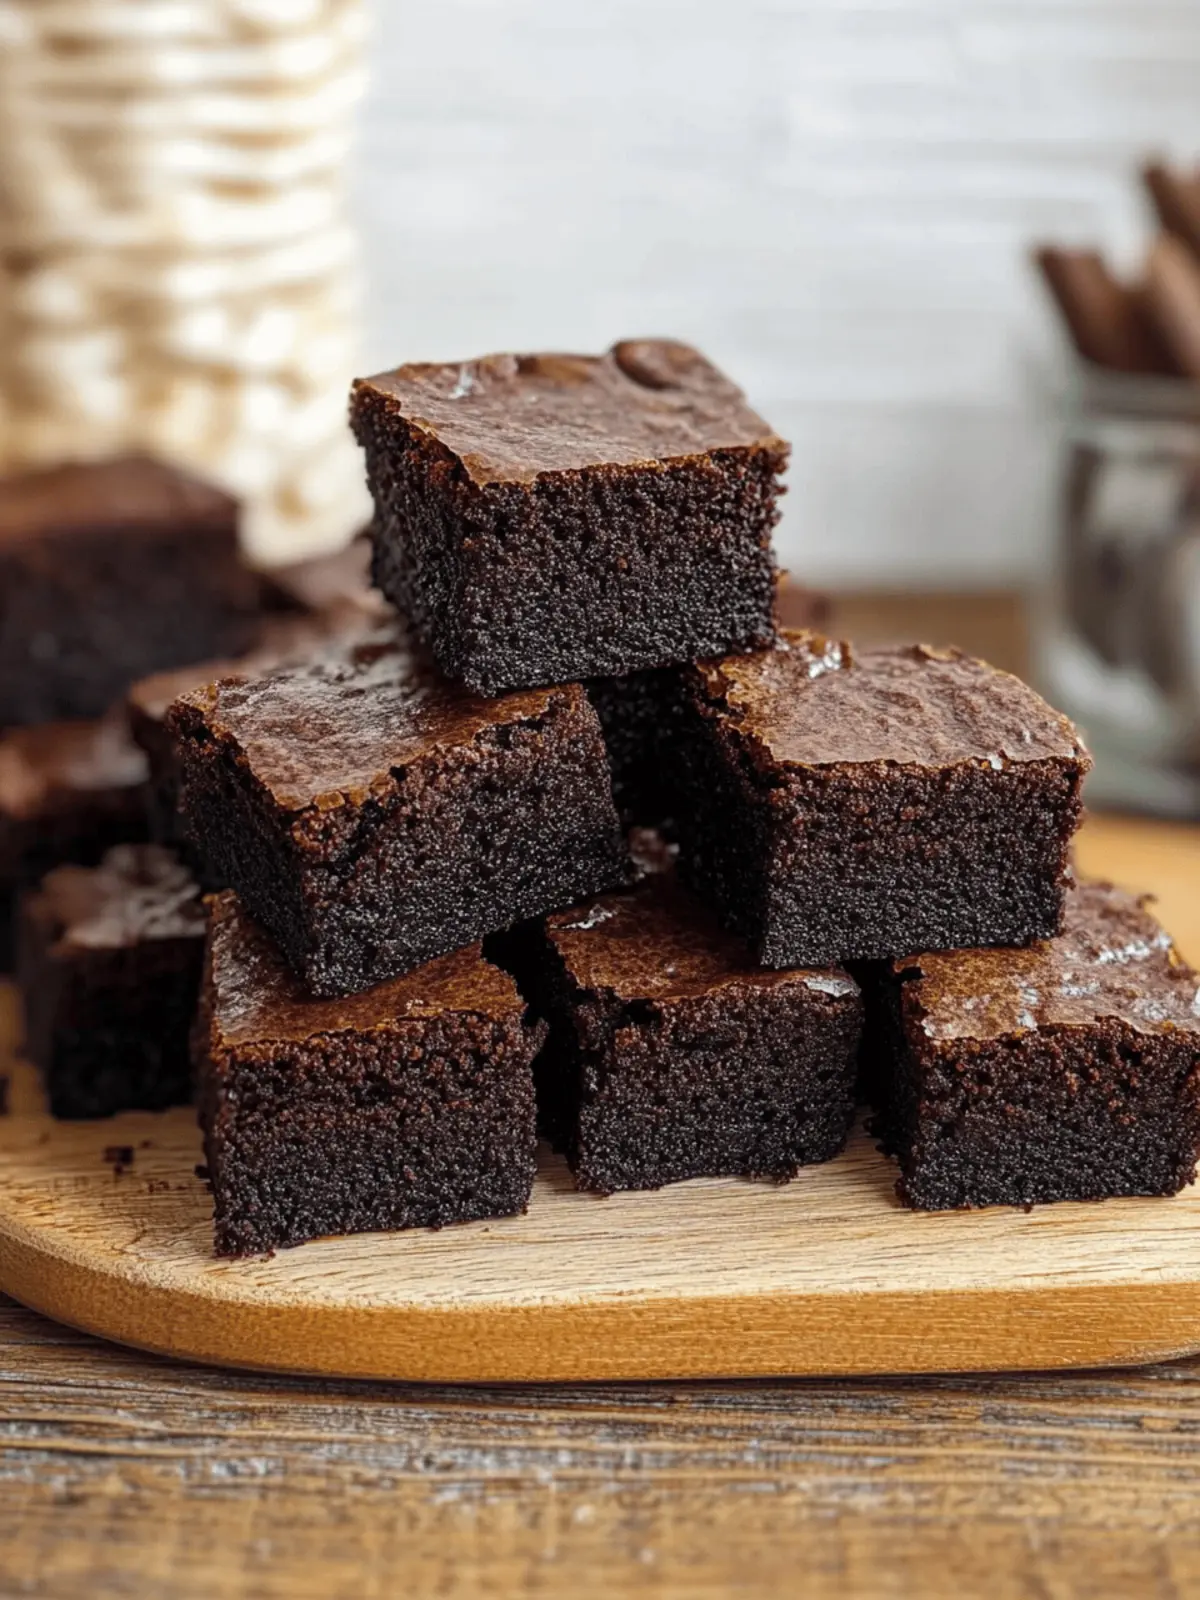
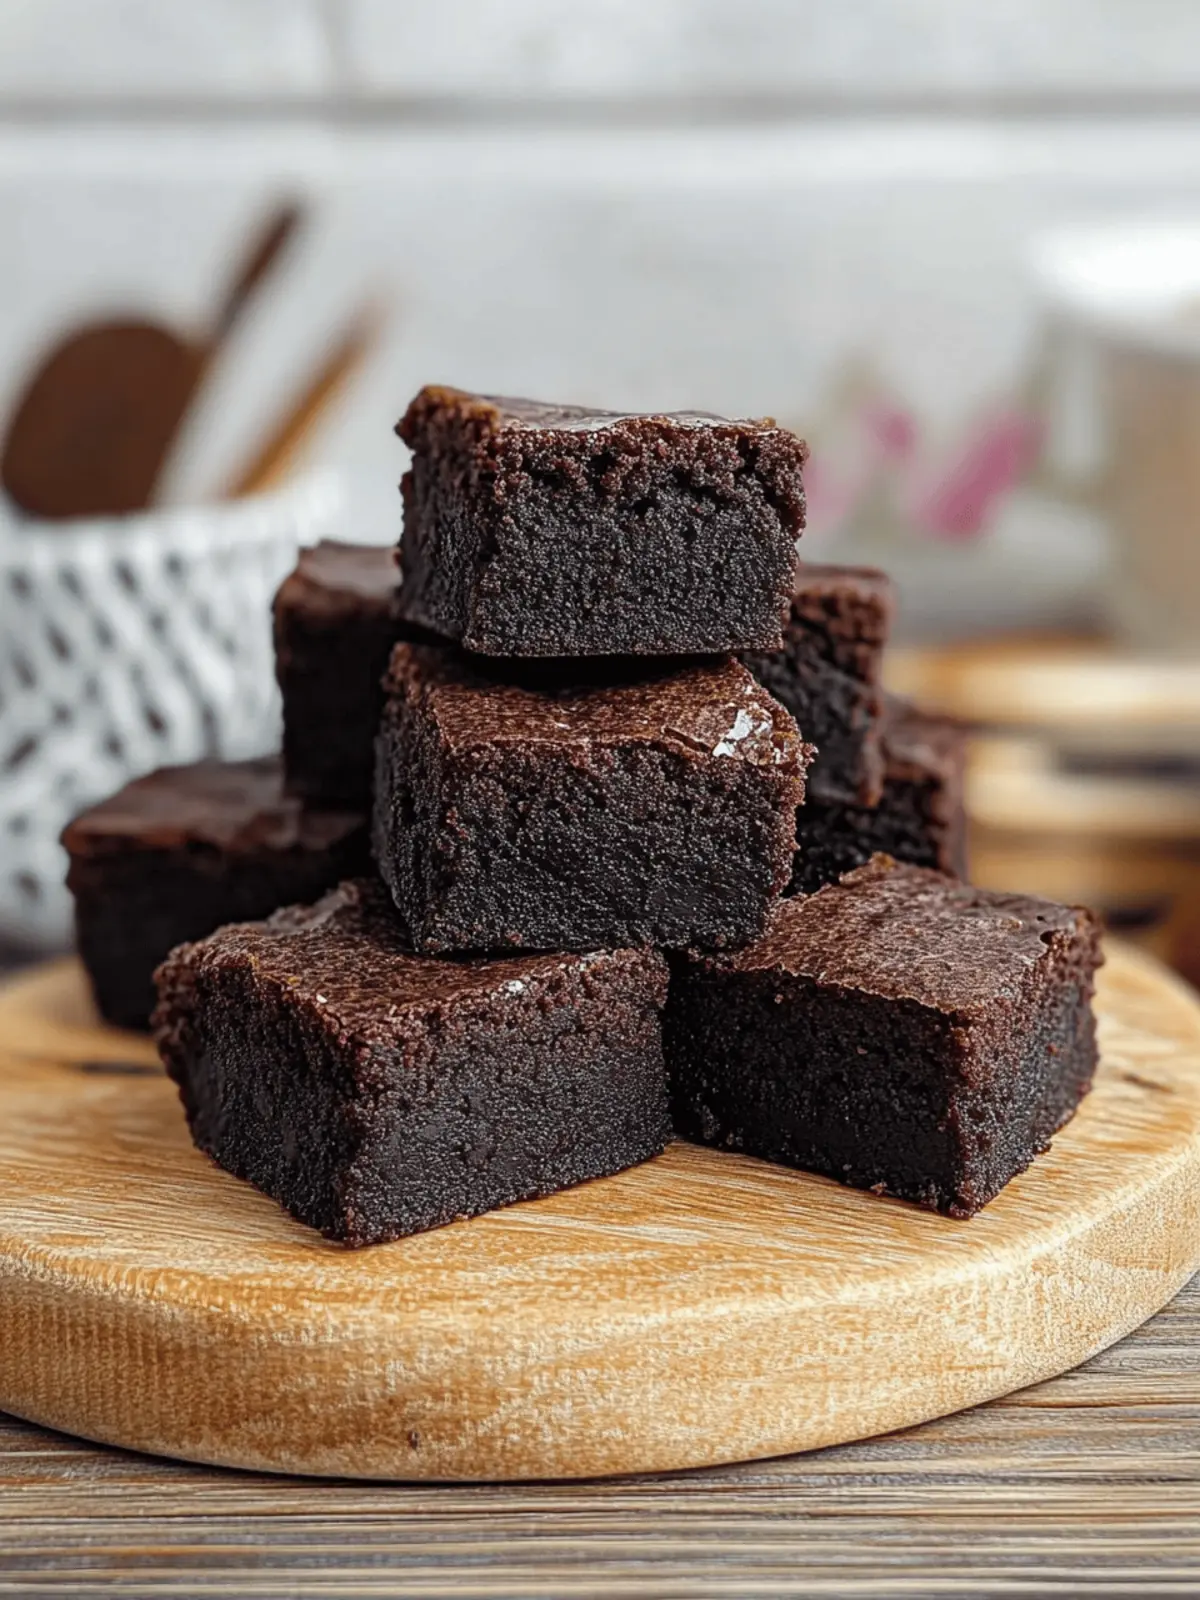
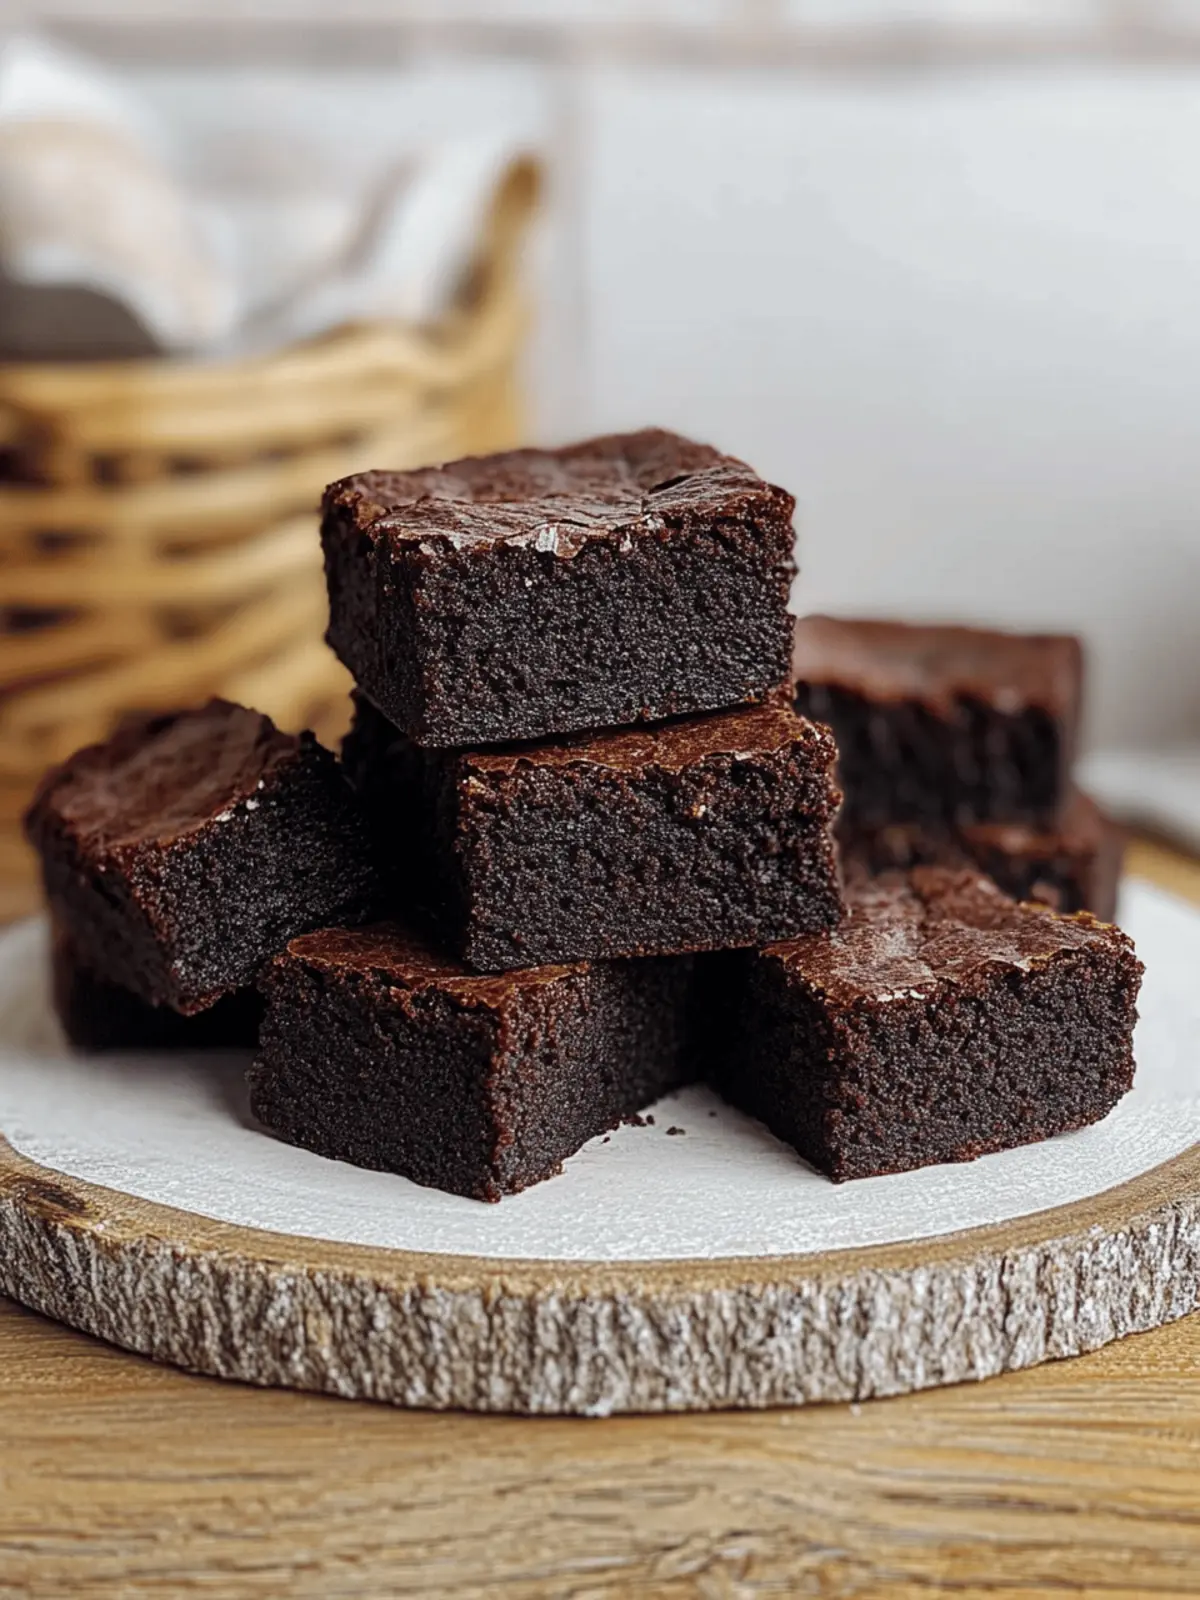
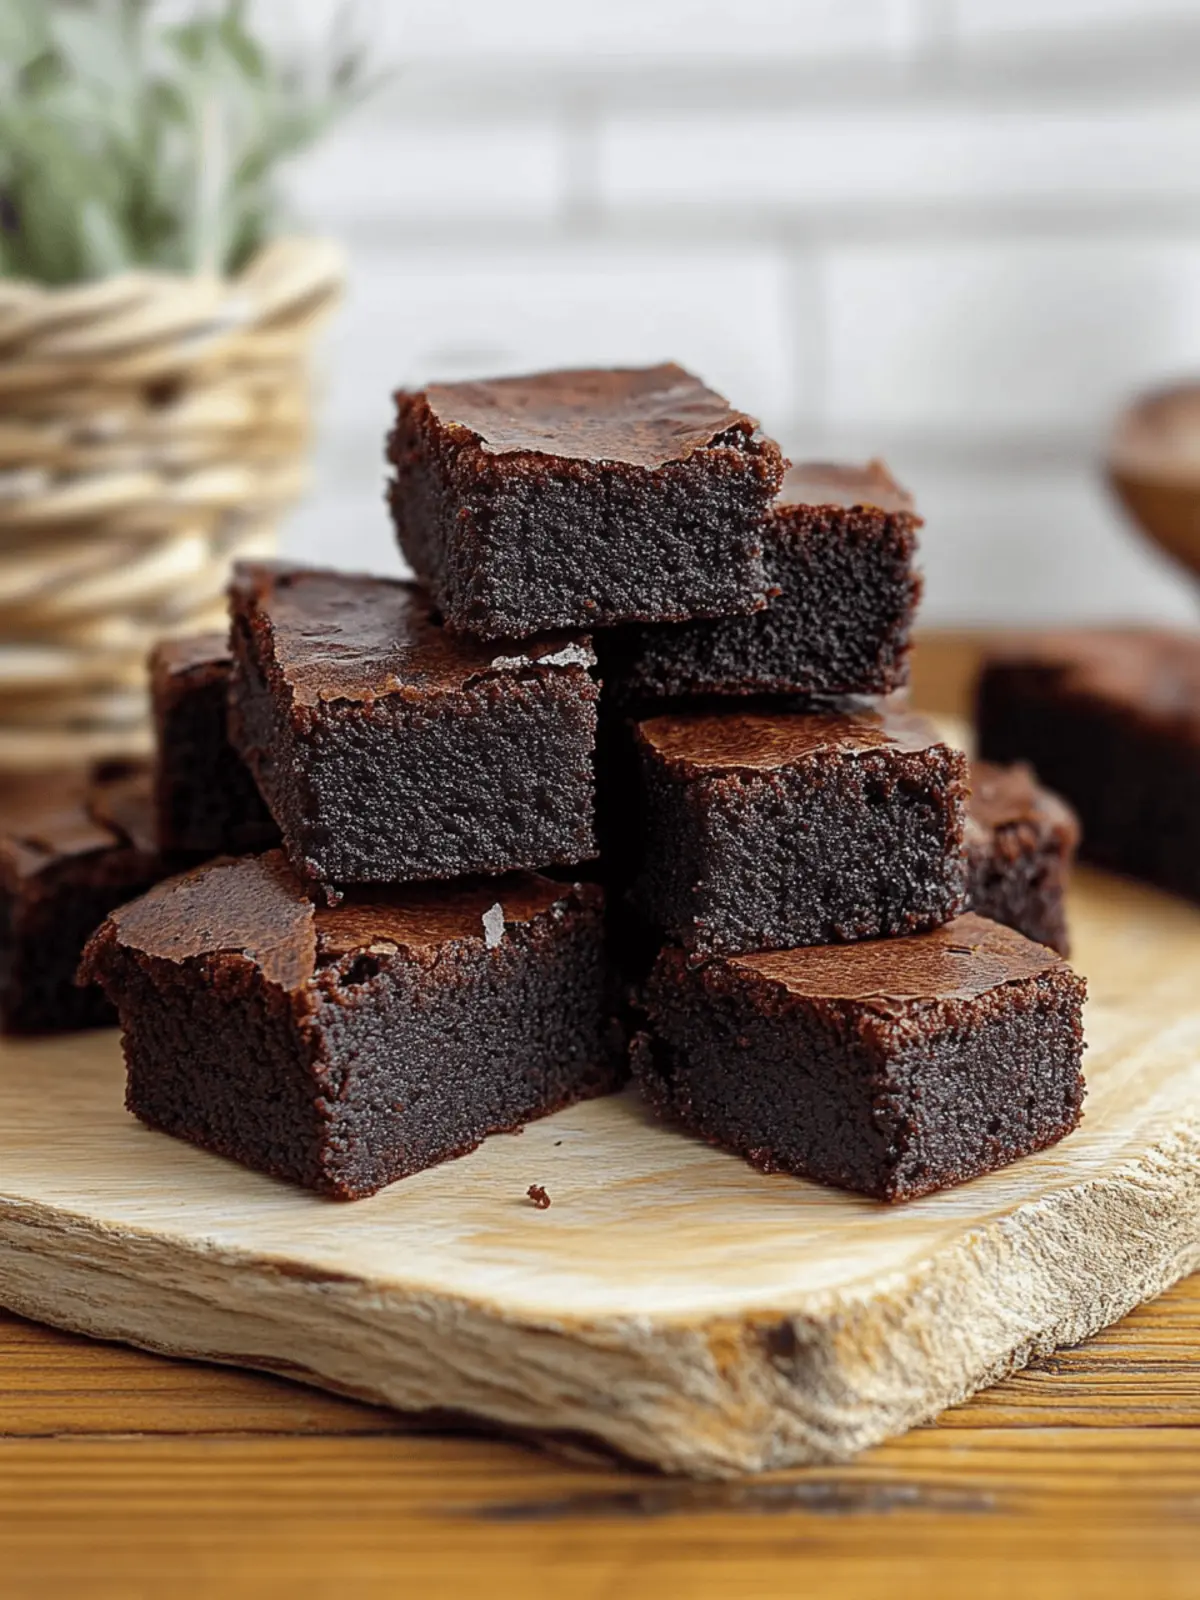
There’s a delightful moment that happens in the kitchen when you realize you can combine two beloved treats into one. Picture this: the rich, fudgy taste of chocolate brownies meets the chewy, satisfying texture of Hawaiian butter mochi. That moment sparked my creation of these gluten-free mochi brownies, a recipe that has become an instant favorite in my home.
With a crispy edge and a soft, gooey center, each bite feels like a little celebration. They’re perfect for those evenings when you crave something homemade yet exciting, away from the repetitive cycle of fast food. Whether you’re a seasoned baker or just starting your culinary journey, these mochi brownies will wow friends, family, or even just yourself. Trust me; you’ll want to keep this recipe close at hand!
Why Are Mochi Brownies So Irresistible?
Delightful fusion: Combining the best of chocolate brownies and Hawaiian butter mochi, these treats offer a unique twist on traditional baking.
Chewy texture: The use of glutinous rice flour ensures a perfect chewyness, making every bite incredibly satisfying.
Gluten-free indulgence: Perfect for gluten-sensitive dessert lovers, these mochi brownies allow everyone to enjoy a rich treat that doesn’t skimp on flavor.
Easy to make: With straightforward steps, even beginner bakers can create this scrumptious dessert that will impress guests.
Crowd-pleaser: Serve these at parties, and watch them disappear—no one can resist the allure of these delightful brownies!
For a delicious round-up of treats, be sure to check out my collection of easy gluten-free desserts.
Mochi Brownies Ingredients
For the Brownie Base
• Glutinous Rice Flour – Provides the chewy texture characteristic of mochi; crucial for replicating that delicious consistency.
• Cocoa Powder – Adds a rich chocolate flavor that deepens the brownie experience.
• Dark Chocolate – Contributes moisture and a deep chocolate richness; feel free to substitute with semi-sweet chocolate if desired.
• Unsalted Butter – Enhances richness and helps maintain moisture; coconut oil works as a dairy-free alternative.
• Vanilla Extract – Elevates the overall flavor; using pure extract makes a noticeable difference.
• Eggs – Binds everything together, giving structure; replace with flaxseed meal mixed with water for a vegan option.
• Milk – Hydrates the batter for the fudgy consistency; you can use any non-dairy milk here.
• Sugar – Sweetens the brownies nicely; consider reducing it for less sweetness or use alternative sweeteners if you prefer.
• Baking Powder – Assists with leavening to achieve a lighter texture.
• Salt – Balances sweetness and enhances flavor.
For Topping
• Chocolate Chunks – Optional, but they add extra chocolate richness; consider them a delightful bonus!
Enjoy making these mochi brownies, a truly delightful gluten-free dessert that will become a favorite in your recipe collection!
How to Make Mochi Brownies
-
Preheat oven: Set your oven to 320°F (160-170°C) and line an 8×8 inch baking pan with baking paper, ensuring no sticking for easier removal later.
-
Melt chocolate: In a double boiler, combine dark chocolate and unsalted butter. Stir occasionally until melted and smooth, then set aside to cool slightly.
-
Whisk eggs: In a separate bowl, whisk together eggs and vanilla extract until fully combined. This mix will add richness to your brownies.
-
Add milk: Pour whole milk into the egg mixture, mixing gently until everything is well blended and smooth.
-
Combine mixtures: Gradually stir the cooled chocolate mixture into the wet ingredients until completely homogeneous, embracing that delightful chocolate goodness.
-
Mix dry ingredients: In another bowl, whisk together glutinous rice flour, cocoa powder, baking powder, salt, and sugar until well incorporated. This blend is essential for texture.
-
Combine wet and dry: Gradually fold the dry ingredients into the wet mixture, stirring until you reach a smooth batter without lumps.
-
Sift (optional): If desired, sift the batter into the prepared pan to remove any lumps, resulting in a smoother brownie texture.
-
Add toppings: Gently sprinkle chocolate chunks on top of the batter, adding extra chocolate richness that will melt beautifully during baking.
-
Bake: Place the pan in the preheated oven and bake for approximately 55-60 minutes, testing doneness with a toothpick—look for it to come out clean.
-
Cool down: Let the brownies cool in the pan for a bit, then transfer them to a wire rack to cool completely before cutting them into squares.
Optional: Top with a dusting of powdered sugar for an elegant finish.
Exact quantities are listed in the recipe card below.
What to Serve with Mochi Brownies?
Indulging in these gluten-free mochi brownies opens up a delightful world of pairing possibilities that enhance the overall dessert experience.
-
Vanilla Ice Cream: A scoop of creamy vanilla ice cream adds a luscious contrast to the chewy brownies, making each bite even more decadent.
-
Whipped Cream: Light and airy whipped cream offers a fluffy texture that balances the dense brownies, creating a blissful combination with every forkful.
-
Fresh Berries: Juicy strawberries or raspberries add a burst of acidity that cuts through the richness, adding a refreshing touch to your dessert plate.
-
Espresso or Coffee: A strong cup of espresso or rich coffee complements the deep chocolate flavors, making for a perfect pairing after a meal.
-
Coconut Flakes: Toasted coconut flakes sprinkled on top will enhance the island vibes of the mochi ingredients, adding texture and a hint of tropical flavor.
-
Chocolate Sauce: Drizzling warm chocolate sauce over the brownies elevates the experience, inviting chocolate lovers to rejoice in this extra layer of indulgence.
-
Nutty Sundae: Create a sundae with chopped nuts and butterscotch sauce to add crunch and caramel notes, enhancing both texture and sweetness.
-
Mint Tea: This comforting beverage cleanses the palate beautifully, making it the perfect finish to the rich, gooey brownies.
These pairings not only complement the chewy texture of your mochi brownies but also add delightful bursts of flavors, keeping dessert exciting and delicious!
Storage Tips for Mochi Brownies
Room Temperature: Store mochi brownies in an airtight container at room temperature for up to 3 days to maintain their delightful chewiness.
Fridge: For added freshness, refrigerate the brownies for up to a week. Just remember to wrap them tightly to avoid any drying out.
Freezer: Freeze mochi brownies for up to 3 months. Wrap each piece individually in plastic wrap and then place them in a freezer-safe container.
Reheating: To bring back that warm, gooey texture, gently microwave a brownie for 10-15 seconds before serving—pure bliss!
Make Ahead Options
These mochi brownies are a fantastic option for meal prep enthusiasts! You can prepare the batter up to 24 hours in advance by mixing all the wet and dry ingredients, then storing it in an airtight container in the refrigerator to keep it fresh. This not only saves time on busy baking days but also allows the flavors to meld together beautifully. When you’re ready to bake, simply pour the chilled batter into your lined pan and add the chocolate chunks on top. Bake as directed, and you’ll enjoy deliciously chewy mochi brownies with minimal fuss! Just remember to let them cool completely before slicing for the best texture.
Mochi Brownies Variations
Feel free to make these mochi brownies your own with these fun and flavorful twists!
- Nutty Delight: Add chopped walnuts or pecans to the batter for a crunchy texture that perfectly complements the chewy mochi base.
- Peanut Butter Swirl: Drop dollops of creamy peanut butter into the batter before baking. The combination of flavors creates rich, indulgent bites.
- Spicy Kick: Incorporate a pinch of cayenne pepper or chili powder for a surprising heat that elevates the chocolate flavor to unexpected heights.
- Fruit Fusion: Mix in mashed bananas or applesauce to create a fruity flavor profile while keeping the brownies moist and delicious.
- Coconut Flake Addition: Toss in some sweetened shredded coconut to the batter. This not only adds texture but also a lovely tropical flavor that pairs beautifully with the chocolate.
- Minty Freshness: Use peppermint extract instead of vanilla for a refreshing twist. This is perfect for those chocolate mint lovers out there!
- Caramel Drizzle: Once cooled, drizzle homemade or store-bought caramel sauce over the brownies for an extra layer of sweetness and richness.
- Espresso Boost: Introduce a teaspoon of espresso powder into the dry ingredients for a deep coffee flavor that enhances the chocolatey goodness of these brownies.
Let your creativity shine as you explore these scrumptious variations, making these mochi brownies even more delightful!
Expert Tips for Mochi Brownies
• Use Quality Chocolate: Always choose high-quality dark chocolate for rich flavor; it truly makes a difference in your mochi brownies.
• Don’t Overmix: Gently combine wet and dry ingredients to avoid tough brownies; overmixing can lead to unwanted texture.
• Bake Time Awareness: Start checking for doneness around 50 minutes to prevent overbaking, which can dry out your moist mochi brownies.
• Cooling Properly: Allow the brownies to cool completely in the pan before slicing for cleaner cuts and better texture.
• Storage Tips: Keep your mochi brownies in an airtight container to maintain their chewy texture and enjoy them for days!
Mochi Brownies Recipe FAQs
What type of glutinous rice flour should I use?
Absolutely! Be sure to choose a high-quality glutinous rice flour specifically labeled for mochi. It’s crucial for achieving that signature chewy texture. Regular rice flour won’t give you the same results!
How do I store mochi brownies for optimal freshness?
To keep those mochi brownies deliciously chewy, store them in an airtight container at room temperature for up to 3 days. If you’d like to make them last a bit longer, you can refrigerate them for up to a week. Just be cautious to wrap them well to prevent them from drying out!
Can I freeze mochi brownies?
Absolutely! You can freeze mochi brownies for up to 3 months. Here’s how: Wrap each brownie individually in plastic wrap, then place them in a freezer-safe container or a resealable ziplock bag. When you’re ready to enjoy one, simply thaw it in the refrigerator overnight or microwave it for just 10-15 seconds to restore that warm, fudgy goodness!
What if my brownies are too dry or overbaked?
Very! If you find that your mochi brownies have become too dry, it might be due to overbaking. Always start checking for doneness around 50 minutes. A toothpick should come out with just a few moist crumbs, not clean. In the future, make sure to cool the brownies completely in the pan before slicing for better texture and moisture retention.
Are there any allergy considerations for this recipe?
Definitely! This recipe contains eggs, milk, and dairy. If you’re vegan or have allergies, you can replace eggs with flaxseed meal mixed with water (1 tablespoon flaxseed meal + 2.5 tablespoons water per egg), and substitute whole milk with any non-dairy milk like almond or oat milk. Always double-check ingredient labels if allergies are a concern!
What toppings can I add to enhance my mochi brownies?
The more the merrier! You can add toppings like chocolate chunks, nuts, or a dusting of powdered sugar to your mochi brownies. For a unique twist, consider incorporating extracts like almond or hazelnut for an exciting flavor enhancement!
Decadent Mochi Brownies for Gluten-Free Chocolate Lovers
Ingredients
Equipment
Method
- Preheat oven to 320°F (160-170°C) and line an 8x8 inch baking pan with baking paper.
- In a double boiler, combine dark chocolate and unsalted butter. Stir until melted and smooth, then set aside to cool.
- In a separate bowl, whisk eggs and vanilla extract together until fully combined.
- Add milk to the egg mixture, mixing gently until well blended.
- Gradually stir in the cooled chocolate mixture into the wet ingredients.
- In another bowl, whisk together glutinous rice flour, cocoa powder, baking powder, salt, and sugar.
- Fold the dry ingredients into the wet mixture until you reach a smooth batter.
- Optionally, sift the batter into the prepared pan to remove lumps.
- Sprinkle chocolate chunks on top of the batter.
- Bake for approximately 55-60 minutes, checking doneness with a toothpick.
- Let the brownies cool in the pan for a bit, then transfer to a wire rack to cool completely.

