There’s a certain joy in creating something beautiful from scratch, isn’t there? I found that joy one sunny afternoon when I decided to tackle an old favorite: Cherry Cheesecake. As I crushed those Oreos into a fine crumb, the rich scent filled my kitchen, instantly sending me back to childhood celebrations where this dessert was the star.
What I love most about this cheesecake is not just the creamy filling and the burst of cherries on top, but how effortlessly it comes together. Perfect for a weekend gathering or a special treat after a weekday dinner, this recipe strikes the ideal balance between indulgence and simplicity. Trust me; you won’t believe that this luxurious dessert requires just under two hours of active time!
Whether you’re a seasoned chef or someone just looking to impress guests (or even yourself), this Cherry Cheesecake is sure to delight. Let’s dive into transforming your kitchen into a haven filled with sweetness and the irresistible aroma of cherries!
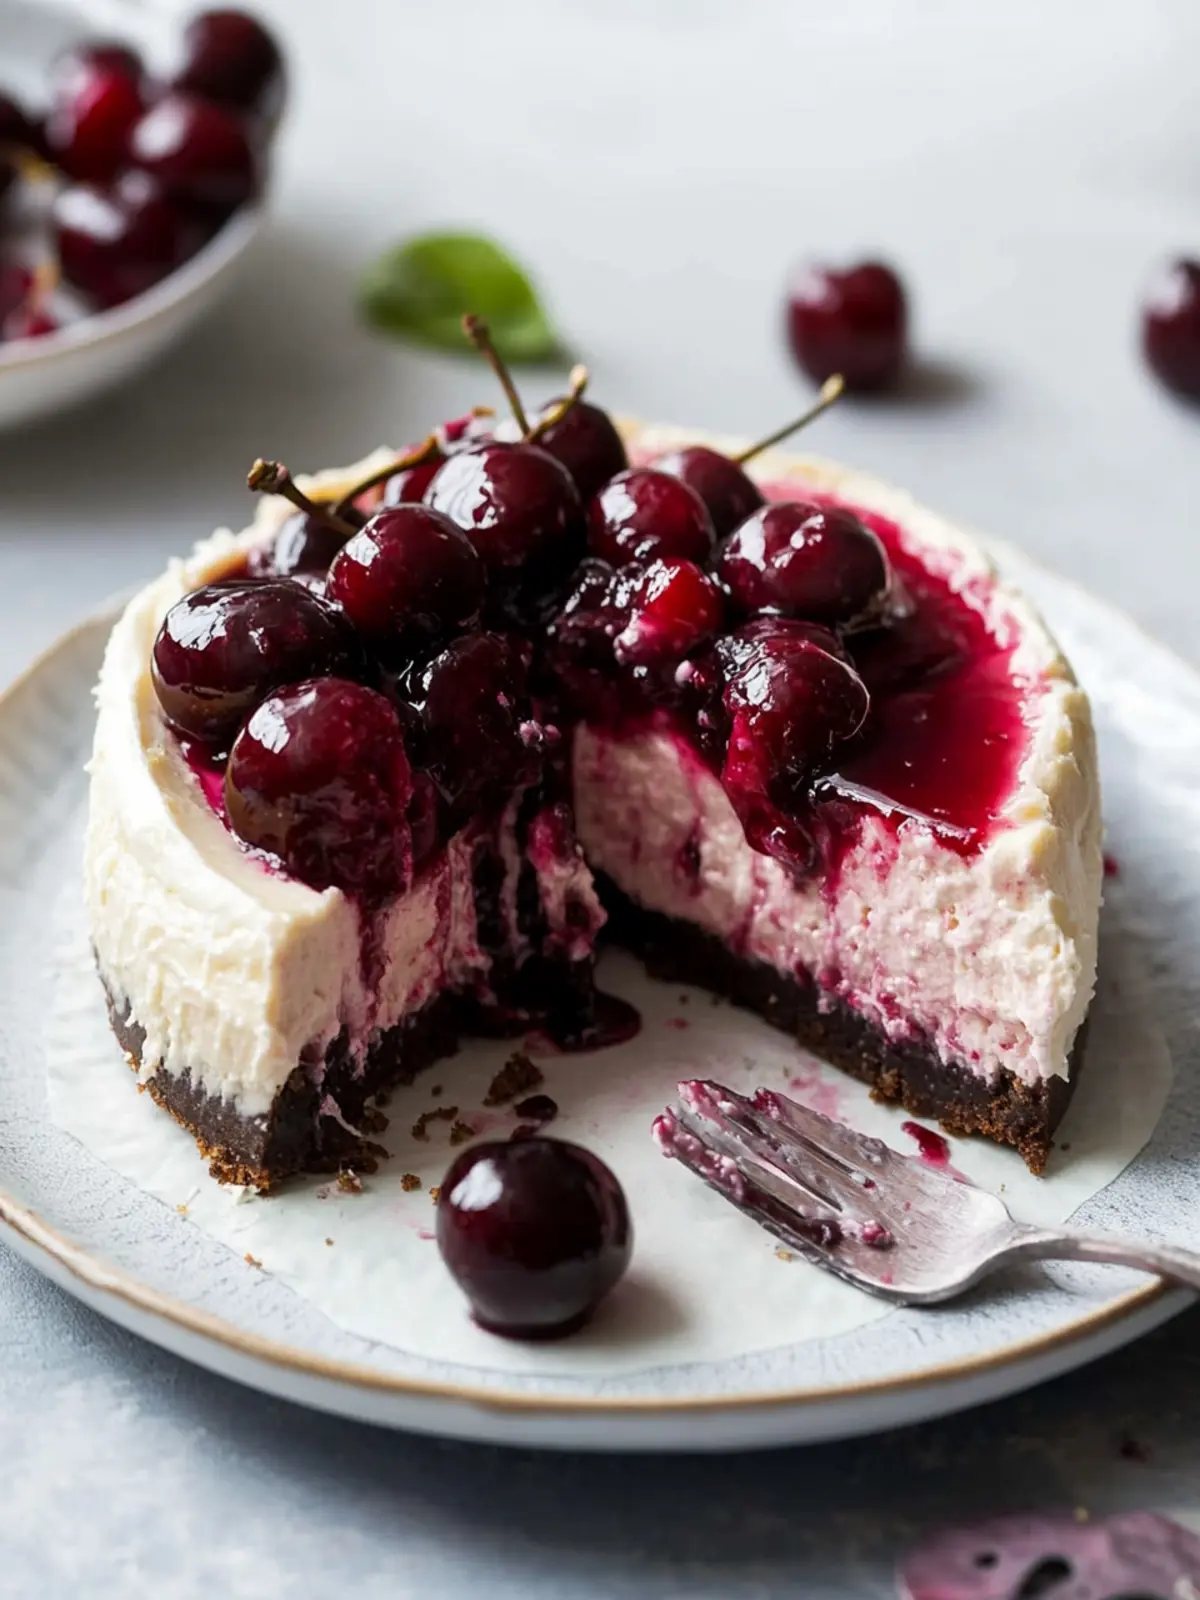
Why is this Cherry Cheesecake a must-try?
Irresistible Flavor: The creamy, tangy filling is perfectly balanced with the sweetness of fresh cherries.
Decadent Crust: An Oreo crust adds a chocolatey crunch that pairs beautifully with the cheesecake’s smooth texture.
Effortless Elegance: This recipe is surprisingly easy, making it perfect for both novice and experienced bakers.
Crowd-Pleaser: Serve this at gatherings, and watch it disappear—everyone will be coming back for seconds!
Make-Ahead Delight: Prepare it the night before to save time, allowing the flavors to develop overnight.
This Cherry Cheesecake is not just a dessert; it’s a celebration of flavor and creativity that you’ll want to share. Don’t forget to check out my tips on preparing the perfect pie crust for an extra touch!
Cherry Cheesecake Ingredients
For the Crust
• Oreo crumbs – 2 1/2 cups provide a deliciously chocolatey base for the cheesecake.
• Unsalted butter – 4 TBSP, melted to bind the crumbs together for a perfect crust.
For the Cherry Topping
• Cherries – 1 lb, fresh or frozen pitted cherries, adding a burst of fruity flavor and a beautiful glaze.
• White granulated sugar – 1/2 cup to enhance the natural sweetness of the cherries.
• Cornstarch – 2 TBSP, used to thicken the cherry mixture for a lovely consistency.
For the Cheese Mixture
• Cream cheese – 24 oz, room temperature for a rich and creamy filling that achieves that luscious texture.
• White granulated sugar – 3/4 cup balances the tartness of the cherries perfectly.
• Sour cream – 1/2 cup, room temperature for added creaminess and a slight tang.
• Cherry filling pureed – 1/4 cup to deepen the cherry flavor within the cheesecake.
• Pure vanilla extract – 1 tsp, infusing warmth and richness into the cheesecake.
• Large eggs – 4, room temperature to help create a smooth, well-blended batter.
This Cherry Cheesecake is sure to impress with its delightful combination of flavors and textures!
How to Make Cherry Cheesecake
-
Preheat the oven to 325°F. Start by spraying a 9-inch springform pan with baking nonstick spray and lining the bottom with a 9-inch circle of parchment paper, then spray again.
-
Crush the Oreos into a fine crumb using a food processor or blender. In a small bowl, mix the Oreo crumbs and melted butter until well combined with a fork.
-
Press the crumb mixture into the prepared pan, pushing it up the sides to create a crust. Use the bottom of a measuring cup to compact it evenly.
-
Bake the crust for 12 minutes until set. This helps create a firm base for the cheesecake to rest on.
-
Combine the cherries, sugar, and cornstarch in a medium saucepan over medium heat. Stir gently until the juice begins to separate, creating a beautiful cherry mixture.
-
Mash half of the cherries lightly with a fork and let them cook until the mixture thickens slightly, about 5-7 minutes.
-
Puree 1/2 cup of the cherry topping in a blender to yield about 1/4 cup of pureed cherry topping. Place it in the freezer to cool for about 15 minutes.
-
Store the remaining cherry topping in an airtight container in the fridge while you prepare the cheesecake filling.
-
Beat the cream cheese and sugar together on high speed for 2 minutes using a mixer, making sure to scrape down the bowl to combine everything evenly.
-
Mix in the sour cream, cherry puree, and vanilla extract. Then, add the eggs one at a time, mixing on low speed until just combined; the batter should have a light pink color.
-
Pour the creamy batter into the prepared Oreo crust, spreading it evenly for a beautiful finish.
-
Prepare the water bath:
- Method 1: Place the springform pan in a 10-inch cake pan filled with hot water halfway up the cake pan.
- Method 2: Wrap the springform pan tightly in aluminum foil and place it in a roasting pan, filling it with hot water halfway up the springform pan.
-
Bake for 70-80 minutes until the edges are set, and the center has a slight jiggle—it should look like a creamy dream!
-
Cool the cheesecake slowly by turning off the oven, cracking open the door, and letting it rest for 30 minutes. Then transfer it to a cooling rack to cool completely.
-
Chill the cheesecake by covering it with foil and placing it in the refrigerator for at least 6 hours or overnight for the best flavor.
-
Serve by removing the springform pan and parchment paper from the cheesecake, then pour the cherry topping on top for the final delicious touch!
Optional: Serve with whipped cream for an extra creamy delight.
Exact quantities are listed in the recipe card below.
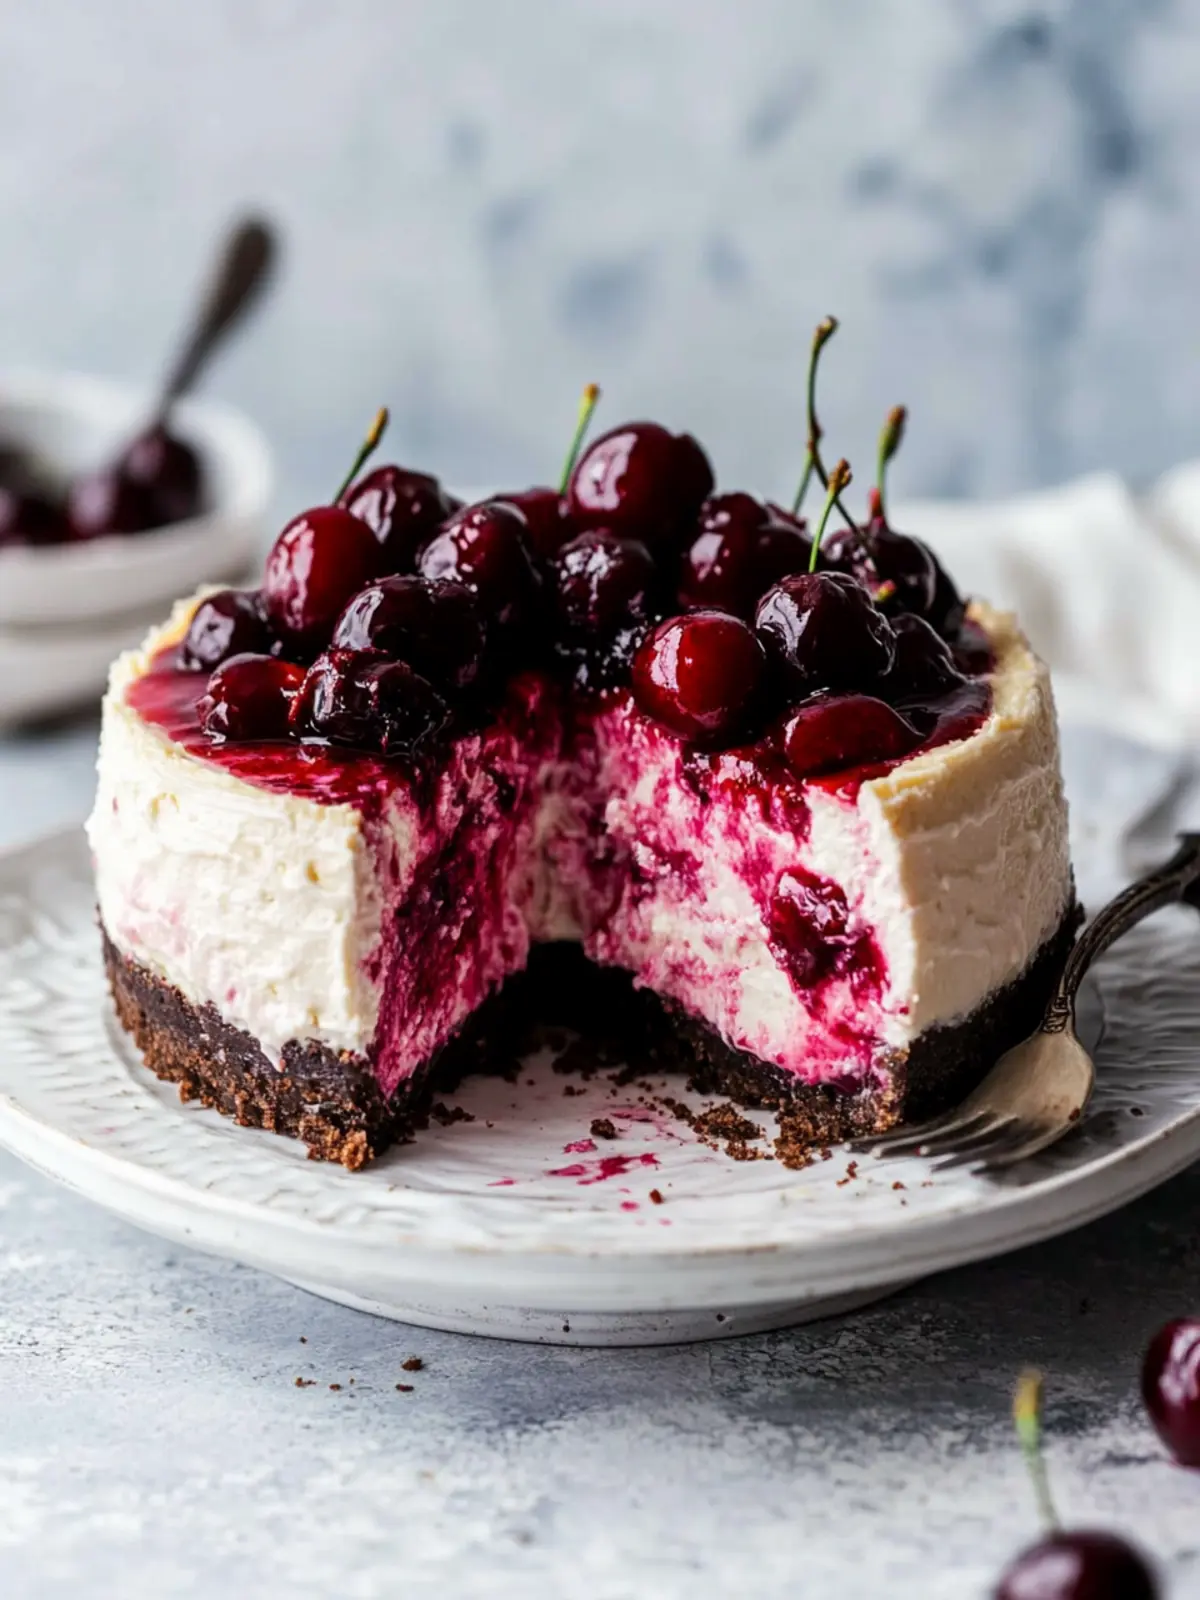
Expert Tips for Cherry Cheesecake
Use Room Temperature Ingredients: Ensure that your cream cheese, sour cream, and eggs are at room temperature to create a smooth, lump-free batter.
Mind the Water Bath: Using a water bath helps prevent cracks. Make sure the water reaches halfway up the springform pan for optimal baking.
Check for Doneness: The cheesecake should have a slight jiggle in the middle when it’s done—overbaking can lead to a dry texture.
Cool Slowly: Letting the cheesecake cool in the oven with the door ajar helps it set without cracking. Be patient!
Chill Overnight: For the best flavor and texture, always refrigerate the cheesecake overnight before serving. It truly makes a difference!
With these tips in mind, your Cherry Cheesecake will not only look impressive but will also taste deliciously perfect!
How to Store and Freeze Cherry Cheesecake
Room Temperature: Cherry Cheesecake is best stored in the refrigerator rather than at room temperature to maintain its creamy texture and freshness.
Fridge: Cover the cheesecake tightly with plastic wrap or aluminum foil and store it in the fridge for up to 3 days. This ensures it stays delicious and preserves the cherry topping.
Freezer: For longer storage, freeze individual slices wrapped in plastic wrap and then in aluminum foil. They can be stored in the freezer for up to 2 months, perfect for that sweet craving later!
Reheating: Thaw the cheesecake overnight in the fridge before enjoying. If you prefer it a bit warm, microwave a slice for 10-15 seconds. Enjoy your Cherry Cheesecake!
Make Ahead Options
These Cherry Cheesecakes are perfect for meal prep enthusiasts! You can prepare the cherry topping up to 3 days in advance, allowing the flavors to meld beautifully while maintaining that vibrant taste. Simply cook the cherry mixture (steps 5-8) and store it in an airtight container in the refrigerator. Additionally, you can also make the cheesecake batter (steps 9-10) and refrigerate it for up to 24 hours before baking. When you’re ready to bake, just pour the refrigerated batter into the crust and follow the baking instructions. This way, you’ll enjoy fresh, homemade Cherry Cheesecake with minimal effort on the day of serving, ensuring it’s just as delicious as if it were made fresh!
What to Serve with Cherry Cheesecake?
Creating a well-rounded meal around your dessert can make the experience even more delightful.
-
Fresh Fruit Salad: A light medley of seasonal fruits adds a refreshing contrast to the sweet cheesecake. It’s the perfect palate cleanser!
-
Whipped Cream: A dollop of freshly whipped cream brings an airy texture to each slice, enhancing the overall creaminess of the cheesecake.
-
Coffee or Espresso: Rich coffee or a shot of espresso complements the sweetness and balances the flavors beautifully, making each bite even more enjoyable.
-
Vanilla Ice Cream: A scoop of creamy vanilla ice cream next to your cheesecake adds an indulgent touch, creating a delightful temperature contrast.
-
Chocolate Sauce: Drizzling chocolate sauce can elevate your dessert to new heights, bringing a rich depth that pairs wonderfully with the cherry topping.
-
Almond Biscotti: These crunchy cookies pair perfectly with a cup of tea or coffee, providing a satisfying crunch alongside the smooth texture of the cheesecake.
-
Mint Tea: A warm cup of mint tea refreshes the palate while adding a soothing herbal contrast to the cherry flavors.
Each of these pairings enhances the experience, making your Cherry Cheesecake even more irresistible!
Cherry Cheesecake Variations
Feel free to explore the unique twists and substitutes for this delightful cheesecake recipe!
-
Gluten-Free: Use gluten-free Oreos or a nut crust for the base to make it suitable for those with gluten sensitivities.
-
Fresh Fruit: Swap out cherries for fresh berries like strawberries or blueberries for a seasonal twist full of vibrant color.
-
Chocolate Drizzle: Melt dark chocolate and drizzle over the cherry topping to elevate the dessert’s presentation and richness.
-
Nutty Crunch: Add chopped pecans or walnuts to the crust for an added crunch and nutty flavor that complements the sweetness.
-
Vegan: Substitute cream cheese with a plant-based cream cheese, eggs with flax eggs, and use coconut cream for a dairy-free delight.
-
Citrus Zest: Add lemon or orange zest to the cheese mixture for a zesty brightness that contrasts beautifully with the sweet cherries.
-
Spiced Version: Incorporate a dash of cinnamon or nutmeg into the crust or the filling to give it a warm, cozy flavor.
-
Caramel Swirl: Drizzle caramel sauce through the cheese mixture before baking for an indulgent flavor boost that will make your taste buds dance.
These variations not only cater to different preferences but also make your Cherry Cheesecake uniquely yours! Enjoy experimenting!
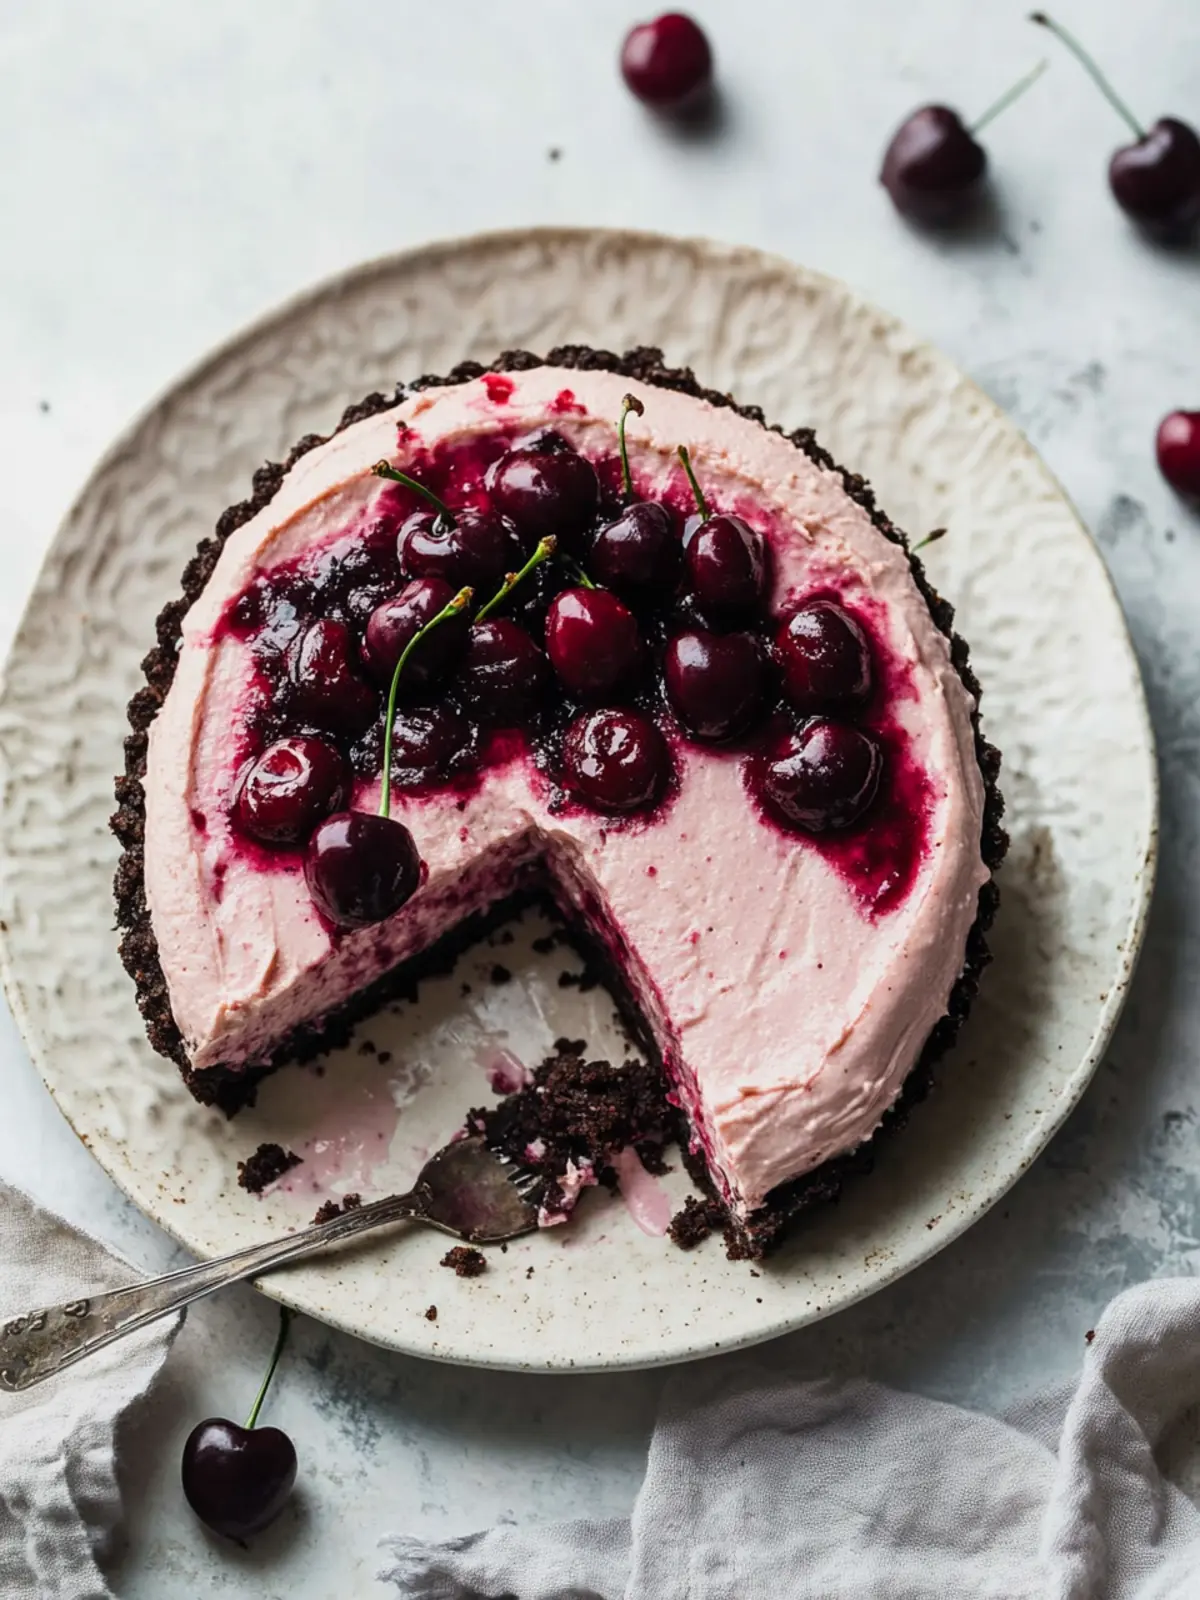
Cherry Cheesecake Recipe FAQs
What cherries should I use for the topping?
Absolutely! Fresh cherries will offer the best flavor and texture, while frozen pitted cherries can be a convenient alternative when out of season. Just be sure to thaw and drain them before cooking.
How long can I store Cherry Cheesecake in the fridge?
I recommend covering the cheesecake tightly with plastic wrap or aluminum foil and storing it in the fridge for up to 3 days. This keeps it fresh and maintains the delicious cherry topping!
Can I freeze Cherry Cheesecake?
Yes, indeed! To freeze, wrap individual slices tightly in plastic wrap and then in aluminum foil. This way, they can be stored in the freezer for up to 3 months. When you’re ready to indulge, just thaw them overnight in the fridge!
What should I do if my cheesecake cracks while baking?
Very important! A common reason for cracking is overbaking. To prevent this, watch for a slight jiggle in the center. Also, using a water bath helps maintain moisture. If cracks do occur, you can cover them with the cherry topping for a beautiful fix!
Can I make this cheesecake gluten-free?
Absolutely! Simply use gluten-free Oreo cookies for the crust. This way, you can enjoy the same delicious taste with no gluten concerns. Always check packaging for allergens if needed!
Can my pets eat any part of this cheesecake?
No, it’s best not to share this cheesecake with your furry friends. The high sugar content, chocolate, and dairy can be harmful to pets. It’s safer to keep this treat just for you!
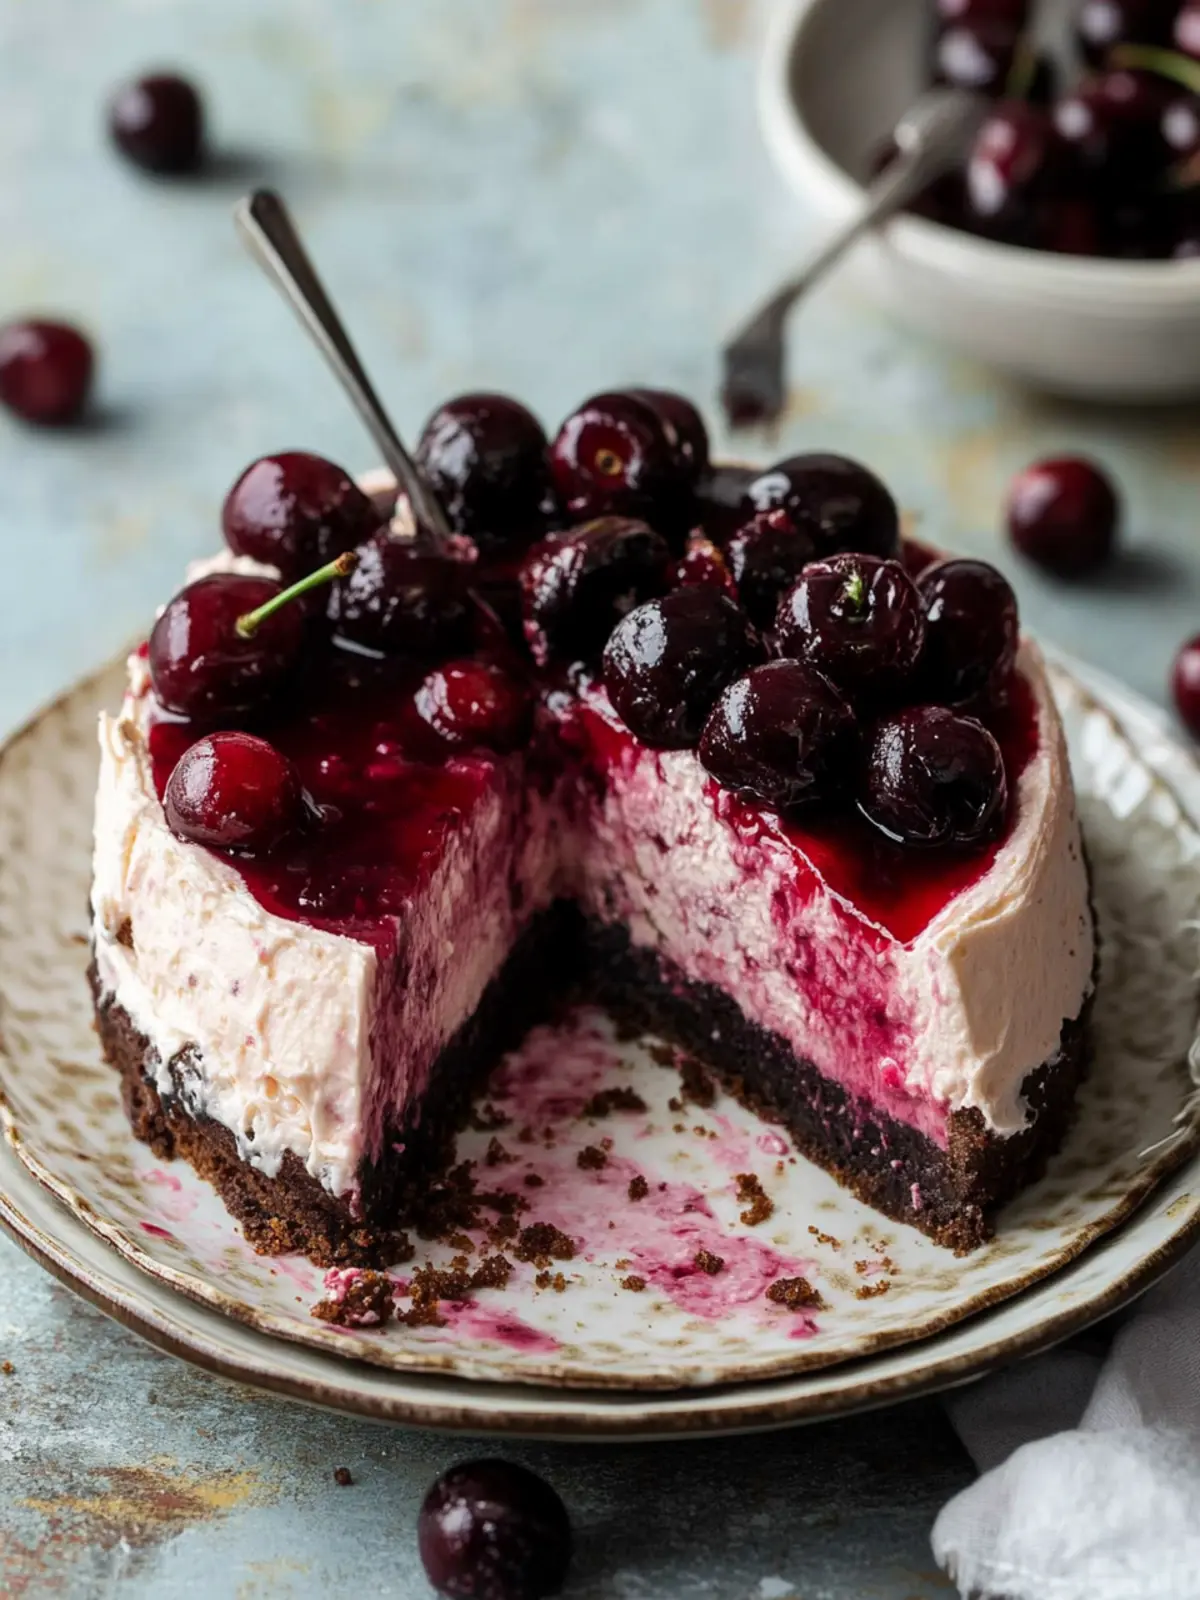
Decadent Cherry Cheesecake with Oreo Crust You’ll Love
Ingredients
Equipment
Method
- Preheat the oven to 325°F. Spray a 9-inch springform pan with nonstick spray and line the bottom with parchment paper.
- Crush the Oreos into a fine crumb. Mix the Oreo crumbs and melted butter in a bowl until combined.
- Press the crumb mixture into the prepared pan, compacting it evenly.
- Bake the crust for 12 minutes until set.
- Combine cherries, sugar, and cornstarch in a medium saucepan over medium heat.
- Mash half of the cherries lightly with a fork and cook until thickened, about 5-7 minutes.
- Puree 1/2 cup of the cherry topping in a blender and freeze to cool for 15 minutes.
- Store remaining cherry topping in the fridge.
- Beat cream cheese and sugar together on high for 2 minutes.
- Mix in sour cream, cherry puree, and vanilla extract. Add eggs one at a time.
- Pour the batter into the prepared Oreo crust.
- Prepare a water bath for the springform pan.
- Bake for 70-80 minutes until edges are set and center jiggles.
- Cool cheesecake in the oven for 30 minutes after turning it off.
- Chill the cheesecake in the refrigerator for at least 6 hours or overnight.
- Serve by removing the springform pan and pouring the cherry topping on top.