Sizzle and spice—there’s nothing quite like the thrill of biting into a perfectly crafted Spicy Tuna Onigiri! This Japanese-inspired rice ball has become my go-to for those days when I crave comfort but want to steer clear of takeout. Stepping into my kitchen, the warm aroma of seasoned rice mingles beautifully with the irresistible heat of sriracha, and I can’t help but smile.
One evening, after a long day at work and an uninspiring lunch of fast food, I decided to whip up these delightful rice balls. The fun part? They’re incredibly simple to make! Just a handful of pantry staples—like canned tuna and mayonnaise—come together with short-grain rice to create a dish that’s not only delicious but also a joy to share.
Whether you’re prepping for a cozy dinner at home or need an impressive snack for your next gathering, this Spicy Tuna Onigiri is as versatile as it is flavorful. Join me on this culinary adventure, and let’s transform basic ingredients into something extraordinary!
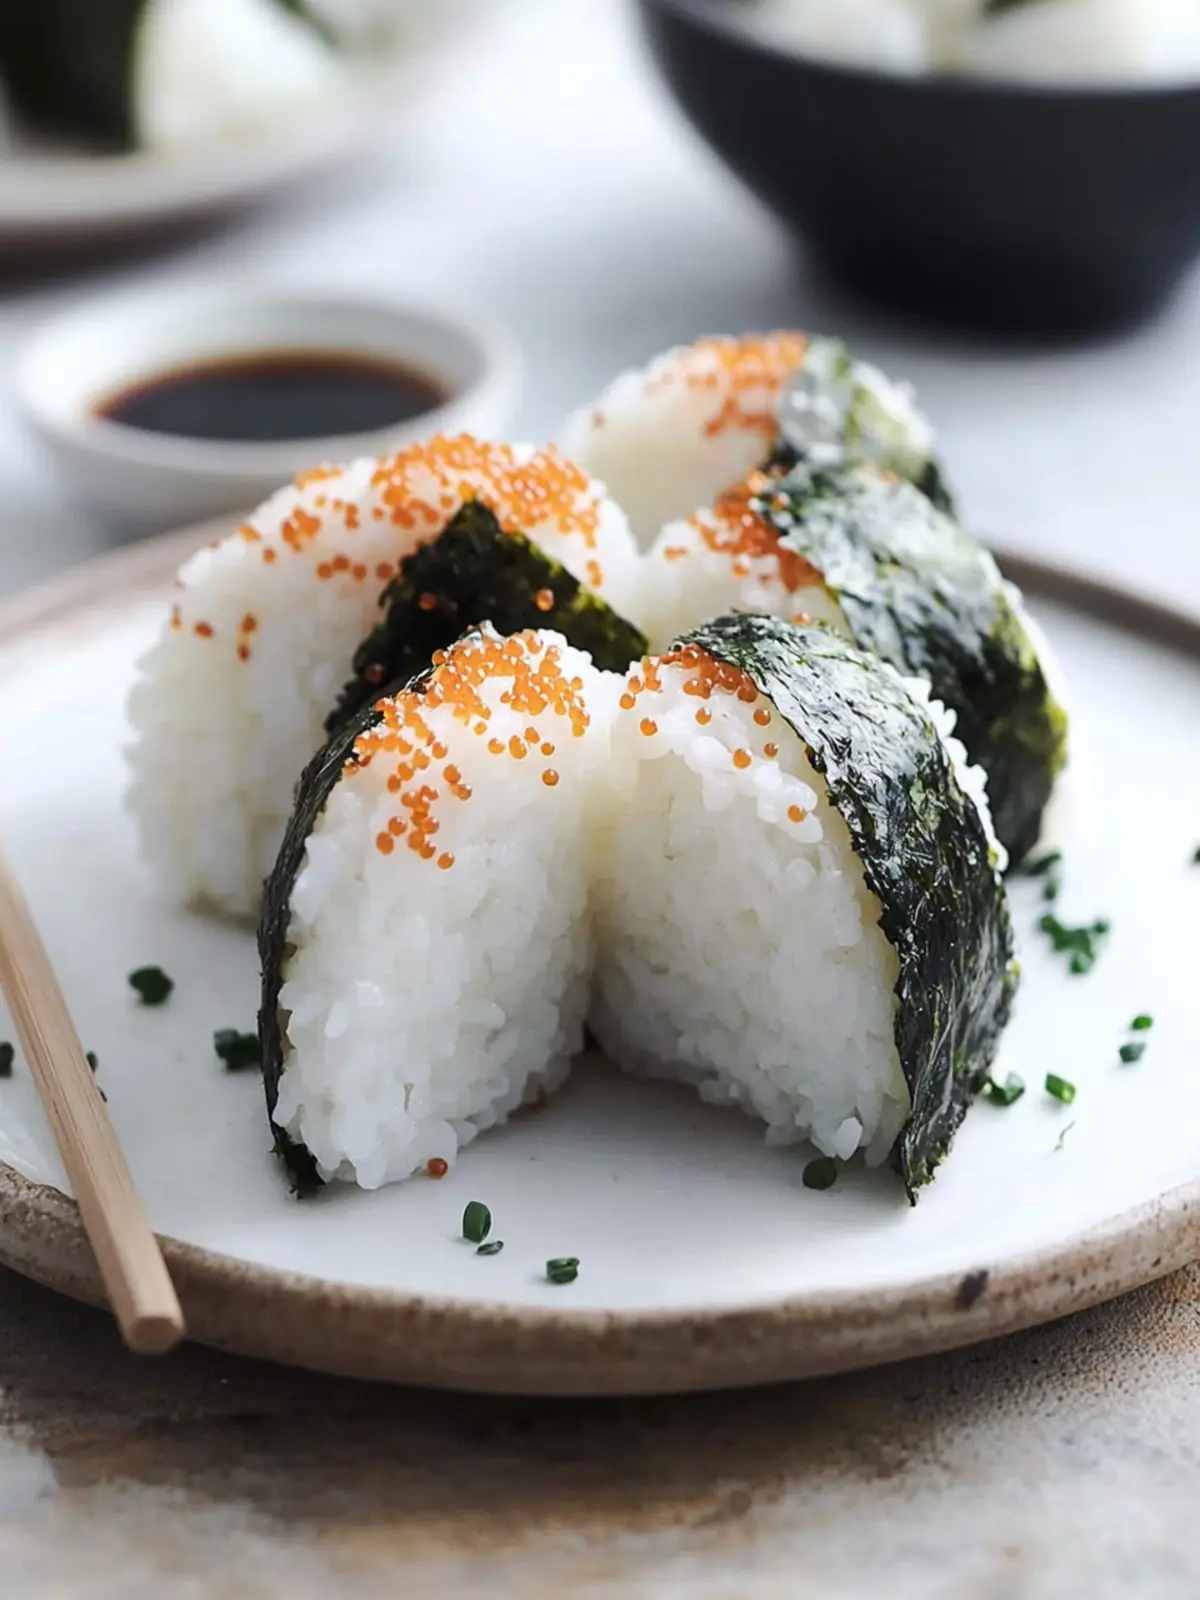
Why is Spicy Tuna Onigiri a Must-Try?
Easy to Make: Preparing Spicy Tuna Onigiri at home is a breeze, taking just 20 minutes to whip up!
Flavor Explosion: The combination of savory tuna, creamy mayonnaise, and the kick of sriracha delivers a sensational taste that’s hard to resist.
Customizable: Feel free to adjust the spice level to suit your taste—add more sriracha or throw in some diced veggies for extra crunch.
Perfect for Sharing: These delightful rice balls make for an impressive appetizer or snack at your next gathering, guaranteed to thrill your guests.
Banish Boring Meals: Now, say goodbye to fast food and hello to satisfying homemade joy that you’ll crave again and again!
Spicy Tuna Onigiri Ingredients
For the Rice
• 3 cups cooked short grain rice – The base for your Spicy Tuna Onigiri, ensuring a sticky texture that holds everything together.
• ½ teaspoon salt – Enhances the flavor of the rice, making each bite delightful.
For the Filling
• 5.29 oz canned tuna in oil – Use this for a rich, moist filling; it’s key in delivering that satisfying flavor.
• 2 tablespoons mayonnaise – Adds creaminess and helps bind the tuna together, creating a luscious texture.
• 1 tablespoon sriracha – This spicy kick is what makes your Onigiri exciting; adjust to taste if you’re craving more heat.
For the Wrap
• ½ sheet nori – Essential for the authentic Sushi experience; it adds the perfect savory crunch.
• ½ teaspoon black sesame seeds (optional) – A lovely garnish that not only enhances presentation but adds a hint of nuttiness.
For Preparation
• Water to moisten the rice paddle – Keeps the rice from sticking to your hands or tools while forming the perfect shapes.
How to Make Spicy Tuna Onigiri
-
Prepare the Rice: Transfer freshly cooked or warm rice to a large bowl and season with salt. Mix well until evenly combined, then cover with a lid to keep warm and fluffy.
-
Mix the Filling: Open the canned tuna and strain it of visible liquids. In a small bowl, combine the strained tuna with mayonnaise and sriracha sauce, stirring until well blended. Set aside.
-
Set Up for Shaping: Spread out a large sheet of plastic wrap (about 15 x 15 inches) on a clean, flat surface. Moisten your rice paddle with water to prevent sticking, then divide the warm rice into four equal portions.
-
Form the Rice Circle: Scoop one portion (¾ cup) of rice into the center of the plastic wrap. Use the back of the spoon to spread it into a circle, about ½-inch thick, ensuring it’s evenly distributed.
-
Add the Filling: Take one portion of the spicy tuna mixture and scoop it into the center of the flattened rice circle. Ensure it’s well placed, as this will be the tasty surprise inside!
-
Shape the Onigiri: Lift and twist the corners of the plastic wrap to form a circular rice ball while gently pushing the filling into the center. Flatten the rice ball until it’s about 1.75 inches thick, shaping it into a triangle.
-
Prepare the Nori: Remove one sheet of nori from its packaging, then fold it in half to create a rectangle. Cut at the fold line to create 4 vertical strips, perfect for wrapping.
-
Wrap and Serve: Carefully remove the triangle rice ball from the plastic wrap and stick the rough side of a nori strip to the base of the rice ball, starting from the middle down. For a finishing touch, garnish with black sesame seeds, and serve fresh!
Optional: Pair with a side of pickled ginger for an extra zing!
Exact quantities are listed in the recipe card below.
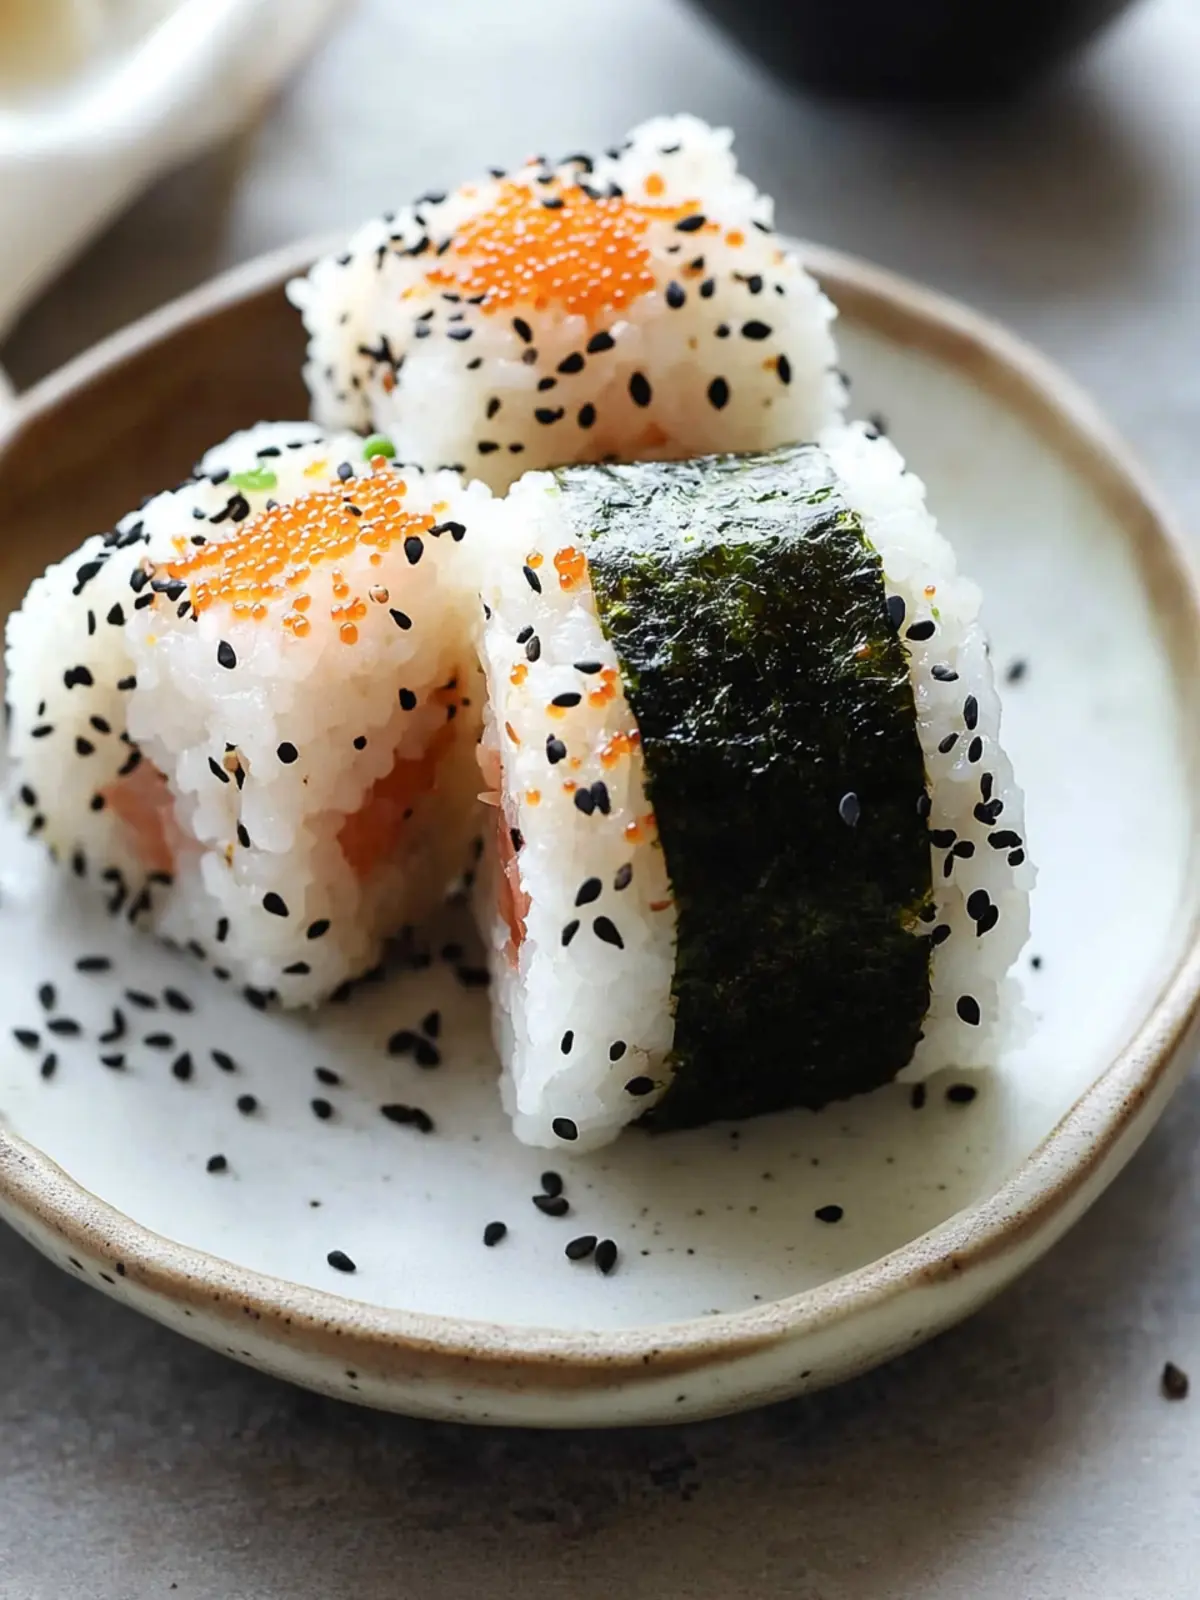
Expert Tips for Spicy Tuna Onigiri
• Choose the Right Rice: Use short-grain rice for the perfect sticky texture; this helps your Spicy Tuna Onigiri hold its shape.
• Moisten Your Hands: Keep a bowl of water handy to moisten your hands and rice paddle; this prevents sticky rice from clinging while shaping.
• Season Generously: Don’t skimp on salt when seasoning your rice; a well-seasoned base makes all the difference in flavor.
• Layer the Filling: Make sure to place enough of the spicy tuna mixture in the center; a generous amount ensures every bite is delightfully flavorful.
• Avoid Overcompaction: While shaping the rice ball, be gentle. Overpacking can lead to a tough texture instead of the desired light and fluffy bite.
• Try Variations: Experiment with fillings, such as avocado or cucumber, to customize your Spicy Tuna Onigiri to your taste preferences!
Make Ahead Options
These Spicy Tuna Onigiri are a fantastic option for meal prep enthusiasts! You can prepare the rice and tuna filling up to 24 hours in advance. Simply cook the rice, season it with salt, and keep it in an airtight container in the refrigerator; this helps maintain its fluffy texture. The tuna mixture can also be made ahead—mix the strained tuna with mayonnaise and sriracha, then store it in a separate container. When you’re ready to enjoy, simply reheat the rice if desired, shape the onigiri, and assemble with nori right before serving. This prep method not only saves time but ensures your onigiri are just as delicious as when freshly made!
How to Store and Freeze Spicy Tuna Onigiri
Room Temperature: Store leftover Spicy Tuna Onigiri at room temperature for up to 2 hours; any longer and bacteria may grow, compromising safety.
Fridge: Place the onigiri in an airtight container in the fridge for up to 3 days. Cover with a damp paper towel to prevent drying.
Freezer: For longer storage, wrap each onigiri tightly in plastic wrap, then place in a freezer bag. They can be frozen for up to 1 month.
Reheating: Thaw frozen Spicy Tuna Onigiri in the fridge overnight, then enjoy at room temperature or reheat in the microwave for a quick snack!
Spicy Tuna Onigiri Variations
Get ready to explore the endless possibilities for personalizing your delicious Spicy Tuna Onigiri!
-
Spicy Mayo: Mix together mayonnaise with additional sriracha or another favorite hot sauce for an extra kick. This creamy condiment adds another layer of flavor, making every bite even more indulgent.
-
Vegetarian Twist: Substitute tuna with mashed avocado or seasoned chickpeas. These alternatives provide a creamy texture while still offering a satisfying heartiness, perfect for meatless nights.
-
Crunchy Additions: Toss in diced cucumber or shredded carrots into the filling for an unexpected crunch. This brings a fresh, vibrant element that beautifully contrasts the soft rice and creamy filling.
-
Herby Bliss: Add finely chopped green onions or cilantro to the tuna mixture for a burst of freshness. These herbs will elevate your onigiri with vibrant flavors, brightening the overall taste.
-
Savory Umami Boost: Incorporate a splash of soy sauce or a sprinkle of furikake into the rice mixture. This delightful addition introduces a rich umami taste, transforming each mouthful into a savory delight.
-
Heat Levels: Customize the heat by using different chili sauces like gochujang or chili garlic paste instead of sriracha. This allows you to control the spiciness and tailor it to your palate’s pleasure.
-
Nori Alternatives: Try wrapping with lettuce leaves instead of nori for a fresh twist, ideal for a gluten-free option. This also adds a delightful crunch while keeping the flavor light and refreshing.
-
Rice Varieties: Experiment with brown rice or quinoa for a healthier alternative. Both options add a unique texture while still delivering a satisfying taste, letting you enjoy a nutritious version of this classic dish.
What to Serve with Spicy Tuna Onigiri?
Create the perfect dining experience that brings warmth to the table and delights your taste buds.
-
Miso Soup: This classic pairing adds a comforting, umami-rich flavor that complements the spicy tuna beautifully. The warm broth wraps around each bite, making every mouthful more satisfying.
-
Pickled Vegetables: Crunchy, tangy pickled radishes or cucumbers can brighten up the meal with a refreshing contrast to the spicy onigiri. The acidity cuts through the creaminess and enhances the overall flavor profile.
-
Seaweed Salad: A side of tangy sesame seaweed salad introduces a unique texture and a delightful flavor that pairs perfectly with the tender rice balls. Each bite of onigiri resonates with the ocean, completing the experience.
-
Edamame: Steamed and lightly salted edamame is not just nutritious but also provides a satisfying pop when bitten into. It’s an excellent finger food that evokes a sense of shared enjoyment with your meal.
-
Teriyaki Chicken: Juicy teriyaki chicken introduces a sweet-savory component that harmonizes with the spiciness of the onigiri. It’s a delightful contrast that rounds out your meal beautifully.
-
Japanese Green Tea: The warm, earthy tones of freshly brewed green tea offer a perfect drink to cleanse your palate while enjoying a spicy tuna onigiri. Its subtle flavors enhance the experience, leaving you refreshed.
-
Dessert: Consider a light mango mochi or green tea ice cream for dessert. The sweet and creamy notes provide a pleasant finale that will make your meal memorable.
These pairings will elevate your dining experience, allowing every bite of your spicy tuna onigiri to shine!
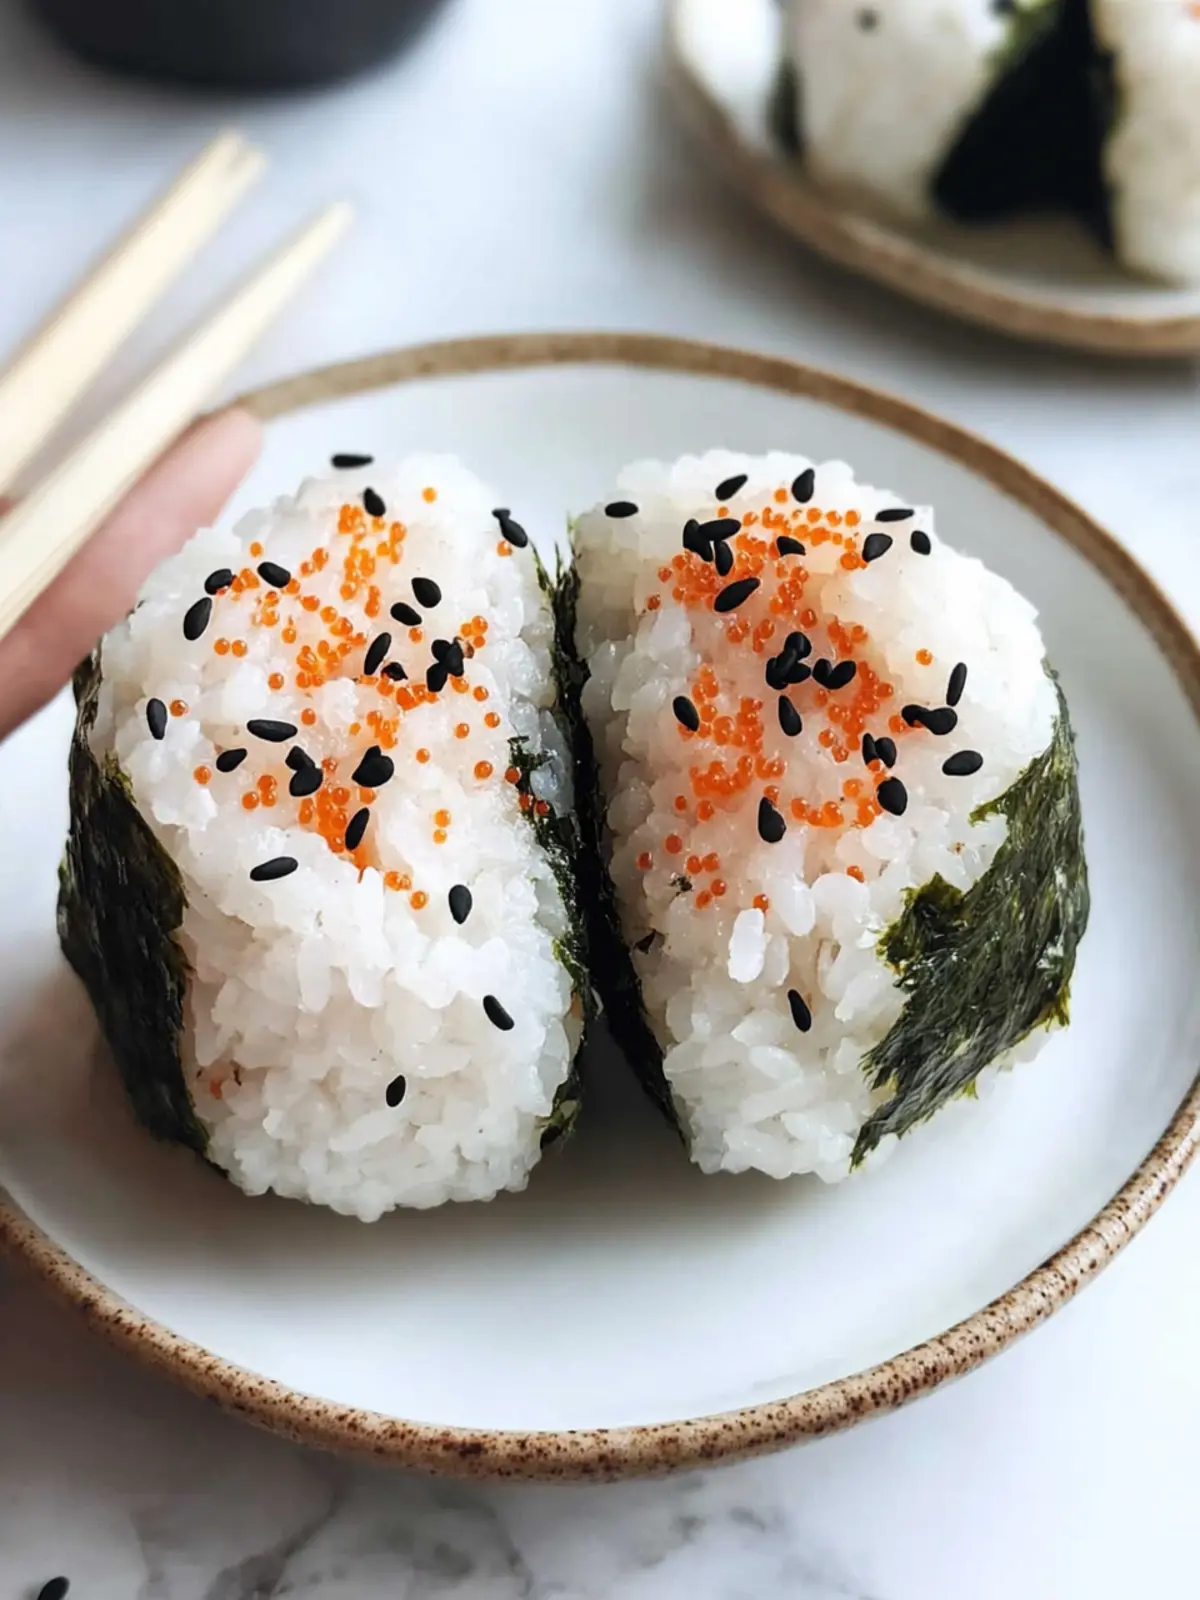
Spicy Tuna Onigiri Recipe FAQs
How do I choose the right rice for making Spicy Tuna Onigiri?
Choosing short-grain rice is essential for Spicy Tuna Onigiri. Its stickiness helps the rice hold together, allowing you to shape it into perfect triangular balls. Look for rice labeled as “sushi rice” or “short grain” in your local grocery store.
How should I store leftover Spicy Tuna Onigiri?
You can store leftover Spicy Tuna Onigiri in the fridge in an airtight container for up to 3 days. I recommend placing a damp paper towel in the container to help maintain moisture and prevent the rice from drying out, ensuring every bite remains delightful!
Can I freeze Spicy Tuna Onigiri for later?
Absolutely! To freeze Spicy Tuna Onigiri, wrap each rice ball tightly in plastic wrap, ensuring no air can get in. Place the wrapped onigiri in a freezer-safe bag or container. They can be frozen for up to 1 month. When ready to enjoy, thaw in the fridge overnight and eat them at room temperature or briefly reheat in the microwave!
What if my rice is too sticky or too dry while making Onigiri?
If your rice is too sticky, it can be challenging to shape the onigiri. Moisten your hands and rice paddle with water to help with the shaping process; this will prevent the rice from sticking to your hands. Conversely, if your rice is too dry, it won’t hold together well—try adding a bit of water and mixing it slightly to achieve the right consistency.
Are there any dietary considerations I should be aware of when making Spicy Tuna Onigiri?
Yes! If you’re serving Spicy Tuna Onigiri to children or individuals with food allergies, ensure they don’t have sensitivities to ingredients such as fish, sesame seeds, or mayonnaise. You could also experiment with alternative fillings, such as diced vegetables or tofu, to create a vegetarian version to share with everyone!
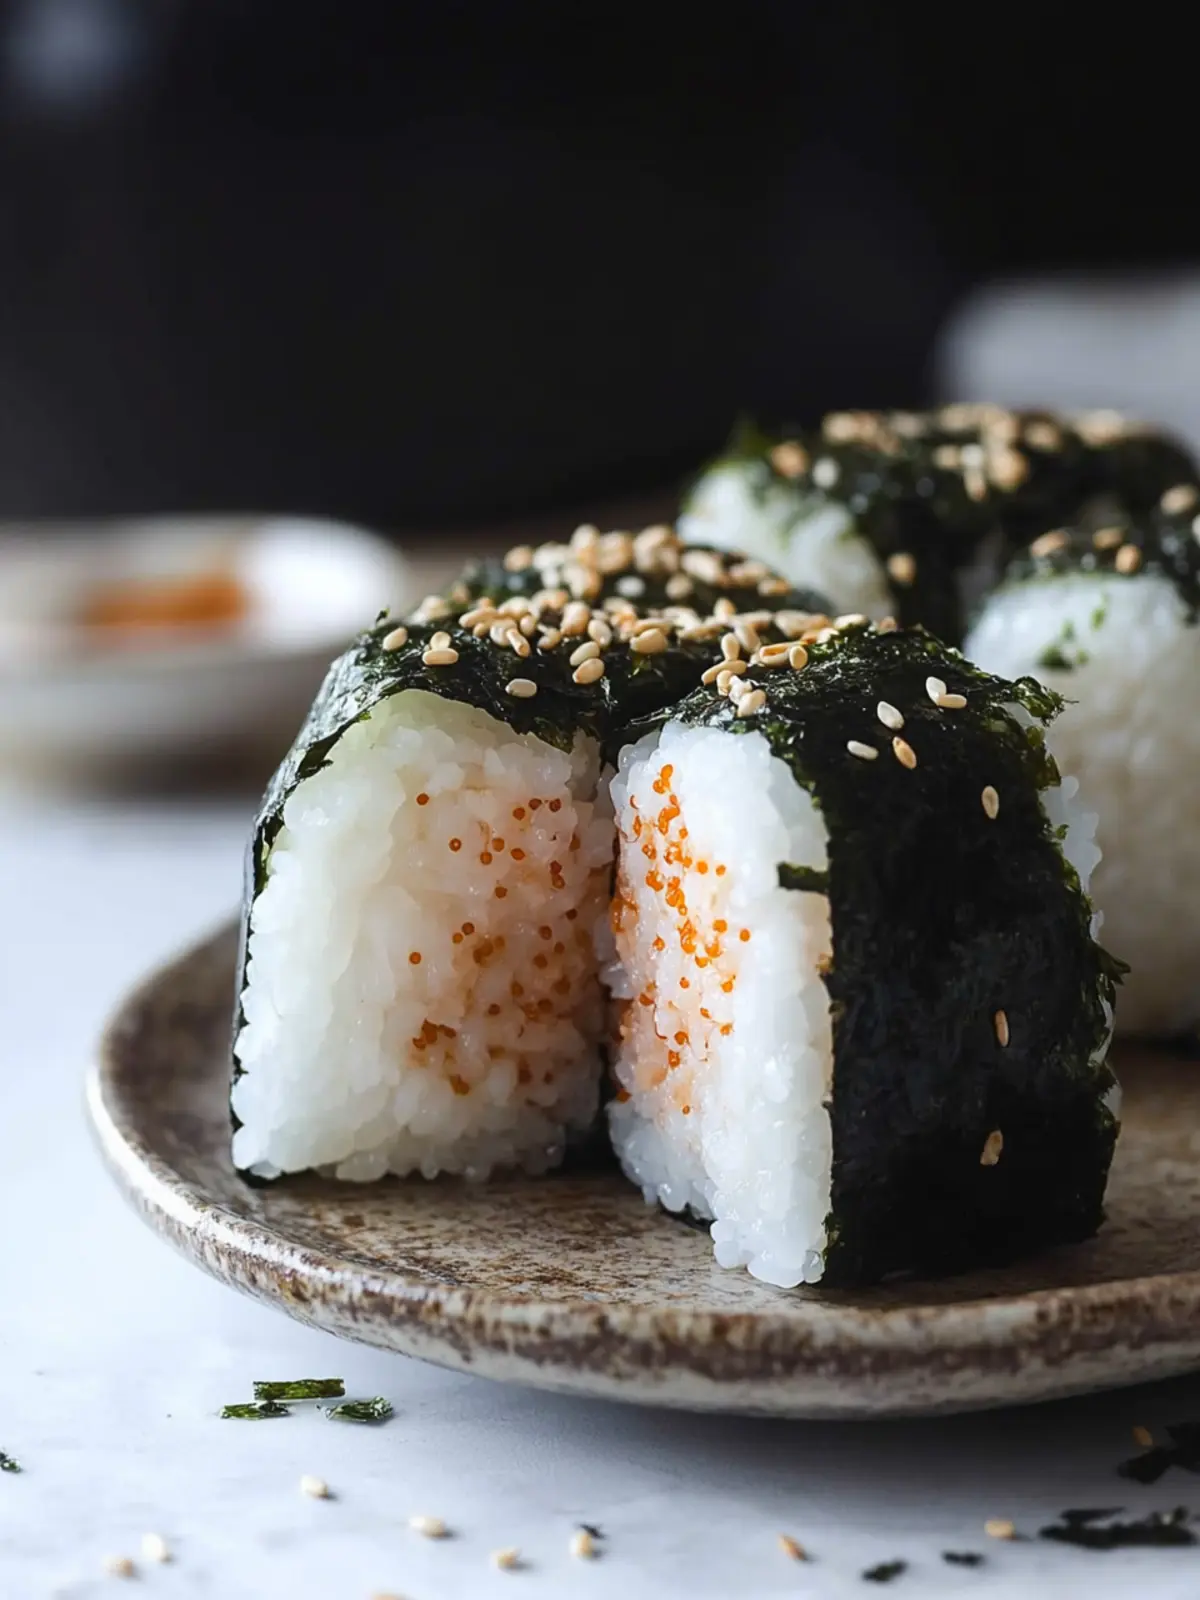
Savory Spicy Tuna Onigiri for Homemade Joy
Ingredients
Equipment
Method
- Transfer freshly cooked or warm rice to a large bowl and season with salt. Mix well until evenly combined, then cover with a lid to keep warm and fluffy.
- Open the canned tuna and strain it of visible liquids. In a small bowl, combine the strained tuna with mayonnaise and sriracha sauce, stirring until well blended. Set aside.
- Spread out a large sheet of plastic wrap on a clean, flat surface. Moisten your rice paddle with water to prevent sticking, then divide the warm rice into four equal portions.
- Scoop one portion of rice into the center of the plastic wrap. Use the back of the spoon to spread it into a circle, about ½-inch thick, ensuring it’s evenly distributed.
- Take one portion of the spicy tuna mixture and scoop it into the center of the flattened rice circle.
- Lift and twist the corners of the plastic wrap to form a circular rice ball while gently pushing the filling into the center. Flatten the rice ball until it's about 1.75 inches thick, shaping it into a triangle.
- Remove one sheet of nori from its packaging, then fold it in half to create a rectangle. Cut at the fold line to create 4 vertical strips, perfect for wrapping.
- Carefully remove the triangle rice ball from the plastic wrap and stick the rough side of a nori strip to the base of the rice ball, starting from the middle down. Garnish with black sesame seeds, and serve fresh!