On a rainy afternoon, the sound of rain tapping against my kitchen window created the perfect backdrop for some baking. I had some dried herbs sitting in my pantry, and the idea of crafting warm, homemade Garlic Herb Bread felt like the ultimate comfort food. In moments like these, cooking becomes an emotional anchor, a way to fill my home with aromas that wrap around me like a cozy blanket.
This bread is not just about taste; it’s an experience that transforms the mundane into something magical. With its golden-brown crust and fluffy interior infused with fragrant garlic and thyme, it’s irresistible fresh out of the oven. Plus, it’s surprisingly simple to make, so it’s perfect for both seasoned chefs and those just beginning their culinary journey.
Whether you’re enjoying it with a warm bowl of soup or as an accompaniment to a family dinner, this Garlic Herb Bread is sure to please everyone at the table. So, roll up your sleeves and let’s get baking!
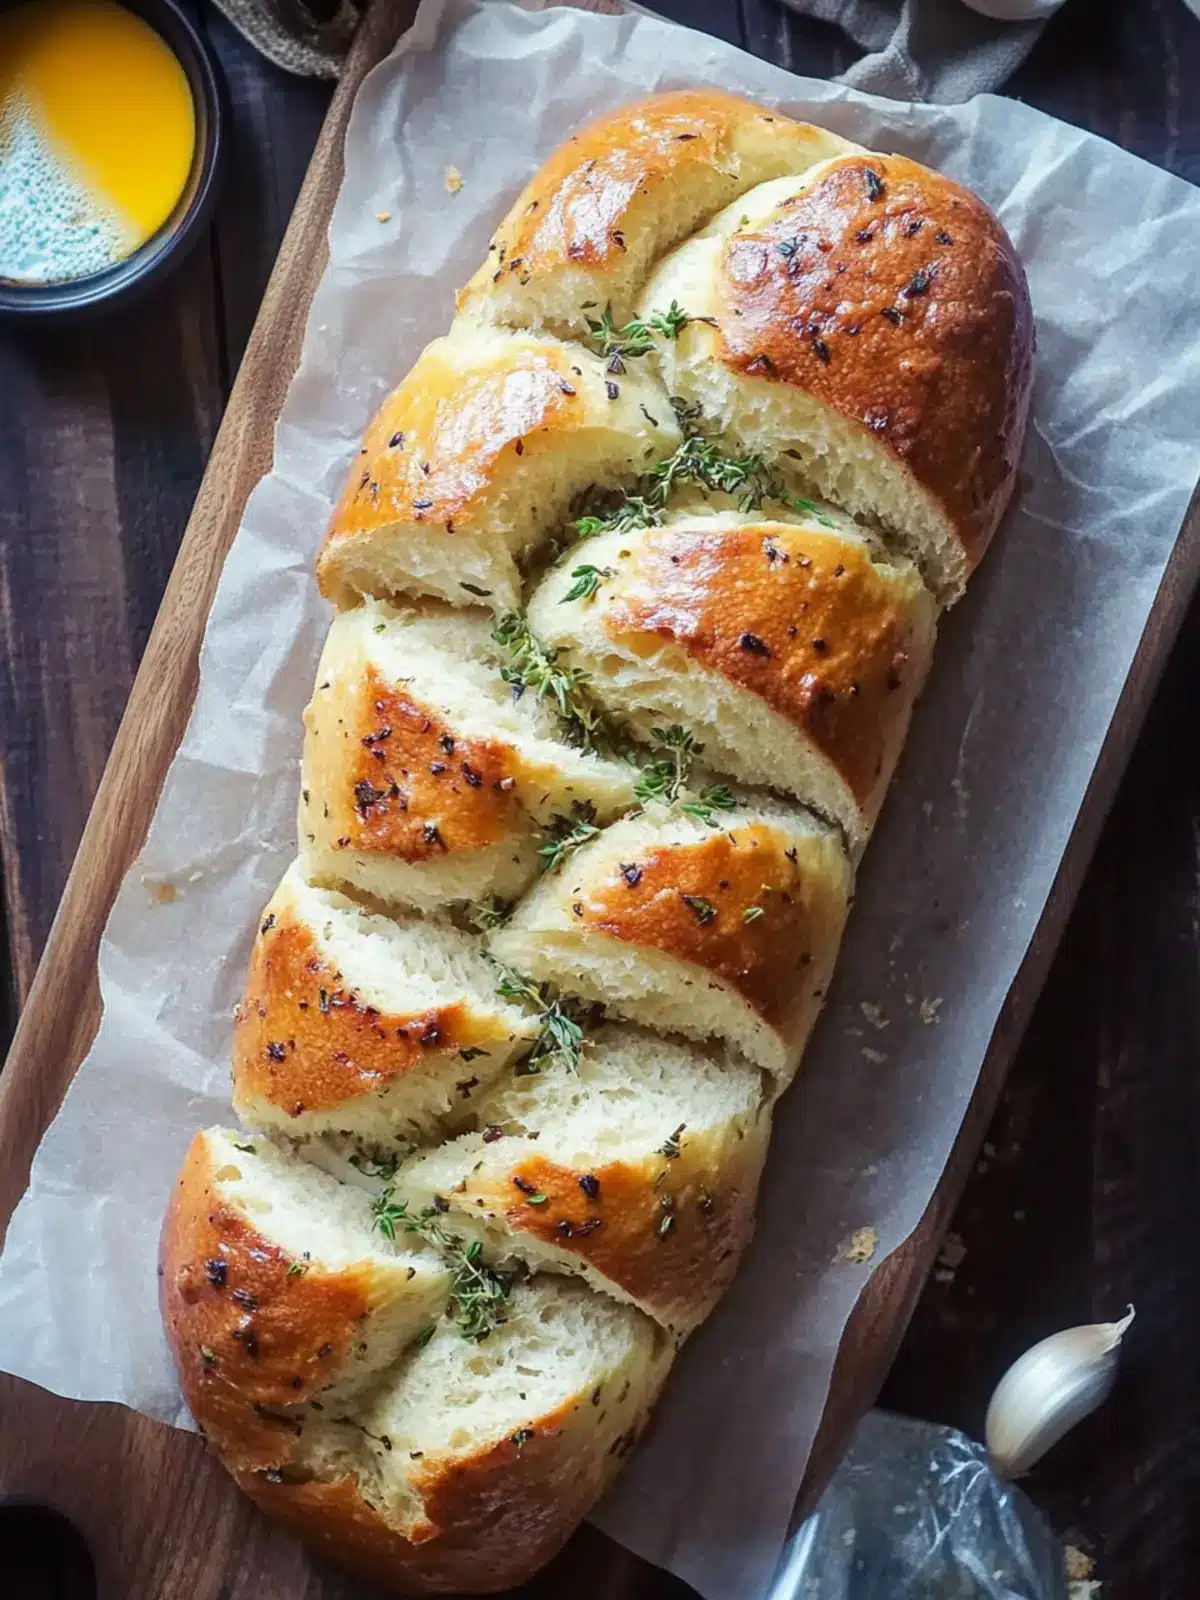
Why is Garlic Herb Bread a must-try?
Irresistible Aroma: The moment you pull this bread from the oven, your kitchen will be filled with a warm, inviting scent that beckons everyone to gather around.
Easy to Make: With simple ingredients and straightforward steps, even novice bakers can master this recipe, making it a fantastic way to boost your cooking confidence.
Versatile Pairing: Whether slathered with butter, enjoyed alongside pasta, or served with soup, this bread elevates any meal, making it a staple for both casual dinners and special occasions.
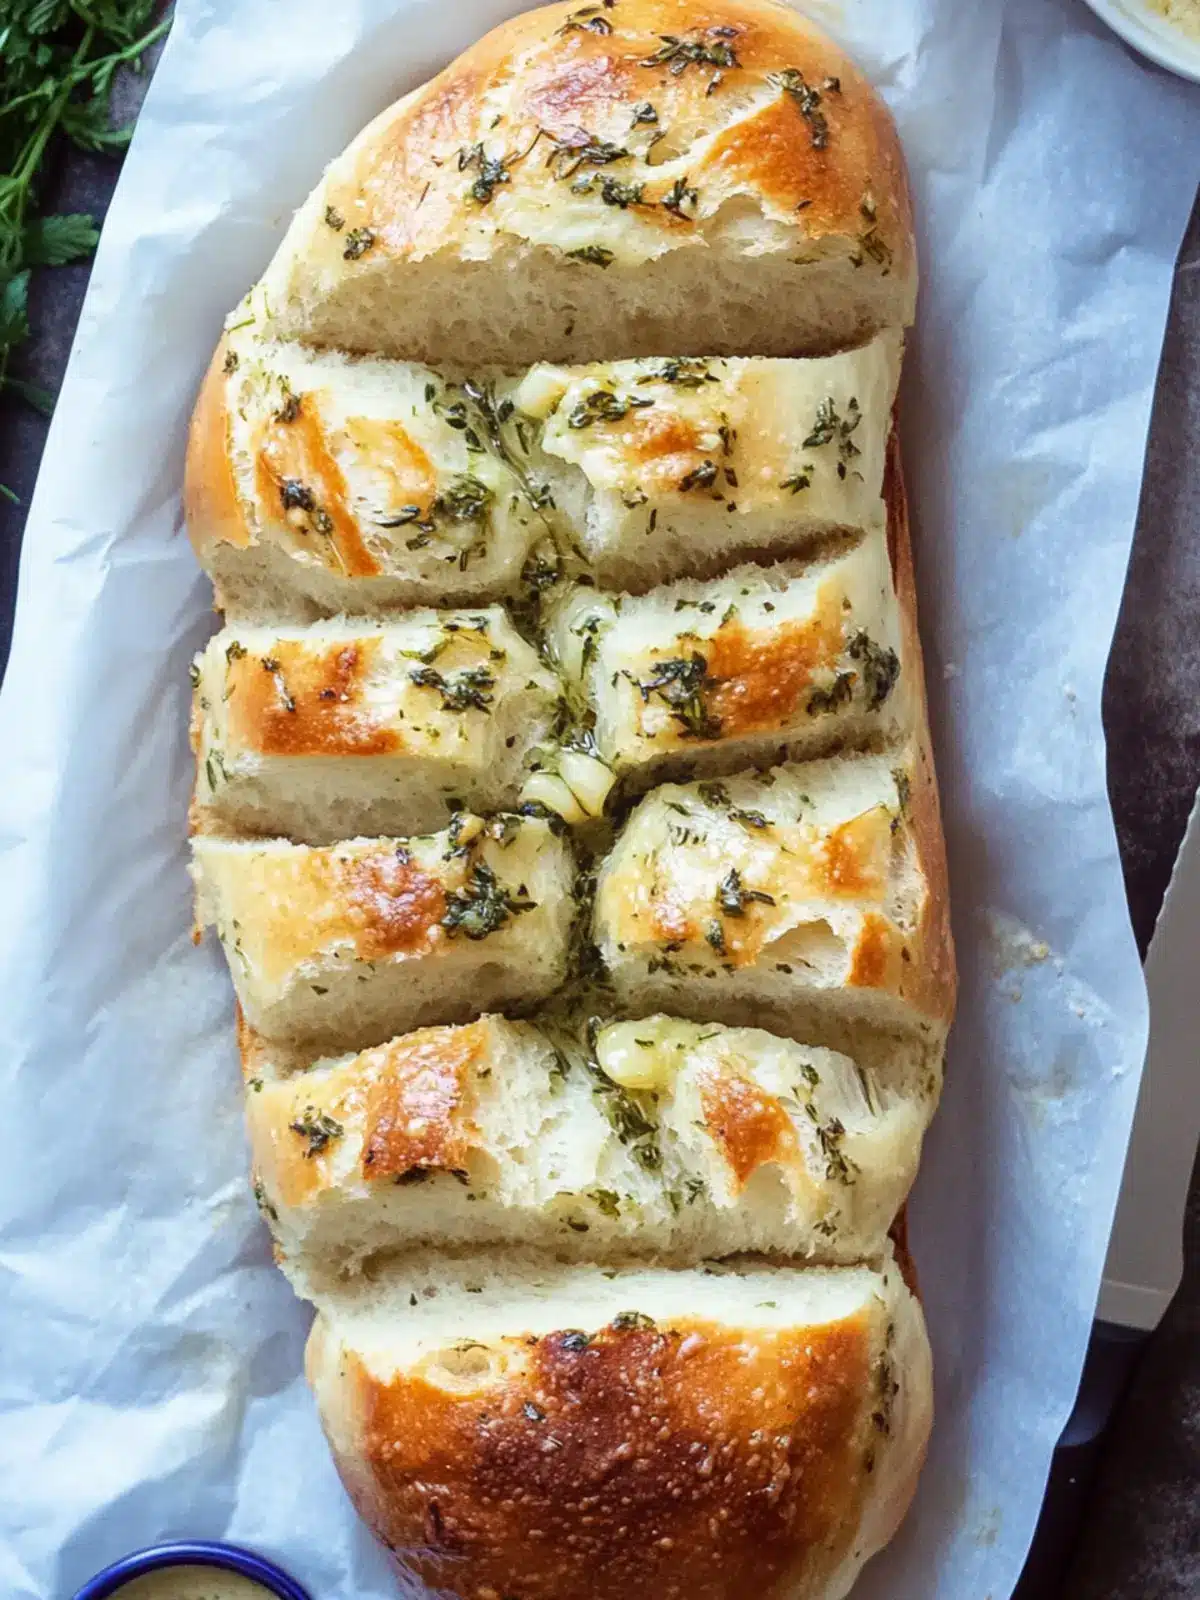
Perfect for Sharing: Cut into generous slices, this bread not only looks beautiful but also invites family and friends to enjoy it together, creating memories around the dining table.
Dive into this delightful experience and savor every bite of your homemade creation!
Garlic Herb Bread Ingredients
• Here’s what you’ll need to create your flavorful masterpiece.
For the Dough
• All-purpose flour – 4 to 4 1/2 cups give the bread its structure and chewy texture.
• Sugar – 3 tbsp to enhance the flavor and help with yeast activation.
• Active dry yeast – 2 packs (4 and 1/2 tsp) to ensure your Garlic Herb Bread rises beautifully.
• Dried basil – 2 tsp for a fragrant herbal note that complements the garlic.
• Dried rosemary – 3/4 tsp adds a pine-like flavor that elevates the bread’s aroma.
• Garlic powder – 3/4 tsp to infuse the bread with rich garlic flavor even before it bakes.
• Salt – 1 1/2 tsp to enhance all the flavors and strengthen the dough.
• Milk – 3/4 cup for a richer taste and tender crumb.
• Water – 1/2 cup helps adjust the dough’s hydration for the perfect texture.
• Butter – 1/4 cup, cubed for a rich flavor and soft crumb.
• Large egg – 1 for binding all ingredients together and adding moisture.
• Melted butter – 1 tbsp for brushing on top for a golden finish and added flavor.
Embrace your baking journey with this Garlic Herb Bread—every bite is a step into culinary bliss!
How to Make Garlic Herb Bread
-
Combine Ingredients: In a large mixing bowl, whisk together 1 and 1/2 cups of flour, sugar, yeast, and the herbs and seasonings until well blended. This is the delightful foundation that will rise to the occasion!
-
Heat Liquid: In a small saucepan, gently heat the milk, water, and cubed butter until it reaches 120°F. This perfect warmth is essential for activating the yeast—too hot, and it can kill it!
-
Mix Wet and Dry: Pour the warm liquid into the bowl with dry ingredients and mix using a wooden spoon until everything is moistened and starts to come together. You’ll be creating a lovely, fragrant dough!
-
Add Egg: Stir in the large egg and continue mixing until the dough achieves a smooth consistency, allowing the flavors to meld and the dough to gain that beautiful shine.
-
Incorporate More Flour: Gradually add the remaining flour, stirring in just enough to form a soft dough that pulls away from the bowl’s sides. It should feel sticky but manageable!
-
Knead Dough: On a floured surface, knead the dough for about 4-6 minutes until smooth and elastic. You should be able to stretch it thinly—this is where the magic begins!
-
Rest Dough: Allow the dough to rest for about 10 minutes. This short break will help develop its gluten, making it easier to shape later.
-
Divide Dough: After resting, divide the dough into three equal portions. This will help you shape each piece into a delightful braid for a beautiful finish.
-
Shape Ropes: Roll each portion into a 15-inch rope on a floured surface. Each rope should feel pliable and soft, ready to be braided together in harmony.
-
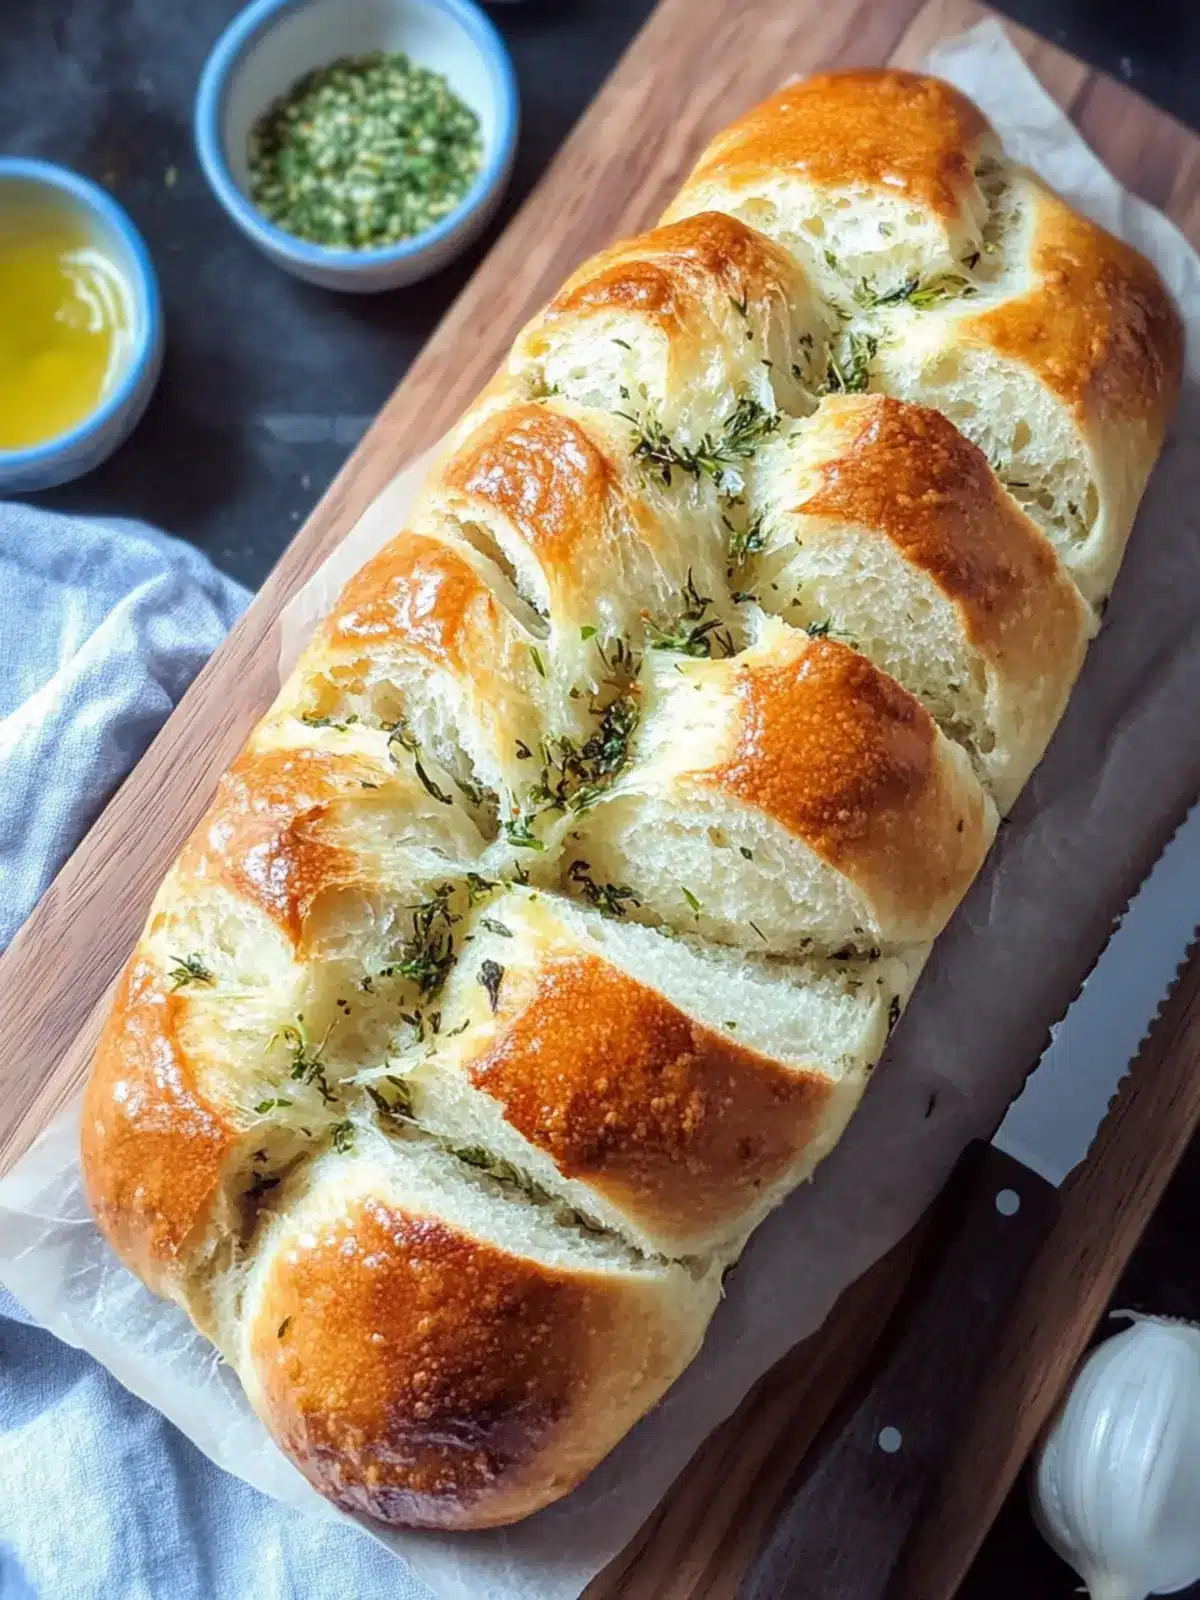
Braid Ropes: Place the ropes on a parchment-lined baking sheet and braid them together gently. This step creates the lovely visual appeal of your Garlic Herb Bread!
-
Let Rise: Tuck the ends under and cover the braid with plastic wrap. Allow it to rise for 25 minutes until it’s doubled in size—watch the magic happen!
-
Preheat Oven: While the dough rises, preheat your oven to 375°F, setting the stage for baking your lovely creation.
-
Bake Bread: Bake the braided bread for 20-25 minutes, or until it’s a beautiful golden brown that will make your mouth water. This is the moment to shine!
-
Brush with Butter: Once baked, remove it from the oven and brush with melted butter for that extra glistening finish. Enjoy the aroma filling your home!
Optional: Serve warm with a side of olive oil for dipping.
Exact quantities are listed in the recipe card below.
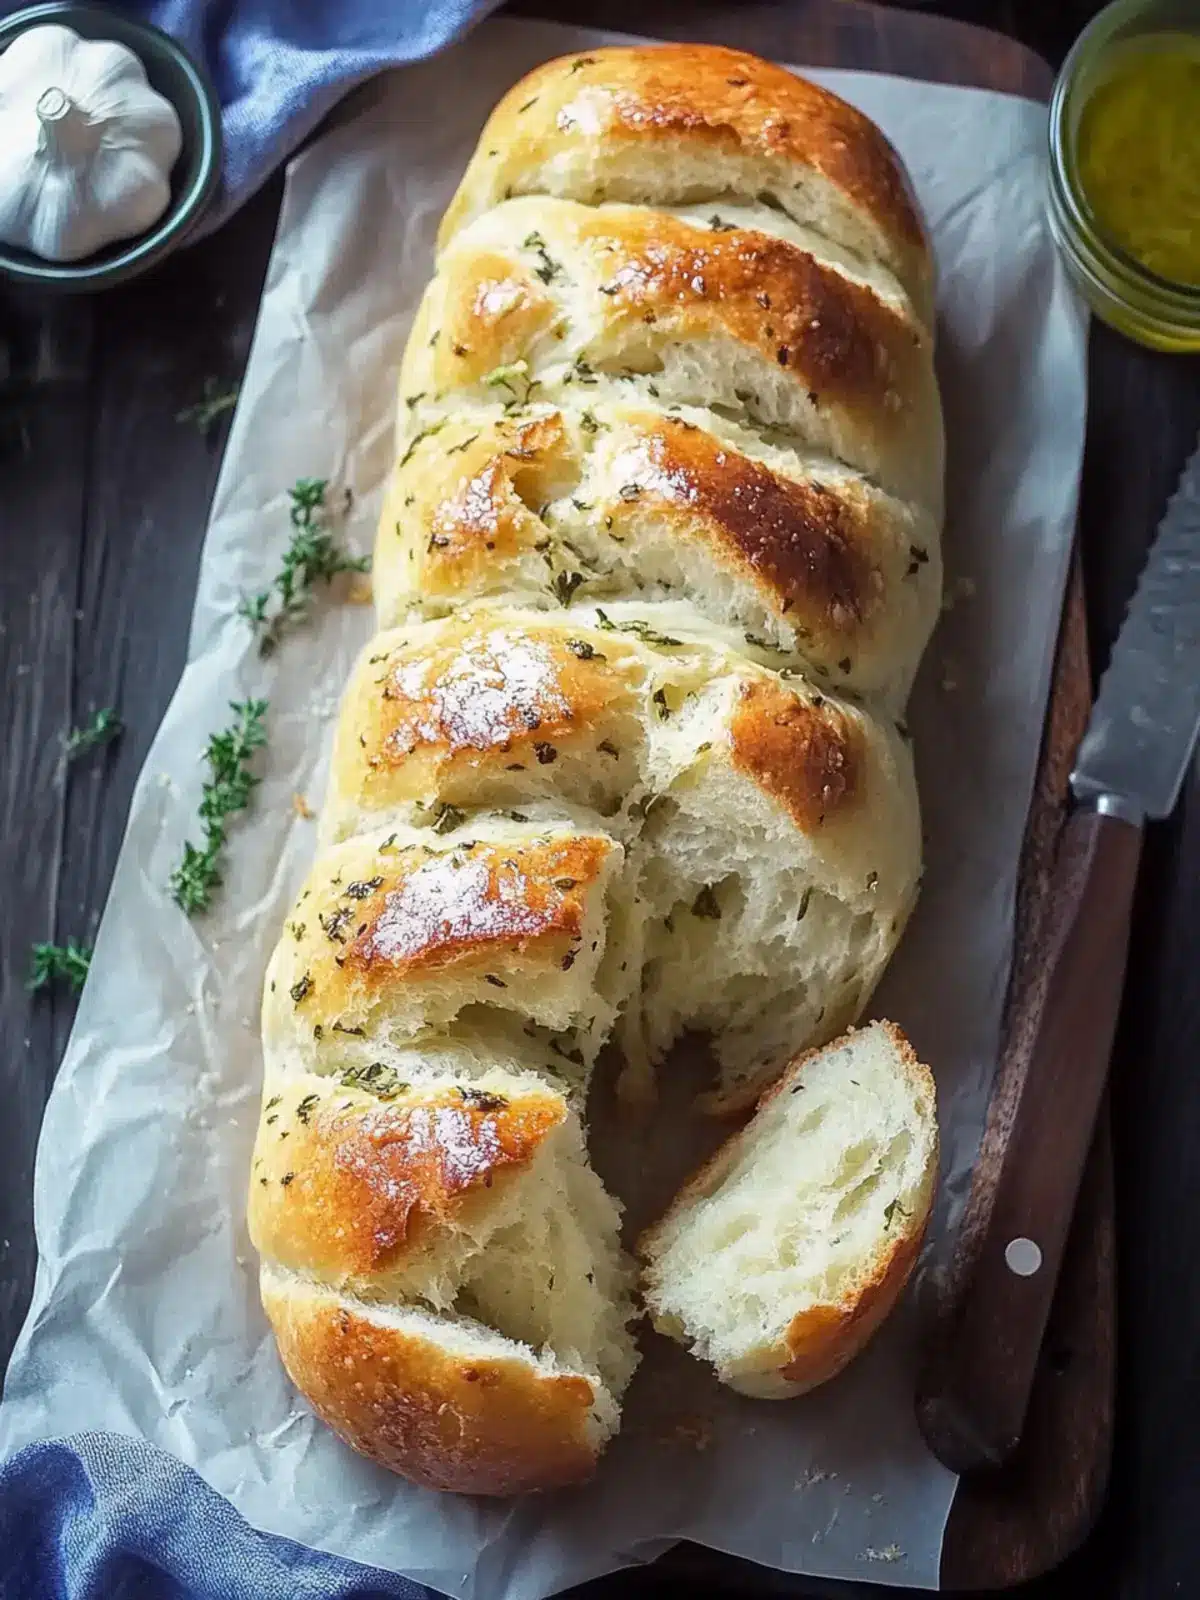
Make Ahead Options
These Garlic Herb Bread ropes are perfect for meal prep enthusiasts! You can prepare the bread dough up to 24 hours in advance. Simply follow the recipe until shaping the braids, then cover them tightly with plastic wrap or foil, and refrigerate. This slow rise not only enhances flavor but ensures the bread stays just as delicious when baked. When you’re ready to bake, let the dough sit at room temperature for about 30 minutes before preheating your oven to 375°F, then continue with the baking instructions. This method saves time and brings fresh, warm bread to your table with minimal effort, perfect for busy weeknights!
Expert Tips for Garlic Herb Bread
-
Perfect Dough Temperature: Always ensure your liquid mixture reaches 120°F before adding to the dry ingredients. Too hot can kill the yeast, leading to flat bread.
-
Knead with Care: Kneading for 4-6 minutes helps develop gluten, giving your Garlic Herb Bread a soft and airy texture. Don’t rush through this vital step!
-
Watch the Rise: Allow the dough to rise until it’s doubled in size. Patience is key here—rushing can result in denser bread that lacks that lovely fluffiness.
-
Braiding Technique: When braiding, ensure the ropes are evenly sized for a beautiful appearance and even baking. Uneven thickness leads to uneven cooking!
-
Brushing Butter: For that irresistible golden crust, don’t skip brushing melted butter on top right after baking. It adds flavor and an attractive sheen to your bread.
-
Storage Secrets: Keep the Garlic Herb Bread wrapped in plastic as it cools to retain moisture. Enjoy within a couple of days for the best taste and texture!
How to Store and Freeze Garlic Herb Bread
Room Temperature: Keep your Garlic Herb Bread wrapped in plastic wrap or stored in an airtight container for up to 3 days. This will help maintain its freshness and soft texture.
Fridge: If you live in a humid environment, consider storing it in the fridge, where it can last about a week. Make sure it’s wrapped tightly to prevent it from drying out.
Freezer: To freeze, slice the bread and wrap it tightly in plastic wrap, followed by aluminum foil for up to 3 months. This makes it easy to enjoy just what you need later on!
Reheating: When ready to enjoy, simply thaw overnight in the fridge, then warm the slices in the oven at 350°F for about 10 minutes to regain that delightful freshness.
What to Serve with Garlic Herb Bread?
Warm, fragrant Garlic Herb Bread is the perfect centerpiece to any meal, inviting heartwarming flavors and delightful combinations to your table.
-
Creamy Tomato Soup: The tangy richness of tomato soup pairs beautifully with the fluffy, garlicky notes of the bread, creating a classic comfort dish.
-
Mixed Green Salad: A fresh salad with crisp greens and a zesty vinaigrette complements the bread with a burst of brightness, balancing rich flavors.
-
Savory Pasta Dishes: From creamy Alfredo to a hearty Bolognese, the bread’s light texture is wonderful for soaking up delicious sauces, enhancing every bite.
-
Herb-Infused Olive Oil: Drizzle a quality olive oil infused with herbs beside your warm bread, offering a fragrant dip that enhances its savory flavors.
-
Cheese Platter: Add a selection of cheeses, from sharp cheddar to creamy Brie, for a delightful snacking experience that pairs well with the bread’s herbaceous notes.
-
Roasted Vegetables: The warmth of roasted veggies, seasoned to perfection, brings out a depth of flavor that harmonizes beautifully with your Garlic Herb Bread.
-
Homemade Pesto: A fresh basil pesto to spread on slices elevates each bite. The adding of nutty and aromatic elements creates a taste sensation.
-
Chardonnay or Merlot: A glass of white or red wine provides a refreshing complement to the herb-infused bread, enhancing your mealtime experience with every sip.
-
Dessert Option: Follow this delightful bread with a light lemon sorbet for a refreshing palate cleanser that leaves a sweet zing after heartier flavors.
Celebrating a beautifully baked Garlic Herb Bread has never been so enjoyable!
Garlic Herb Bread Variations
Feel free to play around with this delightful recipe and make it truly your own with these tasty twists!
-
Gluten-Free: Substitute all-purpose flour with a gluten-free blend for a tender, flavorful alternative that everyone can enjoy.
-
Cheesy Delight: Add 1 cup of shredded cheese, like mozzarella or cheddar, to the dough for an ooey-gooey, savory twist that melts beautifully.
-
Herb Explosion: Use fresh herbs instead of dried ones; try a mix of parsley, thyme, and chives for a vibrant flavor profile.
-
Spicy Kick: Mix in a teaspoon of red pepper flakes or chopped jalapeños for an exciting heat that adds depth to the garlic flavor.
-
Sweet Surprise: For a slightly sweeter bread, add 1/2 cup of chopped sun-dried tomatoes to the dough for a burst of sweetness and color.
-
Nutty Crunch: Include a 1/2 cup of chopped nuts like walnuts or pecans. They provide a satisfying crunch along with a rich flavor.
-
Infused Oils: Instead of using plain butter, brush the bread with garlic or herb-infused oil for an extra layer of flavor that enhances the overall taste.
-
Savory Toppings: Before baking, sprinkle the braided dough with a mix of coarse sea salt and garlic powder for an irresistible, crunchy top.
These variations will keep your Garlic Herb Bread exciting and original each time you bake it!
Garlic Herb Bread Recipe FAQs
How do I select the right herbs for Garlic Herb Bread?
Absolutely! Fresh herbs bring a vibrant flavor, but if you’re using dried herbs, they should be aromatic and not have dark spots all over. Aim for fragrant and flavorful dried basil and rosemary—this will lift the bread wonderfully!
How should I store Garlic Herb Bread?
You can store your Garlic Herb Bread at room temperature for up to 3 days. Wrap it tightly in plastic wrap or place it in an airtight container to keep it fresh. If you’re in a particularly humid area, it’s best to refrigerate it, where it can last about a week.
Can I freeze Garlic Herb Bread?
Yes, freezing is a great option! Slice the bread before freezing, then wrap each slice tightly in plastic wrap followed by aluminum foil for up to 3 months. This helps preserve its delightful texture. When you’re ready to enjoy, thaw overnight in the fridge, then reheat at 350°F for about 10 minutes for a fresh-out-of-the-oven taste.
What should I do if my dough doesn’t rise?
Very! If your dough doesn’t rise, it could be that the liquid was too hot and killed the yeast. Make sure the liquid is warm (120°F is ideal) before making your mixture. If it still doesn’t rise, check your yeast’s expiration date; using fresh yeast is key for fluffy bread!
Is Garlic Herb Bread safe for people with gluten intolerance?
While this Garlic Herb Bread is not gluten-free, you can substitute with gluten-free all-purpose flour to make a gluten-free version. Just ensure you also use a gluten-free yeast to maintain the bread’s texture and rise.
Can pets eat Garlic Herb Bread?
It’s best to keep Garlic Herb Bread away from pets, particularly due to the garlic, which can be harmful to dogs. If you’d like to share some bread, opt for plain bread without any additional flavorings!
Irresistibly Soft Garlic Herb Bread You Can’t Resist
Ingredients
Equipment
Method
- In a large mixing bowl, whisk together 1 and 1/2 cups of flour, sugar, yeast, and the herbs and seasonings until well blended.
- In a small saucepan, gently heat the milk, water, and cubed butter until it reaches 120°F.
- Pour the warm liquid into the bowl with dry ingredients and mix using a wooden spoon until everything is moistened and starts to come together.
- Stir in the large egg and continue mixing until the dough achieves a smooth consistency.
- Gradually add the remaining flour, stirring in just enough to form a soft dough that pulls away from the bowl's sides.
- On a floured surface, knead the dough for about 4-6 minutes until smooth and elastic.
- Allow the dough to rest for about 10 minutes.
- After resting, divide the dough into three equal portions.
- Roll each portion into a 15-inch rope on a floured surface.
- Place the ropes on a parchment-lined baking sheet and braid them together gently.
- Tuck the ends under and cover the braid with plastic wrap. Allow it to rise for 25 minutes.
- While the dough rises, preheat your oven to 375°F.
- Bake the braided bread for 20-25 minutes, or until it's a beautiful golden brown.
- Once baked, remove it from the oven and brush with melted butter.