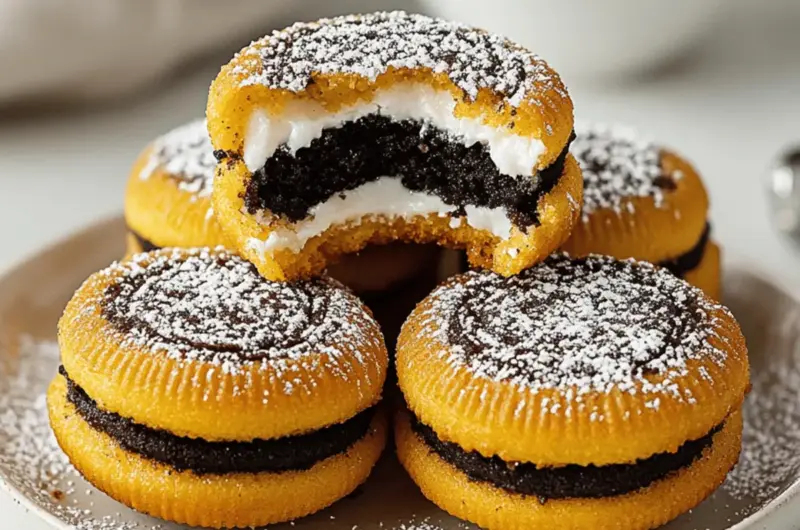
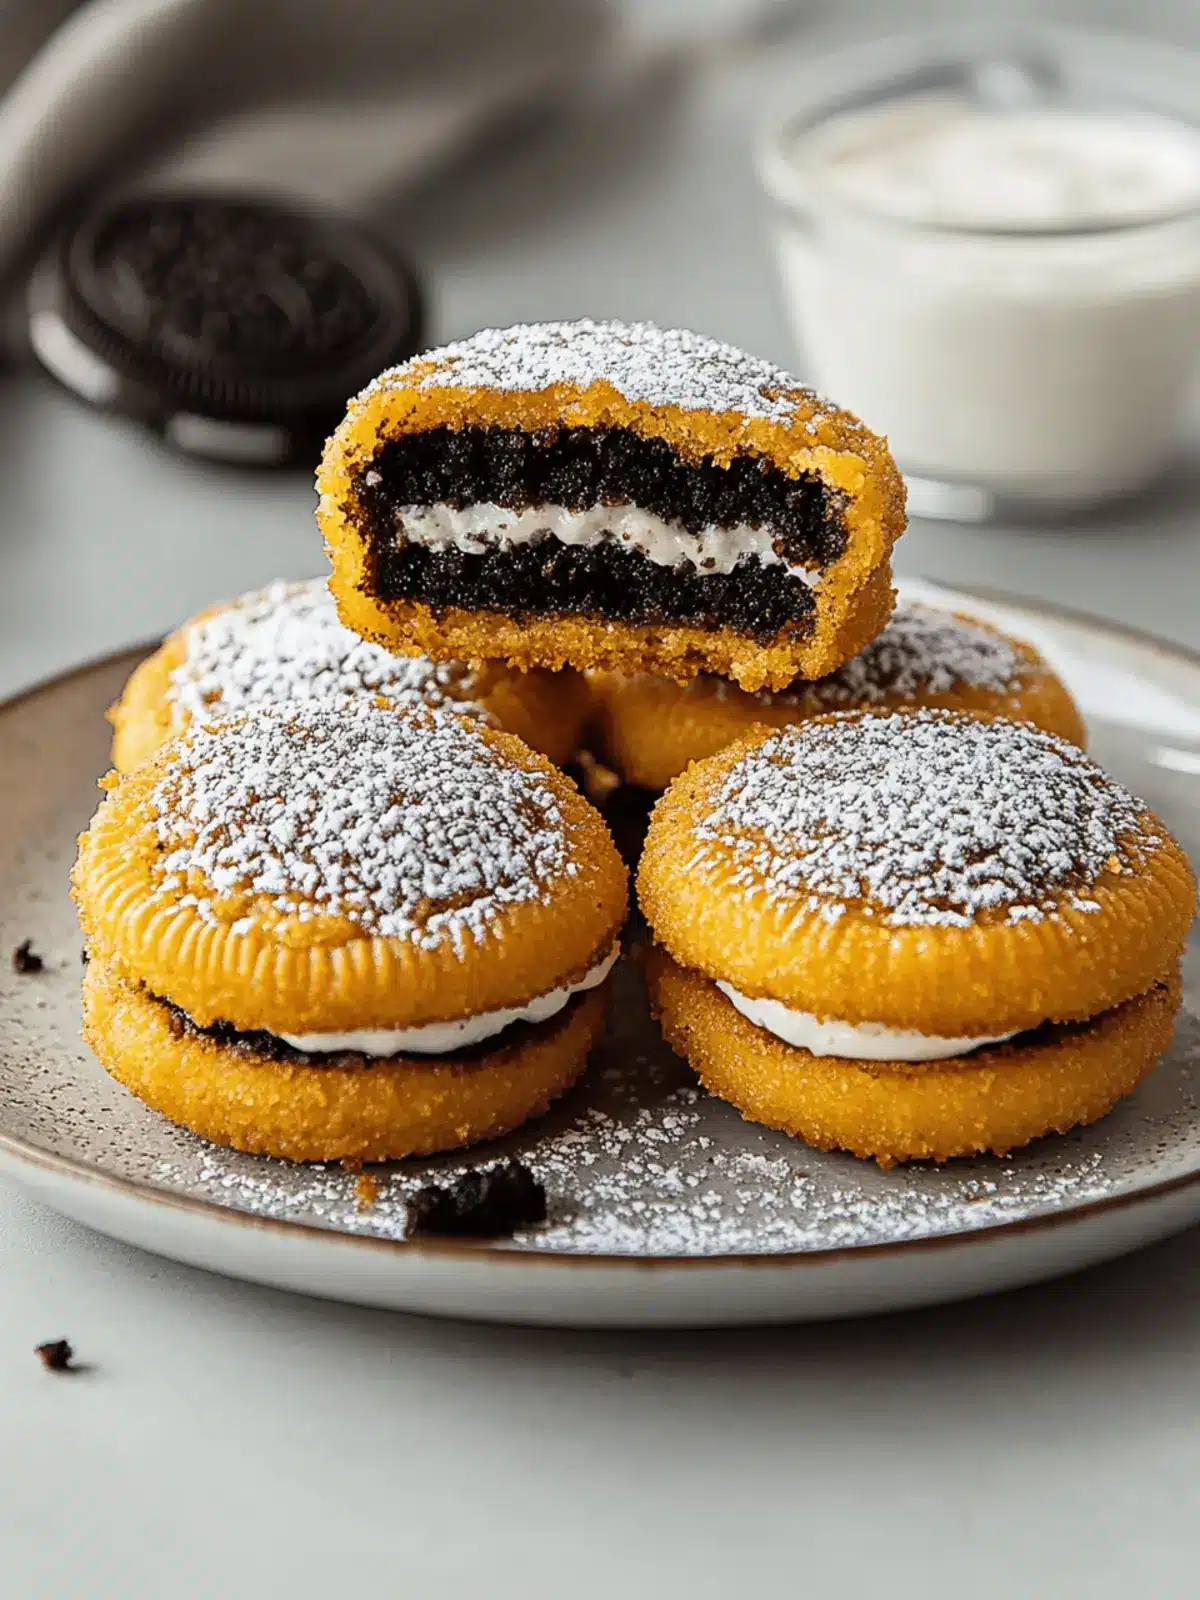
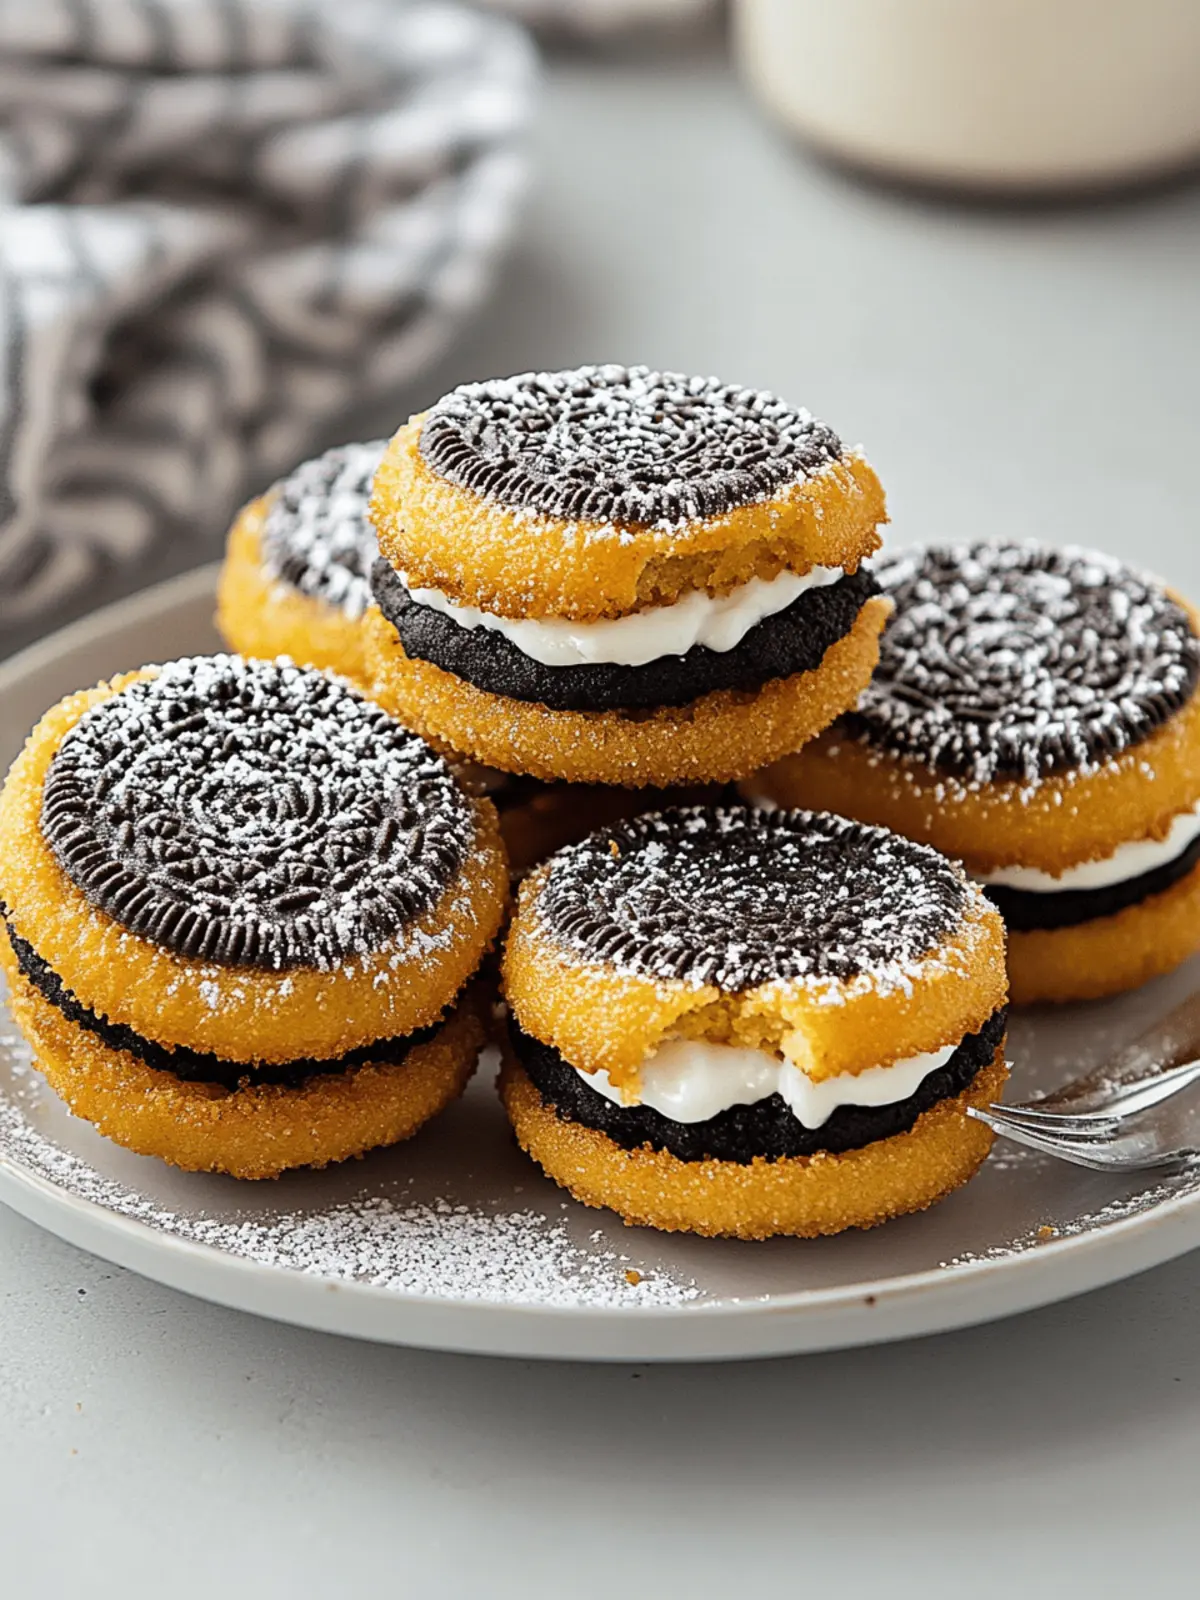
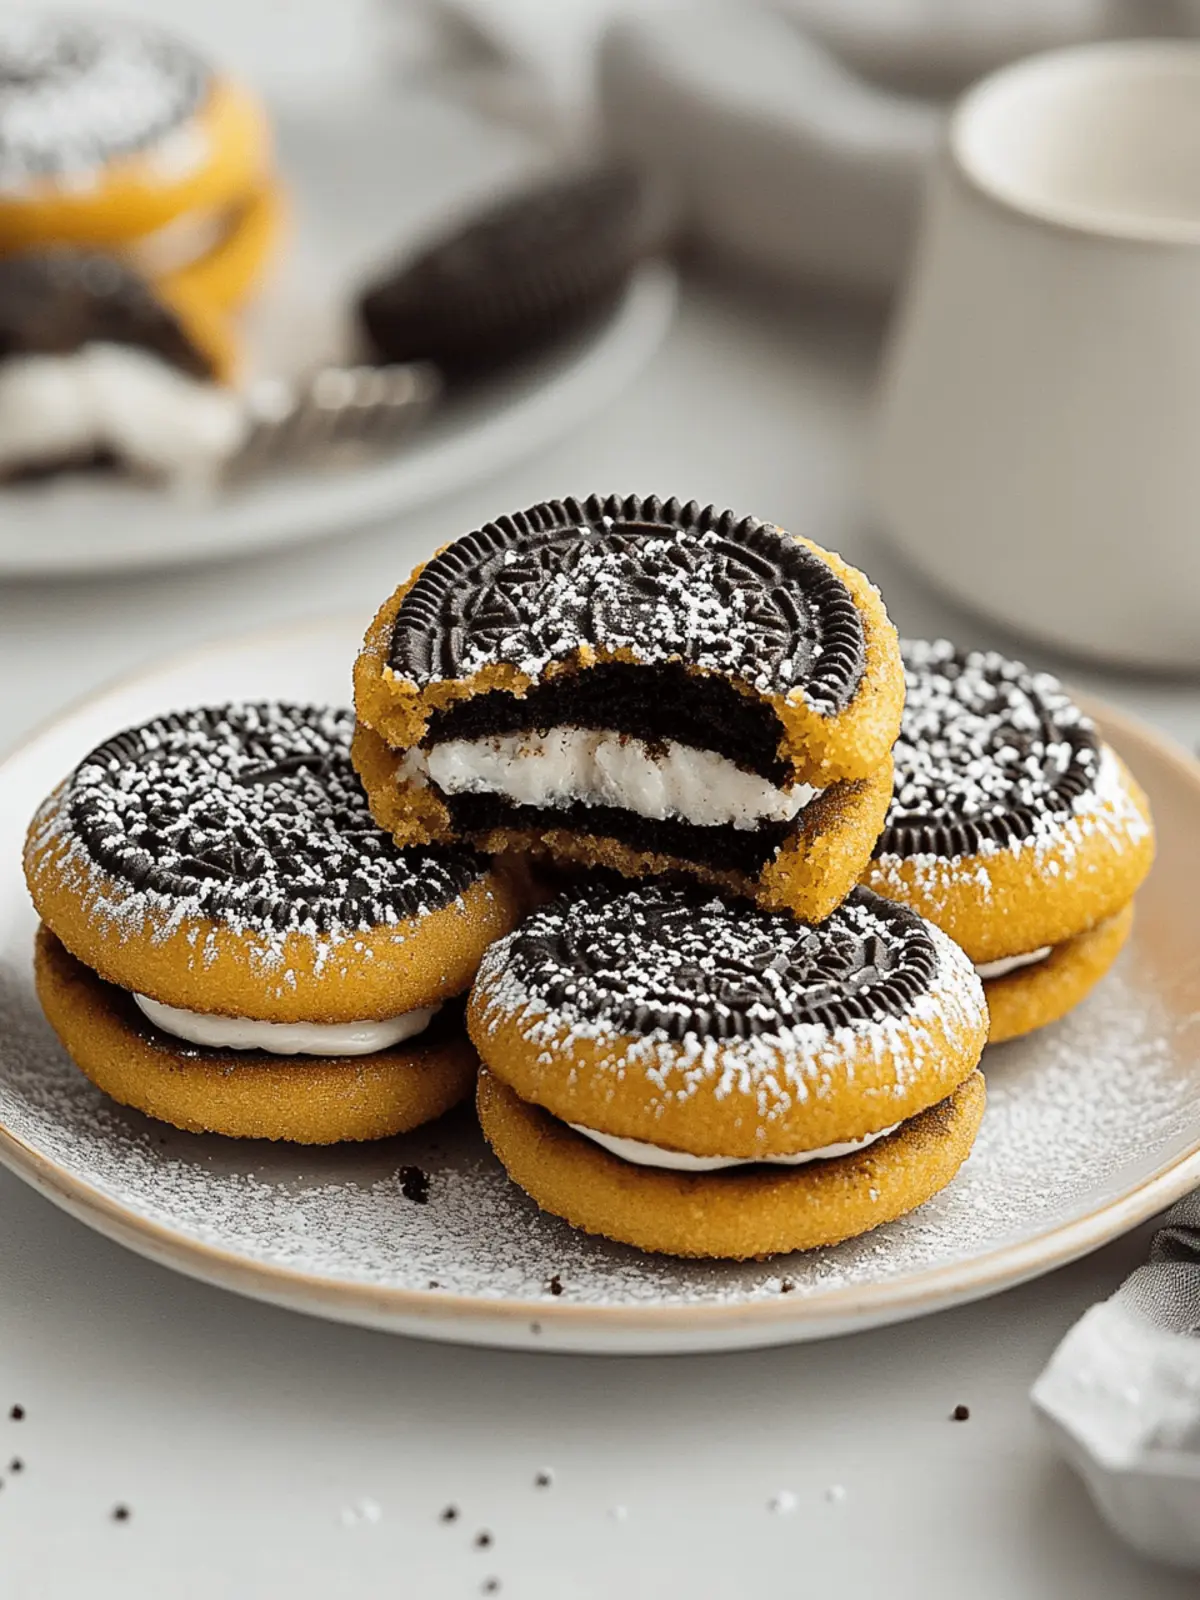
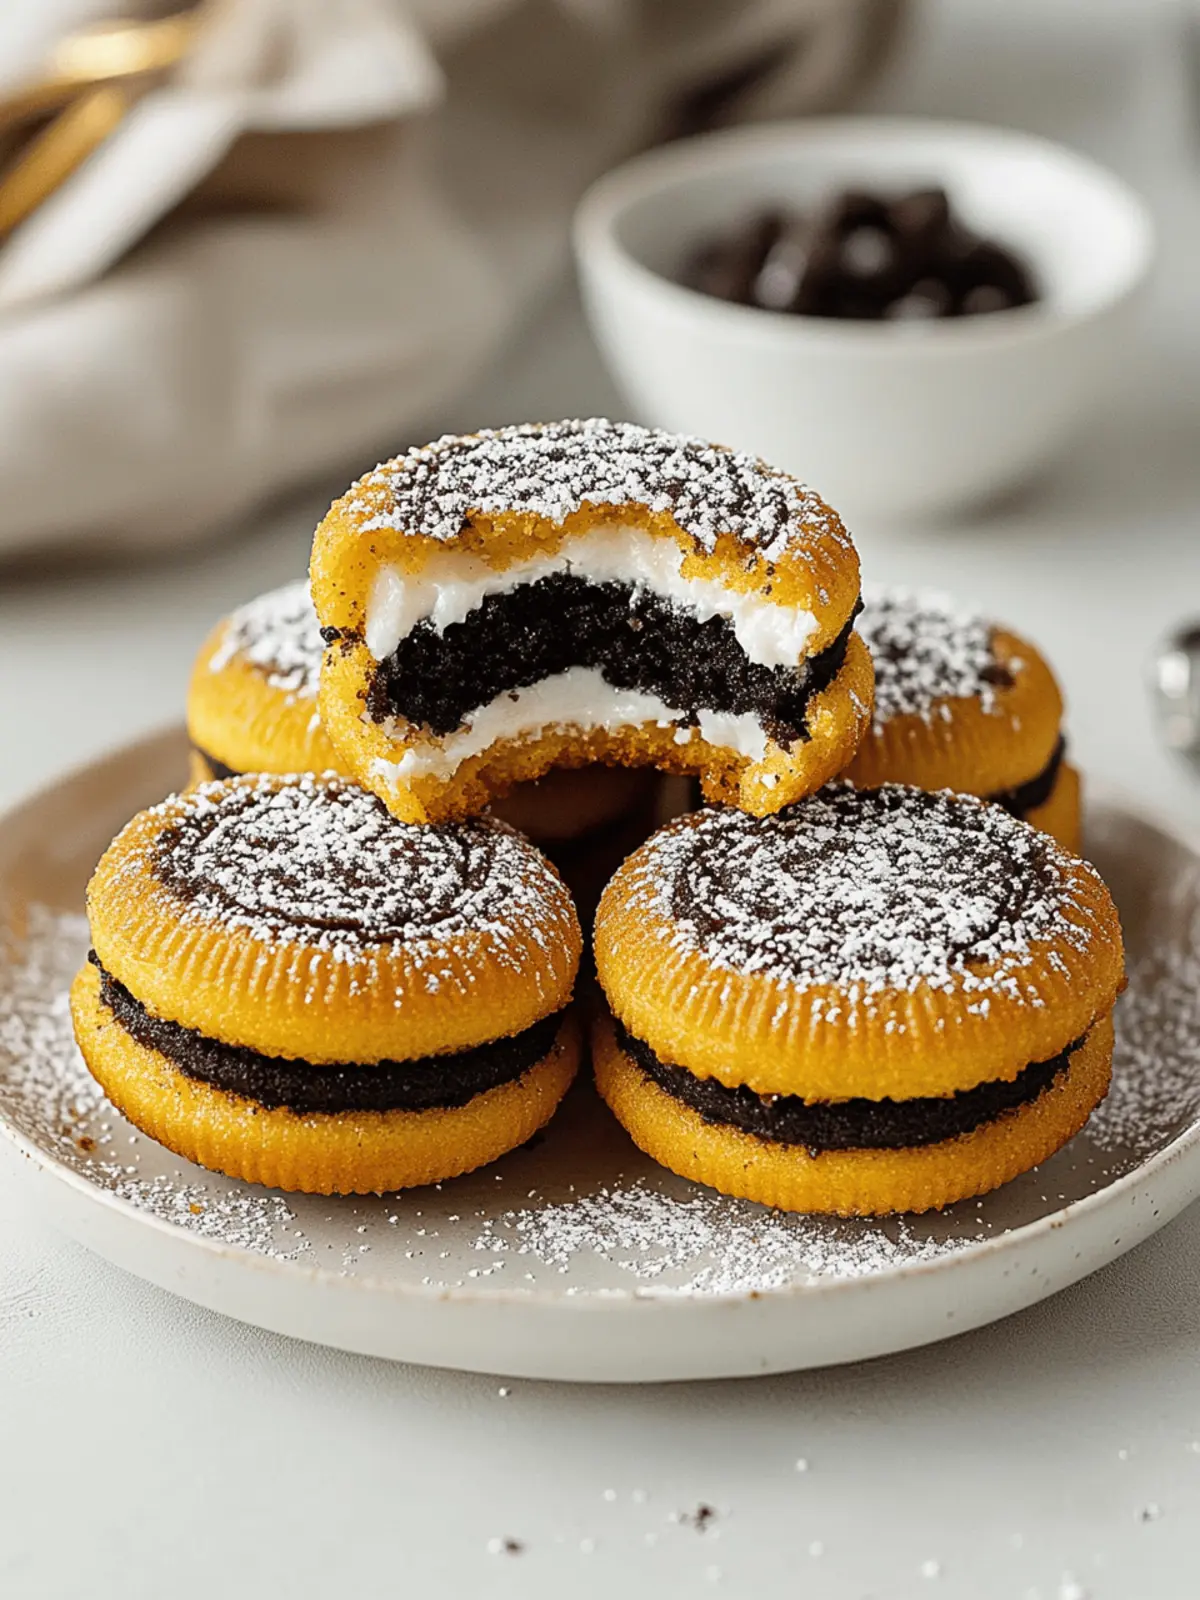
There’s a unique joy that comes from transforming simple ingredients into something truly indulgent. Just the thought of biting into a warm, crispy batter surrounding a gooey, melty Oreo makes my heart race with excitement. Picture this: the sounds of laughter and chatter in your kitchen, the irresistible aroma wafting through the air, as you prepare to serve up the ultimate fair food classic—Deep-Fried Oreos. Whether for a cozy family movie night or an impromptu get-together with friends, this easy recipe delivers a delightful, nostalgic treat that’s sure to impress. Plus, you can whip it up in no time, turning your cravings into a delicious reality. Let’s dive into this indulgent dessert that will elevate any occasion!
Why are Deep-Fried Oreos so irresistible?
Indulgence at its finest: These Deep-Fried Oreos bring a taste of the fair right to your home, creating that nostalgic bliss we all crave. Crispy and warm: The batter envelops each Oreo, turning them into a delightful treat perfect for sharing. Quick and easy: This recipe requires minimal effort, making it a go-to for busy days or surprise guests. Plus, customizable: Feel free to experiment with different Oreo flavors or toppings to make this treat your own. With just a few ingredients, you can create an unforgettable dessert that everyone will love!
Deep-Fried Oreos Ingredients
For the Batter
- Oreo Cookies – The star of the show, choose between Regular or Double Stuf for a delightful treat.
- All-Purpose Flour – Essential for structure in the batter; you can use gluten-free flour for a tasty alternative.
- Granulated Sugar – Sweetness is key, and this ingredient provides just the right amount.
- Baking Powder – Vital for that fluffy texture; make sure it’s fresh for optimal results.
- Salt – A pinch balances the sweetness; keep it minimal to maintain the perfect flavor.
- Large Egg – Binds the ingredients and adds to the batter’s consistency; a flax egg works as a vegan substitute.
- Milk – Adjusts the batter’s thickness; use dairy or non-dairy options to suit your preference.
- Pure Vanilla Extract – Enhances flavor; it’s optional, but I highly recommend it for that extra depth.
For Frying
- Vegetable Oil – Essential for frying; canola or peanut oil works great for that perfect crisp.
For Serving
- Powdered Sugar – Dust these beauties before serving for a sweet finish and visual appeal; it makes a world of difference in presentation!
Dive into making your Deep-Fried Oreos with this friendly and simple ingredient list, and delight your family and friends with an indulgent dessert that feels just like being at the fair!
How to Make Deep-Fried Oreos
-
Prepare Batter: In a large bowl, whisk together the flour, sugar, baking powder, and salt until well combined. In a separate bowl, mix the egg, milk, and vanilla until smooth. Gradually combine the wet and dry ingredients until the batter is mostly smooth, adjusting the milk for your desired thickness.
-
Heat Oil: In a deep pot, pour in enough vegetable oil to reach a depth of 2–3 inches. Heat the oil to 365–375°F (185–190°C). Use a thermometer for accurate temperature; this is key for crispy results!
-
Fry Oreos: Dip each Oreo into the batter, ensuring it is well coated. Carefully lower 3-4 Oreos into the hot oil, frying them for 1-2 minutes per side until golden brown. Flip as needed for even cooking, and enjoy the delightful sizzle!
-
Drain & Dust: Once golden brown, use a slotted spoon to remove the fried Oreos from the oil. Place them on a paper towel-lined baking sheet to drain excess oil. While they’re still warm, generously dust with powdered sugar for that sweet touch!
Optional: Drizzle with chocolate syrup or serve with a scoop of vanilla ice cream for an indulgent treat!
Exact quantities are listed in the recipe card below.
Storage Tips for Deep-Fried Oreos
-
Room Temperature: Enjoy your Deep-Fried Oreos fresh for the best taste. If you have leftovers, they can sit at room temperature for up to 2 hours before needing to be stored.
-
Fridge: If you want to store them longer, place the fried Oreos in an airtight container and keep them in the fridge for up to 2 days. They are best enjoyed fresh but can last a bit longer this way.
-
Freezer: For longer storage, you can freeze Deep-Fried Oreos. Place them in a single layer on a baking sheet to freeze individually, then transfer to a freezer-safe container for up to 1 month.
-
Reheating: To regain that crispy texture, reheat your fried Oreos in an oven at 350°F (175°C) for about 5-8 minutes. This will help them crisp up nicely again before serving.
Deep-Fried Oreos Variations
Embrace your creativity and elevate your Deep-Fried Oreos with these exciting customizations that will tantalize your taste buds!
-
Flavored Oreos: Try different varieties like Mint or Peanut Butter. Each flavor adds a unique twist that enhances the overall experience.
-
Gluten-Free Option: Substitute all-purpose flour with a gluten-free blend to ensure everyone can enjoy these treats without missing out.
-
Vegan Delight: Swap the egg for a flax egg and use non-dairy milk for a delicious vegan version that doesn’t compromise on taste.
-
Decadent Toppings: Drizzle with warm chocolate or caramel sauce before serving. This extra layer of indulgence is sure to wow your guests.
-
Ice Cream Sandwiches: Place a scoop of your favorite ice cream between two deep-fried Oreos for a delightful dessert that’s sure to impress.
-
Sprinkle Party: Toss on colorful sprinkles or crushed nuts for a delightful crunch. The added texture contrasts beautifully with the soft centers.
-
Savory Kick: For a twist, mix a pinch of cayenne pepper into the batter. This unexpected heat balances the sweetness superbly!
-
Stuffed Oreos: Before frying, add marshmallow fluff or a dollop of peanut butter between two Oreos to create a mind-blowing, gooey center.
Dive in and make these variations your own, turning every batch of Deep-Fried Oreos into a unique family tradition!
Make Ahead Options
These Deep-Fried Oreos are perfect for meal prep enthusiasts looking to save time without sacrificing flavor! You can prepare the batter up to 24 hours in advance; simply mix the dry ingredients in one bowl and the wet ingredients in another, then store them separately in the refrigerator. The batter can also be kept overnight, but be sure to give it a good stir before frying to restore consistency. Additionally, if you want to reduce frying time, you can dip and coat the Oreos in batter and freeze them for up to 3 days. When ready to serve, fry the frozen Oreos straight from the freezer for a fun, indulgent treat that’s just as delicious and crispy as if made fresh!
What to Serve with Deep-Fried Oreos?
Indulging in warm, crispy Deep-Fried Oreos creates a magical moment, and pairing them thoughtfully can elevate your dessert experience even further.
-
Vanilla Ice Cream: The creamy texture complements the warm, crispy Oreos, providing a delightful contrast that melts in your mouth. Drizzling with chocolate syrup creates a heavenly combination.
-
Fresh Berries: Strawberries or blueberries add a burst of freshness and acidity, cutting through the sweetness of the fried treat and adding vibrant color to your plate.
-
Chocolate Drizzle: A warm chocolate sauce brings an extra layer of indulgence. Spoon some over the Oreos before serving to create a visually appealing and decadent dessert.
-
Caramel Sauce: Just like chocolate, a drizzle of warm caramel sauce provides a rich, sweet contrast that pairs beautifully with the crunchy outside and soft inside of the Oreos.
-
Whipped Cream: Light and fluffy, a dollop of whipped cream can enrich your dessert experience. It’s perfect for dipping or enjoying alongside each bite, enhancing the overall texture.
-
Fried Plantains: Sweet, caramelized fried plantains offer a unique twist, adding complementary flavors and textures to your dessert spread—perfect for adventurous eaters!
-
Coffee or Hot Chocolate: A warm beverage, whether it’s a cup of coffee or a rich hot chocolate, rounds out the indulgence and softens the sweetness with its natural bitterness.
-
Mini Fruit Tartlets: These provide a delightful palate cleanser between bites of the Deep-Fried Oreos, while their crisp crust and fresh filling add a refreshing contrast.
-
Peanut Butter Dip: A creamy peanut butter dip adds a nutty flavor that pairs unexpectedly well with the sweetness of the Oreos, creating a fun and unique dessert experience.
Expert Tips for Deep-Fried Oreos
-
Maintain Oil Temperature: Keep the oil hot but not smoking to achieve a crispy exterior. Use a thermometer for accurate measurements—overcrowding can lead to greasy results.
-
Perfect Batter Consistency: Avoid overmixing the batter; a few lumps are okay! This helps create a light, fluffy coating that enhances the overall texture of your Deep-Fried Oreos.
-
Timing Is Key: Fry for only 1-2 minutes per side, monitoring closely for that golden brown color. Removing them too early may leave an unappetizing, doughy inside.
-
Cooling Plus Dusting: Let the drained Oreos cool on paper towels before serving. Dust with powdered sugar while still warm for the best adherence and sweetness!
-
Experiment with Flavors: Don’t hesitate to try different Oreo varieties—Mint or Birthday Cake can add exciting twists to your indulgent dessert!
Deep-Fried Oreos Recipe FAQs
How do I choose the best Oreo cookies for this recipe?
Absolutely! You can use either Regular or Double Stuf Oreo cookies for this deep-fried indulgence. The Double Stuf version will have a creamier center, which makes the treat even more decadent. If you’re feeling adventurous, try different flavored Oreos like Mint or Peanut Butter for a unique twist!
What’s the best way to store leftover Deep-Fried Oreos?
You want to enjoy the freshness of the fried Oreos right away, but if you have leftovers, store them in an airtight container at room temperature for up to 2 hours, or refrigerate them for up to 2 days. Just ensure they are completely covered to prevent them from drying out.
Can I freeze Deep-Fried Oreos, and how do I do it?
Yes, you can! For longer storage, freeze your Deep-Fried Oreos. Spread them in a single layer on a baking sheet to freeze individually. Once frozen, transfer them to a freezer-safe container or bag and store for up to 1 month. To reheat, preheat your oven to 350°F (175°C) and bake them for about 5-8 minutes until they’re warm and crispy again.
What should I do if the batter is too thick?
Very! If you find your batter is too thick, simply add a little more milk, one tablespoon at a time, and mix until you reach your desired consistency. A light, pourable batter will coat the Oreos beautifully without being too heavy. Aim for a texture similar to pancake batter!
Are Deep-Fried Oreos safe for pets or those with allergies?
It’s essential to keep these indulgent treats away from pets, as the chocolate in Oreos can be harmful to them. Additionally, if you or your guests have allergies, be mindful of the ingredients used in the batter, like eggs and gluten in all-purpose flour. Consider using gluten-free flour and a flax egg for a vegan option to accommodate dietary restrictions.
Irresistible Deep-Fried Oreos You Can Make at Home
Ingredients
Equipment
Method
- Prepare Batter: In a large bowl, whisk together the flour, sugar, baking powder, and salt until well combined. In a separate bowl, mix the egg, milk, and vanilla until smooth. Gradually combine the wet and dry ingredients until the batter is mostly smooth, adjusting the milk for your desired thickness.
- Heat Oil: In a deep pot, pour in enough vegetable oil to reach a depth of 2–3 inches. Heat the oil to 365–375°F (185–190°C). Use a thermometer for accurate temperature.
- Fry Oreos: Dip each Oreo into the batter, ensuring it is well coated. Carefully lower 3-4 Oreos into the hot oil, frying them for 1-2 minutes per side until golden brown. Flip as needed for even cooking.
- Drain & Dust: Once golden brown, use a slotted spoon to remove the fried Oreos from the oil. Place them on a paper towel-lined baking sheet to drain excess oil. While they’re still warm, generously dust with powdered sugar.

