There’s something special about cozy evenings when the aroma of a delicious meal fills your home. Picture this: it’s a chilly night, and as I flip through recipe books, I stumble upon my go-to comfort food that always steers me away from takeout—the Chicken Parmesan Sub. While this classic dish might evoke images of fine dining, I promise you it’s just as easy to master in your own kitchen, with all the crispy goodness and gooey cheese that make it utterly irresistible.
With a few simple ingredients—juicy chicken breasts, crispy panko breadcrumbs, and rich marinara sauce—you’ll be creating a satisfying meal that caters to all taste buds. Each bite is a harmonious blend of textures and flavors, leaving you and your loved ones craving more. Ready to escape the fast-food rut? Join me as we dive into this delightful recipe that’s not only simple but also brings that homemade touch right to your dinner table!
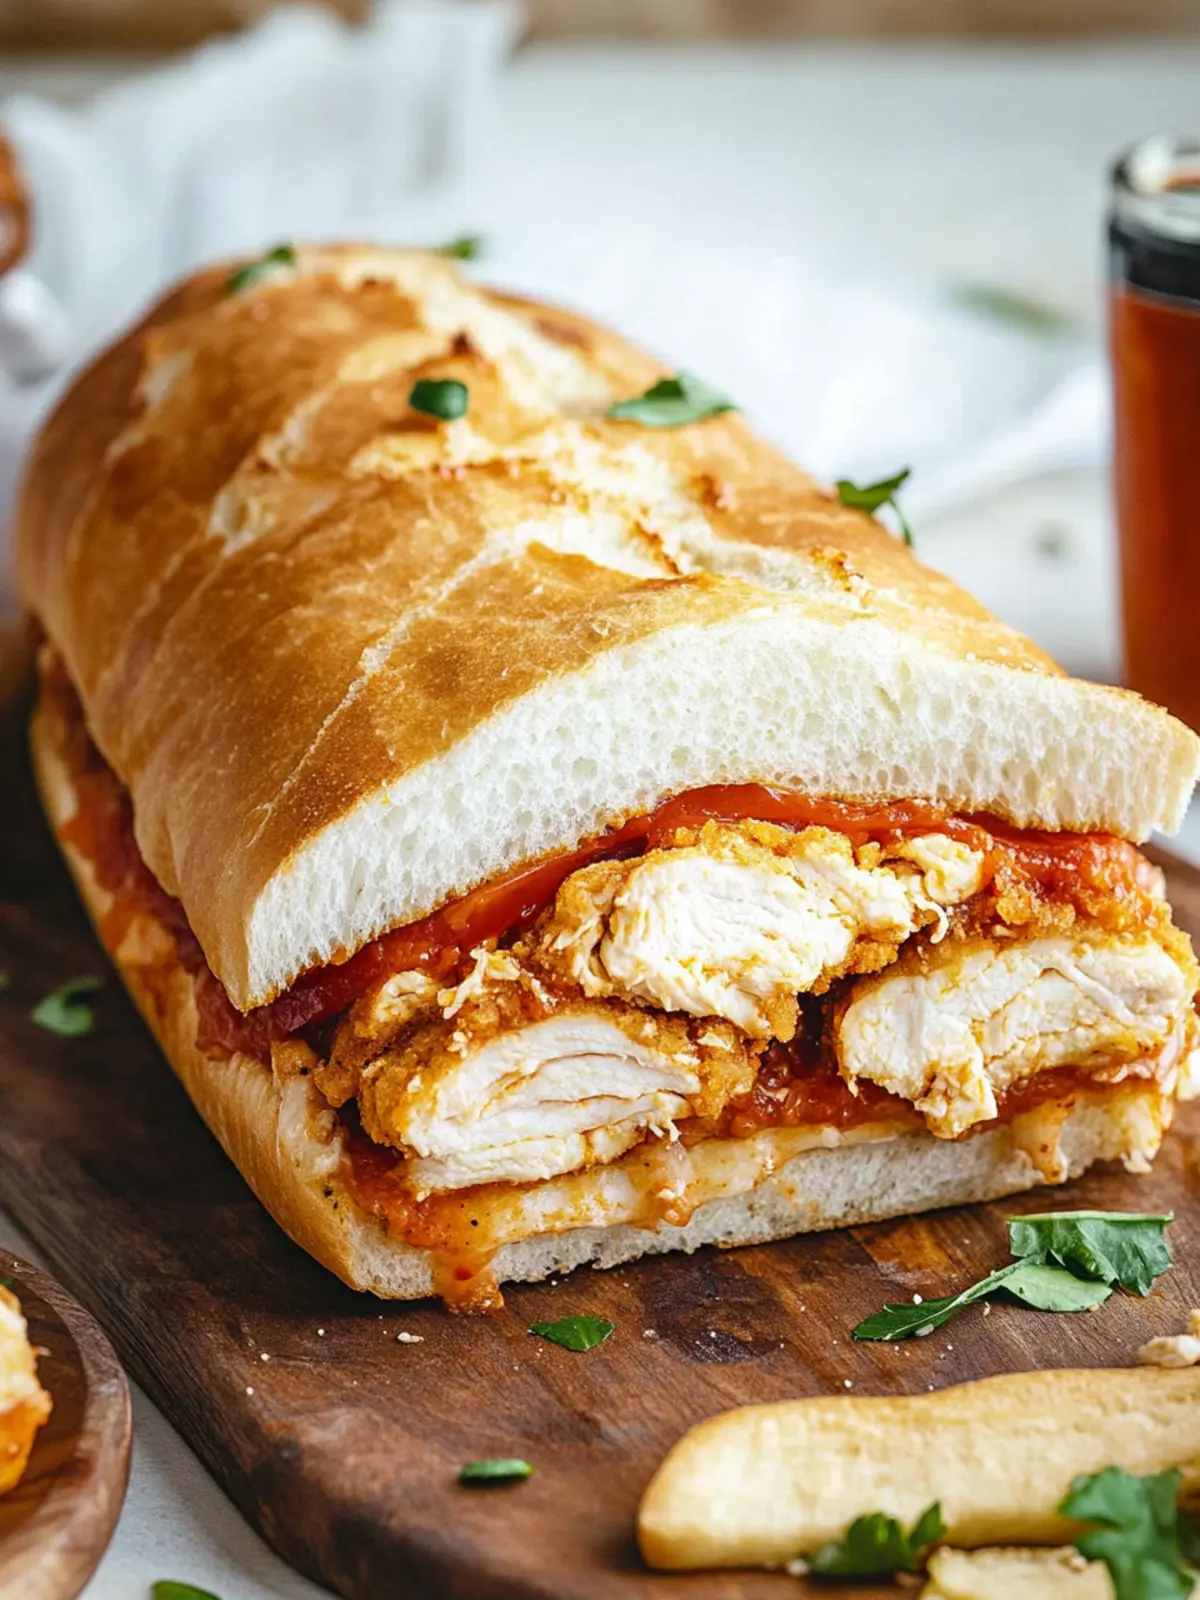
Why is this Chicken Parmesan Sub a must-try?
Comforting & Classic: This recipe is your ticket to enjoying an authentic Italian favorite without stepping foot in a restaurant.
Crispy & Golden: The perfectly fried chicken with panko breadcrumbs brings an irresistible crunch that complements every bite.
Saucy Goodness: With marinara sauce nestled between fresh sub rolls and gooey melted cheese, you’ll be left wanting more.
Quick Prep: In just 50 minutes, you can transform simple ingredients into a remarkable meal, perfect for busy weeknights.
Crowd-Pleaser: Whether it’s a family dinner or a casual gathering, everyone will adore these hearty sandwiches.
Elevate your mealtime even further by pairing it with a side salad or one of my best-loved garlic bread recipes.
Chicken Parmesan Sub Ingredients
Get ready to create a masterpiece right in your kitchen!
For the Chicken
- 4 chicken breasts – boneless, skinless, and pounded to ¼ inch thickness for even cooking.
- salt and pepper – to taste; a simple seasoning that enhances the chicken’s flavor.
For the Breading
- 1 cup all-purpose flour – perfect for dredging, it absorbs moisture and creates a crispy coating.
- 2 large eggs – beaten; these help the breadcrumbs stick to the chicken.
- 2 cups panko breadcrumbs – lighter and crispier than regular breadcrumbs for that delightful crunch.
- 1 teaspoon garlic powder – adds savory depth to your Chicken Parmesan Sub.
- 1 teaspoon onion powder – gives an additional layer of flavor to the breading.
- 1 teaspoon Italian seasoning – a blend of herbs that complements the dish beautifully.
For Assembly
- 4 tablespoons olive oil – for frying the chicken, adding a touch of healthy fat and flavor.
- 4 sub rolls – split lengthwise; the ideal vessel to hold all the deliciousness.
- 1 cup marinara sauce – plus more for dipping; rich and flavorful, it ties the sandwich together.
- 8 slices mozzarella cheese – melted goodness that brings creaminess to each bite.
- ¼ cup Parmesan cheese – grated; for a sharp, nutty touch that elevates the dish.
- fresh parsley – for garnish; adds a pop of color and freshness.
Now that you have your ingredients lined up, it’s time to embark on this culinary adventure that will have everyone at the table savoring every last bite of your Chicken Parmesan Sub!
How to Make Chicken Parmesan Sub
-
Preheat the oven to 400°F (200°C). This sets the stage for the cheese to melt beautifully and the sub rolls to crisp up just right.
-
Season the chicken breasts with salt and pepper. This simple step enhances the chicken’s natural flavors. Dredge each piece in flour, dip into beaten eggs, and coat with a crispy mixture of panko breadcrumbs, garlic powder, onion powder, and Italian seasoning.
-
Heat olive oil in a large skillet over medium-high heat. Carefully fry the chicken until it’s golden brown and cooked through, about 4 minutes per side. Once perfectly crispy, set aside on a paper towel-lined plate to drain excess oil.
-
Arrange the sub rolls on a baking sheet. Spread a thin layer of marinara sauce on the bottom half of each roll, ensuring every bite is bursting with flavor. Place a fried chicken breast on top of the sauce on each roll. Generously spoon more marinara sauce over the chicken, then add two slices of mozzarella cheese and sprinkle with Parmesan cheese.
-
Bake the assembled subs in the preheated oven until the cheese is melted and bubbly, about 5-10 minutes. Keep an eye on them to catch that perfect melted texture!
-
Garnish with fresh parsley and serve hot with additional marinara sauce on the side for dipping. Your guests will delight in the homemade touch of this mouthwatering creation.
Optional: Serve with a crisp side salad for a refreshing contrast.
Exact quantities are listed in the recipe card below.
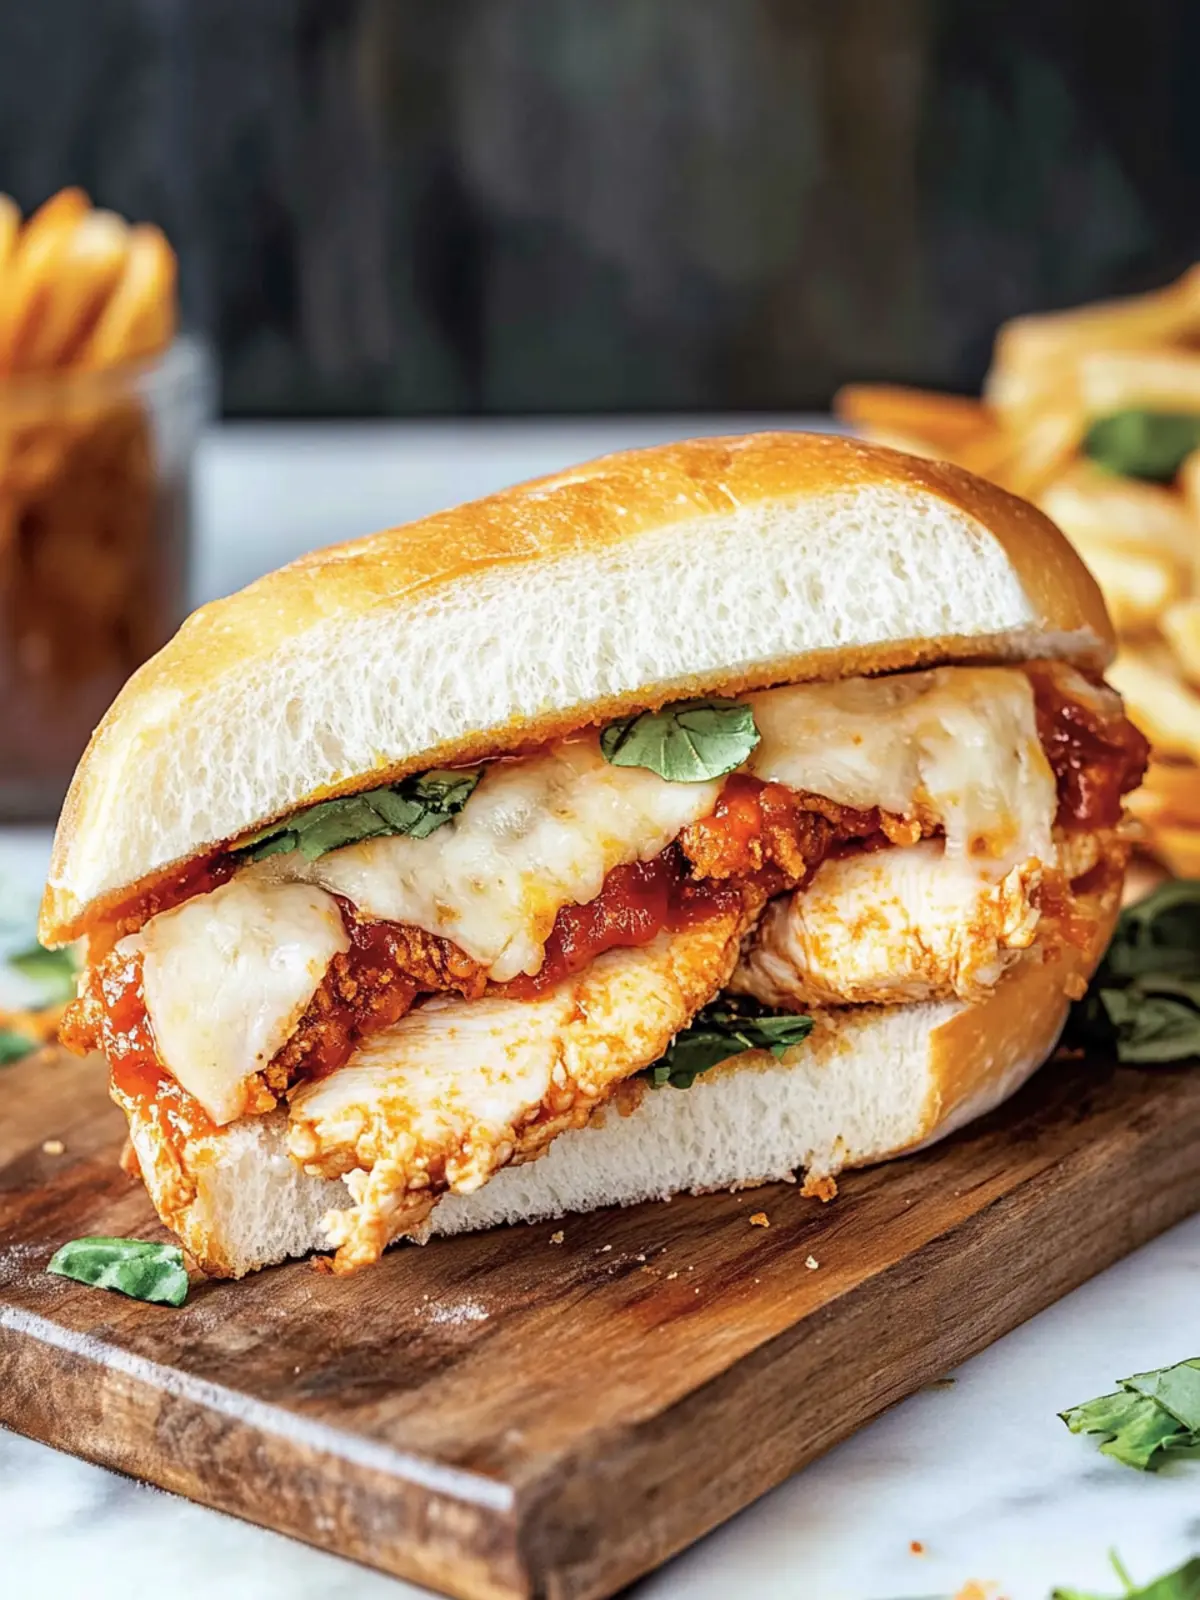
Chicken Parmesan Sub Variations
Feel free to get creative with this recipe and tailor it to your taste preferences!
-
Dairy-Free: Substitute dairy-free cheese for mozzarella and Parmesan to make it friendly for lactose intolerance or vegan diets.
-
Whole Wheat Rolls: Swap sub rolls for whole wheat versions to boost fiber content—perfect for a nutrition-conscious twist!
-
Spicy Kick: Add red pepper flakes to the panko mix for the breading or drizzle sriracha on your sub for extra heat.
-
Herbal Infusion: Use fresh herbs like basil or oregano instead of dried Italian seasoning for a vibrant flavor boost and a fresh aroma.
-
Air Fryer Option: For a healthier take, try air frying the breaded chicken at 375°F for about 15 minutes, flipping halfway through for crispy results.
-
Veggie Boost: Layer in roasted vegetables like bell peppers or zucchini beneath the chicken and cheese for added nutrition and flavor contrast.
-
Gluten-Free: To make this dish gluten-free, replace all-purpose flour and panko breadcrumbs with almond flour and gluten-free breadcrumbs.
-
Meatless Version: Swap out the chicken for eggplant slices for a delightful vegetarian version that’s equally satisfying and flavorful!
Customize your Chicken Parmesan Sub to make it truly your own! Each variation can bring a delightful twist to your family’s favorite dish, ensuring comfort and satisfaction every time.
How to Store and Freeze Chicken Parmesan Sub
Fridge: Store leftover Chicken Parmesan Sub in an airtight container for up to 3 days. Keep the subs separate to maintain their crispy texture, reheating only the chicken and cheese as needed.
Freezer: To freeze, wrap each assembled sub tightly in plastic wrap and then foil. You can store them in the freezer for up to 2 months. Thaw overnight in the fridge before reheating.
Reheating: For best results, reheat the subs in a 350°F (175°C) oven for about 15-20 minutes until heated through. This will revive the crispiness of the breading and melt the cheese perfectly.
Tip: If freezing the components separately, store the bread, chicken, and toppings (like marinara sauce and cheese) individually so you can mix and match later!
Make Ahead Options
These Chicken Parmesan Subs are perfect for busy weeknights and can be prepped in advance to save you time! You can bread and fry the chicken up to 24 hours ahead of time. Once fried, let the chicken cool, then store it in an airtight container in the refrigerator. Additionally, you can prepare the sub rolls with marinara sauce and cheese for assembly up to 3 days prior—just keep everything tightly wrapped to prevent dryness. When you’re ready to serve, simply layer the crispy chicken on the rolls, add some extra marinara, and bake at 400°F until the cheese is melted and bubbly. This way, you’ll enjoy the same delicious flavors with half the hassle!
Tips for the Best Chicken Parmesan Sub
-
Pound Evenly: Ensure the chicken breasts are pounded to ¼ inch thickness for even cooking and a tender bite. This helps avoid dry spots.
-
Don’t Rush the Frying: Fry the chicken until golden brown and cooked through, about 4 minutes per side. A common mistake is cooking too fast, which can lead to soggy breadcrumbs.
-
Use Fresh Ingredients: Fresh mozzarella and homemade marinara make a noticeable difference in flavor, elevating your Chicken Parmesan Sub experience.
-
Customize the Breading: Feel free to adjust the garlic powder and Italian seasoning to match your taste preferences for a uniquely flavorful twist.
-
Keep an Eye on Cheese: Watch the subs closely while baking; cheese melts quickly, and you want it bubbly without burning.
-
Side Pairing: Consider serving with a green salad or garlic bread to balance the richness of the Chicken Parmesan Sub.
What to Serve with Chicken Parmesan Sub?
Creating the perfect meal is all about the delightful pairings that enhance your Chicken Parmesan Sub experience. Let’s dive into the best accompaniments that will elevate your dining experience!
-
Crispy Garlic Bread: This classic side offers a buttery crunch to complement the softness of the sub, perfect for sopping up extra marinara.
-
Caesar Salad: A fresh Caesar salad adds a light and zesty contrast, with creamy dressing and crunchy croutons, making each bite feel balanced and refreshing.
-
Roasted Vegetables: Colorful roasted veggies, such as zucchini and bell peppers, provide a delicious, hearty addition while brightening your plate with vibrant flavors.
-
French Fries: Golden and crispy fries are a nostalgic favorite. Their salty crunch pairs perfectly with the rich flavors of the Chicken Parmesan Sub.
-
Coleslaw: Creamy coleslaw brings a tangy, sweet crunch that cuts through the richness, adding texture and freshness to your meal.
-
Red Wine: A glass of medium-bodied red wine, like Chianti, enhances the dish’s savory notes and makes for a timeless pairing with Italian flavors.
Elevate your Chicken Parmesan Sub night with these delightful sides and watch everyone savor the complete dining experience as they come back for seconds!
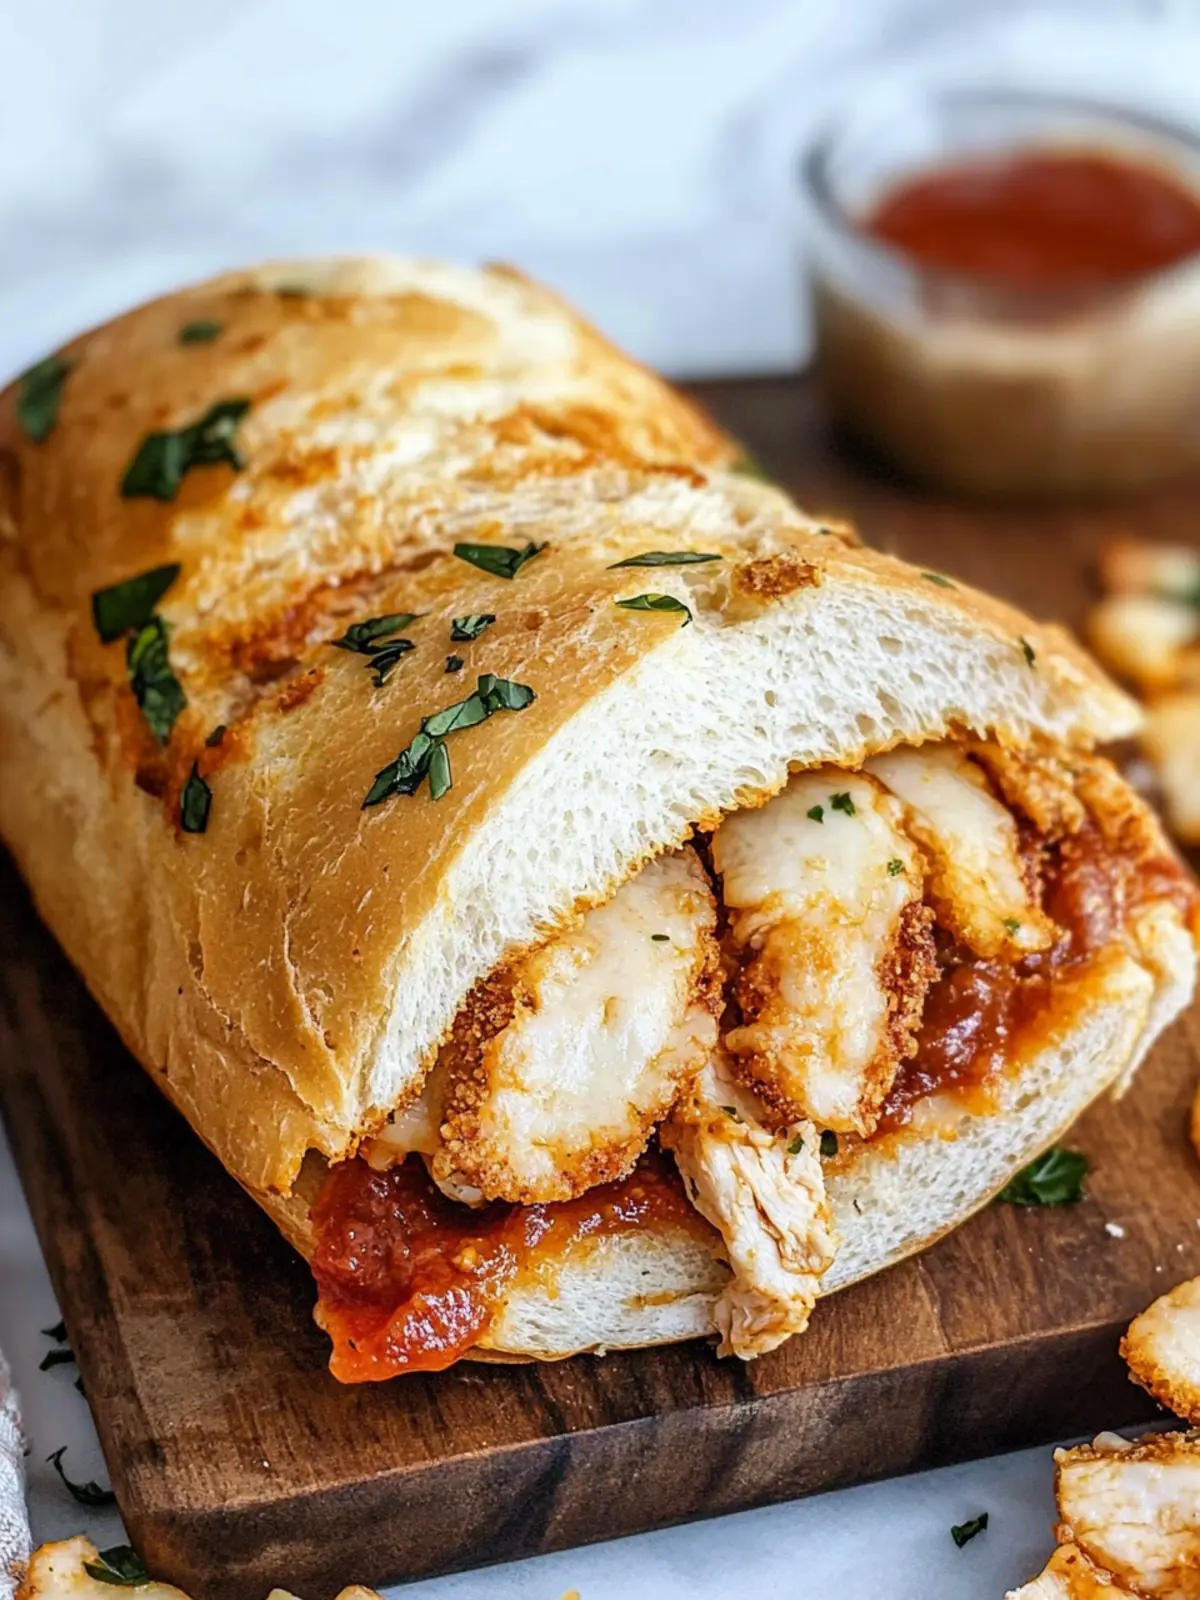
Chicken Parmesan Sub Recipe FAQs
What should I look for when selecting chicken breasts?
Absolutely! When choosing chicken breasts for your Chicken Parmesan Sub, look for breasts that are plump and have a slight gloss. Avoid any that exhibit dark spots or have a strong odor. Opt for organic or free-range options if possible; they often have a superior flavor and texture.
How should I store leftover Chicken Parmesan Sub?
Very! After enjoying your Chicken Parmesan Sub, store leftovers in an airtight container in the fridge for up to 3 days. It’s best to keep the individual components separate to maintain that delightful crunch. You can reheat the chicken and cheese in the oven to restore their deliciousness.
Can I freeze Chicken Parmesan Subs?
Absolutely! To freeze, wrap each assembled Chicken Parmesan Sub tightly in plastic wrap followed by a layer of aluminum foil. This way, they stay fresh for up to 2 months. When you’re ready to enjoy one, simply thaw in the refrigerator overnight before reheating.
What’s the best way to reheat my Chicken Parmesan Sub?
For the best results, reheat your Chicken Parmesan Sub in a 350°F (175°C) oven for about 15-20 minutes. This method helps revive the crispy chicken and melts the cheese to perfection! If you’re in a hurry, a microwave can work, but it may not keep the sub’s crunch.
Can this recipe accommodate dietary restrictions?
Very! For gluten-free options, you can substitute all-purpose flour and panko breadcrumbs with gluten-free alternatives. If you’re concerned about dairy, try using dairy-free cheese for a similar gooey effect. Always check ingredient labels to avoid allergens, especially if cooking for someone with allergies.
What if my panko breadcrumbs are not crispy after frying?
Oh no! If your panko breadcrumbs are not crispy, it might be due to the oil temperature being too low or overcrowding the pan. Make sure the oil is hot enough before adding chicken (it should sizzle), and fry in batches if necessary. Each chicken piece needs room to fry evenly, ensuring that standout crunch you desire!
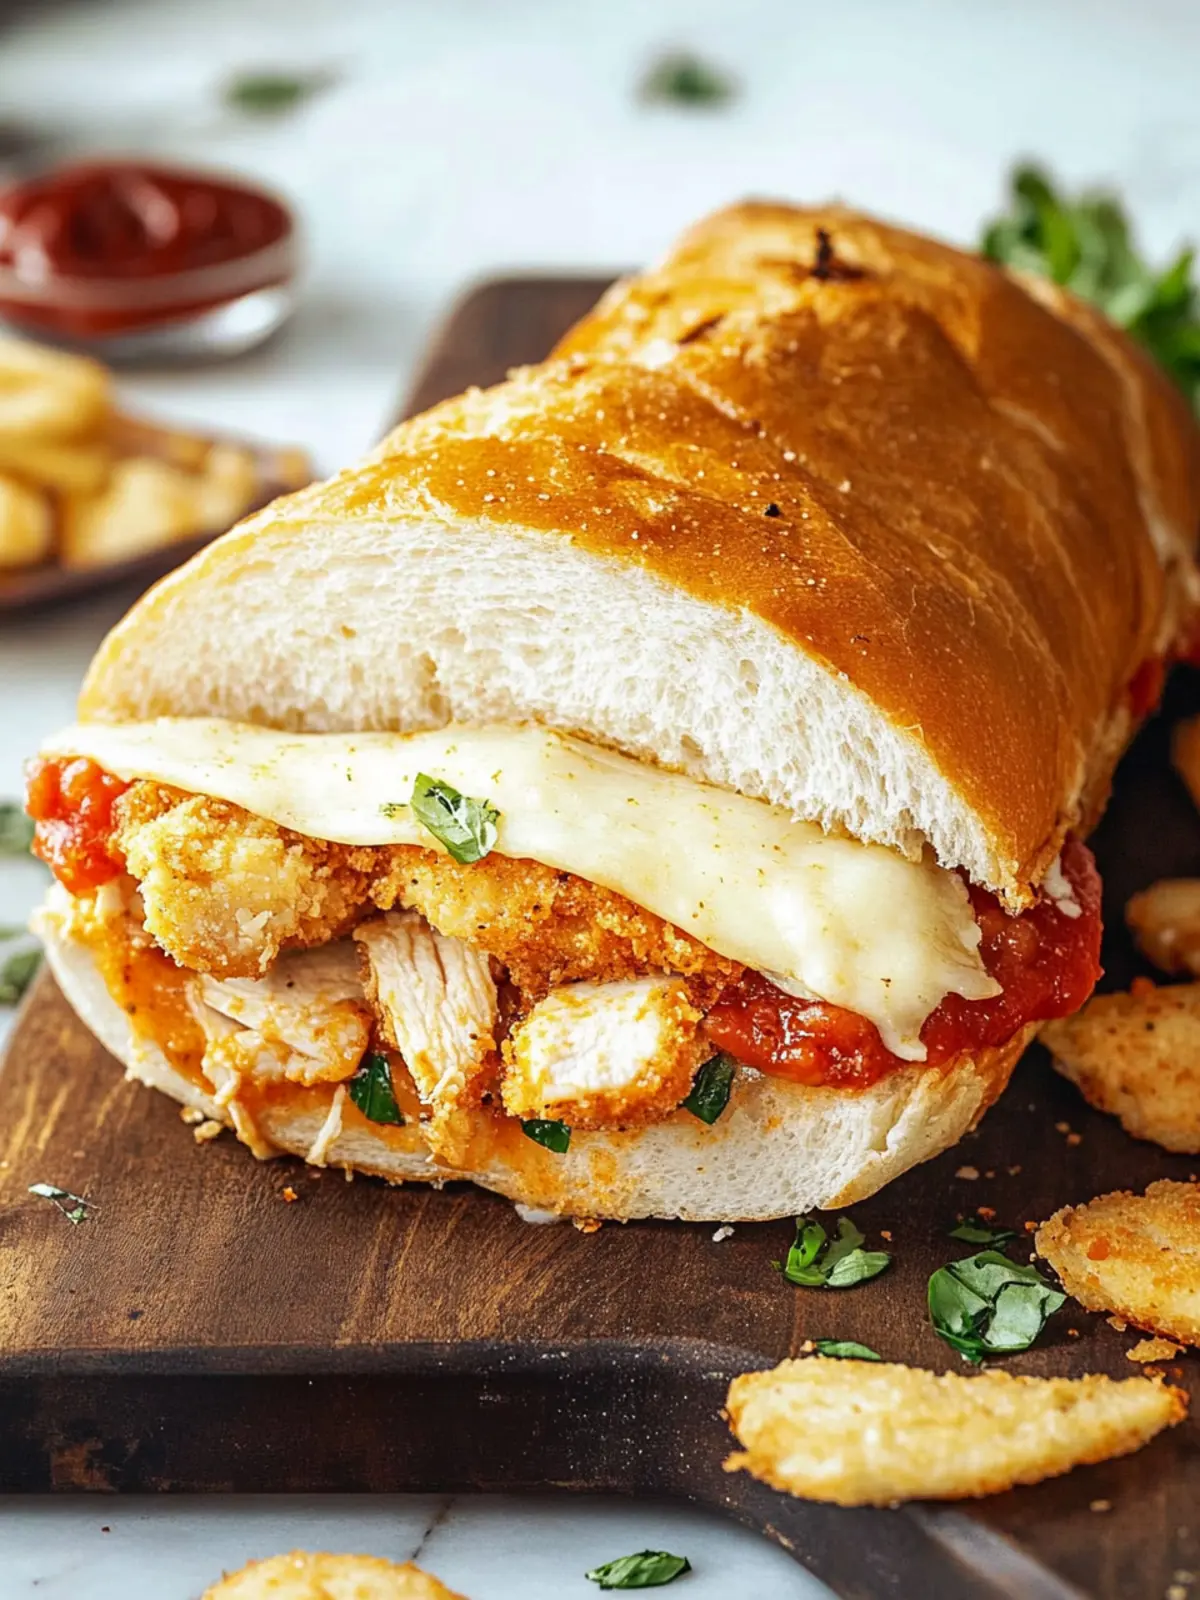
Irresistible Chicken Parmesan Sub You’ll Crave Every Time
Ingredients
Equipment
Method
- Preheat the oven to 400°F (200°C).
- Season the chicken breasts with salt and pepper. Dredge each piece in flour, dip into beaten eggs, and coat with panko breadcrumbs mixed with garlic powder, onion powder, and Italian seasoning.
- Heat olive oil in a large skillet over medium-high heat. Fry the chicken until golden brown and cooked through, about 4 minutes per side. Drain on paper towels.
- Arrange sub rolls on a baking sheet. Spread marinara sauce on the bottom half of each roll. Place a fried chicken breast on each roll, spoon more marinara sauce on top, then add mozzarella slices and sprinkle with Parmesan.
- Bake the subs in the preheated oven until cheese is melted and bubbly, about 5-10 minutes.
- Garnish with fresh parsley and serve hot with additional marinara sauce on the side.