As the crisp autumn air settles in, I often find myself craving comforting yet healthy snacks that can easily be prepared at home. That’s when I decided to experiment with butternut squash, a delightful vegetable that brings both sweetness and a beautiful golden hue to the table. While rummaging through my pantry one rainy afternoon, I stumbled upon an idea that would change how I approached fries forever—Butternut Squash Fries!
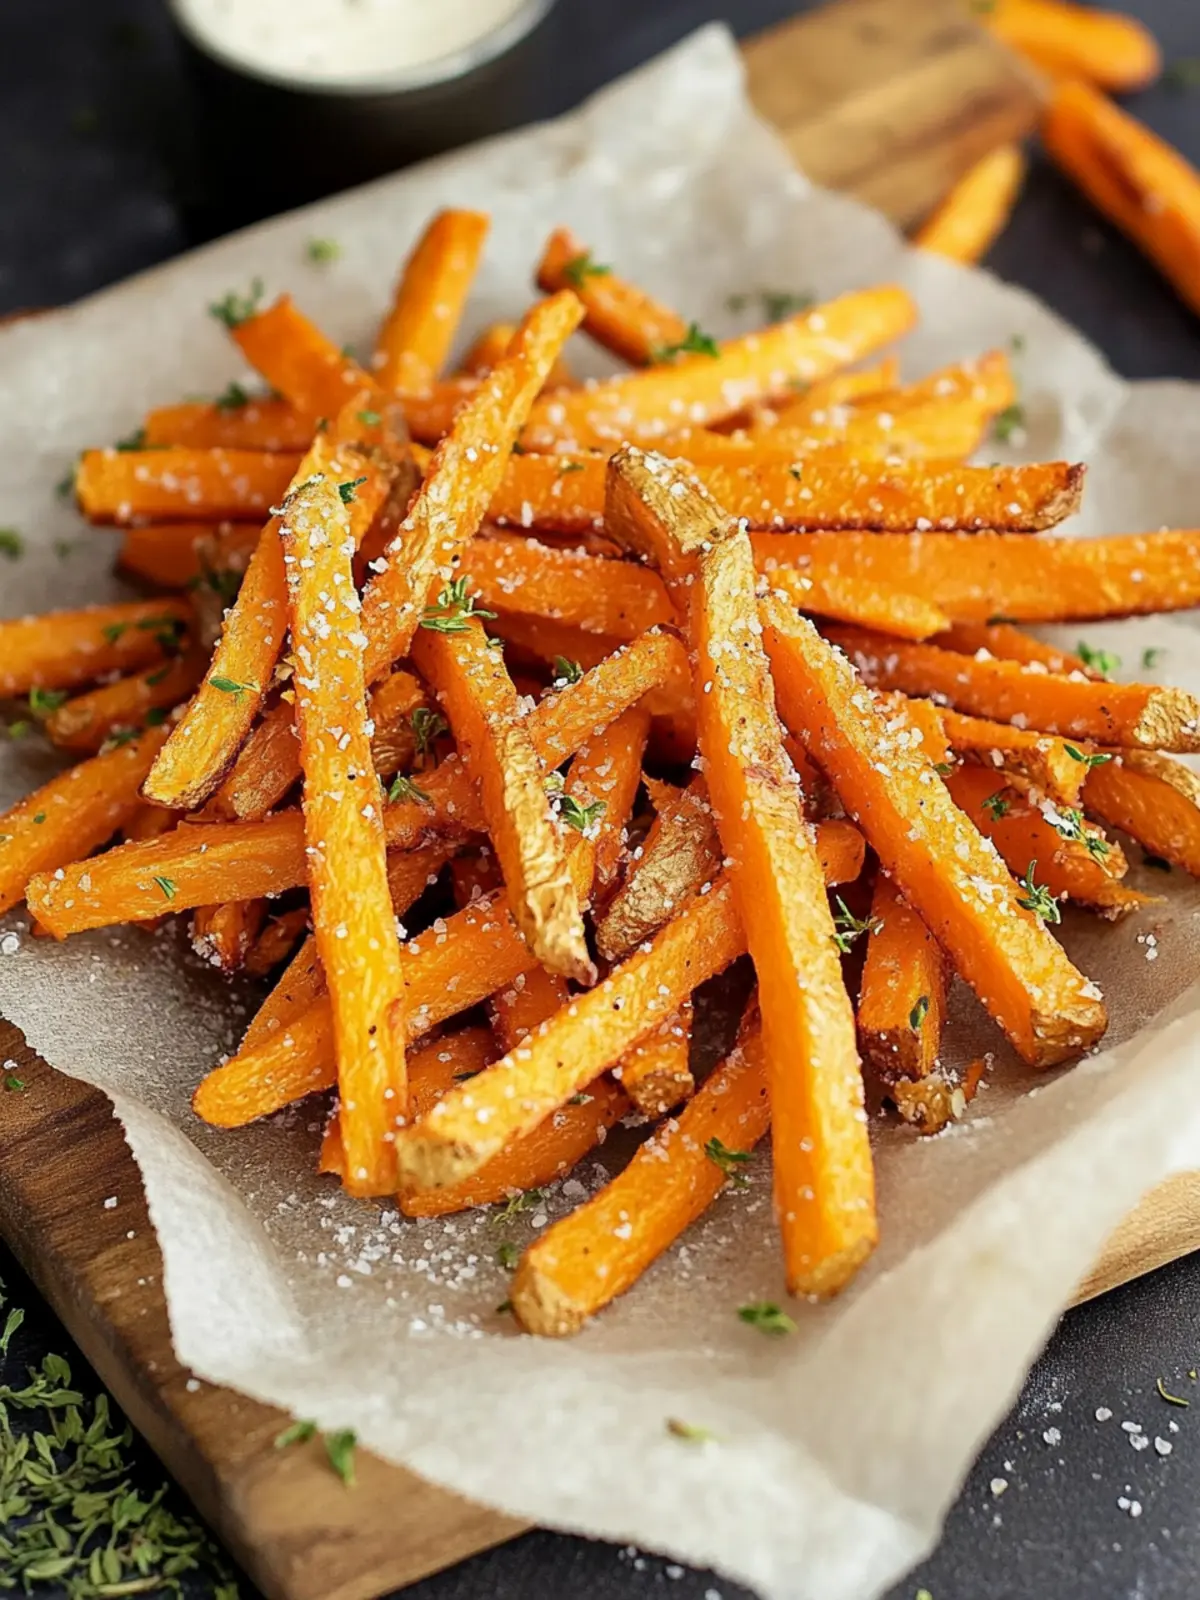
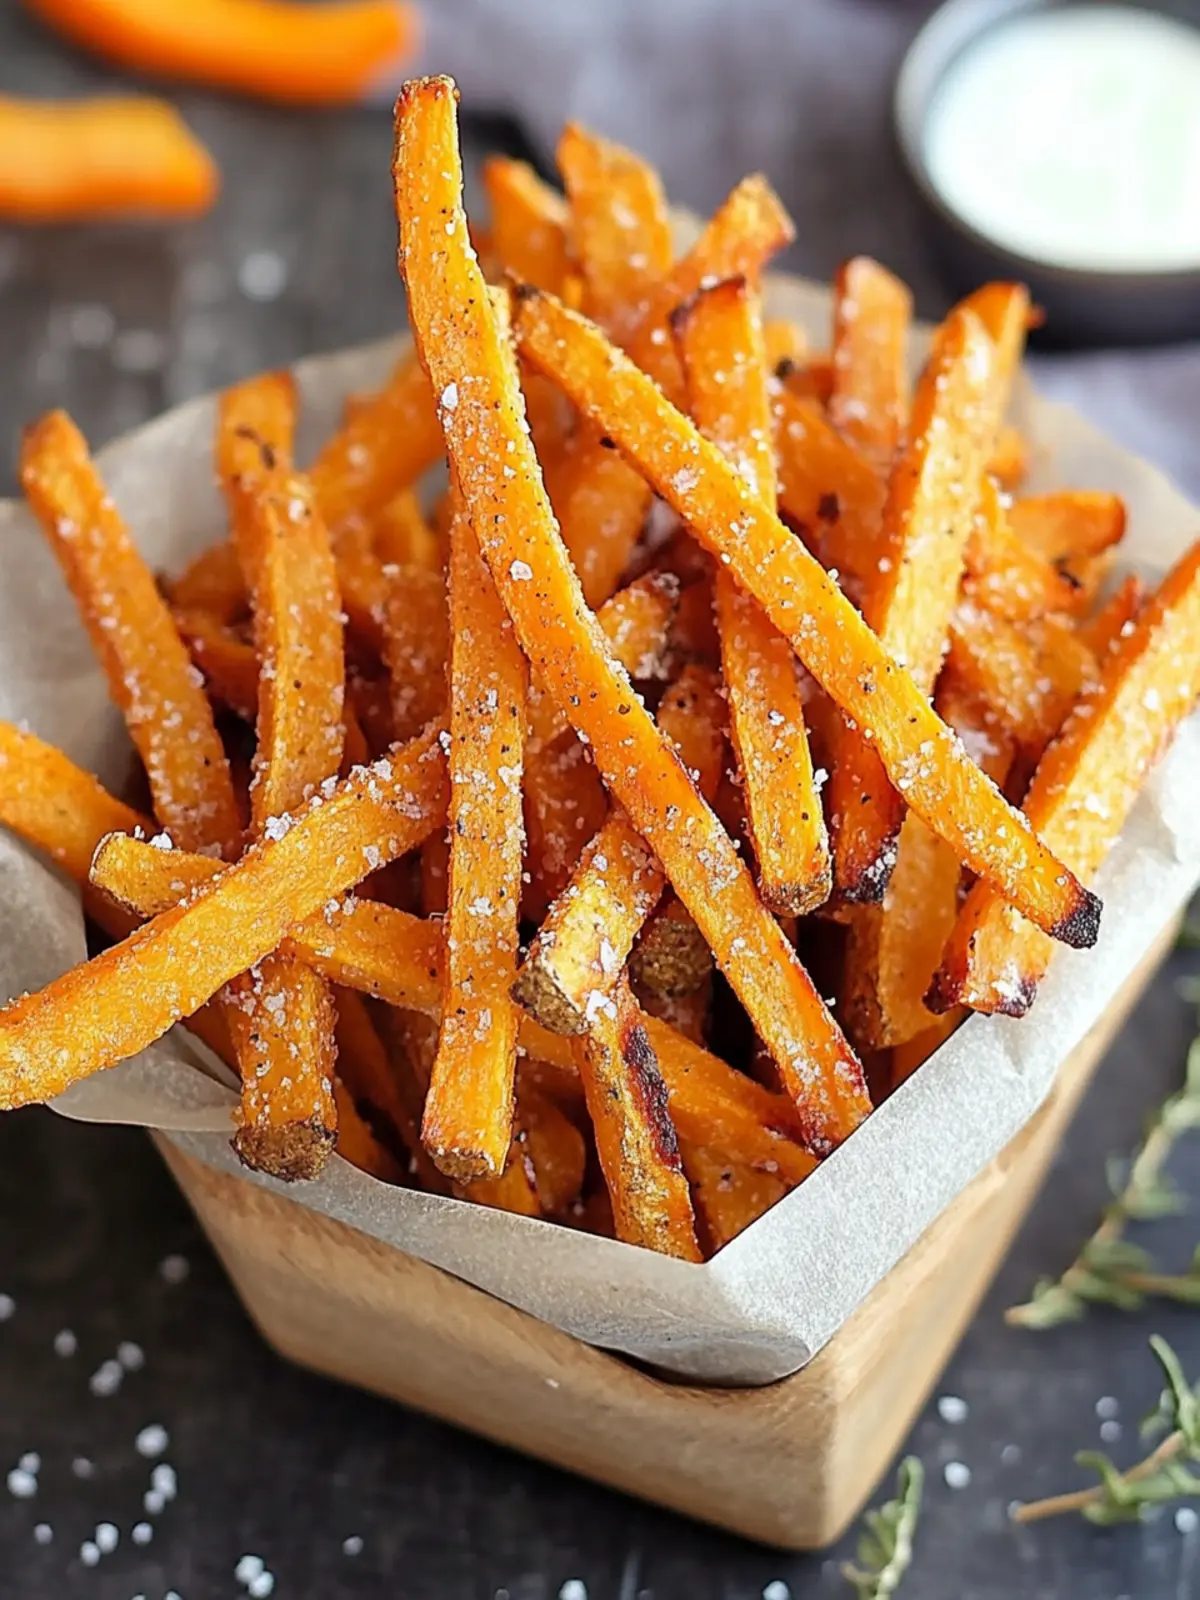
Imagine the satisfying crunch as you bite into these golden sticks, seasoned to perfection with earthy herbs and a dash of olive oil. They not only satisfy your cravings for fries but also add a nutritious twist that your body will thank you for. Plus, they are incredibly easy to whip up, making them an ideal choice for a quick weeknight snack or a chic appetizer for your next gathering. Trust me, you’ll want to make these crispy gems a staple in your home! Let’s dive into the simple steps to create your very own Butternut Squash Fries.
Why are Butternut Squash Fries a must-try?
Crispy texture: These fries achieve the perfect crunch while maintaining a tender interior, making each bite a delight.
Healthy alternative: Packed with vitamins and fiber, they’re a guilt-free snack that satisfies your fry cravings without compromising your health.
Simple preparation: With just a few steps and minimal ingredients, you can have a delicious side dish ready in under an hour—perfect for your busy weeknights!
Versatile seasoning: You can easily customize the flavor by using your favorite herbs or spice blends, ensuring every batch feels unique.
Crowd-pleaser: These fries are sure to impress your guests, making them an excellent choice for parties or family dinners. Make sure to serve them with a tasty dipping sauce for an extra flavor boost!
Butternut Squash Fries Ingredients
Here’s everything you need to make these delicious butternut squash fries!
For the Fries
• Medium butternut squash – Gives a naturally sweet flavor and a hearty texture.
• Cornstarch – Helps create that crave-worthy crispiness; you can substitute with arrowroot powder for a gluten-free option.
• Olive oil – Adds richness and helps the fries brown beautifully; feel free to use avocado oil for a milder taste.
For Seasoning
• Dried herbs – Choose your favorites like rosemary or thyme to enhance the flavor profile of your butternut squash fries.
• Salt – Essential for bringing out the natural sweetness of the squash; adjust it to your taste!
For Garnish
• Fresh parsley, thyme, rosemary – Finely chopped for a burst of freshness that elevates the fries visually and in taste.
How to Make Butternut Squash Fries
-
Preheat your oven to 425°F (220°C). Begin by lining two large baking sheets with parchment paper to ensure your fries cook evenly and don’t stick.
-
Pat dry your butternut squash sticks using a paper towel. Add 1 pound of squash sticks to a large plastic or Ziploc bag. Sprinkle in 1 tablespoon of cornstarch, seal the bag, and shake gently until all sticks are evenly coated.
-
Drain the coated squash in a large strainer or colander. Give it a gentle shake to remove excess cornstarch, which helps achieve that perfect crunch when baked.
-
Repeat the process with any remaining squash, adding 1 tablespoon of cornstarch for each additional pound. Maintain consistency for the best texture!
-
Combine the squash sticks in a large bowl. Drizzle with olive oil—use 1 tablespoon for every pound—and sprinkle with 2 teaspoons of dried herbs. Toss everything together until evenly coated.
-
Arrange the squash sticks in a single layer on the lined baking sheets, making sure they don’t overlap to allow for maximum crispiness.
-
Bake for about 20 minutes, then flip the fries and continue baking for another 10-15 minutes. Keep an eye on them until the edges darken and the surface becomes crisp.
-
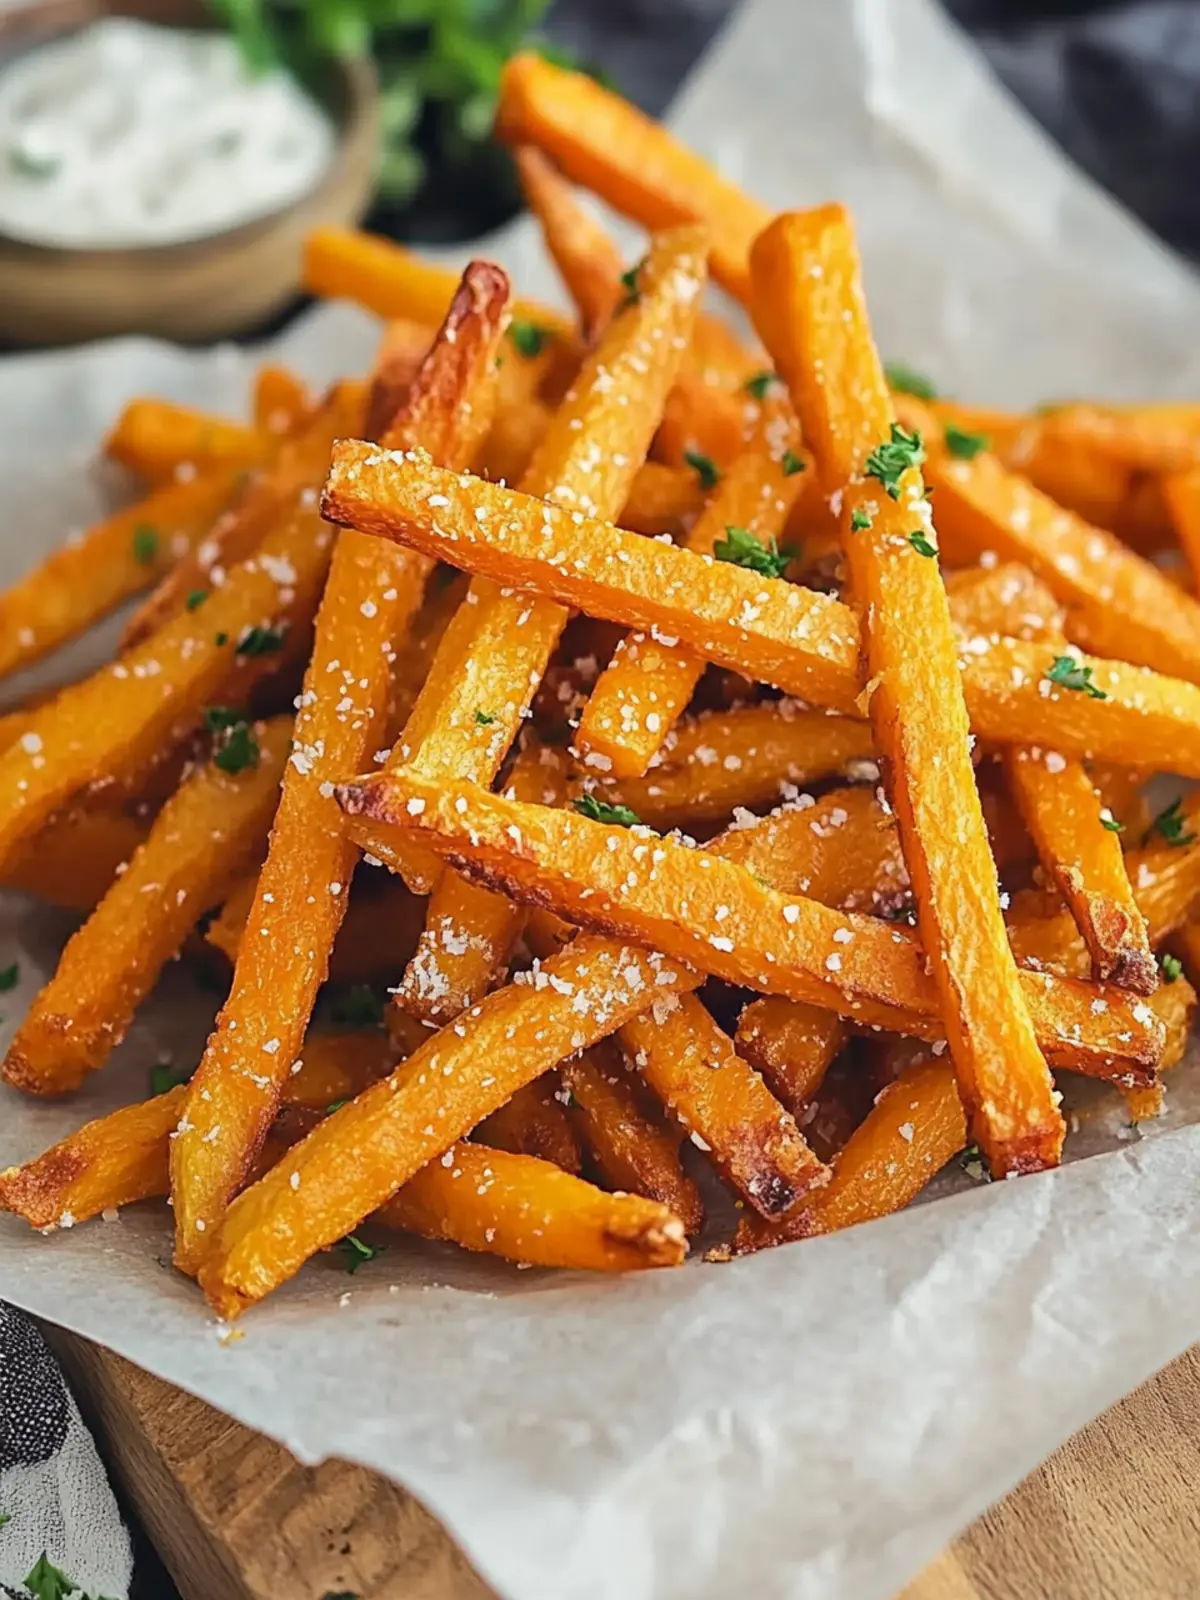
Cool your fries slightly after removing them from the oven, around 15-20 minutes. This step helps them firm up further. Sprinkle with salt and garnish generously with fresh herbs before serving. Enjoy with your favorite dipping sauce!
Optional: Drizzle with balsamic glaze for an added flavor twist.
Exact quantities are listed in the recipe card below.
How to Store and Freeze Butternut Squash Fries
Fridge: Store leftover butternut squash fries in an airtight container for up to 3 days. Make sure they are completely cool before sealing to prevent moisture buildup.
Freezer: Place cooled fries in a single layer on a baking sheet to freeze them individually. Once frozen, transfer them to a freezer-safe bag for up to 3 months.
Reheating: When ready to enjoy, reheat in the oven at 375°F (190°C) for about 12-15 minutes until warmed through and crispy again. Avoid microwaving, as it can make them soggy!
Thawing: For best results, thaw frozen butternut squash fries in the refrigerator overnight before reheating. This helps maintain their texture and flavor.
What to Serve with Butternut Squash Fries?
Pair your crispy fries with delightful accompaniments to create a harmonious meal that excites the palate.
-
Creamy Dipping Sauces: The rich texture of a garlic aioli or creamy ranch dressing brings a luxurious touch to each bite of butternut squash fries.
-
Fresh Garden Salad: A crisp salad tossed with a zesty vinaigrette adds brightness and a refreshing crunch, balancing the richness of the fries beautifully.
-
Roasted Veggies: Complement the sweetness of the fries with a medley of savory roasted vegetables. Think carrots, bell peppers, or Brussels sprouts for a colorful and nutritious side.
-
Savory Guacamole: The creamy texture of guacamole with its zesty lime flavor pairs deliciously with the sweetness of the fries and provides a satisfying snack.
-
Grilled Chicken: Tender, herb-marinated chicken provides protein and a rustic touch, making your meal hearty and fulfilling.
-
Sparkling Lemonade: A bubbly lemonade or sparkling water with a hint of citrus cuts through the richness and refreshes the palate with every bite.
-
Quinoa Bowl: Serve the fries over a bed of fluffy quinoa mixed with fresh herbs and diced cucumbers for a wholesome, nourishing bowl.
-
Dark Chocolate Dessert: End your meal on a sweet note with a small piece of rich dark chocolate. Its slightly bitter notes contrast wonderfully with the sweet, savory fries, making for a delightful finish.
Butternut Squash Fries Variations
Feel free to get creative with your Butternut Squash Fries; these variations will elevate your dish even further!
- Spicy Kick: Add a teaspoon of cayenne pepper or chili powder to the cornstarch for a delightful heat that complements the sweetness.
- Cheesy Twist: Once baked, sprinkle with shredded Parmesan or nutritional yeast for a savory, cheesy flavor without the guilt.
- Sweet & Smoky: Incorporate a tablespoon of smoked paprika into your seasoning mix for a taste that’s both sweet and smoky, reminiscent of BBQ flavors.
- Gluten-Free: Swap cornstarch for chickpea flour or tapioca starch for an equally crunchy texture, perfect for gluten-sensitive eaters.
- Herb Variation: Use different dried herbs like oregano or Italian seasoning; they add a unique zesty flavor and aroma to your fries.
- Balsamic Drizzle: Before serving, drizzle with balsamic reduction for an unexpected tangy sweetness that enhances the overall taste experience.
- Nutty Flavor: Toss with sesame oil and sprinkle sesame seeds before baking for a twist that brings a warm, nutty flavor to each bite.
- Veggie Fusion: Combine your butternut squash with other root vegetables such as sweet potatoes or carrots for a colorful, multi-textured fry platter.
Embrace these adaptations and watch your Butternut Squash Fries transform into a new favorite in your kitchen!
Make Ahead Options
These Butternut Squash Fries are perfect for meal prep enthusiasts looking to save time during busy weeknights! You can cut and coat your butternut squash sticks with cornstarch and olive oil up to 24 hours in advance; simply store them in an airtight container in the refrigerator to keep them fresh. When you’re ready to serve, just arrange the squash sticks on a baking sheet and bake as directed. Remember, this method ensures your fries remain just as delicious and crispy when cooked. For optimal flavor, consider seasoning with herbs right before baking to enhance their taste right before serving.
Expert Tips for Butternut Squash Fries
- Choose Wisely: Not all butternut squash are the same! Look for ones that feel heavy for their size and have smooth skin for the best flavor.
- Think Dry: Make sure to pat the squash sticks dry before coating with cornstarch; retaining moisture can lead to soggy fries.
- Cornstarch Coating: Don’t skip the cornstarch! This key ingredient is what creates that satisfying crunch on your Butternut Squash Fries.
- Spacing Matters: When placing your fries on the baking sheet, ensure there’s enough space between them; overcrowding can result in steaming instead of crisping.
- Flip with Care: Gently flip the fries halfway through baking to promote even crispiness and prevent them from breaking.
- Garnish for Flavor: After baking, garnish with fresh herbs not only for color but to enhance the flavors of your butternut squash fries.
Butternut Squash Fries Recipe FAQs
How do I choose the right butternut squash?
Absolutely! When selecting a butternut squash, look for ones that feel heavy for their size and have a smooth, tan skin without dark spots or blemishes. They should be firm and free from any cracks or soft areas. If you can, choose ones that have a uniform shape for easier slicing.
How should I store leftover Butternut Squash Fries?
You can store leftover butternut squash fries in an airtight container in the refrigerator for up to 3 days. Make sure the fries are completely cool before sealing to prevent excess moisture, which can lead to sogginess. When you’re ready to enjoy them again, remember that reheating in the oven will help revive their crispiness!
Can I freeze butternut squash fries?
Yes, you can! First, let your fries cool completely. Then, arrange them in a single layer on a baking sheet to freeze individually. Once frozen, transfer them to a freezer-safe bag, where they can stay fresh for up to 3 months. When you’re ready to use them, thaw in the refrigerator overnight for the best results before reheating in the oven.
What can I do if my butternut squash fries are soggy?
Very frustrating, I know! If your fries turn out soggy, it may be due to excess moisture. Make sure to pat the squash sticks dry before coating them with cornstarch. Additionally, ensure they are spaced evenly on the baking sheet during baking so they can crisp up rather than steam. If they’re already cooked, try reheating them in the oven for a few more minutes to regain some crispiness.
Are there any dietary considerations I need to keep in mind?
Definitely! While butternut squash fries are nutritious and generally safe for most diets, if you’re concerned about allergies, it’s good to keep an eye on the ingredients you choose for seasoning and any sauces you pair with them. For gluten-free eaters, replacing cornstarch with arrowroot powder is a great alternative. Also, if you plan to serve these fries to pets, moderation is key as the herbs and any seasoning might not be suitable for them.
What herbs should I use for seasoning?
Feel free to get creative! Dried herbs like rosemary, thyme, or oregano work wonderfully with baked butternut squash fries. For a flavor twist, consider using a sprinkle of smoked paprika or chili powder for some heat. The more the merrier—you can mix and match to find the combinations your family loves best!
These Butternut Squash Fries Recipe FAQs are designed to enhance your cooking experience. Enjoy your time in the kitchen!

Crispy Butternut Squash Fries You’ll Crave Every Time
Ingredients
Equipment
Method
- Preheat your oven to 425°F (220°C). Line two large baking sheets with parchment paper.
- Pat dry your butternut squash sticks using a paper towel. Add 1 pound of squash sticks and 1 tablespoon of cornstarch to a Ziploc bag, seal, and shake gently.
- Drain the coated squash in a strainer. Shake gently to remove excess cornstarch.
- Repeat the process with remaining squash, adding 1 tablespoon of cornstarch for each additional pound.
- Combine the squash sticks in a bowl. Drizzle with olive oil and sprinkle with dried herbs. Toss until evenly coated.
- Arrange the squash sticks in a single layer on the lined baking sheets without overlapping.
- Bake for about 20 minutes, then flip and continue baking for another 10-15 minutes until edges darken and surface is crisp.
- Cool slightly after removing from the oven (15-20 minutes), then sprinkle with salt and garnish with fresh herbs before serving.