There’s something wonderfully nostalgic about the first bite of a mini pumpkin pie—rich, smooth, and spiced just right. The crisp crust cradles a velvety filling that instantly evokes cozy moments shared with family and friends during the fall season. I discovered this recipe for Mini Pumpkin Pies during a blissfully quiet afternoon, seeking a way to use up the pumpkin puree stashed in my pantry.
These adorable little desserts are not only a feast for the senses but also a delightful solution for those who crave homemade flavors without the fuss. With just a handful of wholesome ingredients like cassava flour and coconut cream, you can whip up these crowd-pleasing treats in under an hour. Whether you’re surprising the kids after school or impressing guests at your next gathering, these mini delights are sure to warm hearts and fill bellies. Join me in crafting these charming pies that are as simple as they are delicious!
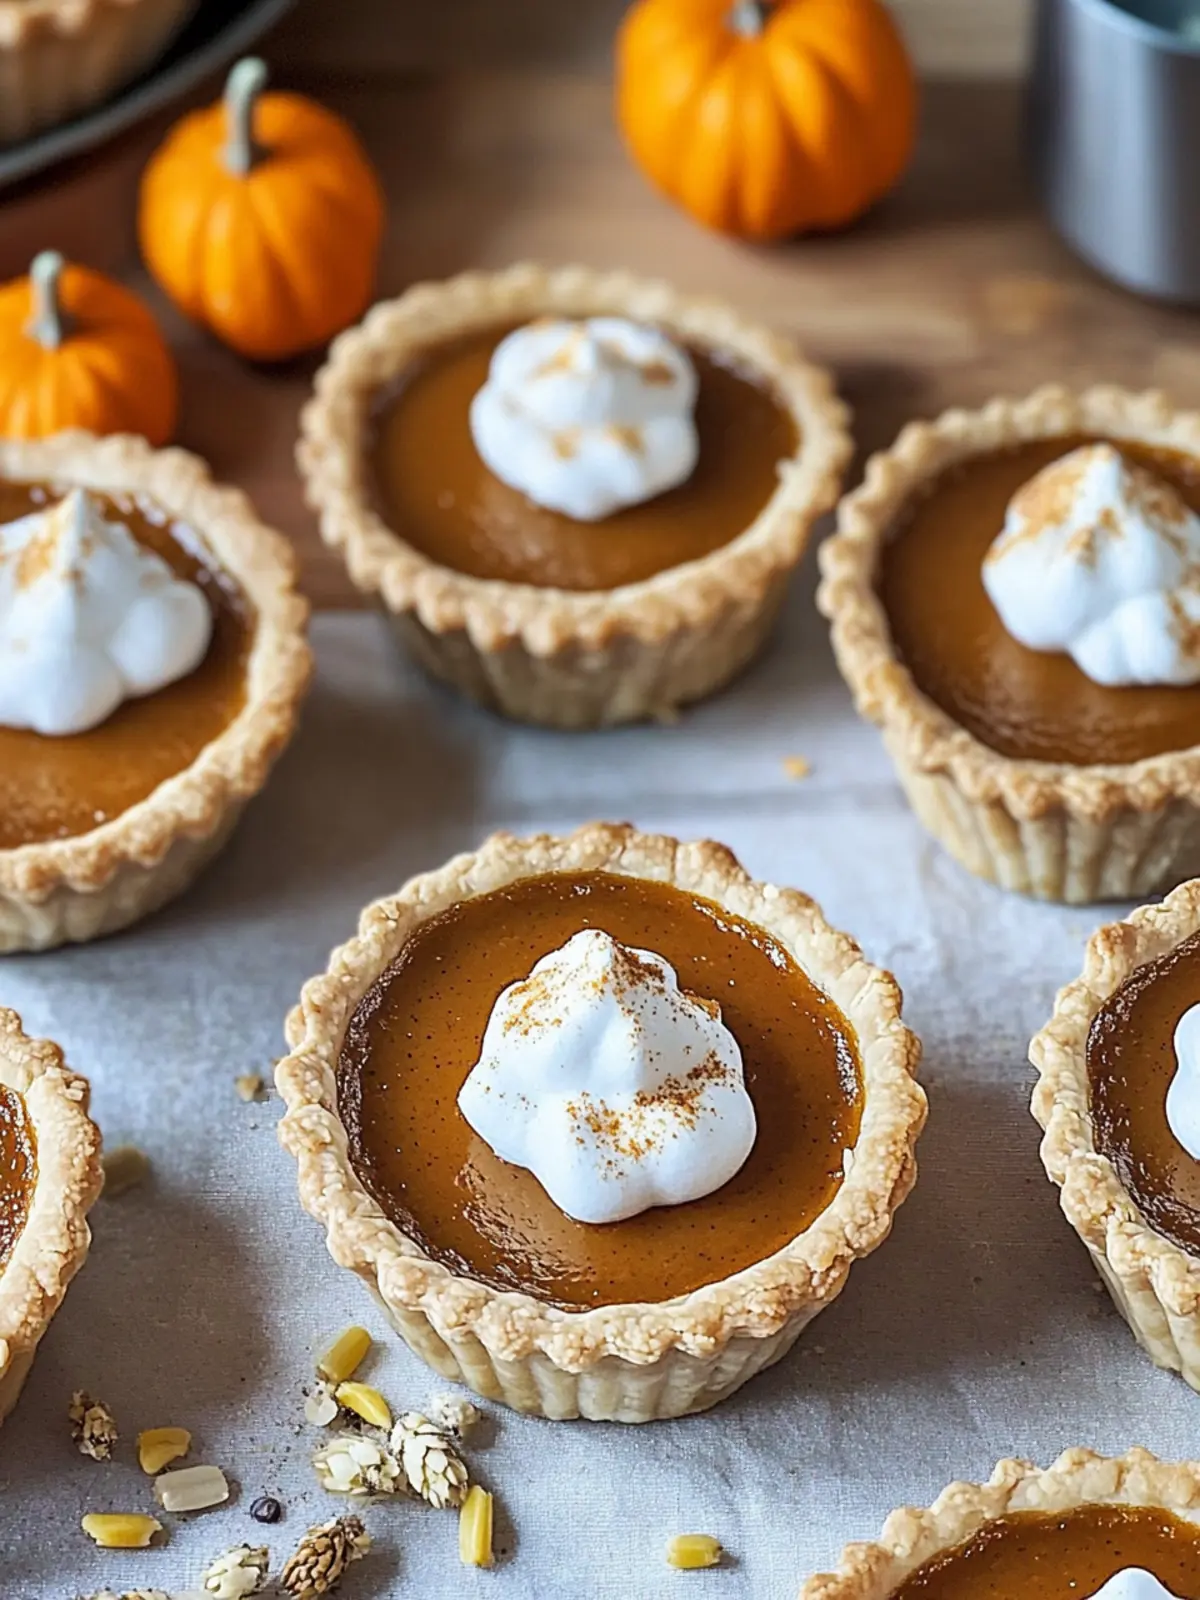
Why Will You Adore Mini Pumpkin Pies?
Nostalgic flavors transport you to autumnal bliss—each bite is a heartwarming reminder of cozy gatherings. Simple preparation keeps things stress-free, perfect for busy days when you crave homemade goodness. Guilt-free indulgence awaits with wholesome ingredients like cassava flour and coconut cream. Versatile treats can easily be dressed up with toppings or enjoyed as-is. Plus, impressive presentation makes them a hit at any gathering, guaranteeing smiles from family and friends. Enjoy these easy-to-make pies that taste as delightful as they look!
Mini Pumpkin Pies Ingredients
For the Crust
• 1 ½ cups cassava flour – a gluten-free alternative that creates a tender crust.
• 3 Tbsp coconut sugar – adds a touch of natural sweetness to the dough.
• 1 tsp pumpkin pie spice – infuses the crust with warm autumnal flavors.
• ¼ tsp salt – balances the sweetness for enhanced flavor.
• ½ cup non-hydrogenated shortening – contributes to a flaky texture in the crust.
• 1 large egg – binds the crust ingredients together nicely.
• 3-5 Tbsp water – use as needed to achieve a dough-like consistency.
For the Filling
• ¾ cup organic pumpkin puree – the star ingredient that defines mini pumpkin pies.
• ½ cup coconut cream – offers a rich and creamy texture that’s dairy-free.
• 1 large egg – adds richness and helps set the filling.
• 1 large egg yolk – enhances the creaminess of the filling for extra indulgence.
• 1 tsp vanilla extract – rounds out the flavors beautifully.
• ⅓ cup coconut sugar – sweetens the filling while keeping it unrefined.
• 1 Tbsp cassava flour – thickens the filling for the perfect consistency.
• 1 tsp pumpkin pie spice – brings in that classic autumn flavor.
• ¼ tsp salt – elevates the overall flavor of the filling.
These Mini Pumpkin Pies are bound to charm your taste buds with every bite!
How to Make Mini Pumpkin Pies
-
Preheat your oven to 350°F (175°C). Grease a standard-sized muffin tin with shortening or butter, ensuring each cup is well-coated for easy removal.
-
Combine the crust ingredients in a medium-sized mixing bowl. Mix the cassava flour, coconut sugar, pumpkin pie spice, and salt. Next, add the shortening and egg, using a fork initially, then finish off by using your hands to create a dough.
-
Shape the mini crusts by scooping the dough with a large cookie scoop. Roll it into a ball and press it into the greased muffin tin. Use your fingers to mold the dough into little pie crusts that sit just below the rim.
-
Prepare the filling in a large mixing bowl. Combine organic pumpkin puree, coconut cream, egg, egg yolk, vanilla extract, coconut sugar, cassava flour, pumpkin pie spice, and salt. Whisk until smooth and creamy, ensuring all ingredients are well incorporated.
-
Fill each pie crust with the pumpkin filling. Pour gently, filling just below the rim of the crust. To ensure there are no air bubbles, gently tap the muffin tin on the counter.
-
Bake in the preheated oven for 25 minutes, or until the filling is set and the edges of the crust are golden brown. Your kitchen will be filled with a delightful aroma!
-
Cool the mini pies in the pan at room temperature. Once cooled, carefully use a butter knife to pop each pie out of the muffin tin.
-
Store any leftovers in an airtight container in the refrigerator for up to one week, ensuring they stay fresh for whenever a sweet craving strikes.
Optional: Drizzle with maple syrup or top with whipped coconut cream for an extra special treat!
Exact quantities are listed in the recipe card below.
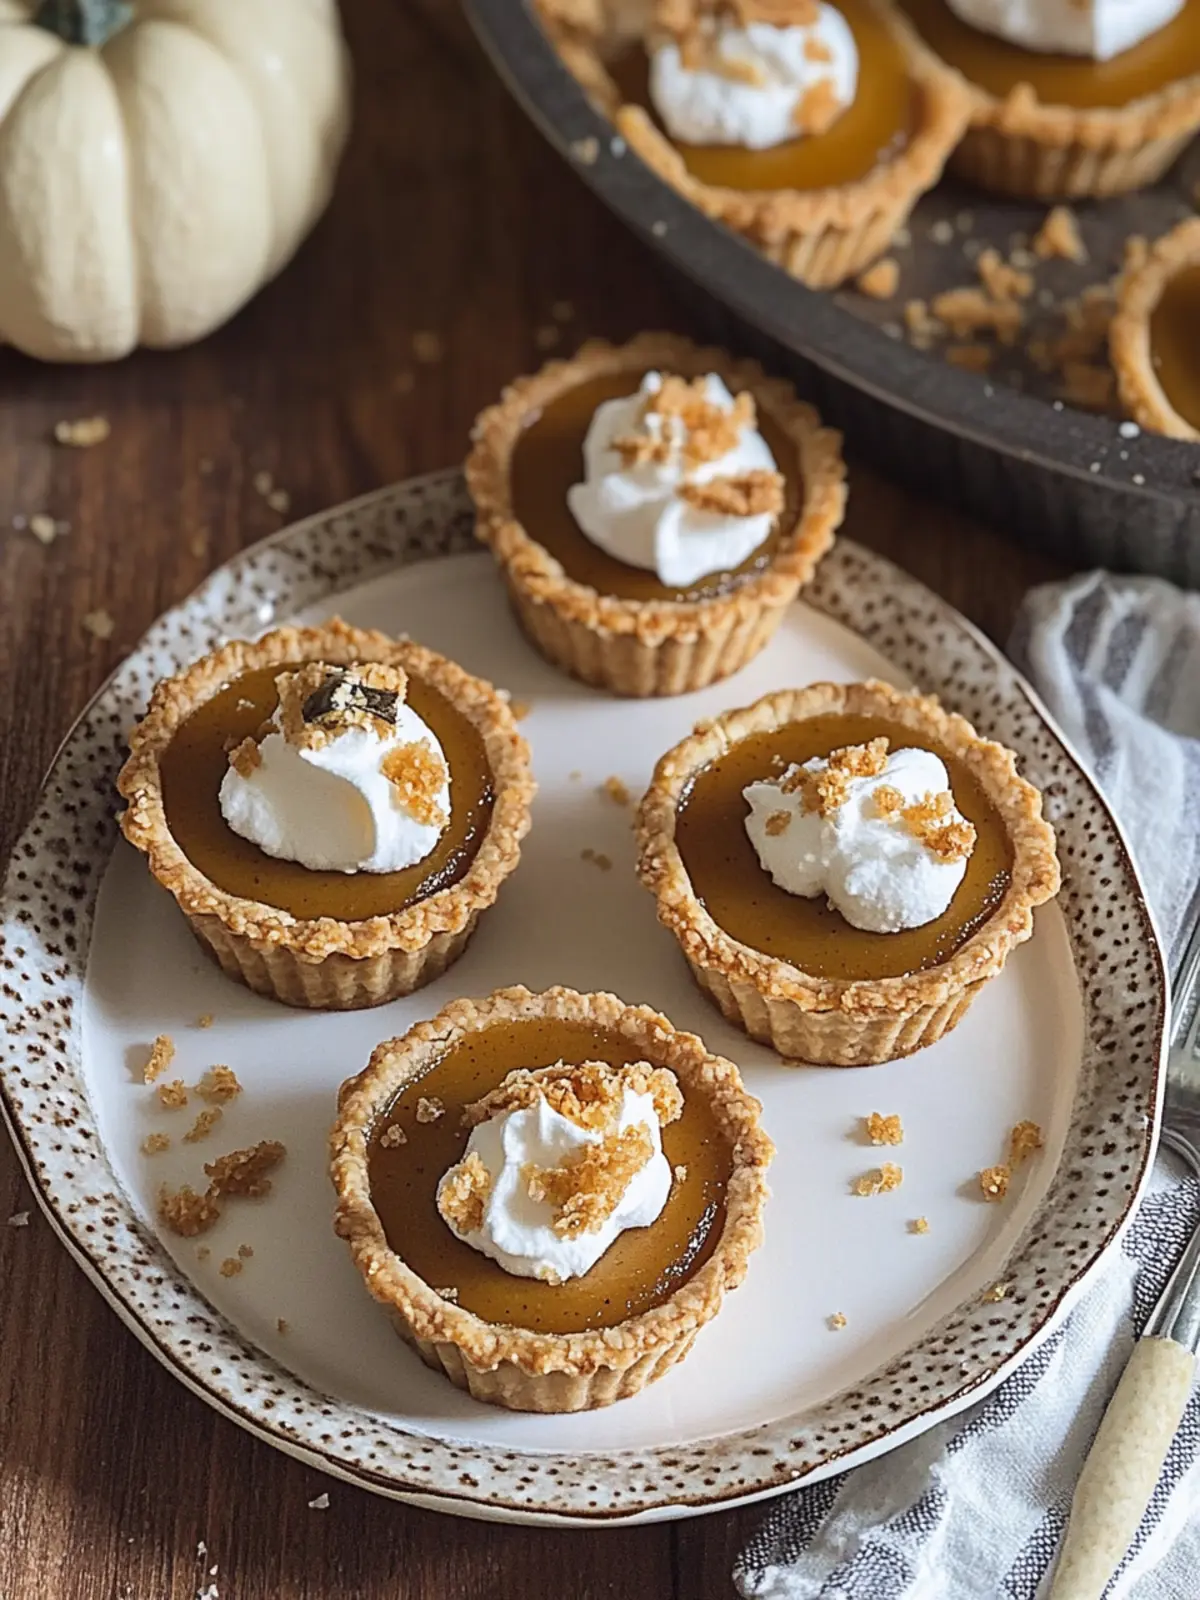
Expert Tips for Mini Pumpkin Pies
• Chill the Dough: A chilled dough can help maintain the shape during baking. Rest it in the fridge for at least 15 minutes if it’s too warm when shaping.
• Avoid Overmixing: Mix the dough just until it comes together. Overmixing can lead to tough crusts instead of the tender texture we love.
• Check Doneness: Baking times can vary by oven. Use a toothpick; the filling should be set but slightly wobbly in the center, indicating a perfect bake.
• Flexible Fillings: Feel free to add extras like chopped nuts or chocolate chips to the filling for a twist on these classic mini pumpkin pies!
• Test the Spice: Adjust the pumpkin pie spice to your preference before pouring it into the crusts. A little more or less can really enhance the flavor!
What to Serve with Mini Pumpkin Pies?
Elevate your mini pumpkin pie experience with these delightful accompaniments that bring comfort and joy to any table.
-
Whipped Coconut Cream:
A dollop of creamy coconut whipped cream complements the spiced filling beautifully, adding a luscious touch without dairy. -
Spiced Cranberry Compote:
The tartness of spiced cranberry compote balances the sweetness of the pies, creating a refreshing burst of flavor with each bite. -
Vanilla Ice Cream:
Serve a scoop of velvety vanilla ice cream alongside for a warm and cold contrast that enhances the pumpkin spice experience. -
Maple Syrup Drizzle:
A drizzle of rich maple syrup brings out the natural sweetness of the pies, making every bite feel even more indulgent. -
Warm Apple Cider:
Sipping on warm apple cider creates a cozy, fall-inspired atmosphere that perfectly complements the comforting flavors of pumpkin pie. -
Nutty Granola Parfait:
Layer granola with yogurt and seasonal fruits for a delightful crunch that pairs well with the smooth texture of the mini pies. -
Hazelnut Coffee:
Enjoy a cup of smooth hazelnut coffee with your mini pumpkin pies to enhance the warm spices with its rich, nutty flavor.
These delightful pairings not only enhance the deliciousness of your mini pumpkin pies but also create a comforting feast that warms the heart.
Make Ahead Options
These delightful Mini Pumpkin Pies are perfect for meal prep, allowing you to savor homemade goodness even on the busiest days! You can prepare the crust up to 24 hours in advance by mixing the ingredients and storing it tightly wrapped in the refrigerator. The filling can also be whisked together and refrigerated for up to 3 days before using. To maintain the pies’ quality, ensure the crust is well-covered to prevent drying out and keep the filling in a sealed container to avoid absorbing odors. When you’re ready to bake, simply portion the crust into the muffin tin, fill with the pre-made filling, and bake as directed. You’ll enjoy that fresh-baked aroma and flavors with minimal effort!
Storage Tips for Mini Pumpkin Pies
Fridge: Store your Mini Pumpkin Pies in an airtight container in the fridge for up to one week. This keeps them fresh and ready for when those cravings hit!
Freezer: If you want to enjoy these delightful pies later, freeze them in a single layer on a baking sheet until firm, then transfer to a freezer-safe container. They can last up to three months.
Reheating: To reheat, place the frozen Mini Pumpkin Pies in the oven at 350°F (175°C) for about 10-15 minutes. You’ll bring back their delicious warmth and flavor!
Serving: For an extra touch, add a dollop of whipped coconut cream or a drizzle of maple syrup before serving—this elevates the tasty experience!
Mini Pumpkin Pies Variations
Feel free to get creative and tailor these mini pumpkin pies to your taste buds and dietary needs!
-
Gluten-Free: Substitute 1:1 gluten-free flour blend for cassava flour to keep it celiac-friendly. You won’t miss the gluten!
-
Dairy-Free: Swap coconut cream with almond or cashew cream to achieve a creamy texture without the dairy.
-
Nutty Twist: Add 1/4 cup of finely chopped pecans or walnuts to the filling mixture for a delightful crunch. This will enhance the pie’s flavor profile beautifully.
-
Spicy Kick: Incorporate a pinch of cayenne pepper or crushed red pepper flakes into the filling for a surprising heat that pairs wonderfully with pumpkin.
-
Pumpkin Spice Boost: Increase the pumpkin pie spice to 2 teaspoons for a more pronounced flavor. This extra spice amplifies the warm, cozy essence we love.
-
Sweetener Swap: Experiment with maple syrup or honey instead of coconut sugar for a different sweet taste. Just adjust the liquid content accordingly!
-
Vegan Delight: Substitute the eggs with flaxseed meal. Mix 1 tablespoon of flaxseed meal with 2.5 tablespoons of water per egg to create a vegan-friendly version.
-
Fruit Fill: Mix in mashed banana or applesauce with the pumpkin to add moisture and natural sweetness. It’s a fun and fruity twist!
Whichever variation you try, these mini pies are bound to please!

Mini Pumpkin Pies Recipe FAQs
What kind of pumpkin puree should I use?
Absolutely use organic pumpkin puree for the best flavor! The richness of organic options enhances the pie’s taste. If you find canned pumpkin puree, that works great too! Just avoid pumpkin pie filling, as it contains added sugars and spices that could alter your recipe.
How should I store Mini Pumpkin Pies?
Store your Mini Pumpkin Pies in an airtight container in the fridge for up to one week. This helps them stay fresh and delicious, ready for when a sweet craving strikes!
Can I freeze Mini Pumpkin Pies?
Yes! To freeze your Mini Pumpkin Pies, place them in a single layer on a baking sheet and freeze until firm. Then, transfer them to a freezer-safe container or a zip-lock bag. They can last for up to three months.
How do I reheat frozen Mini Pumpkin Pies?
To bring back their delightful warmth, simply place the frozen Mini Pumpkin Pies in the oven at 350°F (175°C) for about 10-15 minutes. This will restore their fresh-out-of-the-oven charm!
What do I do if my filling is too runny?
If your filling seems too runny, it might need more thickening. Add a little more cassava flour (1 tablespoon at a time), mixing gently, to achieve the right consistency. Ensure to whisk it thoroughly to prevent lumps before pouring it into the crusts.
Are these Mini Pumpkin Pies suitable for allergies?
These pies are gluten-free since they use cassava flour. However, they contain coconut cream and egg, so they’re not suitable for those with coconut or egg allergies. To adapt, you can substitute egg replacers or use alternatives like almond milk in place of coconut cream for an egg-free version, though this will change the overall texture a bit.
Enjoy making your charming Mini Pumpkin Pies—they’re bound to be a hit!

Irresistible Mini Pumpkin Pies for Cozy Fall Treats
Ingredients
Equipment
Method
- Preheat your oven to 350°F (175°C). Grease a standard-sized muffin tin with shortening or butter, ensuring each cup is well-coated for easy removal.
- Combine the crust ingredients in a medium-sized mixing bowl. Mix the cassava flour, coconut sugar, pumpkin pie spice, and salt. Next, add the shortening and egg, using a fork initially, then finish off by using your hands to create a dough.
- Shape the mini crusts by scooping the dough with a large cookie scoop. Roll it into a ball and press it into the greased muffin tin. Use your fingers to mold the dough into little pie crusts that sit just below the rim.
- Prepare the filling in a large mixing bowl. Combine organic pumpkin puree, coconut cream, egg, egg yolk, vanilla extract, coconut sugar, cassava flour, pumpkin pie spice, and salt. Whisk until smooth and creamy, ensuring all ingredients are well incorporated.
- Fill each pie crust with the pumpkin filling. Pour gently, filling just below the rim of the crust. To ensure there are no air bubbles, gently tap the muffin tin on the counter.
- Bake in the preheated oven for 25 minutes, or until the filling is set and the edges of the crust are golden brown. Your kitchen will be filled with a delightful aroma!
- Cool the mini pies in the pan at room temperature. Once cooled, carefully use a butter knife to pop each pie out of the muffin tin.
- Store any leftovers in an airtight container in the refrigerator for up to one week, ensuring they stay fresh for whenever a sweet craving strikes.