As the summer heat rises, there’s nothing quite as refreshing as the taste of sweet, juicy watermelon. But what if I told you that you could transform this beloved fruit into a delightful treat that’s both chewy and satisfying? That’s how I discovered the magic of Watermelon Mochi. This recipe was born from a desire to create something fun and unique—a vibrant fusion of flavors that celebrates the essence of summer.
Imagine biting into a soft, pillowy morsel, the sweet watermelon flavor exploding in your mouth while the chewy texture brings a delightful surprise. Perfect for a snack, dessert, or even a party treat, Watermelon Mochi is not only a feast for the taste buds but also easy to make. With just a handful of ingredients and a short cooking time, you’ll soon find yourself whipping up batch after batch of this tantalizing delight. So grab your ingredients and join me in creating a taste of summer in every bite!
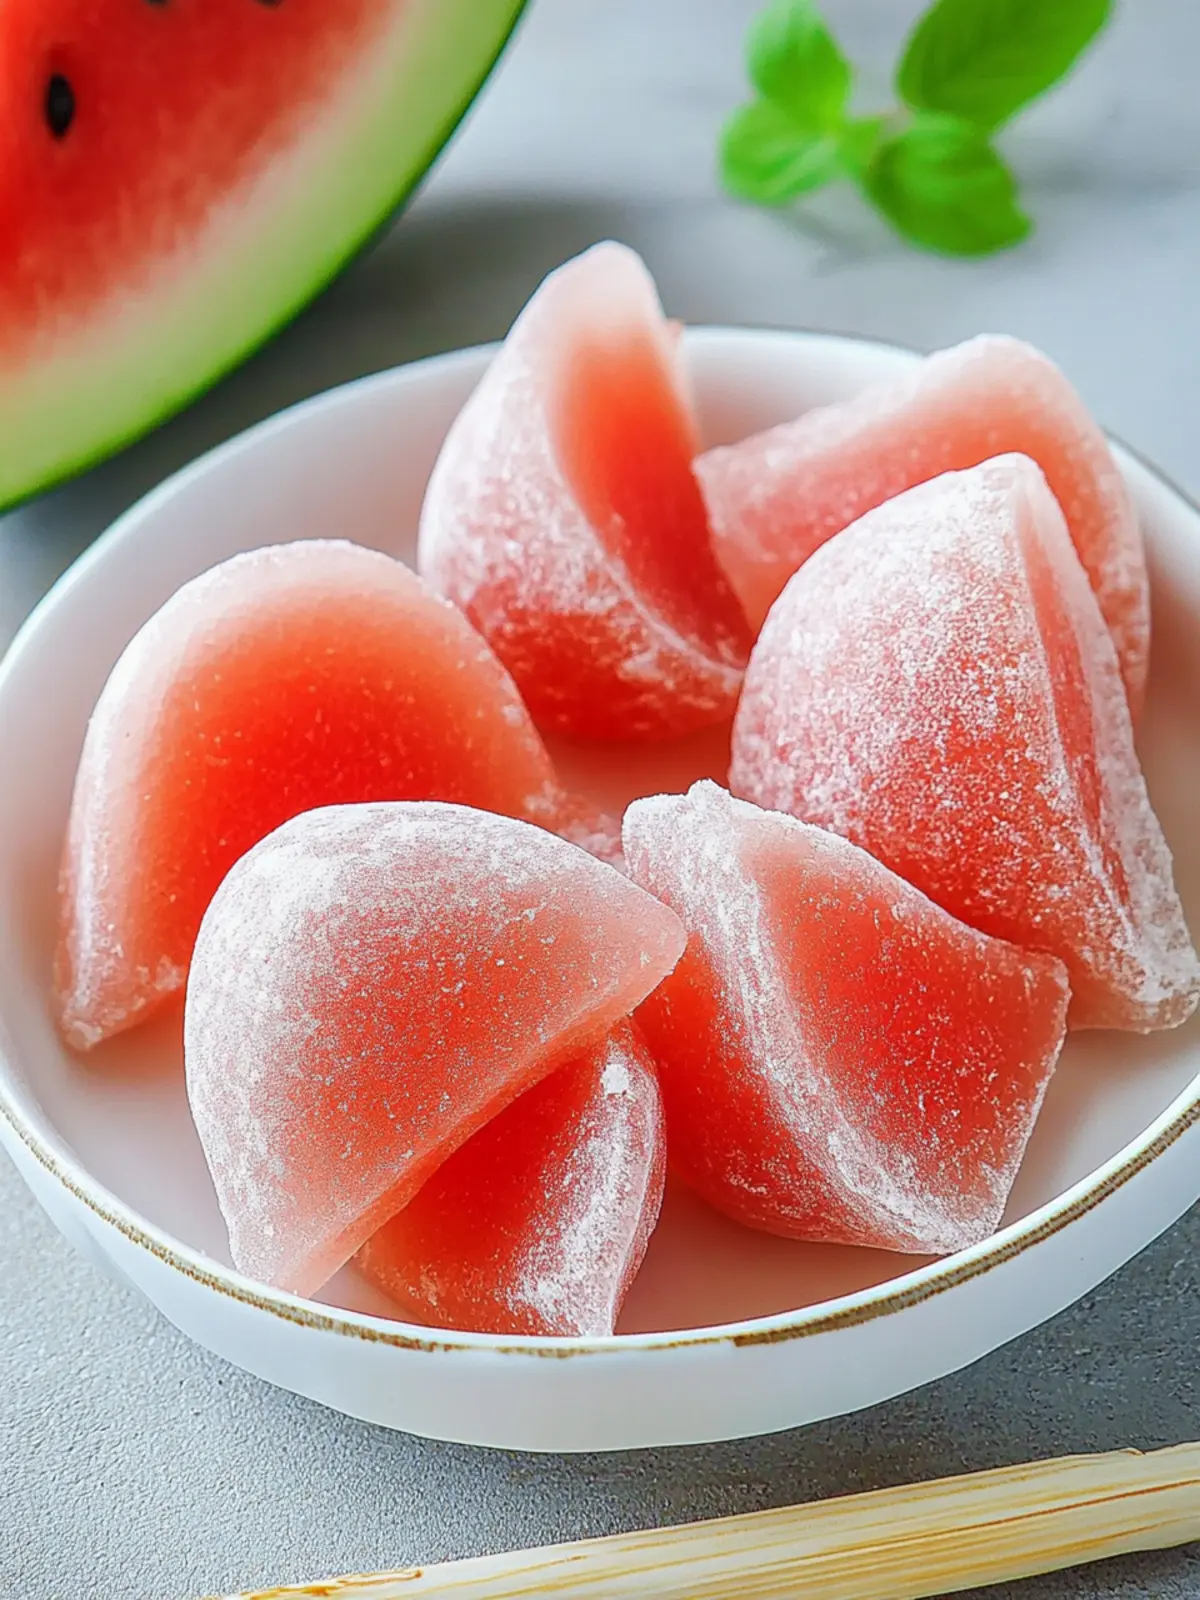
Why You’ll Love Watermelon Mochi
Unique Flavor: The refreshing taste of watermelon elevates this treat, making it a perfect summer snack.
Quick & Easy: With just 3–5 minutes of cooking time, this recipe is designed for busy days.
Chewy Texture: Experience the delightful contrast between the soft mochi and sweet watermelon essence.
Versatile Serving Options: Enjoy it plain or coated in roasted soybean flour or coconut for extra flair.
Crowd-Pleasing: Perfect for parties, this fun dessert will impress friends and family alike, turning any gathering into a festive occasion.
Watermelon Mochi Ingredients
For the Mochi
• 600 g fresh watermelon flesh – This will yield the luscious juice necessary for that sweet watermelon flavor.
• 150 g glutinous rice flour – Essential for crafting the chewy texture that makes mochi so irresistible.
• 20 g sugar – This adds a touch of sweetness to balance the flavors perfectly.
• 50 g cornstarch – Helps to achieve a smooth, non-sticky dough that’s easy to work with.
• 20 g neutral cooking oil – Ensures the mochi remains pliable and deliciously smooth.
For Dusting
• Cooked glutinous rice flour – Use as needed to prevent sticking and to give the mochi a beautifully dusted finish.
Indulge in the joy of creating your own Watermelon Mochi and enjoy a sumptuous treat that brings summer right to your fingertips!
How to Make Watermelon Mochi
-
Prepare the Watermelon: Remove the rind and seeds from the watermelon. Blend the flesh until smooth, then strain through a fine sieve to achieve 300 g of silky watermelon juice. Set it aside for later use.
-
Mix Ingredients: In a large bowl, combine glutinous rice flour, sugar, and cornstarch. Pour in the neutral oil and the 300 g of watermelon juice. Whisk together until the mixture is completely smooth and free of lumps.
-
Cook the Dough: Pour the blended mixture into a non-stick pan. Cook it over low heat, stirring constantly with a silicone spatula. In just 3–5 minutes, you’ll see the mixture thicken into a smooth, elastic dough that pulls away from the sides of the pan.
-
Knead the Dough: Transfer the dough onto a surface dusted with cooked glutinous rice flour. Gently stretch and fold the dough 3–5 times to improve its elasticity and texture, ensuring it’s perfectly chewy.
-
Shape into Pieces: Allow the dough to cool until it’s manageable. Roll it into logs and cut into small pieces, or shape them into delightful bite-sized balls. Serve immediately or coat with roasted soybean flour or shredded coconut for extra flavor.
Optional: Dust with additional coconut for a tropical twist.
Exact quantities are listed in the recipe card below.
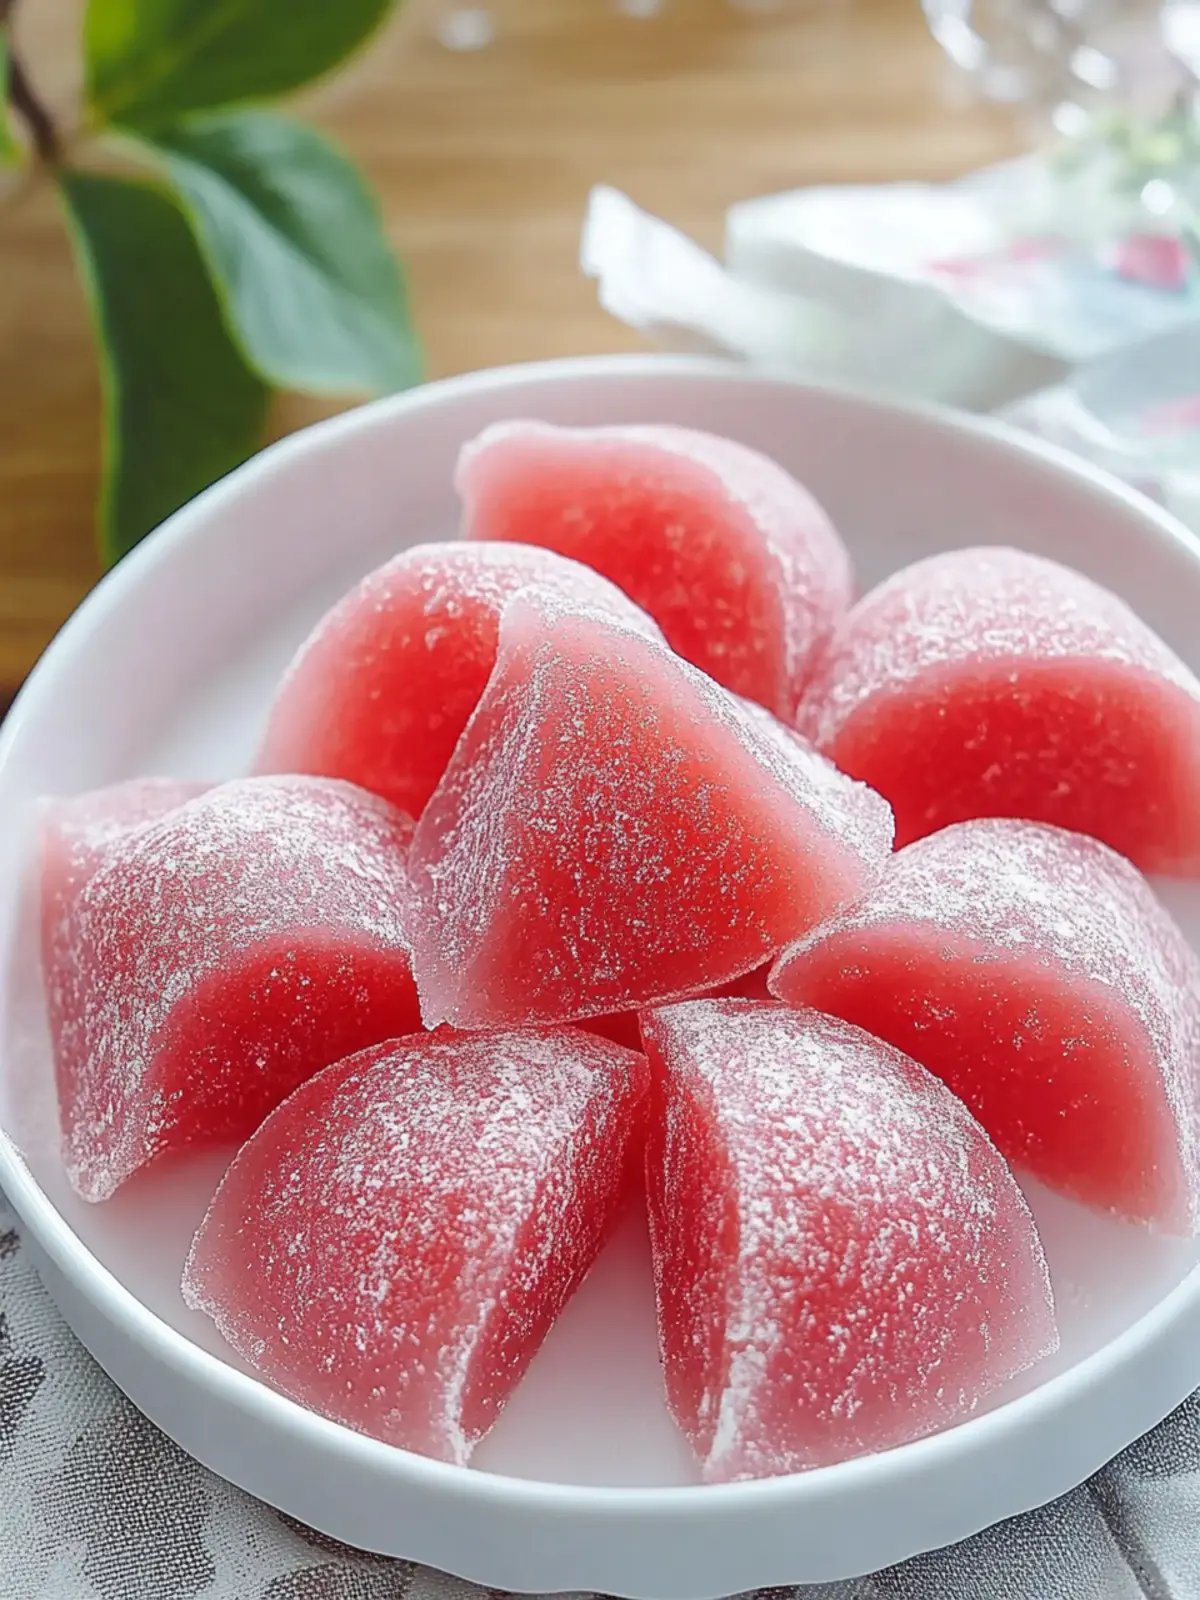
Variations & Substitutions for Watermelon Mochi
Feel free to add your personal touch and make this recipe your own with these exciting options!
-
Strawberry Splash: Substitute half of the watermelon juice with strawberry puree for a delightful berry twist. The sweet tartness will make each bite even more refreshing.
-
Vegan Delight: For a dairy-free version, ensure you use a plant-based oil and keep all ingredients as is. This mochi will still be soft and chewy!
-
Flavorful Infusions: Add a teaspoon of vanilla extract or almond extract to the mixture for a sweet aroma that enhances the watermelon. Just a hint of flavor can create an entirely new experience.
-
Nutty Crunch: Mix in finely chopped nuts, such as pistachios or almonds, into the dough before cooking for added texture and flavor. It creates a satisfying crunch in every soft bite!
-
Coconut Twist: Incorporate coconut milk in place of some watermelon juice for a tropical flavor boost. This gives the mochi a rich creaminess that pairs wonderfully with the soft texture.
-
Spicy Kick: Add a pinch of chili powder or a few drops of sriracha for a unique spicy take on the classic sweet mochi. The heat will contrast beautifully with the sweetness of the watermelon.
-
Matcha Magic: Blend in a teaspoon of matcha green tea powder to the dry ingredients for a beautiful green color and a hint of earthy flavor. This not only adds unique taste but also provides a colorful presentation!
-
Chocolate Delight: For chocolate enthusiasts, roll the mochi in cocoa powder or melt some dark chocolate to drizzle over the pieces before serving. The pairing of chocolate and watermelon is an unexpected but delightful surprise!
What to Serve with Watermelon Mochi?
Nothing completes this refreshing treat quite like a few delightful pairings to complement its unique texture and flavor.
-
Chilled Green Tea: A light and soothing beverage that enhances the subtle sweetness of the mochi, making it an excellent palate cleanser.
-
Fresh Fruit Salad: A medley of seasonal fruits adds vibrant colors and a festive touch while refreshing your taste buds alongside the mochi.
-
Coconut Milk Shakes: Creamy and indulgent, coconut milk shakes elevate the tropical vibes of the watermelon mochi, creating an irresistible summer experience.
-
Japanese Matcha Powder: Sprinkle this earthy green powder over your mochi for an extra layer of flavor that balances sweetness with a rich, umami twist.
-
Mango Sorbet: The smooth, fruity sorbet adds a contrasting coolness and complements the mochi’s chewy texture, perfect for a hot summer day.
-
Chocolate Dipping Sauce: A warm, rich chocolate sauce transforms the watermelon mochi into an indulgent dessert that satisfies any sweet tooth while enhancing the flavor profile.
These pairings can transform your watermelon mochi experience into a feast for the senses, adding fun variety and fresh elements to your table!
How to Store and Freeze Watermelon Mochi
Fridge: Keep your Watermelon Mochi in an airtight container for up to 3 days. This helps maintain its chewy texture and delicious flavor.
Freezer: For longer storage, place the mochi in a single layer in a freezer-safe container, separating the pieces with parchment paper. It can be frozen for up to 1 month.
Thawing: To enjoy frozen Watermelon Mochi, simply transfer it to the fridge overnight or let it sit at room temperature for about 30 minutes before serving.
Reheating: If desired, warm the mochi slightly in the microwave for 10-15 seconds for a delightful, chewy treat.
Tips for the Best Watermelon Mochi
Use Fresh Watermelon: Ensure you’re using ripe, sweet watermelon for the best flavor. Overripe or underripe fruit can impact the taste.
Consistent Mixing: Whisk the watermelon juice and dry ingredients thoroughly to avoid lumps. Poor mixing can lead to a gummy texture in your Watermelon Mochi.
Watch the Cooking Time: Cooking the dough too long can make it tough. Just 3–5 minutes is enough for a perfect, elastic dough, so keep a close eye!
Dust Properly: Use enough cornstarch for dusting to prevent sticking but don’t overdo it—too much can alter the taste and texture.
Cool Before Shaping: Let the dough cool until it’s comfortable to handle, ensuring you can easily shape your Watermelon Mochi without burns.
Make Ahead Options
These Watermelon Mochi are perfect for meal prep, allowing you to enjoy this delightful treat without the last-minute fuss. You can prepare the dough up to 24 hours in advance. Simply follow the first three steps of the recipe and allow the cooked dough to cool completely. Once cooled, wrap it tightly in plastic and refrigerate. To maintain that delightful chewy texture, keep it sealed until you’re ready to shape and serve. When you’re ready to impress, simply roll the chilled dough into logs or bite-sized balls and coat with roasted soybean flour or shredded coconut before serving. This way, you’ll have a refreshing and fun dessert ready to go on busy weeknights!
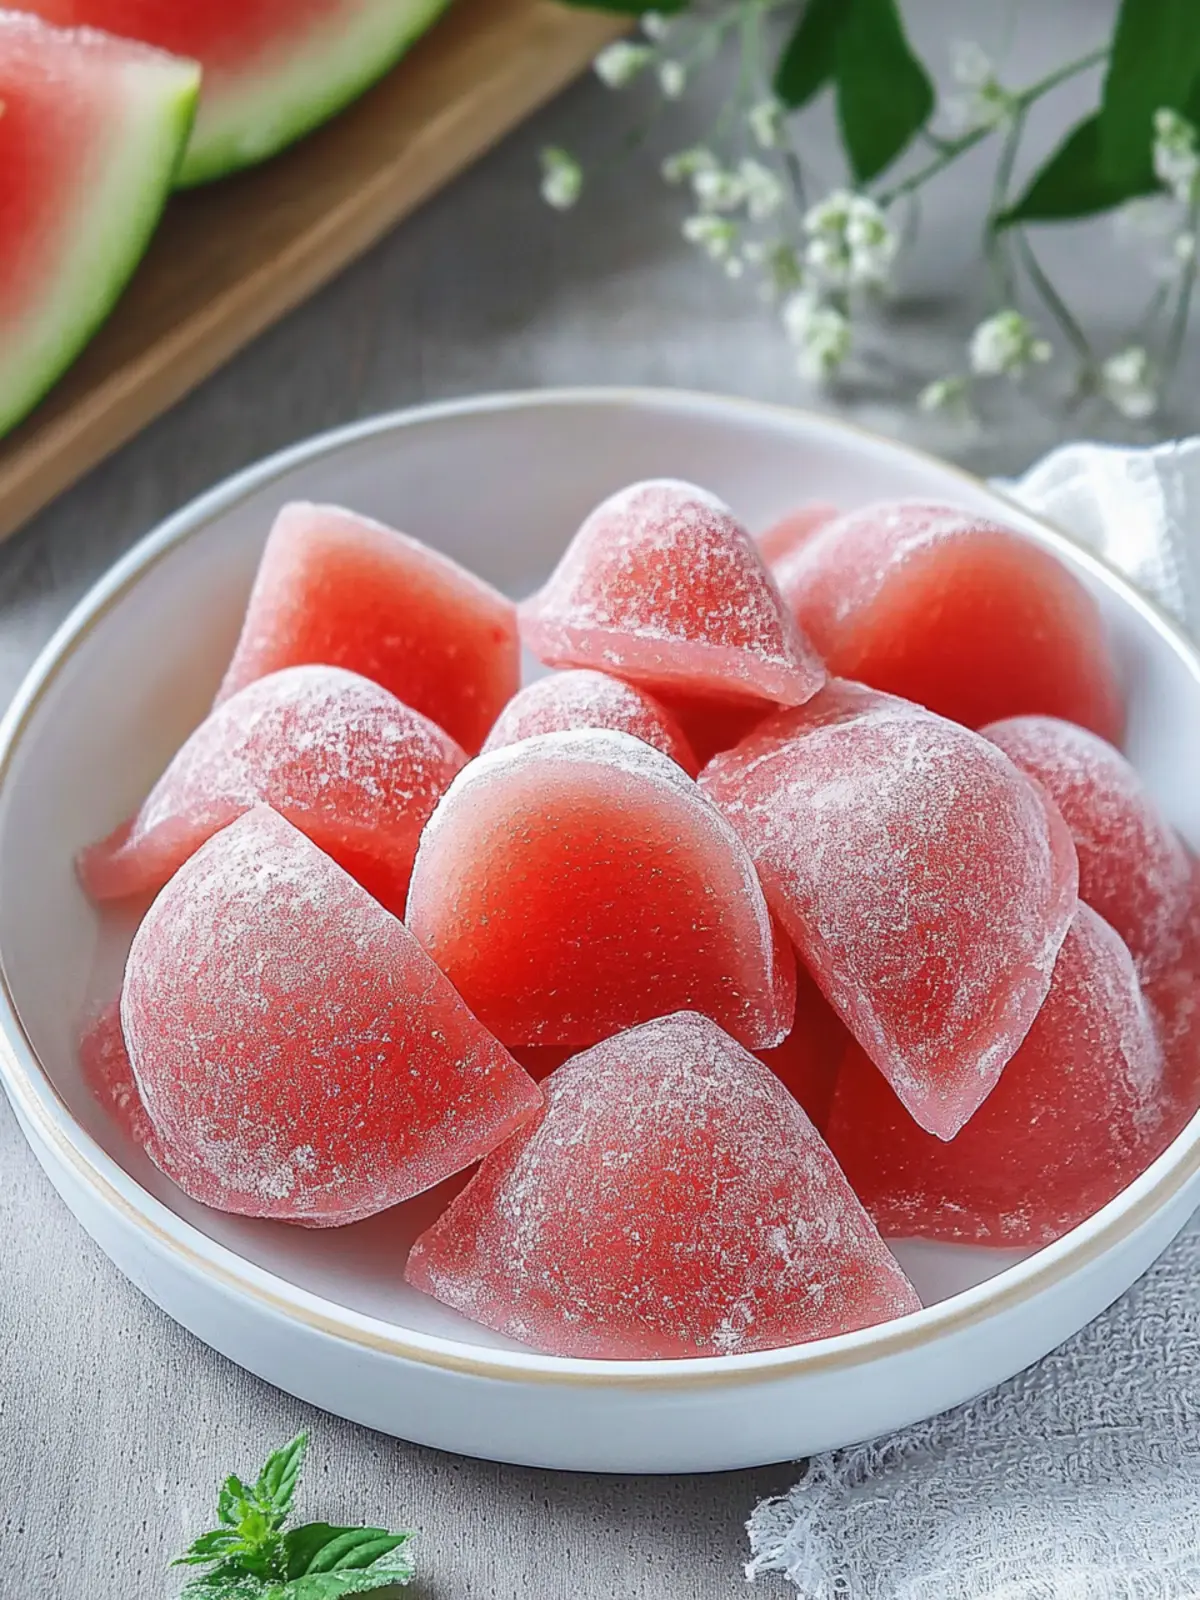
Watermelon Mochi Recipe FAQs
What type of watermelon should I use for Watermelon Mochi?
Absolutely, using ripe, sweet watermelon is crucial for the best flavor in your Watermelon Mochi. Look for watermelons with a uniform, deep green color and a dull spot where it rested on the ground. Avoid any that have dark spots all over, as they may be overripe.
How should I store leftover Watermelon Mochi?
Very simple! Store your Watermelon Mochi in an airtight container in the refrigerator for up to 3 days. This keeps it fresh and maintains that delightful chewy texture. If you’re feeling adventurous, take it a step further and coat it in coconut or soybean flour before storing to enhance flavor!
Can I freeze Watermelon Mochi?
Absolutely! To freeze your Watermelon Mochi, arrange pieces in a single layer in a freezer-safe container, making sure to separate them with parchment paper to prevent sticking. It can be kept frozen for up to 1 month. Just remember, they taste best fresh, so make your batches accordingly!
What’s the best way to thaw frozen Watermelon Mochi?
An easy process: just transfer your frozen Watermelon Mochi to the refrigerator the night before you intend to enjoy it. If you’re in a hurry, you can let them sit at room temperature for about 30 minutes instead. This gentle thawing keeps the texture chewy and delicious!
Why is my Watermelon Mochi too chewy or tough?
Don’t worry—it happens! If you find your mochi has turned out too chewy, it’s likely due to overcooking the dough. Keep a close watch while cooking; just 3–5 minutes is all it takes! Next time, try stirring constantly and removing it from heat as soon as it thickens into a smooth, elastic dough.
Can I make this recipe gluten-free?
Unfortunately, the glutinous rice flour is essential for that signature chewy texture in Watermelon Mochi. However, if you’re avoiding gluten for health reasons, some have successfully experimented with gluten-free sweet rice flour, though results may vary. Always test in small batches to see how it works for you!
Enjoy your delightful Watermelon Mochi, and don’t hesitate to reach out if you have any more questions!
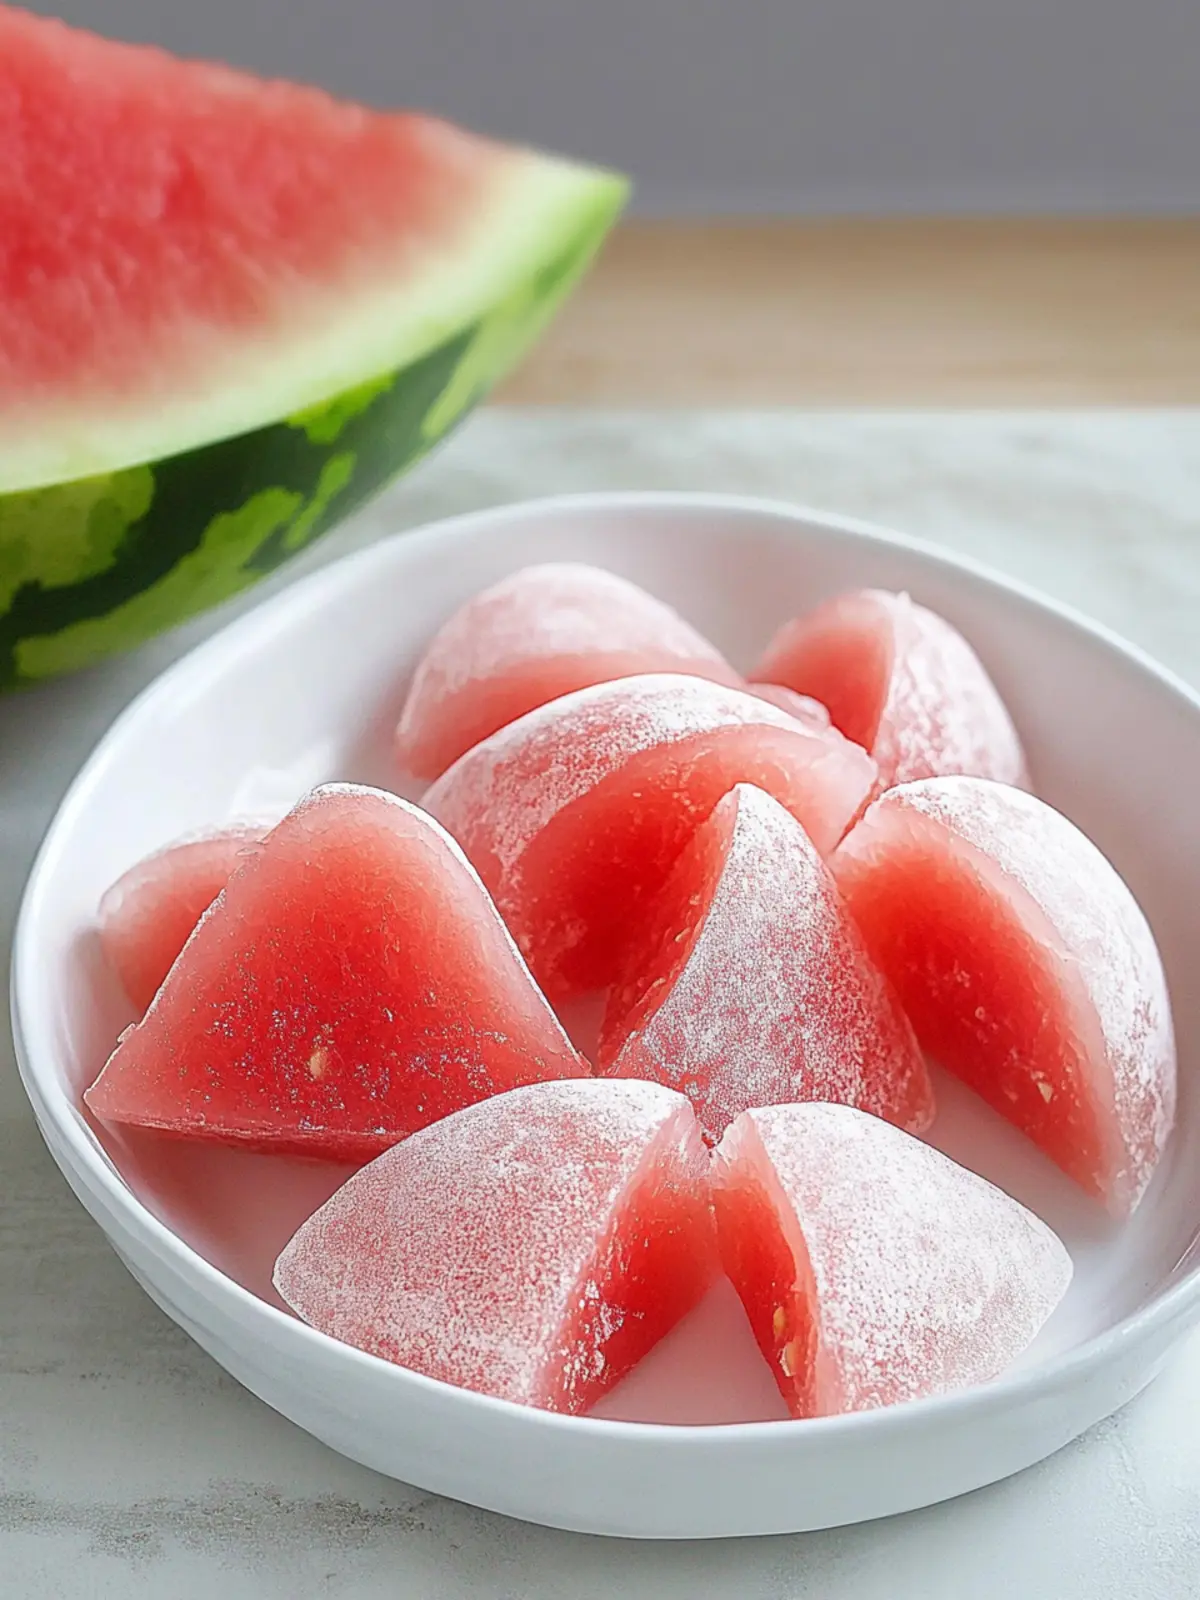
Deliciously Chewy Watermelon Mochi to Satisfy Your Cravings
Ingredients
Equipment
Method
- Prepare the Watermelon: Remove the rind and seeds from the watermelon. Blend the flesh until smooth, then strain through a fine sieve to achieve 300 g of silky watermelon juice. Set it aside for later use.
- Mix Ingredients: In a large bowl, combine glutinous rice flour, sugar, and cornstarch. Pour in the neutral oil and the 300 g of watermelon juice. Whisk together until the mixture is completely smooth and free of lumps.
- Cook the Dough: Pour the blended mixture into a non-stick pan. Cook it over low heat, stirring constantly with a silicone spatula. In just 3–5 minutes, you'll see the mixture thicken into a smooth, elastic dough that pulls away from the sides of the pan.
- Knead the Dough: Transfer the dough onto a surface dusted with cooked glutinous rice flour. Gently stretch and fold the dough 3–5 times to improve its elasticity and texture.
- Shape into Pieces: Allow the dough to cool until it's manageable. Roll it into logs and cut into small pieces, or shape them into delightful bite-sized balls.