There’s something utterly delightful about biting into a soft, chewy treat that surprises you with a burst of creamy peanut butter goodness. That’s exactly what my Peanut Butter Mochi offers—a little piece of heaven that melds texture and flavor in a way that’s sure to impress. I stumbled upon this recipe during a craving for something sweet, yet satisfying, and now it’s become my secret weapon during friendly gatherings and family nights.
The beauty of this mochi lies in its versatility. With just a handful of staple ingredients, you’ll find it’s an uncomplicated process that delivers oh-so-satisfying results. Whether you’re new to mochi or a seasoned pro, this recipe is approachable—even if your kitchen skills leave something to be desired! Join me in creating this delightful dessert that brings a touch of Asian flair right to your home kitchen, and prepares to wow your friends and family with every bite!
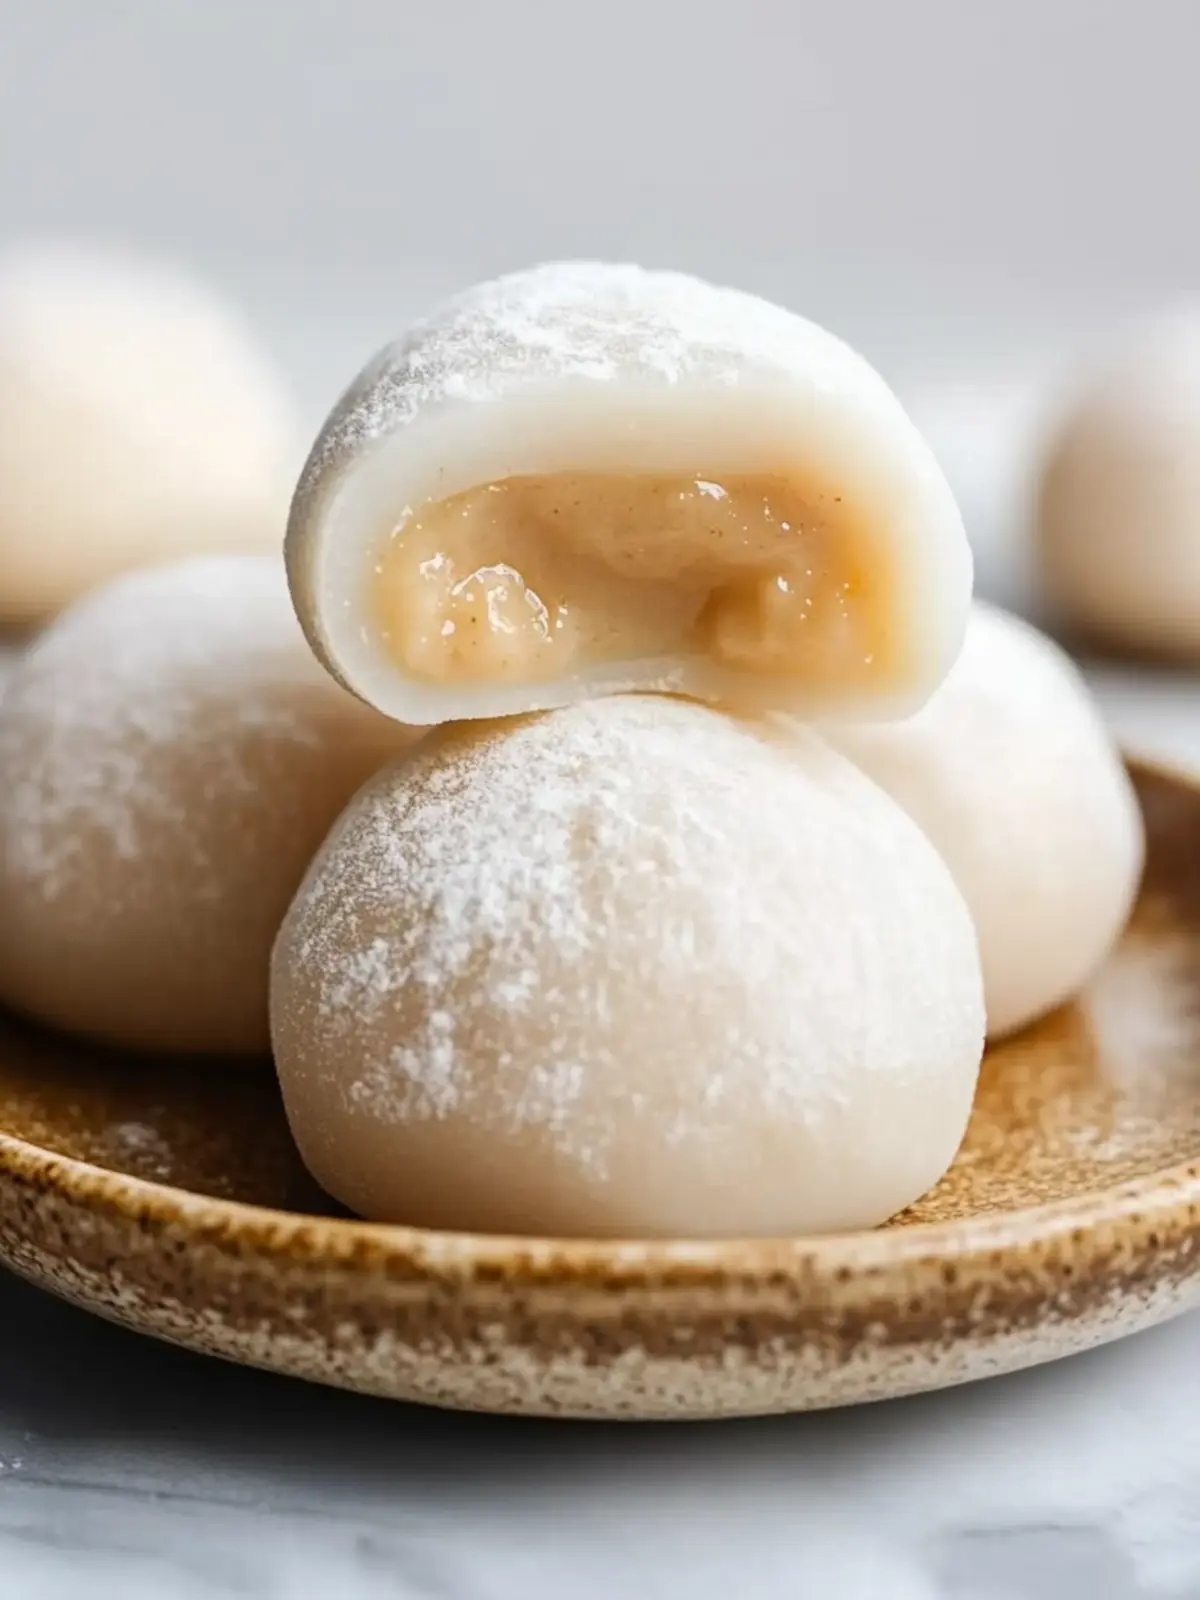
Why is Peanut Butter Mochi a Must-Try?
Irresistible Flavors: The creamy peanut butter blends seamlessly with sweetened condensed milk for a dessert that delivers a rich and indulgent experience.
Easy to Make: With just a few ingredients and simple steps, you can whip up this delightful treat in no time.
Crowd-Pleasing: Perfect for gatherings, this mochi will leave everyone asking for the recipe—not to mention, it’s a great conversation starter!
Customizable: Feel free to adjust the filling or add different flavors to suit your taste preferences.
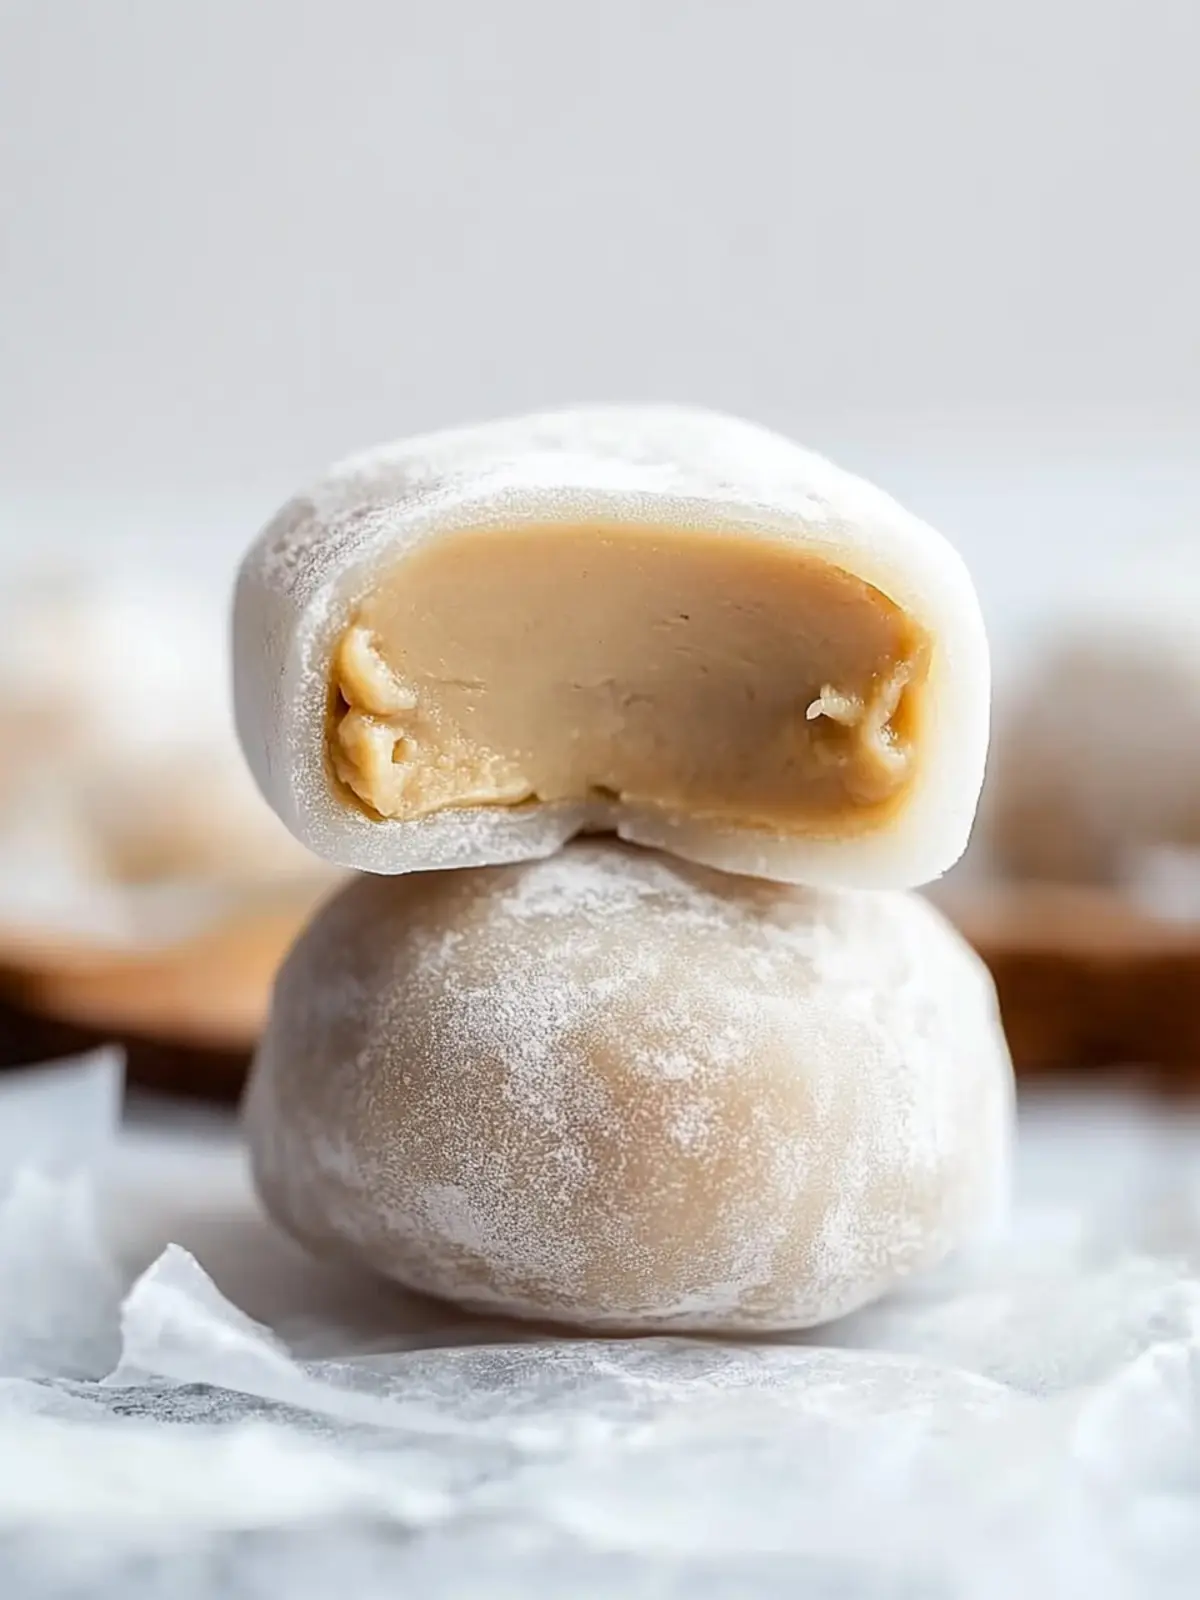
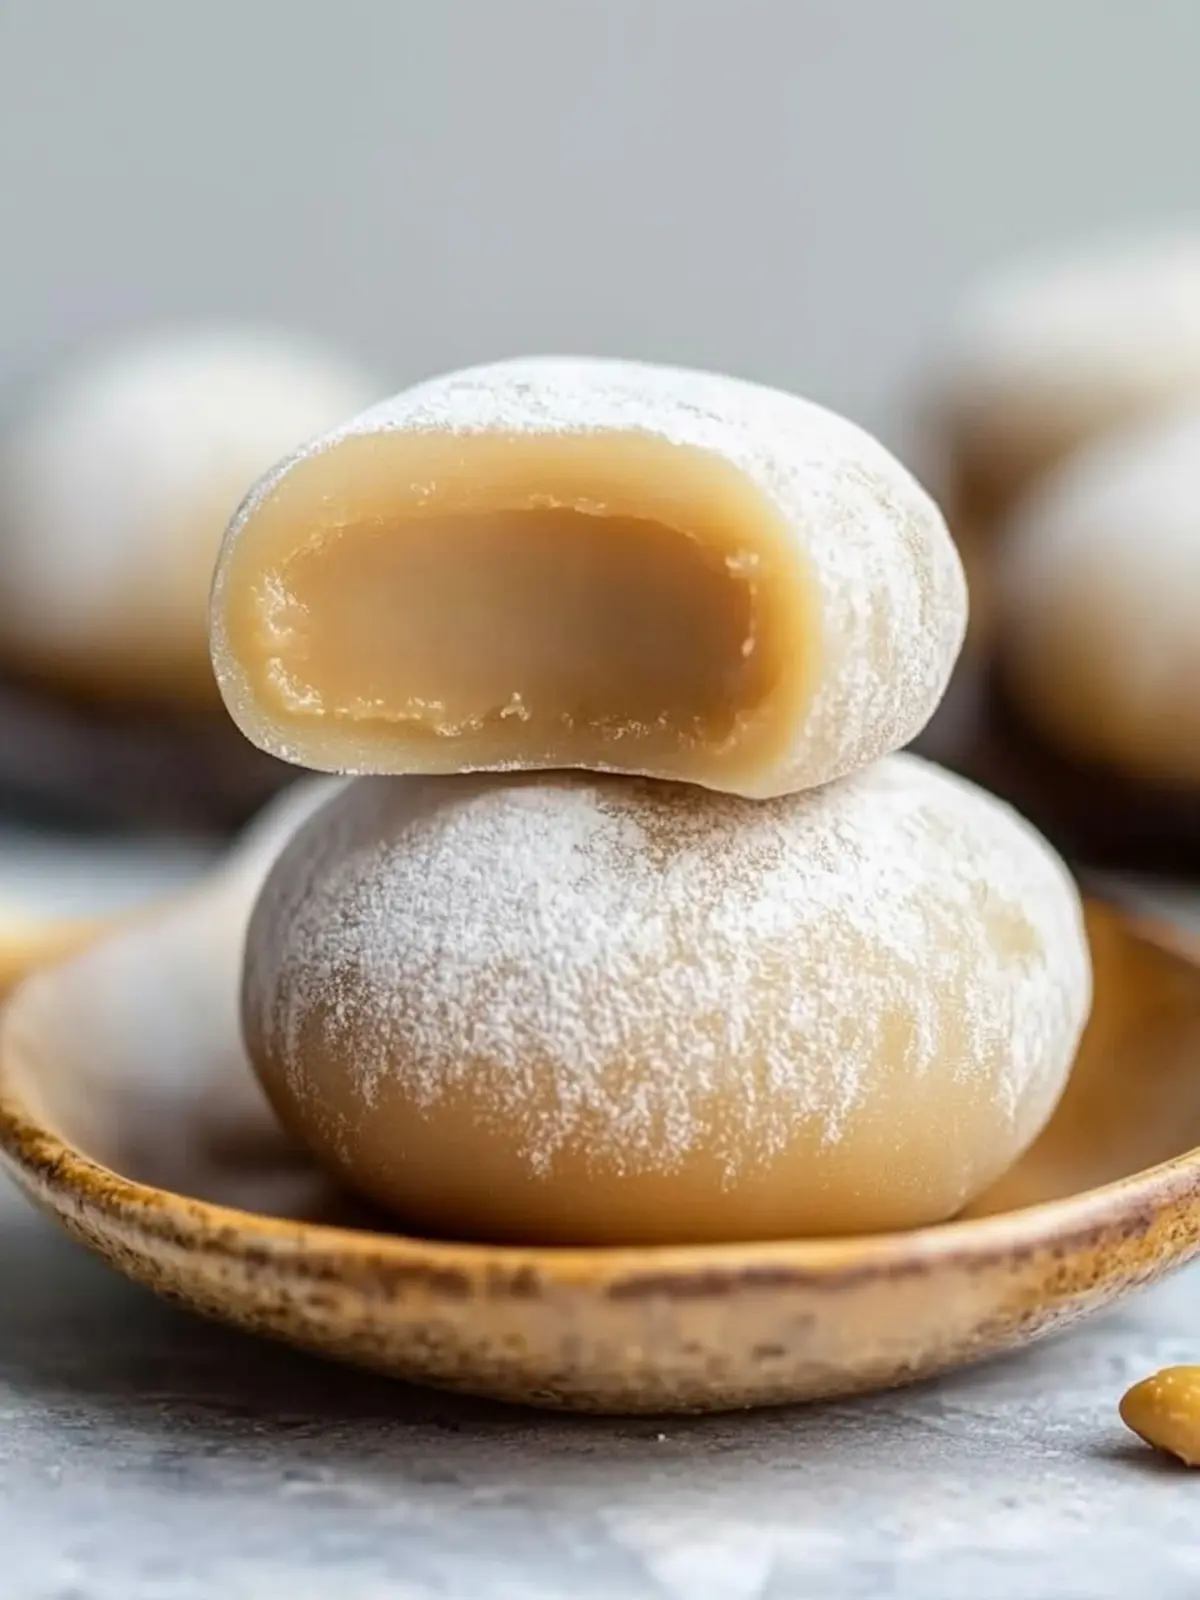
Texture Perfection: The chewy outer layer combined with the gooey center creates a unique mouthfeel that’s incredibly satisfying.
Experience the joy of homemade desserts and take a step away from fast food! This Peanut Butter Mochi is sure to become a cherished recipe in your collection.
Peanut Butter Mochi Ingredients
For the Mochi Dough
• Glutinous rice flour – this key ingredient gives mochi its delightful chewy texture, essential for your Peanut Butter Mochi!
• Sugar – adds a subtle sweetness to balance the flavors in your dough.
• Water – helps to combine the ingredients and achieve the right consistency for the dough.
For the Filling
• Peanut butter – adds a rich, nutty flavor and creamy texture that pairs beautifully with mochi.
• Sweetened condensed milk – provides sweetness and creaminess, creating a luscious filling that melts in your mouth!
For Dusting
• Cornstarch – use this to prevent sticking while shaping your mochi, ensuring it stays silky smooth and easy to handle.
How to Make Peanut Butter Mochi
-
Blend: In a bowl, combine the creamy peanut butter and sweetened condensed milk until smooth and well incorporated. Refrigerate this mix for 15 minutes to let the flavors meld beautifully.
-
Cook: In a nonstick pan, whisk together the glutinous rice flour, sugar, and water. Cook over medium heat while stirring constantly with a rubber spatula until the mixture becomes a thick, dough-like consistency, about 5-7 minutes. Once thick, remove it from the heat and let it cool for 10 minutes.
-
Prepare Surface: Dust your work surface generously with cornstarch to prevent sticking. Place the dough onto this surface and dust the top with more cornstarch. Roll the dough into a rectangle about ¼-inch thick, and then cut it into 8 equal pieces.
-
Fill: Scoop about a tablespoon of the chilled peanut butter filling and shape it into a round ball. Place it in the center of a piece of mochi dough, pulling the sides over the filling to cover it completely. Pinch the edges to seal and trim off any excess dough. Place the filled mochi seam-side down on a dusted surface, and repeat with the remaining pieces.
-
Chill: Optional: Freeze the mochi for about an hour until firm, making it even easier to enjoy!
Exact quantities are listed in the recipe card below.
Peanut Butter Mochi Variations
Get ready to unleash your creativity in the kitchen with these customizable twists on a classic!
-
Nut-Free: Substitute peanut butter with sunflower seed butter for a deliciously creamy option without nuts.
-
Vegan: Use coconut cream in place of sweetened condensed milk and maple syrup instead of sugar for a plant-based delight.
-
Chocolate Lover: Fold in cocoa powder into the mochi dough for a chocolatey delight, enhancing that rich, creamy filling.
-
Fruity Twist: Add mashed ripe banana or pureed strawberries to the peanut butter filling for a fruity surprise in every bite.
-
Savory Kick: Mix a hint of sriracha or spicy chili powder into your peanut butter filling for a tasty heat that excites the palate.
-
Matcha Magic: Add matcha powder to the dough for a beautiful green hue and a subtle earthy taste that pairs wonderfully with peanut butter.
-
Coconut Crunch: Toss in shredded coconut into the filling to create a chewy texture that adds a tropical flair to your mochi.
-
Mini Mochi: Roll smaller pieces of dough for bite-sized treats that are perfect for sharing or as a fun snack!
What to Serve with Peanut Butter Mochi?
Creating a delightful meal doesn’t end with dessert; let’s explore some perfect pairings to elevate your Peanut Butter Mochi experience.
-
Fresh Fruit Salad: Bright, juicy fruits add a refreshing contrast to the rich mochi, balancing flavors beautifully.
-
Coconut Ice Cream: Creamy and tropical, this smooth treat enhances the nuttiness of the mochi and offers a cooling sensation.
-
Matcha Green Tea: The earthy notes of matcha create a delightful flavor interplay with the sweetness of the mochi, enhancing your dessert experience.
Mochi, with its chewy texture, is complemented well by something crisp. Pair it with a crunchy apple or pear slice for a refreshing palate cleanser.
-
Chocolate Dipping Sauce: Drizzle warm chocolate sauce over your mochi for an indulgent twist that many won’t be able to resist.
-
Chai Latte: Spiced and creamy, this aromatic beverage provides a comforting warmth that harmonizes perfectly with the flavors of your mochi.
-
Almond Biscotti: For a delightful crunch, enjoy peanut butter mochi alongside these crispy cookies for a delightful textural contrast.
Each of these pairings adds its own unique flavor and texture, creating a multi-dimensional dining experience that will keep your guests coming back for more!
Expert Tips for Peanut Butter Mochi
• Perfect Consistency: Ensure the mochi dough is cooked just right—too runny, and it won’t hold shape; too thick, and it becomes tough.
• Chill the Filling: Refrigerating the peanut butter and sweetened condensed milk mixture helps it hold its shape when filling the mochi, making assembly much easier!
• Cornstarch is Key: Don’t skip the dusting with cornstarch! It prevents sticking during shaping and keeps your Peanut Butter Mochi looking pristine.
• Seal Tightly: Make sure to pinch the dough edges firmly after filling to prevent any leaking during cooking or freezing.
• Customize the Filling: Feel free to substitute peanut butter with almond or cashew butter for a unique twist; just remember to maintain the same measurements!
Make Ahead Options
These Peanut Butter Mochi are perfect for busy home cooks looking to save time without sacrificing flavor! You can prepare the mochi dough and the peanut butter filling up to 24 hours in advance. Simply follow the initial steps of combining the peanut butter and sweetened condensed milk, and refrigerate for optimal flavor melding. After cooking the mochi dough, let it cool, then shape it into pieces and fill them with the prepared filling. To maintain their delightful texture, keep them in an airtight container in the refrigerator. When you’re ready to enjoy, just let them sit at room temperature for about 10 minutes before serving, ensuring they stay just as delicious!
Storage Tips for Peanut Butter Mochi
Room Temperature: Keep your Peanut Butter Mochi at room temperature for up to 2 days in an airtight container to maintain freshness and prevent drying out.
Fridge: Store any leftover mochi in the refrigerator for up to 5 days, but note that they may become a bit firmer over time.
Freezer: For long-term storage, freeze the mochi in an airtight container or freezer bag for up to 2 months. Thaw at room temperature when ready to enjoy.
Reheating: If desired, you can briefly microwave the mochi for 5-10 seconds to soften them before serving, ensuring that delightful chewy texture returns!
Peanut Butter Mochi Recipe FAQs
What type of peanut butter should I use?
Absolutely! For the best flavor and texture, opt for creamy peanut butter. It’s vital to choose a natural variety without added sugar or hydrogenated oils, as this will ensure a smooth filling that perfectly complements the chewy mochi.
How should I store leftover Peanut Butter Mochi?
You can keep your Peanut Butter Mochi at room temperature for up to 2 days in an airtight container for the freshest taste. If you want to extend its shelf life, pop it in the fridge, where it will stay good for up to 5 days. Just remember that refrigeration might make it slightly firmer.
Can I freeze Peanut Butter Mochi?
Absolutely! To freeze your mochi, place them in a single layer in an airtight container or freezer bag, making sure they are well-dusted with cornstarch to prevent sticking. They can be stored in the freezer for up to 3 months. When you’re ready to enjoy, simply thaw them at room temperature or microwave for about 5-10 seconds.
How can I avoid the mochi dough being too sticky?
The secret lies in the cornstarch! Be generous when dusting your work surface and the dough itself. If you find the dough is still too sticky, you can add a little more glutinous rice flour during cooking until you reach the desired consistency.
Is this recipe suitable for those with nut allergies?
Not directly, as peanut butter is used in this recipe. However, you can substitute the peanut butter with sun butter or a different seed butter for a nut-free option. Just be mindful of any other allergies when selecting your ingredients!
What if my mochi cracks or leaks during sealing?
No worries! If you’re experiencing cracks when pinching, simply use a little water to wet your fingers and smooth the edges. If there are any leaks, just pinch the dough back together, ensuring it’s sealed tightly. Remember to keep practicing; that perfect seal comes with experience!
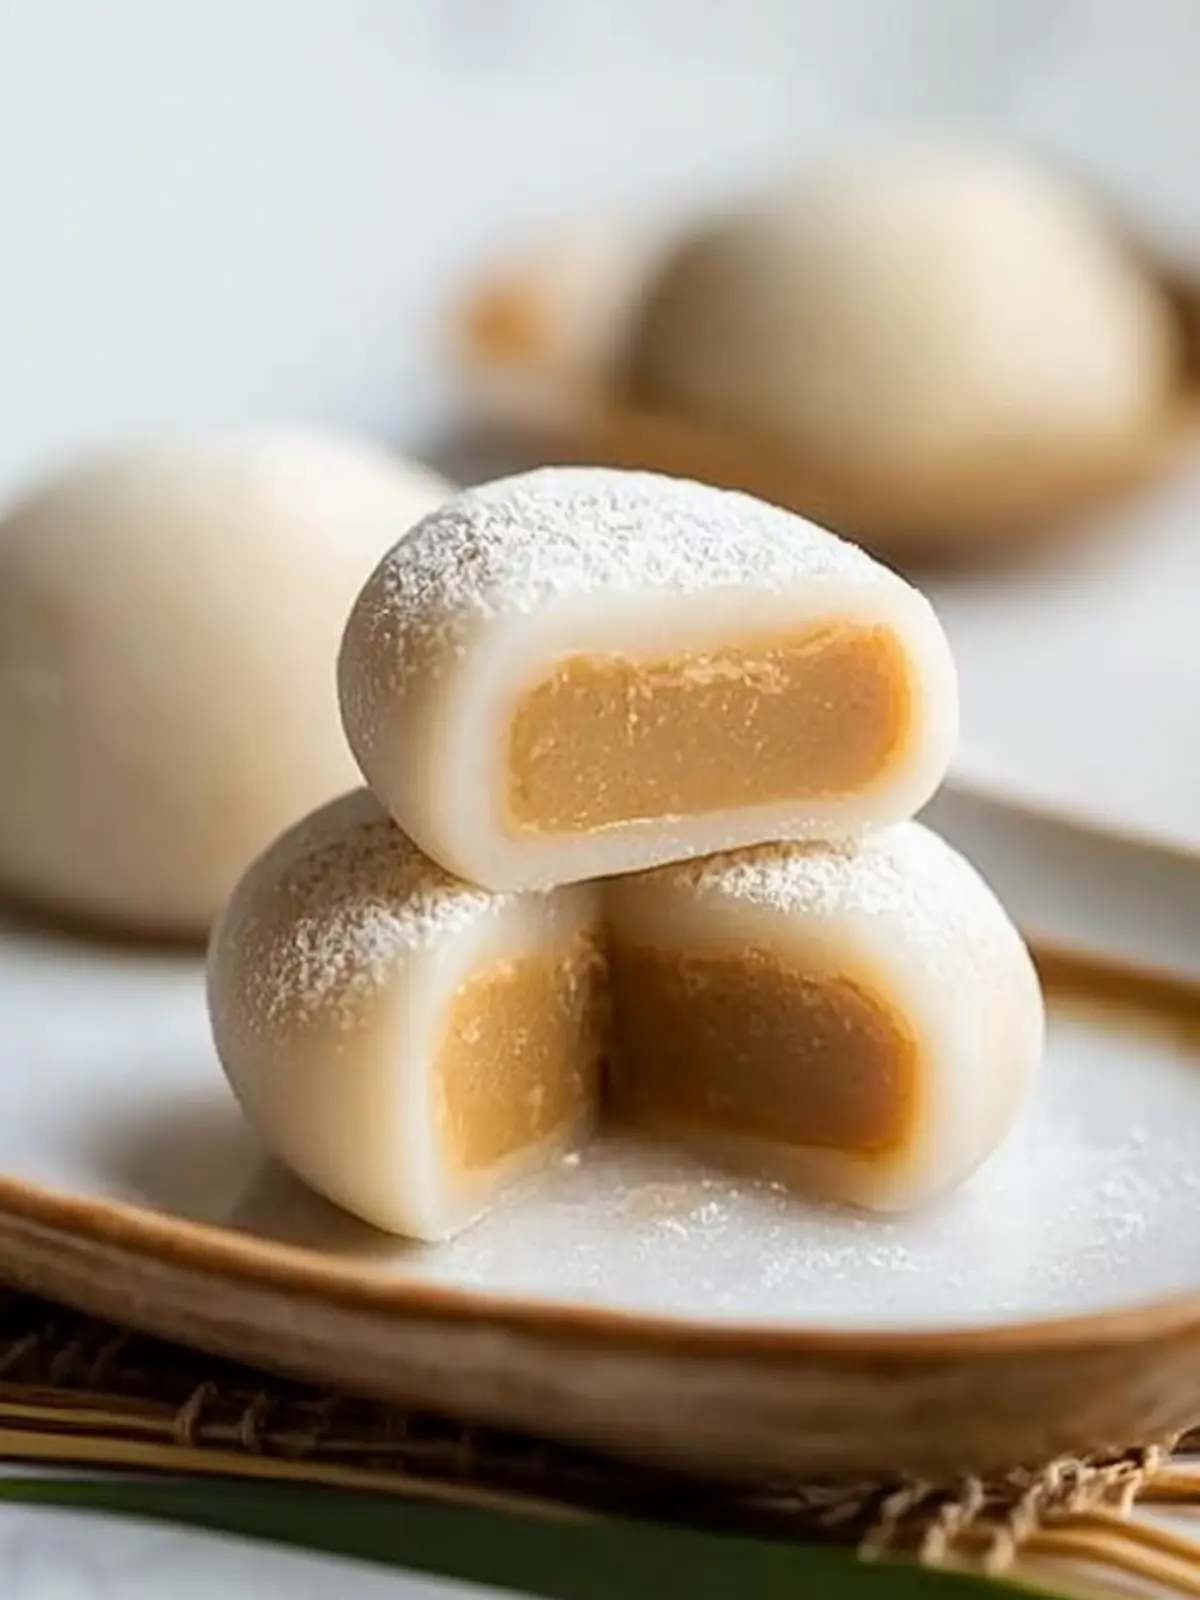
Irresistible Peanut Butter Mochi You Can Make at Home
Ingredients
Equipment
Method
- In a bowl, combine the creamy peanut butter and sweetened condensed milk until smooth. Refrigerate for 15 minutes.
- In a nonstick pan, whisk together the glutinous rice flour, sugar, and water. Cook over medium heat until thick, about 5-7 minutes. Cool for 10 minutes.
- Dust work surface with cornstarch. Roll dough into a rectangle about ¼-inch thick and cut into 8 pieces.
- Scoop a tablespoon of filling and shape into a ball. Place in the center of mochi piece, fold dough over filling, pinch edges to seal, and place seam-side down.
- Optional: Freeze the mochi for about an hour until firm.