When the cool morning air settles in and I crave something warm and delectable, nothing fills that desire quite like these Mochi Cinnamon Rolls. Imagine a soft, pillowy treat that fuses the chewy charm of mochi with the comforting warmth of cinnamon swirls. One day while experimenting in the kitchen, I discovered this delightful recipe that breaks free from traditional baked goods.
Gone are the days of dry, boring pastries; these rolls are the epitome of texture, perfectly balancing a tender inside and a lightly crisp exterior. They’re incredibly easy to whip up, making them the ideal choice for weekend breakfasts or even impromptu gatherings with friends. Just a handful of ingredients and a little love transform into an aromatic masterpiece that will have everyone asking for seconds. So roll up your sleeves, and let’s dive into creating a showstopper that’s as unique as it is delicious!
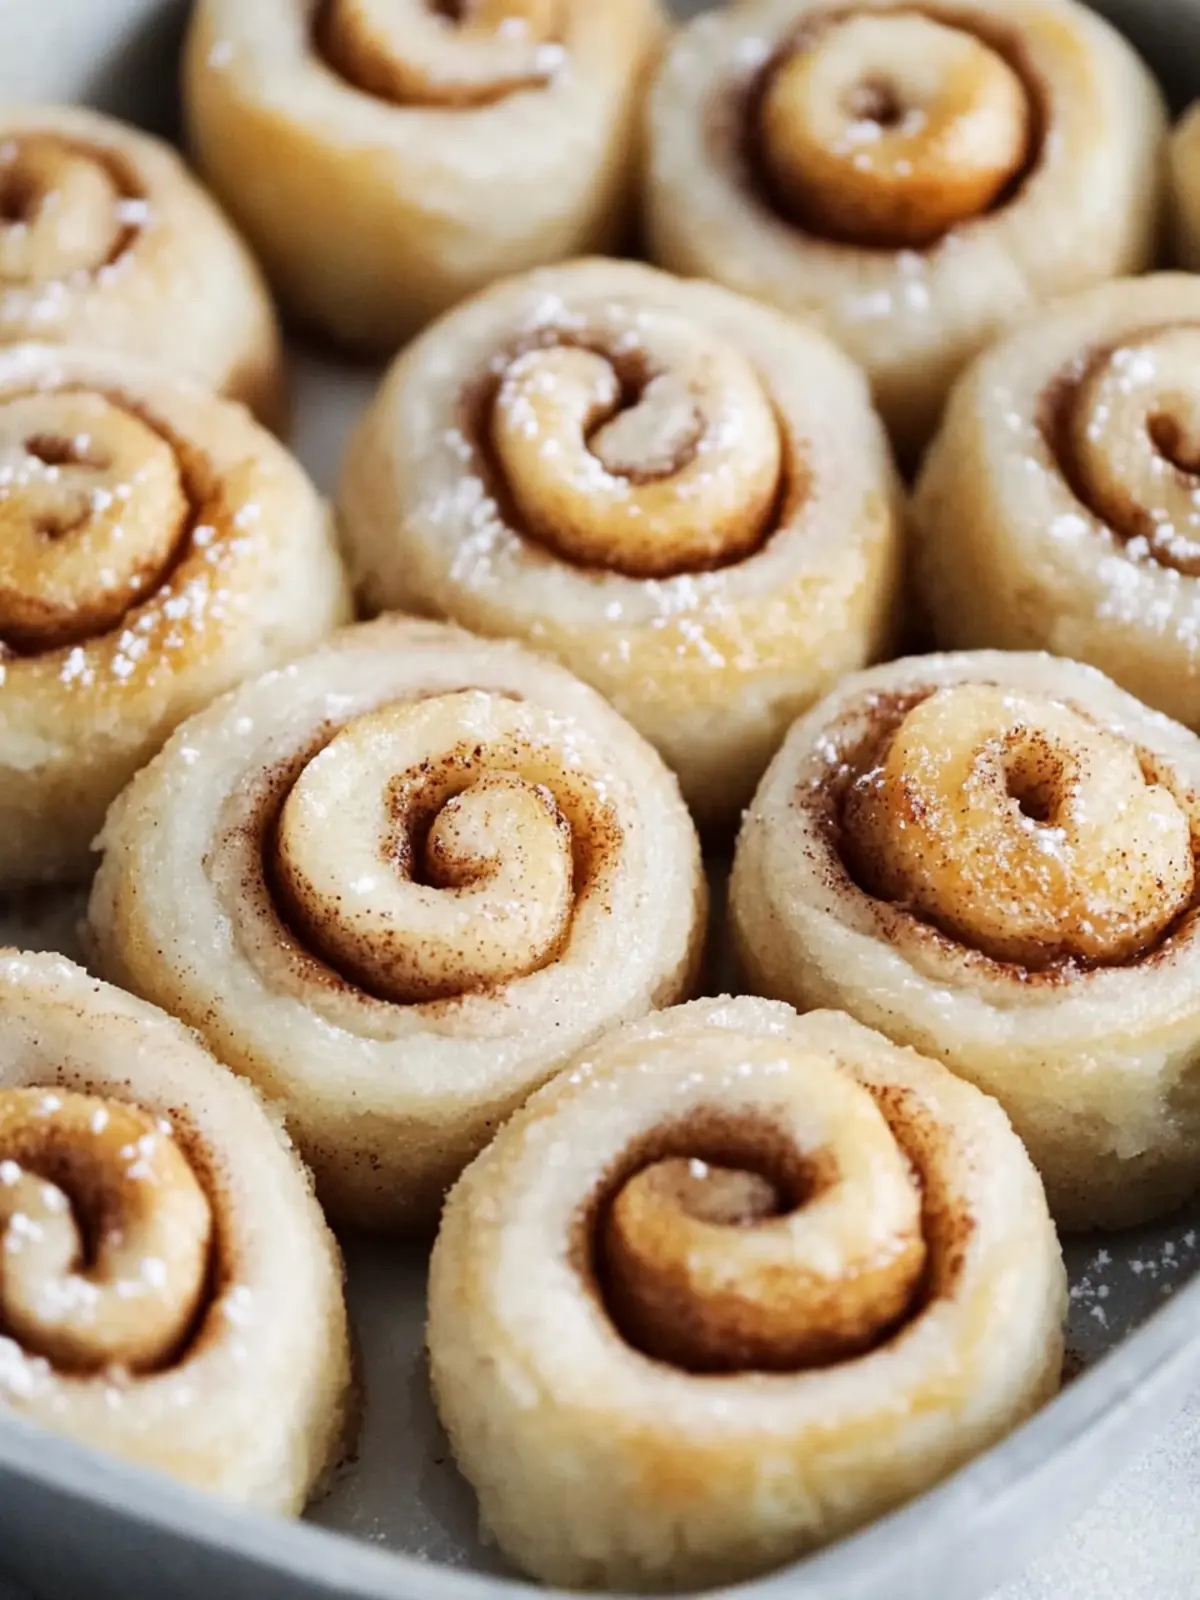
Why are Mochi Cinnamon Rolls irresistible?
Unique Fusion: The delightful combination of mochi and cinnamon creates a comforting, chewy texture that’s unlike traditional rolls.
Easy to Make: With minimal ingredients and straightforward steps, even novice bakers can achieve delicious results.
Perfect for Any Occasion: These rolls shine at breakfast, brunch, or even as a sweet snack—perfect for any time of day!
Time-Saving: In just 55 minutes, you’ll have warm, homemade treats that impress without the hassle of long preparation.
Crowd Pleaser: Whether sharing with family or friends, these Mochi Cinnamon Rolls are sure to leave everyone asking for your secret recipe!
Mochi Cinnamon Rolls Ingredients
For the Dough
• Glutinous rice flour – the secret to that chewy mochi texture.
• Sugar – adds a touch of sweetness to the dough.
• Baking powder – helps the rolls rise for a perfect fluffiness.
• Salt – balances flavors and enhances sweetness.
• Milk – creates a moist, tender dough; can substitute with almond or oat milk.
• Unsalted butter – gives richness and flavor to the dough.
• Egg – acts as a binder, contributing to the overall structure.
For the Filling
• Unsalted butter (melted) – brushed on for added moisture and flavor.
• Sugar – for the filling, it makes those cinnamon swirls delightful.
• Cinnamon – the star spice that brings warmth and sweetness.
For the Glaze
• Icing sugar – creates a smooth, sweet drizzle to finish your rolls.
• Milk or water – adjust consistency for the perfect glaze to drizzle over the rolls.
Now that we have all the ingredients ready, let’s move on to thrilling preparation of these delightful Mochi Cinnamon Rolls!
How to Make Mochi Cinnamon Rolls
-
Preheat your oven to 375°F (190°C). Prepping your oven first ensures that it’s hot and ready for baking those fluffy rolls.
-
Whisk together the glutinous rice flour, baking powder, sugar, and salt in a mixing bowl. This dry mix will be the foundation of your dough, so make sure to blend them well.
-
Heat the milk and unsalted butter in a small pot until steaming and the butter melts, but do not let it boil. Pour this delightful mixture into your dry ingredients to add moisture.
-
Combine everything with a wooden spoon or rubber spatula until it resembles pebbles with little to no loose flour. This step brings all your ingredients together beautifully!
-
Add the beaten egg and mix until a cohesive dough forms. You’ll know it’s ready when you can gather it into a ball without it falling apart.
-
Transfer the dough to a work surface lightly dusted with glutinous rice flour and shape it into a rectangular block. Dusting will prevent sticking while keeping that lovely mochi texture intact.
-
Roll the dough into a 6″x10″ rectangle, using a dusted rolling pin. Aim for an even thickness to ensure consistent baking throughout.
-
Brush about ¼ of the melted butter over the surface of the dough. This will make your filling adhere perfectly, resulting in flavor-packed swirls.
-
Combine the remaining sugar and cinnamon in a bowl. Sprinkle this sweet mixture evenly over the dough, ensuring every bite will be deliciously spiced!
-
Roll the dough tightly from the short edge away from you, keeping it 6″ wide. A firm but gentle touch creates lovely rolls that hold their shape while baking.
-
Cut the log into 6 pieces using dental floss—yes, it’s a game changer! This method achieves clean cuts without squishing the dough.
-
Brush the remaining melted butter into 6 cups of a muffin tin. This ensures your rolls come out golden, crispy, and full of flavor.
-
Place the rolls in the buttered muffin cups and bake them for 25 minutes until they turn golden brown and fragrant.
-
Cool the rolls in the pan for about 5 minutes before transferring them to a cooling rack for 30 minutes. This helps maintain their soft texture while allowing them to set.
-
Mix the icing sugar and milk in a small bowl until you achieve a thick, smooth glaze. Drizzle this delightful glaze over the cooled rolls before serving to add that extra touch of sweetness.
Optional: Serve with a sprinkle of extra cinnamon for a lovely touch!
Exact quantities are listed in the recipe card below.
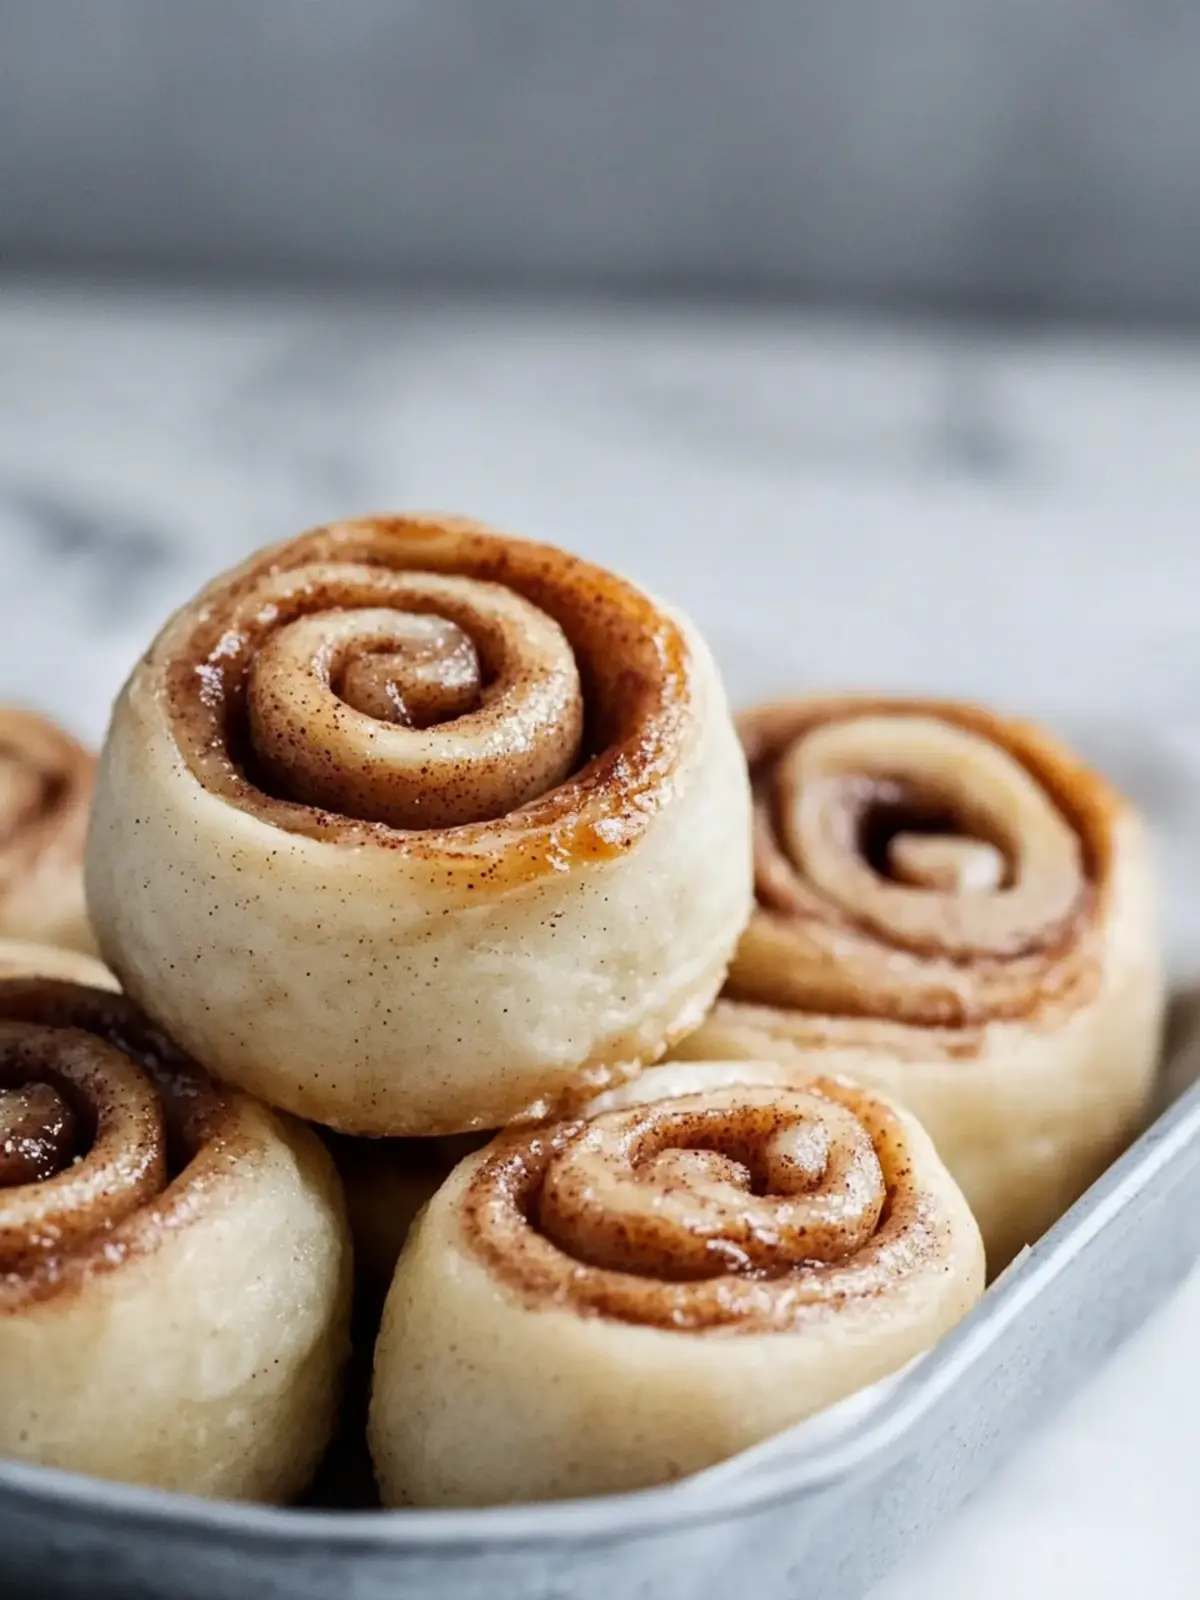
Make Ahead Options
These delightful Mochi Cinnamon Rolls are perfect for busy home cooks looking to save time! You can prepare the dough up to 24 hours in advance; simply follow the initial steps until you roll the dough into a rectangle. Once rolled and sprinkled with the cinnamon-sugar mixture, wrap the log tightly in plastic wrap and refrigerate. When you’re ready to bake, slice the rolls and place them in the muffin tin, then allow them to sit at room temperature for about 30 minutes before baking. This keeps them just as delicious and fluffy, while giving you freshly baked treats with minimal effort on the day of serving! Enjoy your cozy mornings!
Expert Tips for Mochi Cinnamon Rolls
• Use Fresh Ingredients: Always opt for fresh glutinous rice flour and spices to enhance the flavor and texture of your Mochi Cinnamon Rolls.
• Don’t Overwork the Dough: Mix just until combined to maintain that tender texture; overworking can lead to tough rolls.
• Mind the Butter: Ensure the butter is melted but not boiling when mixed with milk, or it could affect the dough consistency.
• Perfect Sweeter Swirls: Ensure an even cinnamon-sugar mixture to guarantee a delicious bite every time—nobody wants a plain one!
• Cooling Time Matters: Allow the rolls to cool adequately before icing; this ensures the glaze stays intact and doesn’t just slide off.
• Store Properly: Keep any leftovers in an airtight container for up to three days to enjoy their delightful chewiness longer!
What to Serve with Mochi Cinnamon Rolls?
When the aroma of these delightful treats fills your kitchen, you’ll want to create a cozy meal that complements their sweet, warm flavors.
-
Fresh Fruit Salad: Bright, colorful fruits add a refreshing contrast and vibrant flavors that balance the sweetness of the rolls.
-
Vanilla Ice Cream: This creamy, decadent pairing melts beautifully over warm rolls, taking your dish to the next level of indulgence.
-
Maple Syrup Drizzle: A touch of real maple syrup enhances the cinnamon rolls’ warmth, making each bite a delightful mix of flavors.
-
Café-Style Coffee: A rich, smooth coffee complements the sweetness of the rolls, making it the perfect morning or brunch companion.
-
Nutty Granola: Sprinkle some on the side for a satisfying crunch that contrasts wonderfully with the soft, chewy texture of the rolls.
-
Chai Tea: The spiced tea echoes the cinnamon notes in the rolls, creating a harmonious pairing that warms body and soul.
This delightful array of accompaniments will ensure your kitchen feels like a warm embrace, perfect for gathering with loved ones.
Storage Tips for Mochi Cinnamon Rolls
Room Temperature: Keep leftover Mochi Cinnamon Rolls in an airtight container for up to 3 days for optimal freshness.
Fridge: If you prefer, store them in the fridge for up to 5 days. Reheat in the microwave for about 10-15 seconds for the best texture.
Freezer: For longer storage, freeze the rolls in a tightly sealed container for up to 2 months. Thaw overnight in the fridge before reheating.
Reheating: To enjoy warm, delicious rolls, wrap in a damp paper towel and microwave for 15-20 seconds, ensuring they retain their delightful moisture.
Mochi Cinnamon Rolls Variations
Feel free to let your creativity shine and make these delightful rolls your own!
- Gluten-Free: Substitute glutinous rice flour with a 1:1 gluten-free flour blend for a gluten-free treat.
- Dairy-Free: Use non-dairy milk such as almond or coconut milk and replace butter with coconut oil for a deliciously rich alternative.
- Nutty Addition: Stir in chopped pecans or walnuts into the cinnamon-sugar mixture for added crunch and depth of flavor.
- Coconut Bliss: Add shredded coconut to the filling for a tropical twist that complements the cinnamon perfectly.
- Chocolate Swirl: Replace some cinnamon with cocoa powder in the filling for a delightful chocolatey variation.
- Maple Glaze: Use maple syrup instead of milk in your icing sugar glaze for a warm, autumnal flavor that pairs beautifully with the rolls.
- Spicy Kick: Mix a pinch of cayenne pepper with the cinnamon-sugar blend for a surprising, delicious heat that lingers.
- Fruit Filling: Incorporate fresh or dried fruits like blueberries or cranberries for a fruity burst that balances the sweetness.
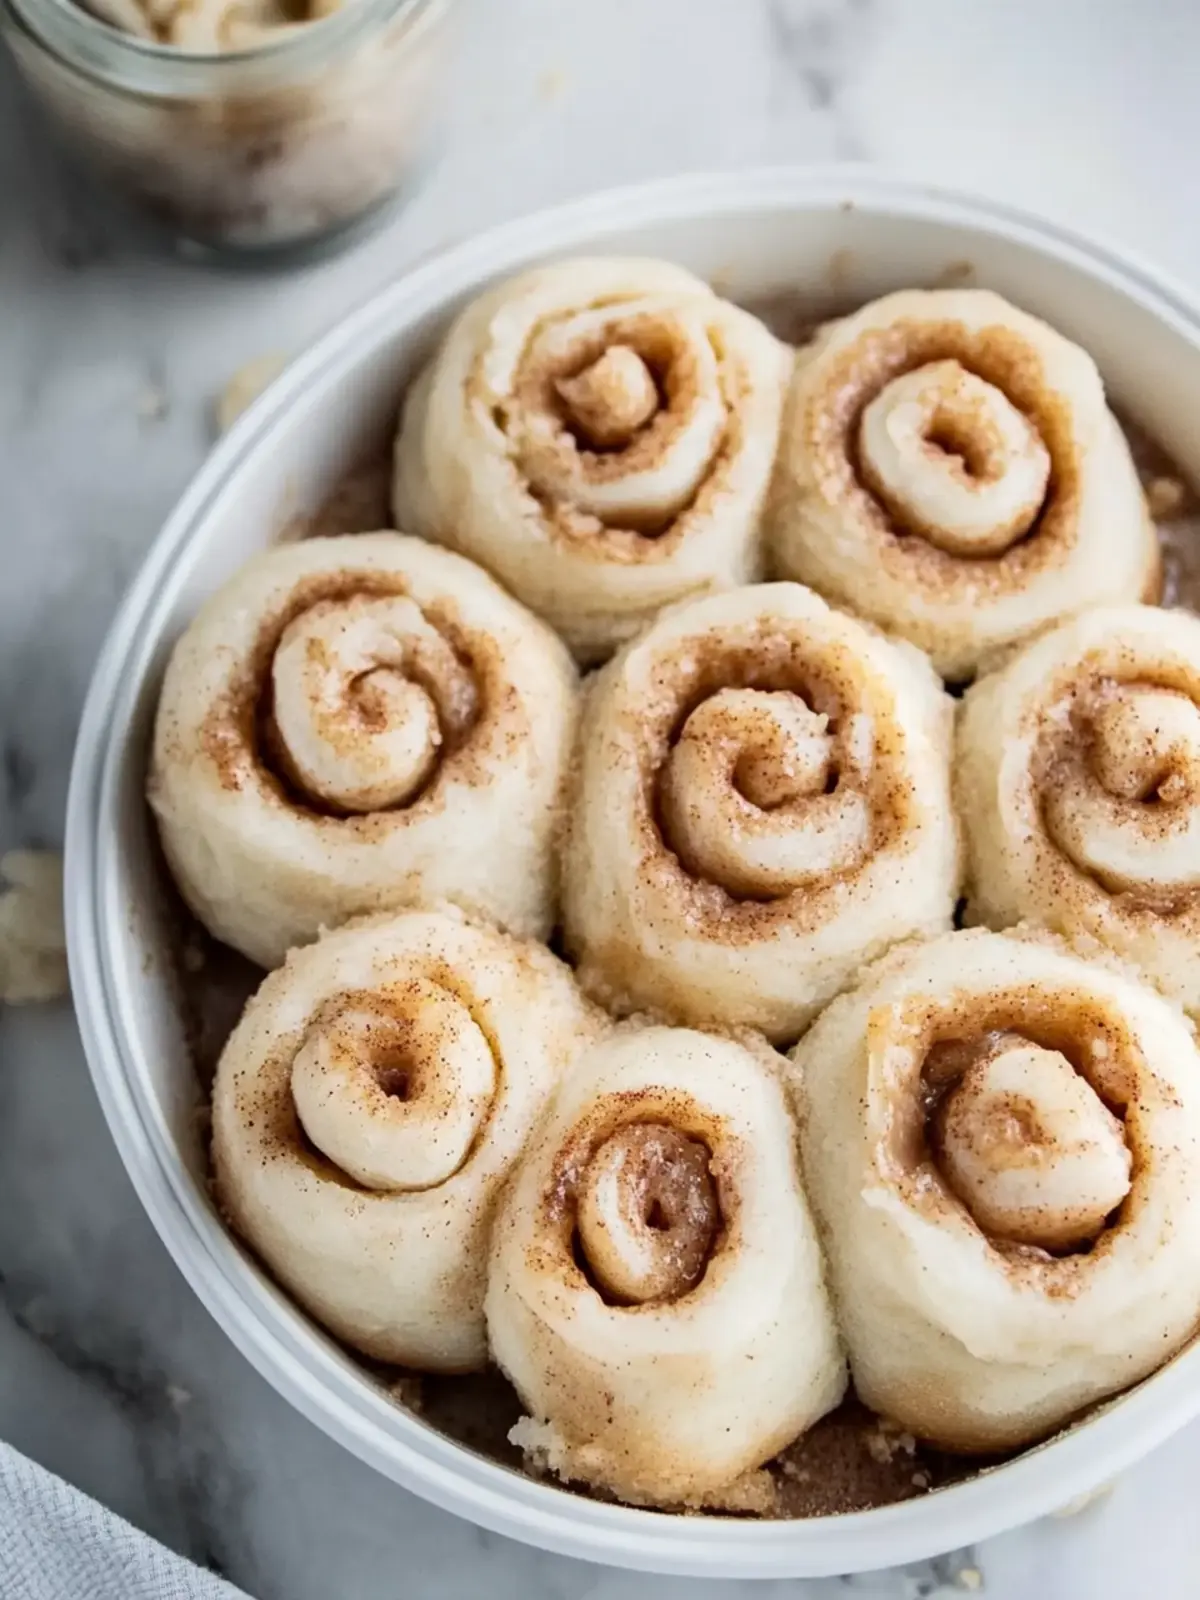
Mochi Cinnamon Rolls Recipe FAQs
How do I select the right glutinous rice flour?
Absolutely! Look for glutinous rice flour that is finely milled and packaged well. It should be pure without any additives. Check the expiration date to ensure freshness, as stale flour can affect the texture and flavor of your Mochi Cinnamon Rolls.
What’s the best way to store leftover Mochi Cinnamon Rolls?
Keep your delicious Mochi Cinnamon Rolls in an airtight container at room temperature for up to 3 days. For a fridge option, they can last up to 5 days. If you want to prolong their life, store them in the freezer wrapped tightly. Just ensure they are sealed properly to keep them moist!
Can I freeze Mochi Cinnamon Rolls? How?
Yes, freezing is a great way to keep your rolls! Place the completely cooled rolls in a single layer on a baking sheet and freeze them for about 1 hour. Once frozen, transfer them to a tightly sealed container or freezer bag. They can stay fresh in the freezer for up to 2 months. To reheat, simply thaw them overnight in the fridge and microwave for about 15-20 seconds!
What if my dough is too sticky?
If you find your dough is too sticky, don’t worry! Dust your work surface and hands with extra glutinous rice flour as you knead or shape the dough. Just be careful not to add too much flour, as it could alter the chewy texture. A little stickiness is normal with mochi!
Are there any dietary considerations for Mochi Cinnamon Rolls?
Very! For those with gluten sensitivities, it’s important to stick with certified gluten-free glutinous rice flour, as traditional all-purpose flour contains gluten. If you’re making these for pets, be mindful that the ingredients, particularly sugar and butter, aren’t ideal for them, so keep these tasty treats for human enjoyment only!
Can I substitute ingredients in the Mochi Cinnamon Rolls?
Certainly! For a dairy-free option, substitute the milk with almond or oat milk. You can also use coconut oil instead of unsalted butter for a different flavor profile. Feel free to get creative with spices, too; adding a pinch of nutmeg or cardamom can offer a delightful twist!
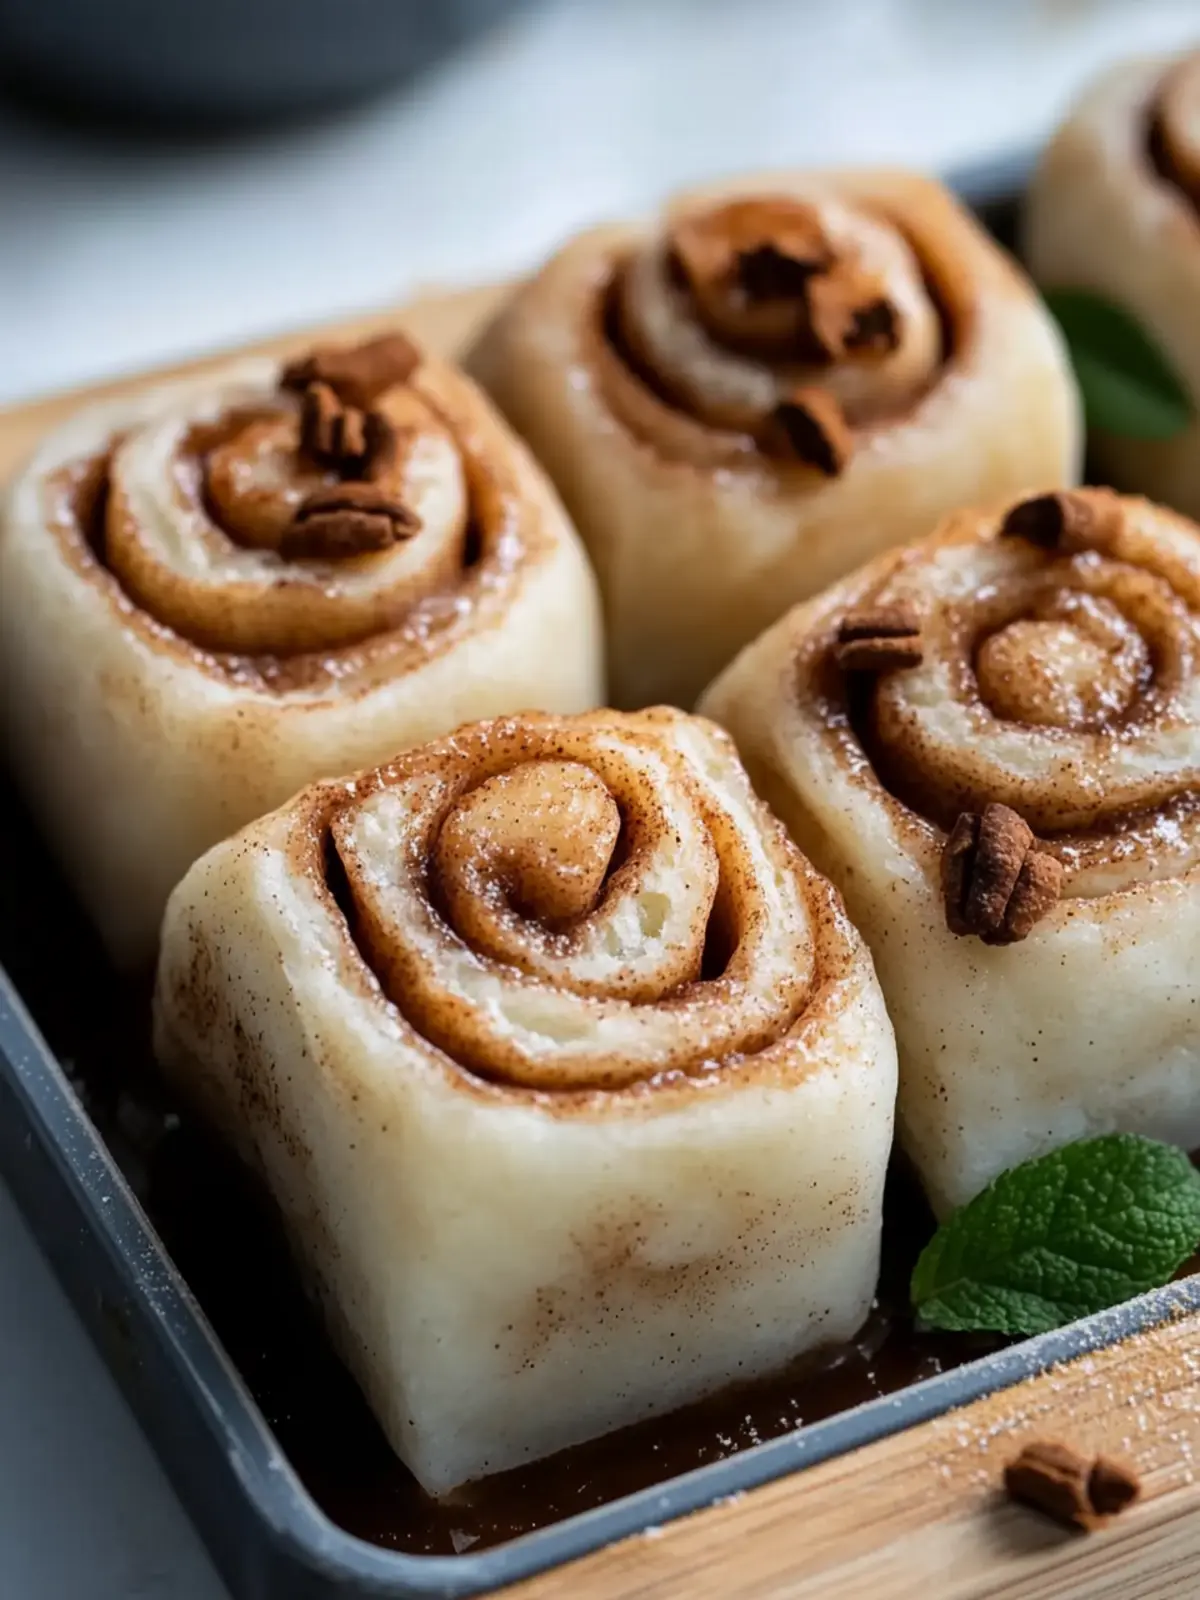
Melt-in-Your-Mouth Mochi Cinnamon Rolls for Cozy Mornings
Ingredients
Equipment
Method
- Preheat your oven to 375°F (190°C).
- Whisk together the glutinous rice flour, baking powder, sugar, and salt.
- Heat the milk and unsalted butter until steaming, then pour into dry ingredients.
- Combine everything until it resembles pebbles.
- Add the beaten egg and mix until a cohesive dough forms.
- Transfer the dough to a dusted surface and shape into a rectangular block.
- Roll the dough into a 6"x10" rectangle.
- Brush about ¼ of the melted butter over the dough.
- Combine the remaining sugar and cinnamon in a bowl, then sprinkle on the dough.
- Roll the dough tightly from the short edge, keeping it 6" wide.
- Cut the log into 6 pieces using dental floss.
- Brush the remaining melted butter into 6 cups of a muffin tin.
- Place the rolls in the muffin cups and bake for 25 minutes.
- Cool the rolls in the pan for 5 minutes before transferring to a cooling rack for 30 minutes.
- Mix the icing sugar and milk in a bowl until thick, then drizzle over the cooled rolls.