There’s something extraordinary about the smell of freshly baked breadsticks wafting through my kitchen, a scent that instantly turns any evening into a special occasion. I remember the first time my friends gathered over homemade Olive Garden Breadsticks. It was an impromptu get-together, and I wanted to impress. With their warm, fluffy texture and rich flavor, these breadsticks quickly became the star of the show.
Making a copycat version at home means I can create that same comforting experience without stepping out the door. Whether slathered in buttery goodness or served alongside a homemade pasta dish, these breadsticks are a crowd-pleaser that will have everyone coming back for seconds—even as the fast-food ads play in the background. Plus, their ease of preparation makes them a fabulous option for any occasion, from family dinners to cozy gatherings with friends.
So if you’re ready to transform your mealtime and indulge in that iconic Olive Garden taste right from your kitchen, let’s get started on this delicious adventure!
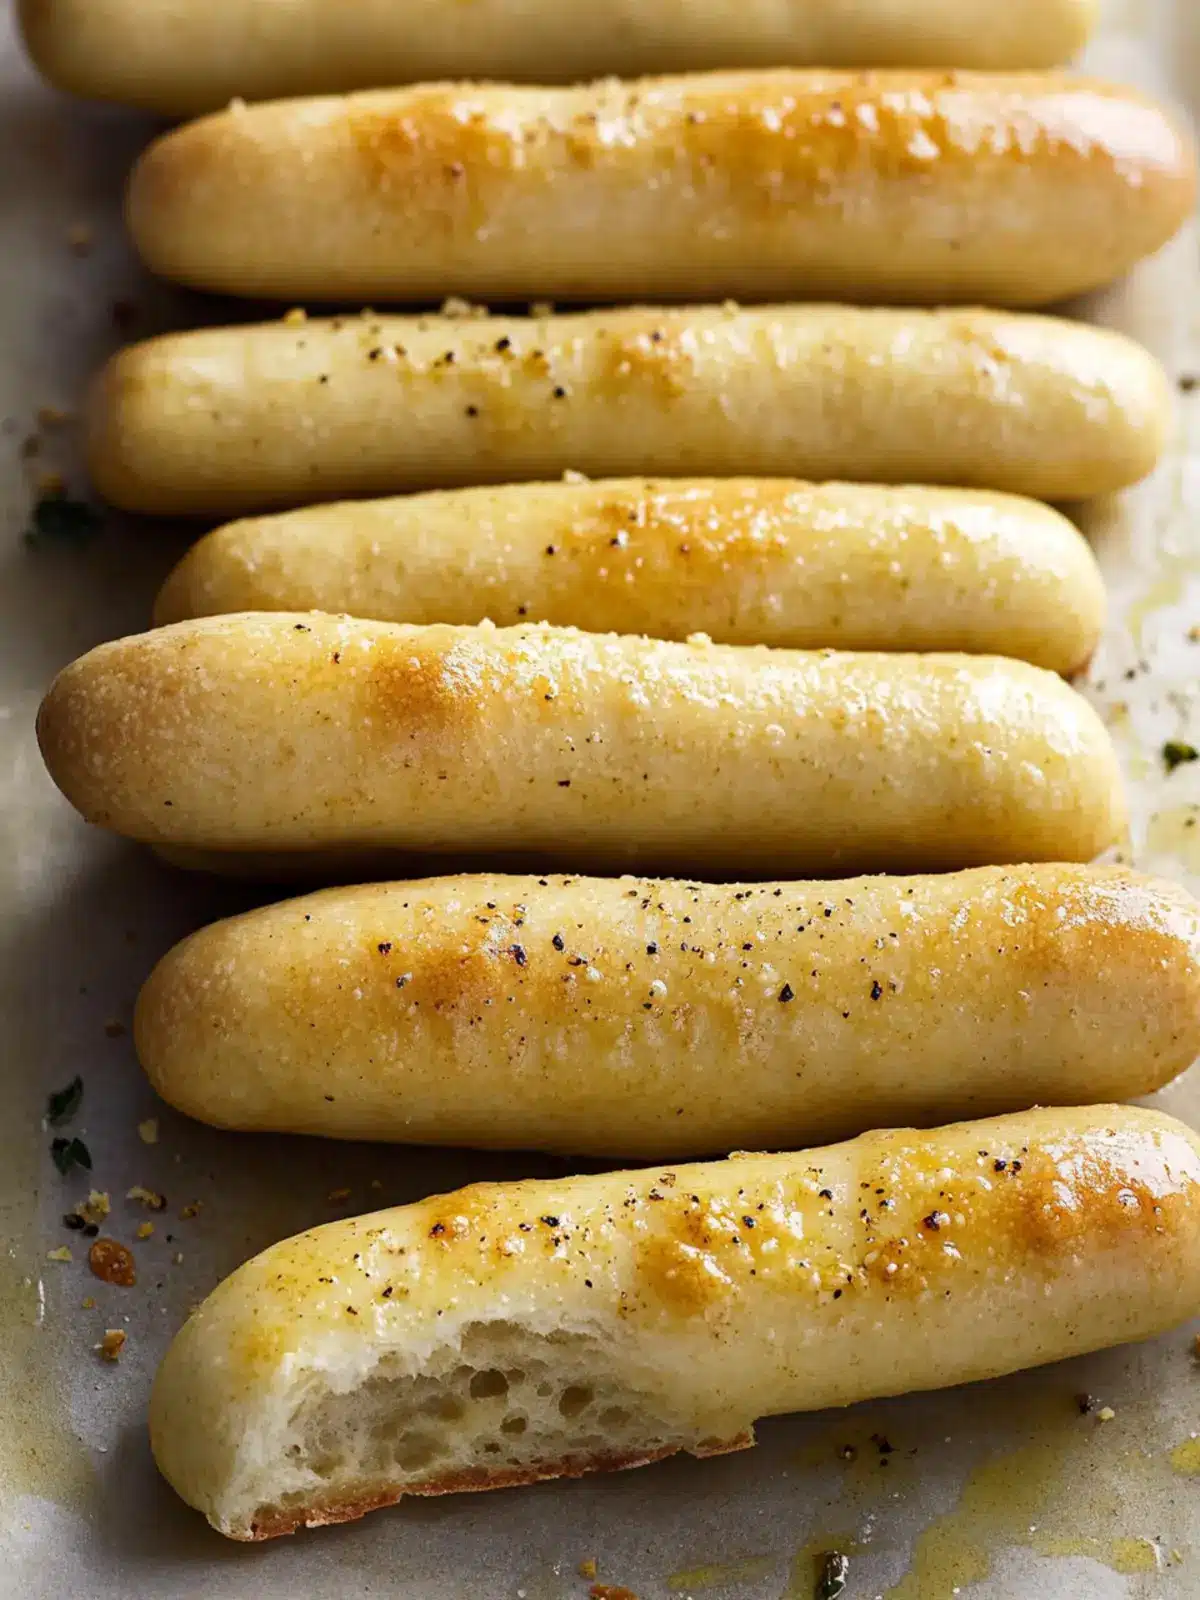
Why are Olive Garden Breadsticks so irresistible?
Warm, Fluffy Texture: There’s nothing quite like the soft, pillowy comfort of freshly baked breadsticks that melt in your mouth.
Buttery Goodness: Drenched in warm butter and sprinkled with garlic salt, each bite is a delightful taste explosion.
Easy to Make: With just a few simple ingredients, you can recreate this beloved staple without the hassle of a restaurant visit.
Serve with Anything: Whether they’re paired with your favorite pasta or enjoyed solo, these breadsticks elevate any meal.
Perfect for Gatherings: Impress your guests at gatherings and family dinners, as they’re guaranteed to disappear quickly!
To make your homemade meal even more special, consider preparing a delicious pasta dish to go alongside these amazing breadsticks.
Olive Garden Breadsticks Ingredients
Here’s everything you need to whip up your own batch of mouthwatering Olive Garden Breadsticks!
For the Dough
- Warm water – 2 cups (80-90°F); helps to activate the yeast for that fluffy texture.
- Dry active yeast – 1 tsp; the key to achieving the perfect rise in your breadsticks.
- Granulated sugar – 2 Tbsp; feeds the yeast, ensuring those delicious, airy results.
- Bread flour – 5 cups (plus more for dusting); gives the breadsticks their structure and chewiness.
- Garlic salt – 1 tsp; infuses the dough with that classic garlic flavor we all adore.
- Baking powder – 1 tsp; adds lightness to the dough, contributing to the perfect rise.
- Grated Parmesan cheese – 1/3 cup; adds a savory, cheesy goodness that enhances flavor.
- Canola oil – 1/3 cup; keeps the dough moist and tender, preventing dryness.
- Grade AA egg – 1; contributes to a rich texture and egg flavor.
For the Topping
- Salted butter – 8 Tbsp; necessary for brushing on those warm breadsticks, creating a luscious finish.
- Garlic salt – 2 tsps; for a magical finishing touch that elevates the flavor to restaurant quality.
Get ready to enjoy the warm, aromatic goodness of your homemade Olive Garden Breadsticks!
How to Make Olive Garden Breadsticks
-
Proof the yeast: In a liquid measuring cup, combine 2 cups of warm water (80-90°F), 1 tsp of dry active yeast, and 2 Tbsp of granulated sugar. Let this mixture sit for about 5 to 10 minutes until it becomes frothy.
-
Mix the dry ingredients: In a stand mixer bowl, add 5 cups of bread flour, 1 tsp of garlic salt, 1 tsp of baking powder, and 1/3 cup of grated Parmesan cheese. Create a well in the center for the wet ingredients.
-
Combine and knead: Into the well, pour in the prepared yeast mixture, 1 grade AA egg, and 1/3 cup of canola oil. Use the dough hook to mix until combined, then knead the dough for about 5 minutes until smooth and elastic.
-
Let it rise: Shape the kneaded dough into a ball, lightly oil the top and the bowl, cover it with a towel, and let it rise in a warm spot until it doubles in size, approximately 1 1/2 to 2 hours.
-
Shape the breadsticks: Once risen, dust a large pastry mat with 1/4 cup of flour. Transfer the dough onto the floured surface and divide it into 4 equal pieces. Cut each piece into 8 smaller pieces, roll each into a ball, and then shape them into 7-inch long breadsticks, using more flour if necessary.
-
Prepare for baking: Line two sheet pans with parchment paper and spray them lightly with cooking spray. Place the shaped breadsticks on the pans, spaced apart, and let them rise for another 20 minutes. Preheat your oven to 400°F, starting 15 minutes into this rise time.
-
Bake and butter: Bake the risen breadsticks in the preheated oven at 400°F for 8-10 minutes, until they are golden brown. Then, melt 8 Tbsp of salted butter and, as soon as the breadsticks are out of the oven, brush them with the melted butter and sprinkle about 2 tsps of garlic salt on top.
Optional: Serve with marinara sauce for dipping!
Exact quantities are listed in the recipe card below.
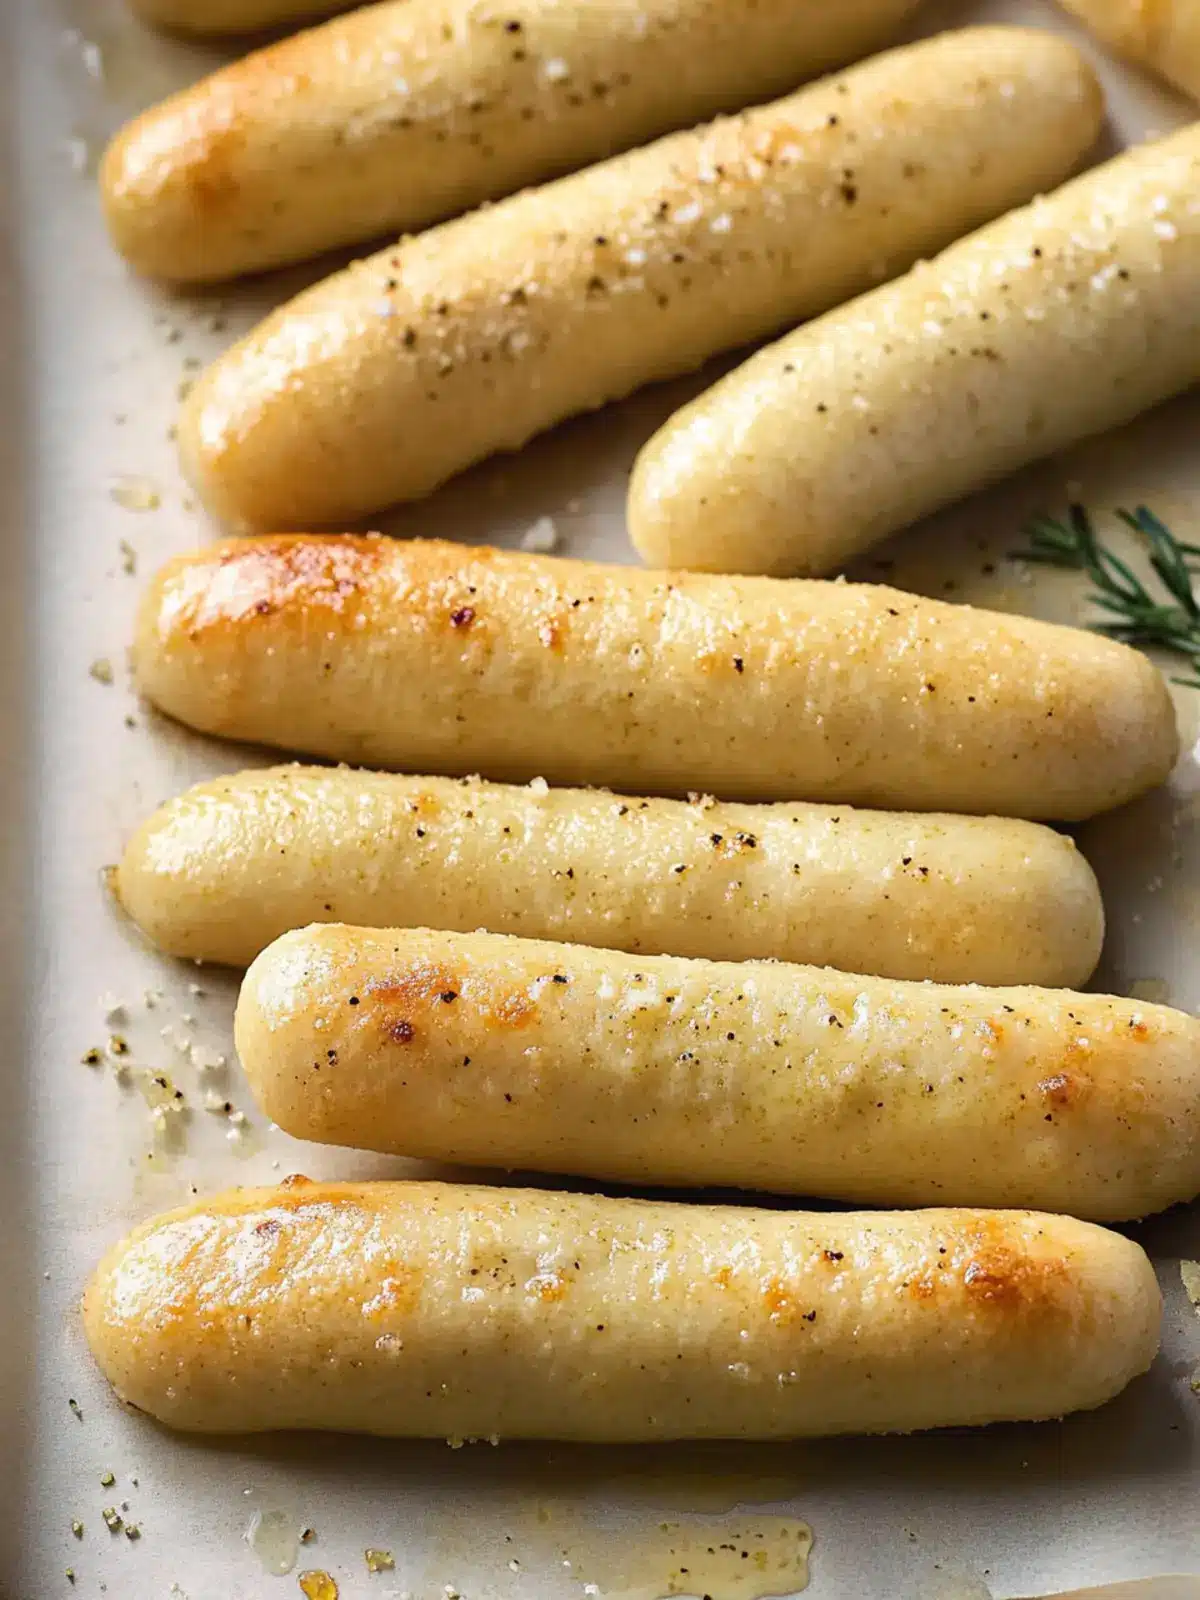
What to Serve with Olive Garden Breadsticks?
These buttery, garlic-infused delights deserve an equally inviting ensemble to elevate your dining experience.
-
Homemade Marinara Sauce: A zesty dipping option that complements the richness of the breadsticks perfectly, enriching each bite with a vibrant tomato flavor.
-
Creamy Spinach and Artichoke Dip: This rich, cheesy dip offers a luscious texture contrast, inviting you to scoop up every morsel of flavor with your breadsticks.
-
Garlic Parmesan Pasta: The delightful garlic and cheese notes echo the breadsticks’ flavor, creating a harmonious pairing that warms the heart.
-
Caesar Salad: Crisp romaine and crunchy croutons with tangy dressing balance the soft breadsticks wonderfully, bringing freshness to your meal.
-
Grilled Chicken with Lemon Butter Sauce: The juicy, citrusy chicken provides a delicious contrast to the breadsticks while echoing their buttery essence.
-
Roasted Vegetables: Colorful, caramelized veggies add a touch of vibrancy to your plate, providing a healthy, earthy balance to the rich breadsticks.
These pairings not only complement the comforting flavors of Olive Garden Breadsticks but also create a well-rounded meal that your entire family will love!
Make Ahead Options
These Olive Garden Breadsticks are a fantastic candidate for meal prep, making your busy weeknights a little smoother! You can prepare the dough up to 24 hours in advance; simply follow the recipe instructions up to shaping the breadsticks, then cover and refrigerate them. To maintain their fluffy texture, allow the dough to come to room temperature and rise for about 30 minutes before shaping and baking. You can also shape the breadsticks and freeze them for up to 3 days—just make sure to freeze them after the second rise and before baking. When you’re ready to enjoy, bake them straight from the fridge or freezer, adjusting the baking time by a few minutes as needed. This way, you’ll have delicious, homemade Olive Garden Breadsticks ready to impress with minimal last-minute effort!
Olive Garden Breadsticks Variations
Feel free to let your creativity shine by customizing these beloved breadsticks to suit your tastes!
-
Cheesy Delight: Add a handful of shredded mozzarella or cheddar to the dough for an extra cheesy surprise!
Elevate your breadsticks with gooey, melted cheese that oozes out as you pull them apart. A delightful twist kids will adore! -
Herb Infusion: Mix in 1-2 tablespoons of dried Italian herbs, like oregano or basil, for added flavor depth.
Imagine the aromatic blend of herbs filling your kitchen, creating a breadstick that tastes like a cozy Italian bistro. -
Whole Wheat: Swap half of the bread flour for whole wheat flour for a healthier option that retains amazing flavor.
Not only will you enjoy a nutty note, but you’ll also have a nutritious alternative that’s just as fluffy! -
Spicy Kick: Incorporate 1 teaspoon of red pepper flakes into the dough for a subtle heat that wakes up your taste buds.
Serve these spicy breadsticks alongside creamy dipping sauces for an explosion of flavors that’s sure to impress. -
Olive Oil Swap: Replace canola oil with olive oil for a richer, more Mediterranean taste that enhances the overall profile.
You’ll enjoy a robust olive oil flavor, creating a more authentic appeal that pairs beautifully with various Italian dishes. -
Sweet Treat: Add 2 tablespoons of honey to the dough for a hint of sweetness.
These subtly sweet breadsticks are perfect for dipping in sauces or enjoying as a snack all on their own! -
Vegan Version: Substitute the egg with a flax egg (1 tablespoon flaxseed meal + 2.5 tablespoons water) and use dairy-free butter.
This makes a delightful vegan breadstick that’s just as fluffy and satisfying, ensuring everyone can enjoy! -
Garlic Lovers: Increase the garlic salt topping to 1 tablespoon and mix roasted garlic into the dough for an irresistible garlic punch.
These incredible garlic breadsticks are a perfect addition to any meal, creating a comforting aroma that rises through the air.
How to Store and Freeze Olive Garden Breadsticks
Room Temperature: Store leftover breadsticks in an airtight container or tightly wrapped in foil for up to 2 days to maintain their softness.
Fridge: If you want them to last longer, place them in the fridge in an airtight container for up to 5 days, but be aware that this may slightly affect their texture.
Freezer: Freeze wrapped breadsticks in plastic wrap and then place them in a freezer bag for up to 3 months. To reheat, thaw in the fridge overnight and bake at 350°F until warm.
Reheating: For the best results, reheat in the oven rather than the microwave to keep them nice and fluffy; about 5-7 minutes is ideal.
Expert Tips for Olive Garden Breadsticks
Proof the yeast: Ensure your water is the right temperature (80-90°F) to properly activate the yeast, creating the ideal rise for your Olive Garden Breadsticks.
Knead adequately: Don’t rush the kneading process—5 minutes is ideal for developing gluten, which gives your breadsticks their signature texture.
Proper rising time: Allow your dough to rise until it doubles, which usually takes 1 1/2 to 2 hours. Patience is key for fluffy breadsticks!
Don’t overcrowd: Space your shaped breadsticks adequately on the pan for even rising and baking; they need room to expand beautifully.
Brush immediately: Coat the breadsticks with melted butter right after baking for that irresistible, buttery finish that everyone loves.
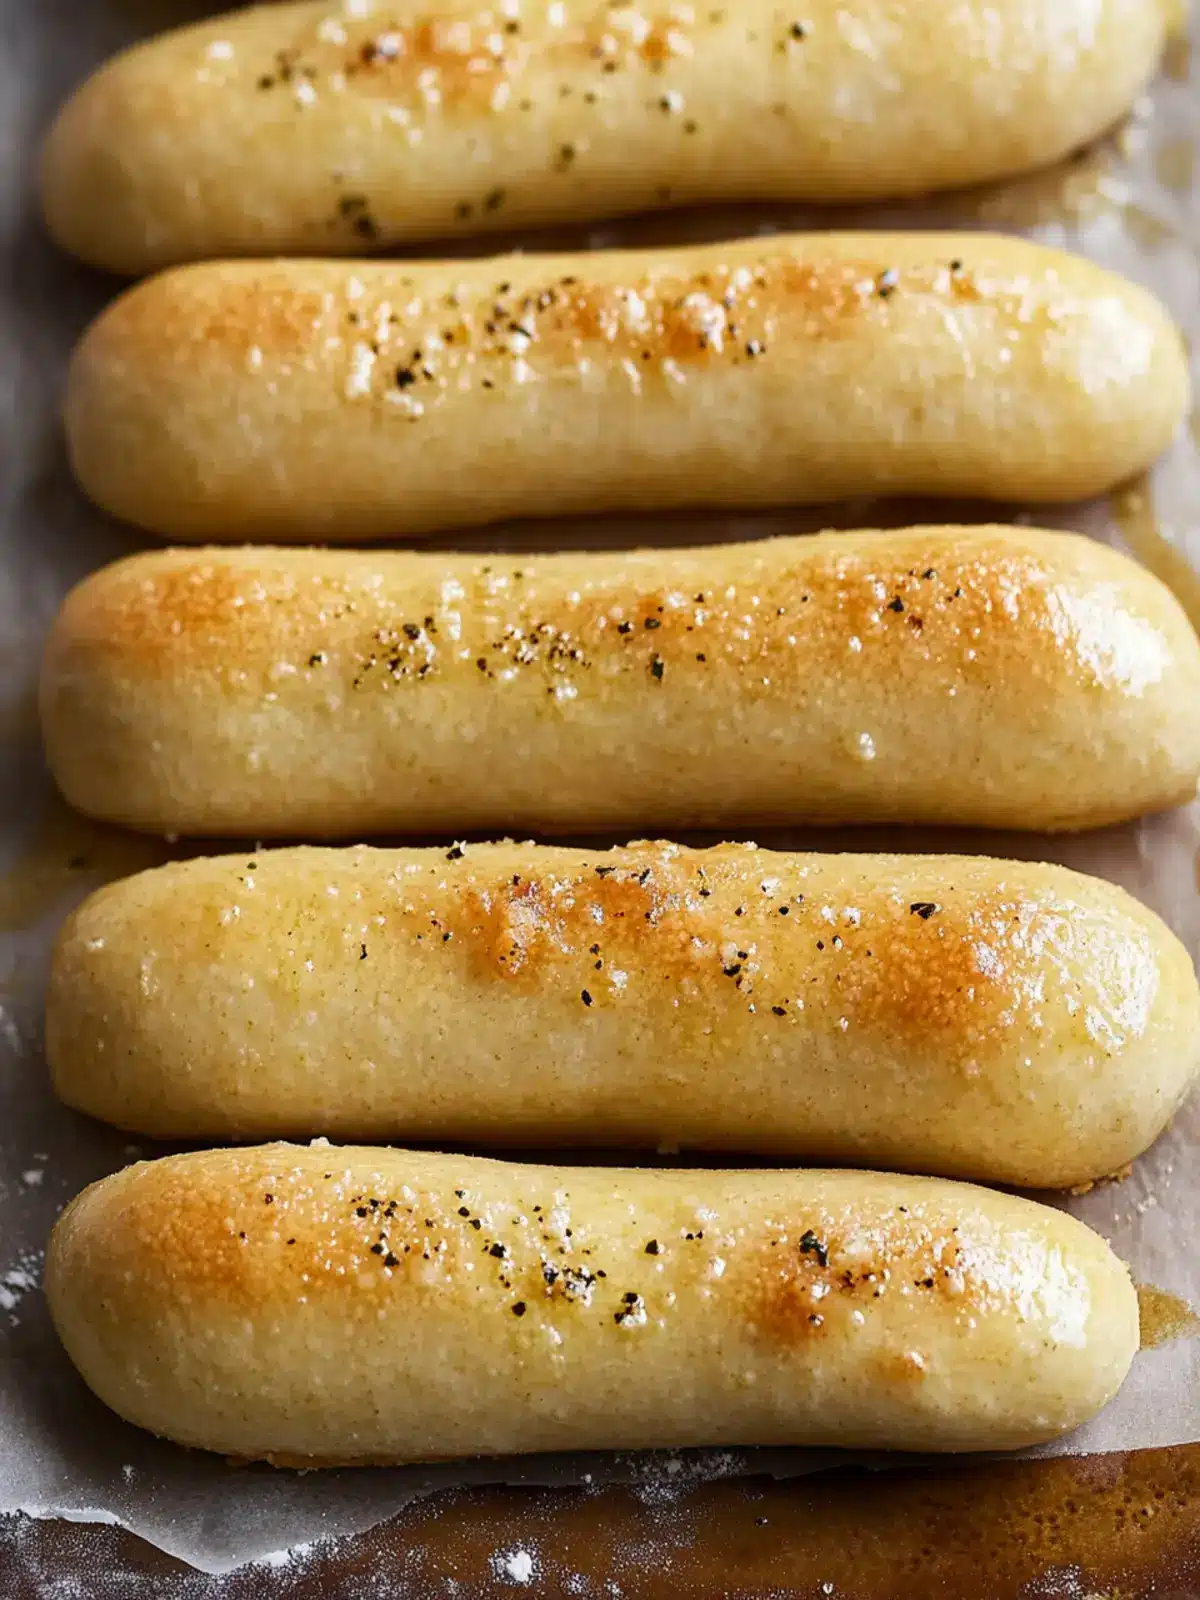
Olive Garden Breadsticks Recipe FAQs
What type of flour should I use for Olive Garden Breadsticks?
I recommend using bread flour, as it contains a higher protein content than all-purpose flour, which helps to create that delightful chewy texture. However, in a pinch, you can use all-purpose flour; just keep in mind that the texture might be slightly different.
How should I store leftover Olive Garden Breadsticks?
For storage at room temperature, place your leftover breadsticks in an airtight container or wrap them tightly in foil, and enjoy them within 2 days for the best softness. If you prefer to keep them fresh longer, refrigerate in an airtight container for up to 5 days. However, be mindful that refrigeration may affect their delightful texture, so don’t hesitate to warm them back up!
Can I freeze Olive Garden Breadsticks?
Absolutely! To freeze, wrap each breadstick tightly in plastic wrap and place them in a freezer bag. They can be frozen for up to 3 months. When you’re ready to enjoy them, take them out and thaw them in the fridge overnight. Then, simply bake at 350°F for about 5-7 minutes until heated through for that fresh-baked taste.
What should I do if my dough isn’t rising?
If your dough hasn’t risen after 2 hours, check a couple of things. First, ensure that your yeast was fresh and properly proofed with water that’s between 80-90°F. If the environment was too cold or drafty, it might have hindered the rising process. To salvage the situation, you can try placing the dough in a slightly warm spot, like an oven with the light on, or near a heater, to give it a boost.
Can I make Olive Garden Breadsticks gluten-free?
Yes! You can use a gluten-free flour blend instead of all-purpose or bread flour. Just make sure it includes xanthan gum or another binding agent to help give the breadsticks structure. Follow the same recipe instructions, and you’ll still enjoy those warm, tasty flavors everyone loves!
Are there any dietary considerations I should be aware of?
These Olive Garden Breadsticks contain gluten, dairy (from the butter and Parmesan cheese), and eggs. If you’re serving these to guests with allergies, consider using dairy-free butter and a vegan egg substitute (like flax egg) to modify the recipe. Always check labels to ensure your ingredients meet the necessary dietary needs.
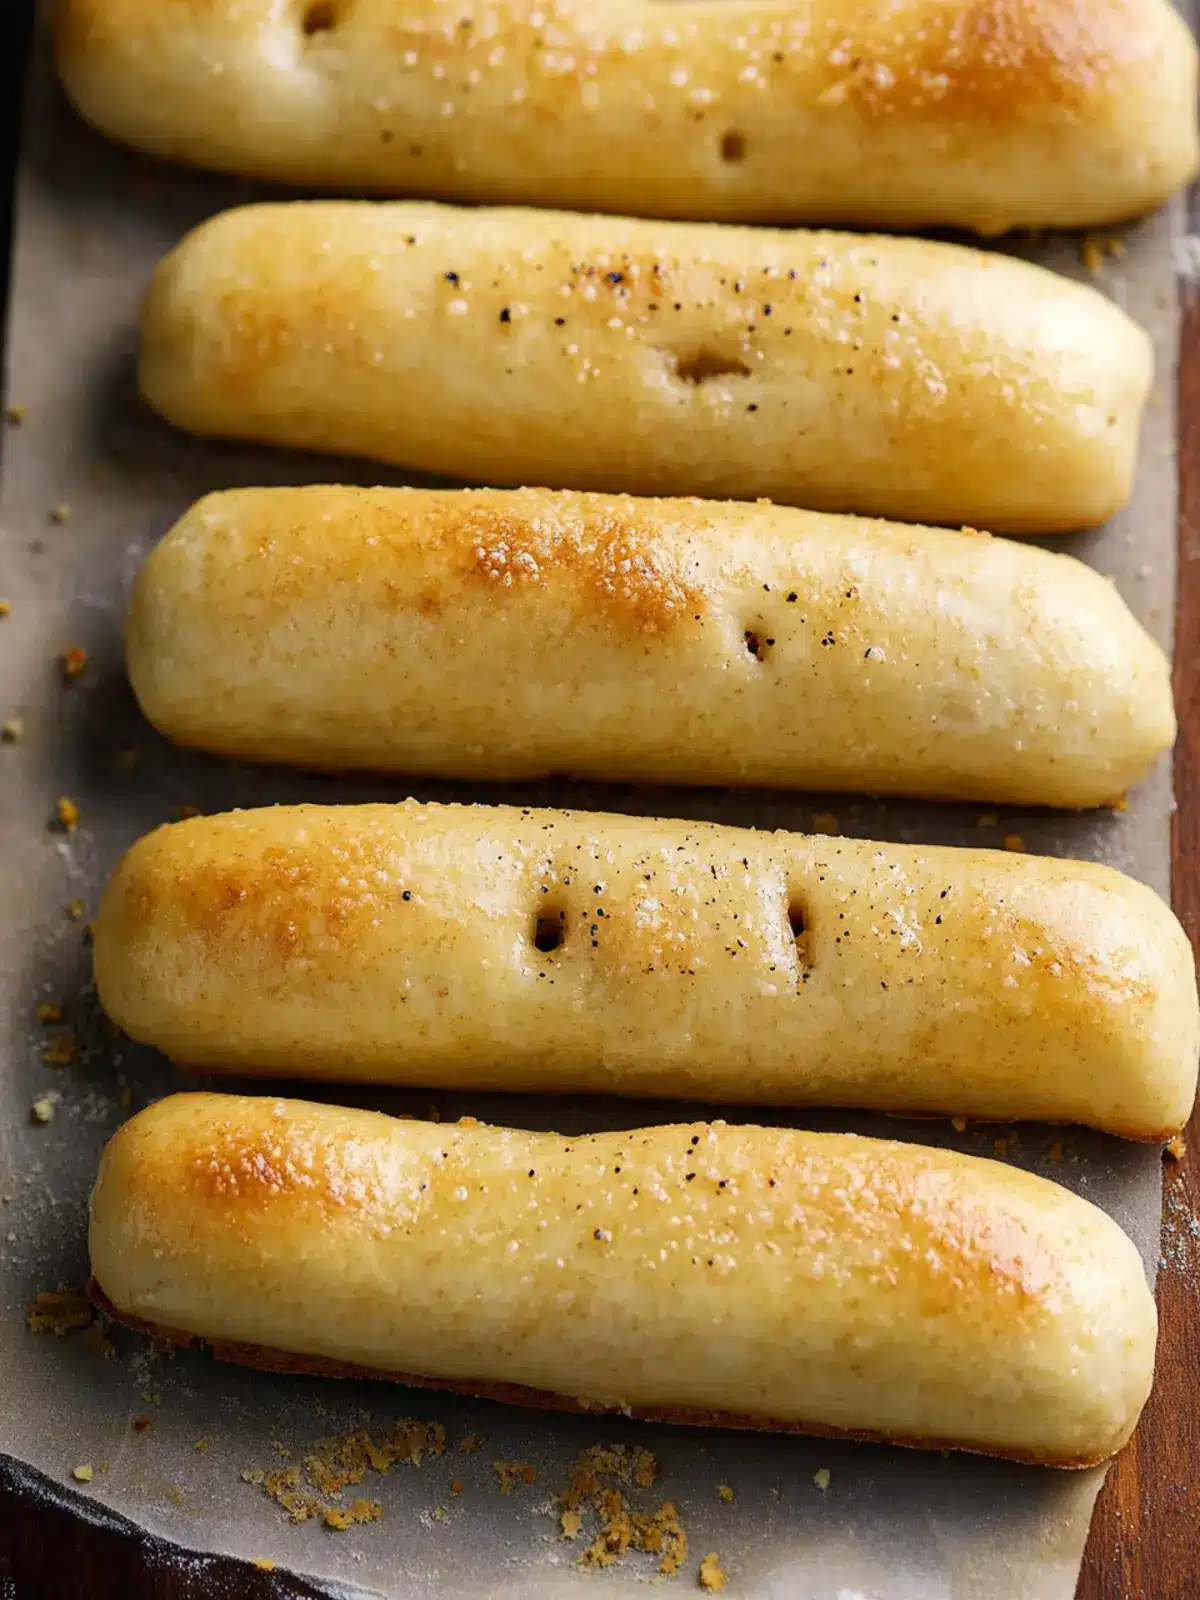
Olive Garden Breadsticks You Can Make at Home Today
Ingredients
Equipment
Method
- In a liquid measuring cup, combine warm water, dry active yeast, and granulated sugar. Let sit for about 5 to 10 minutes until frothy.
- In a stand mixer bowl, add bread flour, garlic salt, baking powder, and grated Parmesan cheese. Create a well in the center for wet ingredients.
- Pour in the yeast mixture, Grade AA egg, and canola oil into the well. Mix until combined, and knead for about 5 minutes until smooth.
- Shape the dough into a ball, lightly oil it, cover with a towel, and let rise in a warm spot until doubled in size (1 1/2 to 2 hours).
- Dust a large pastry mat with flour, transfer the dough, divide into 4 pieces, and cut each into 8 pieces. Roll each into a 7-inch long breadstick.
- Line two sheet pans with parchment and place the shaped breadsticks, spaced apart. Let rise for another 20 minutes and preheat oven to 400°F.
- Bake the breadsticks at 400°F for 8-10 minutes until golden brown. Melt butter and brush over breadsticks with garlic salt on top.