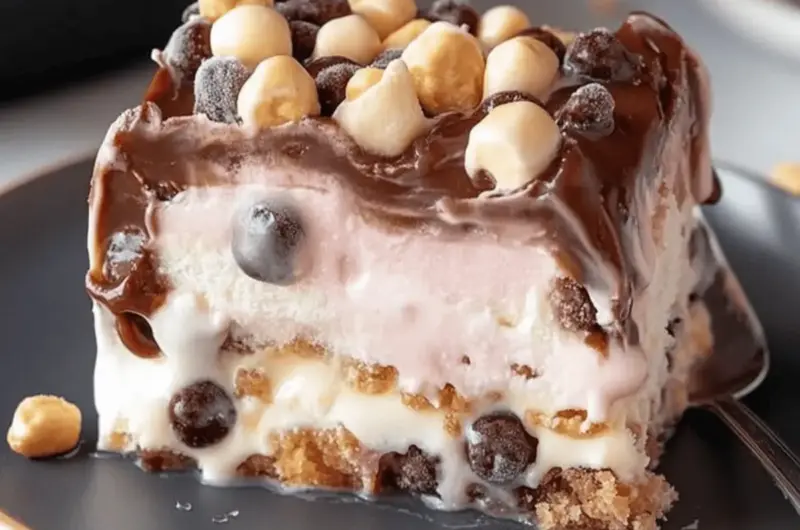
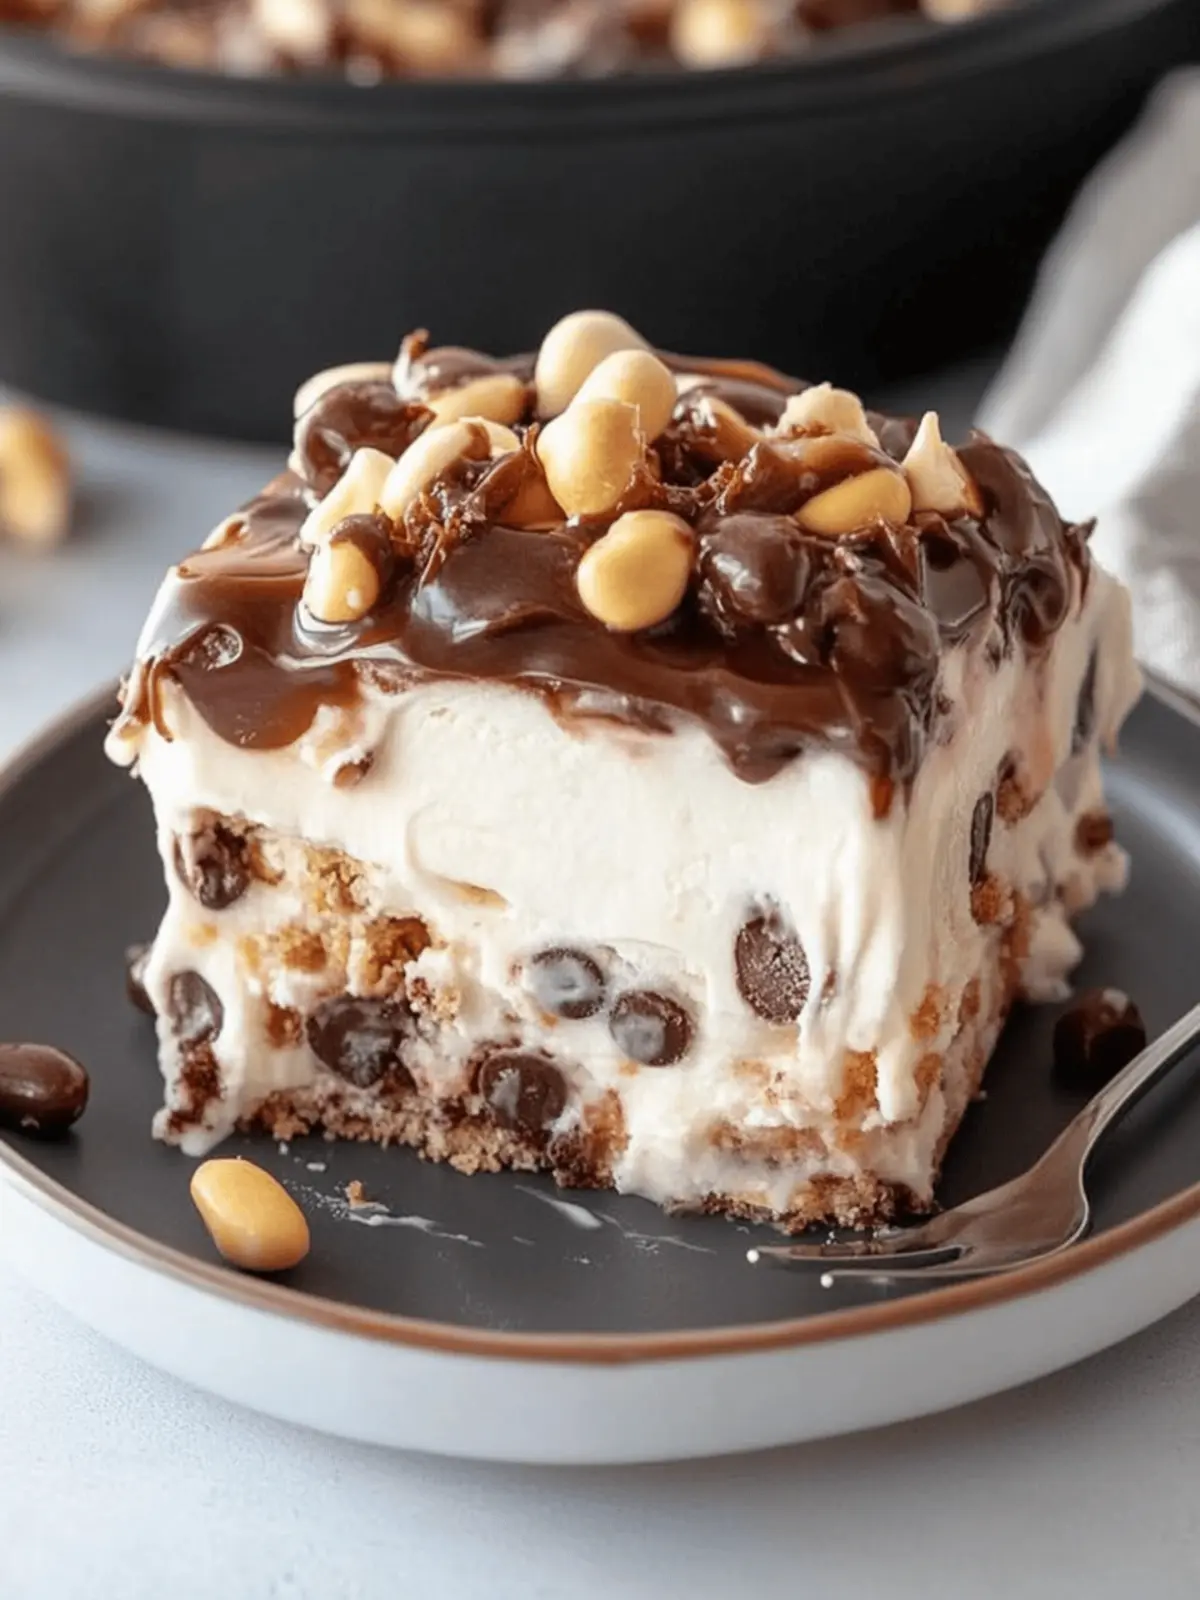
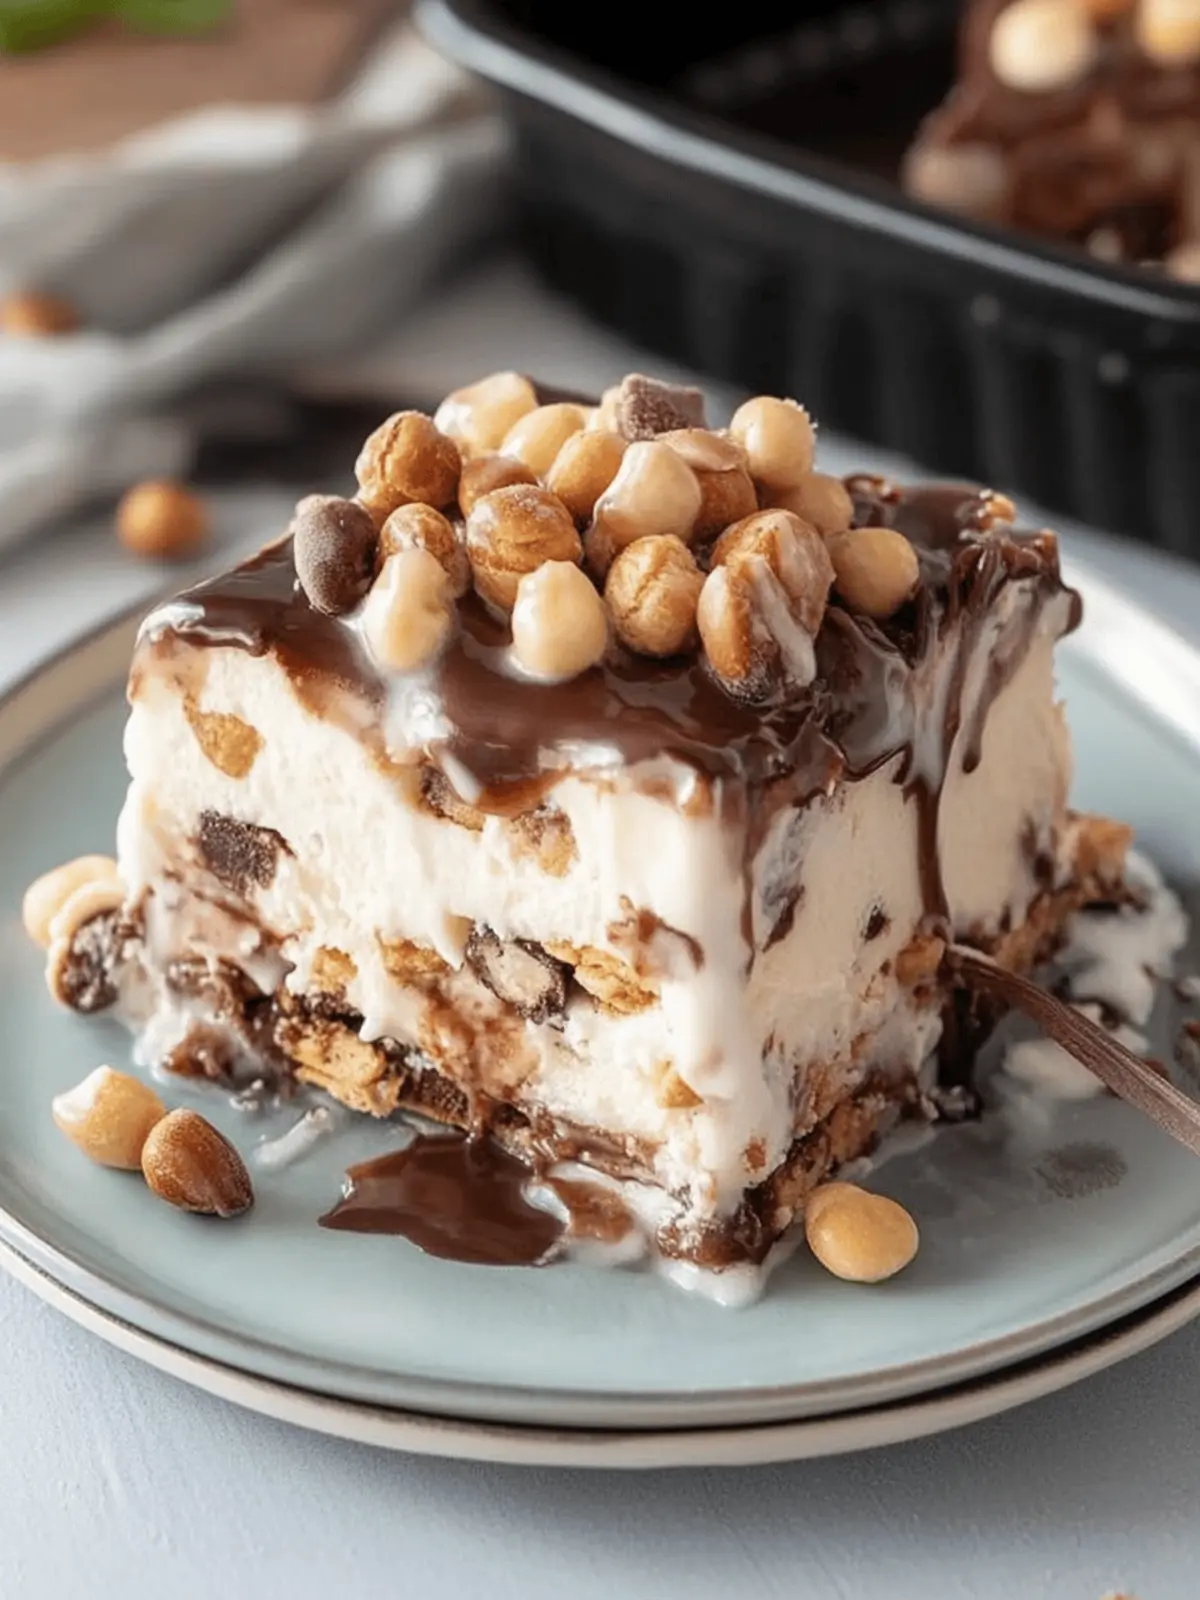
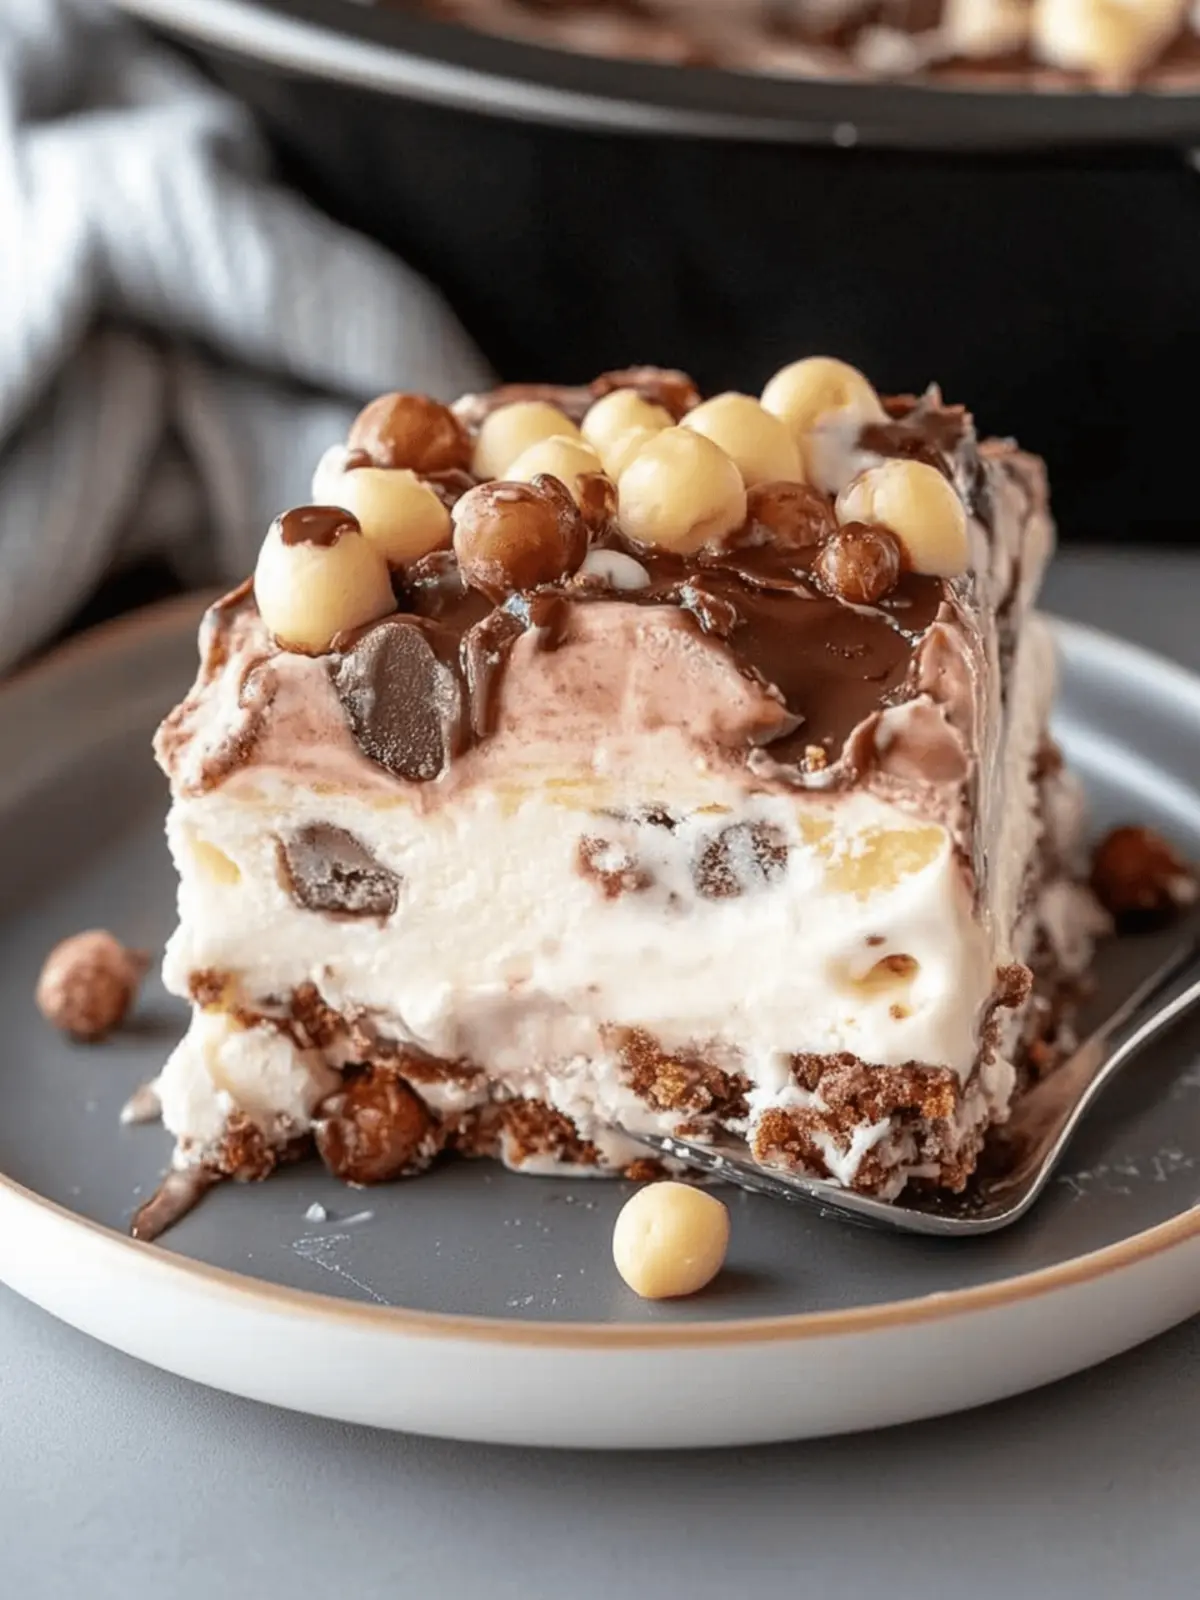
On one of those sweltering summer days, I found myself yearning for something cold and indulgent. As I rummaged through the freezer, the idea struck: why not bring the beloved flavors of a classic Buster Bar right into my kitchen? With just a handful of ingredients, I crafted this No-Bake Buster Bar Ice Cream Cake that instantly whisked me back to childhood ice cream parlors, where the rich, creamy ice cream mingled perfectly with hot fudge and crunchy peanuts.
In a mere 15 minutes and without ever turning on the oven, you can create a luscious dessert that’s destined to be the star of backyard gatherings and family celebrations. This treat delights the palate with its irresistible combination of creamy and crunchy textures, proving that homemade desserts can be both simple and spectacular. Ready to dive into a world of chocolatey bliss? Let’s get to it!
Why is Buster Bar Ice Cream Cake a must-try?
Instant Gratification: You can whip this dessert up in just 15 minutes—perfect for last-minute cravings.
No-Bake Delight: No oven required means you can beat the heat while enjoying a sweet treat.
Decadent Flavors: The blend of creamy vanilla ice cream and rich hot fudge creates a symphony of indulgent taste sensations.
Crowd-Pleasing: Families and friends will adore this nostalgic dessert, ensuring it’ll be the highlight of any gathering.
Versatile Variations: Feel free to play around with flavors—switch the vanilla ice cream for chocolate or try mint chocolate chip for a cool twist! You could also explore my other no-bake dessert recipes for more sweet inspiration.
Simple Ingredients: With common pantry items, you’ll have everything you need to create this delightful treat without an extensive shopping list.
Buster Bar Ice Cream Cake Ingredients
For the Crust
- Chocolate Graham Crackers – A base layer that adds both structure and a delicious chocolate flavor; feel free to substitute with chocolate wafer cookies or crushed Oreo cookies for a twist.
For the Ice Cream Layers
- Vanilla Ice Cream – The creamy, main filling that brings sweetness and texture; try chocolate ice cream for a richer taste, or coconut milk ice cream for a dairy-free option.
- Hot Fudge Sauce – Adds a layer of rich chocolate sweetness; you can use homemade for an extra special touch or opt for a store-bought option for convenience.
For the Topping
- Red Skin Peanuts – Provides a crunchy texture and a salty contrast; feel free to replace with other nuts like crushed almonds or walnuts if desired for an alternate flavor.
- Magic Shell Chocolate Coating – Creates a hard chocolate shell on top; can substitute with melted chocolate mixed with coconut oil for a homemade version.
This indulgent Buster Bar Ice Cream Cake features all the key components for a delicious no-bake dessert, ready to delight your taste buds in no time!
How to Make Buster Bar Ice Cream Cake
-
Prepare Ice Cream: Let the vanilla ice cream soften at room temperature for about 10-15 minutes. This will make it easier to spread over the crust.
-
Layer Crust: Line the bottom of a 9×13 inch baking dish with broken chocolate graham crackers, creating a single, even layer. This will serve as the sturdy base for your delicious cake.
-
Add Ice Cream: Scoop half of the softened ice cream over the crust, using a spatula to spread it evenly across the entire layer. Aim for a smooth and flat surface.
-
Fudge Layer: Pour the hot fudge sauce generously over the ice cream, spreading it evenly. Sprinkle half of the red skin peanuts on top of the fudge to add a delightful crunch.
-
Top Layer: Add the remaining ice cream, gently pressing it down to create a smooth, even layer. This ensures that your cake holds together beautifully when sliced.
-
Finish with Peanuts and Coating: Sprinkle the remaining peanuts on top and drizzle generously with Magic Shell chocolate, allowing it to create a tempting hard shell as it sets.
-
Freeze: Place the baking dish in the freezer for at least 3 hours, or until the cake is firm. Once ready, cut into squares and serve.
Optional: Serve with a fresh fruit garnish like strawberries for a lovely contrast.
Exact quantities are listed in the recipe card below.
Make Ahead Options
These Buster Bar Ice Cream Cakes are a fantastic option for meal prep, giving you a delightful dessert ready to impress whenever you need it! You can prepare the entire cake up to 24 hours in advance—just follow the assembly instructions before freezing. Simply wrap the dish tightly in plastic wrap to prevent freezer burn, ensuring that it stays just as delicious and fresh. When you’re ready to serve, remove the cake from the freezer and let it sit in the refrigerator for 30-45 minutes for easier cutting. This way, you can enjoy a homemade treat without last-minute stress, making your busy weeknights just a little sweeter!
Buster Bar Ice Cream Cake Variations
Get creative with your dessert by trying these delightful twists that embrace different flavors and dietary preferences.
-
Mint Chocolate: Swap vanilla ice cream for mint chocolate chip for a refreshing coolness in every bite.
-
Nut-Free Option: Leave out the peanuts and replace with crunchy graham cracker crumbs for a gluten-free texture.
-
Caramel Bliss: Drizzle caramel sauce along with hot fudge for a heavenly salted caramel version that will have everyone reaching for seconds.
-
Fruit-Infused: Add diced strawberries or bananas between the layers for a fruity burst that complements the rich chocolatey flavor.
-
Vegan Version: Use coconut milk ice cream and replace hot fudge with vegan chocolate sauce for an indulgent, plant-based dessert.
-
Chocolate Overload: Replace the graham cracker crust with crushed chocolate cookies for an even richer chocolate experience.
-
Spicy Kick: Sprinkle a pinch of cayenne pepper in the hot fudge layer for an unexpected kick that takes the flavors to a whole new level.
-
Coffee Lovers: Stir in a tablespoon of espresso powder into the softened ice cream for a coffee-infused dessert that brings a delightful bitterness to balance the sweetness.
Storage Tips for Buster Bar Ice Cream Cake
Fridge: If you plan to enjoy your Buster Bar Ice Cream Cake within a couple of days, store it in the fridge, covered tightly; it will stay fresh for up to 3 days.
Freezer: For longer-term storage, keep the cake in the freezer, where it will retain its delicious taste and texture for several weeks—ideally consume within the first week for the best experience.
Wrapping: Always wrap your cake tightly in plastic wrap or aluminum foil to prevent freezer burn and maintain its delightful flavors.
Reheating: When ready to serve, allow the Buster Bar Ice Cream Cake to sit at room temperature for about 5-10 minutes for easier slicing.
Expert Tips for Buster Bar Ice Cream Cake
- Softened Ice Cream: Allow the ice cream to sit out for 10-15 minutes to soften, ensuring it spreads easily over the crust.
- Level Layers: Use a spatula to smooth each layer, especially the ice cream, for a visually appealing cake that slices neatly.
- Freezing Time: Be patient! Let the Buster Bar Ice Cream Cake freeze for at least 3 hours for the best texture and flavor development.
- Storage Solution: Wrap your dessert tightly in plastic wrap before freezing to prevent freezer burn and maintain its sumptuous taste.
- Parchment Lining: Line the baking dish with parchment paper for quick and easy removal of slices when serving, preventing any sticking mishaps.
What to Serve with Buster Bar Ice Cream Cake?
Imagine indulging in a decadent dessert that pairs perfectly with a variety of delightful complements!
-
Fresh Berries: The tartness of strawberries or raspberries adds a refreshing contrast to the richness of the cake.
-
Whipped Cream: A dollop of light, airy whipped cream enhances the creaminess, making each bite even more dreamy.
-
Chocolate Sauce: Drizzling additional hot fudge over the top elevates the dessert to a new level of indulgence.
-
Coffee or Espresso: A warm cup of coffee provides a wonderful balance, perfectly offsetting the cold sweetness of the cake and making a delightful end to any meal.
-
Nutty Ice Cream: Pairing with a scoop of nutty ice cream, like pistachio, emphasizes the crunchy peanuts while adding a new layer of flavor.
-
Fruit Salad: A vibrant fruit salad, with citrus and melons, not only brightens up the plate but also offers a light, refreshing bite between rich dessert tastes.
-
Milkshakes: Treat yourself to a chocolate or vanilla milkshake alongside. The combination is a nostalgic throwback to ice cream parlors of the past.
-
Caramel Sauce: A drizzle of caramel sauce complements the richness of the hot fudge, adding another layer of sweet complexity to your dessert experience.
-
Ice Cream Float: For a fun twist, serve a soda float on the side, combining your favorite soft drink with vanilla ice cream for a bubbly contrast.
-
Chocolate-Covered Strawberries: These add a touch of elegance and romance to your dessert table, harmonizing wonderfully with the flavors of the Buster Bar.
Buster Bar Ice Cream Cake Recipe FAQs
What kind of chocolate graham crackers should I use?
You can use any brand of chocolate graham crackers that you prefer! If you’re in the mood for a little twist, crushed Oreo cookies or chocolate wafer cookies make a delightful substitute. Just crush them into fine crumbs for the crust for that perfect chocolatey base.
How should I store the Buster Bar Ice Cream Cake?
For maximum freshness, store your Buster Bar Ice Cream Cake in the freezer, tightly wrapped in plastic wrap or aluminum foil to avoid freezer burn. It stays delicious for about 3 weeks but is best enjoyed within the first week for optimal texture and flavor.
Can I freeze the Buster Bar Ice Cream Cake?
Absolutely! After preparing and assembling the cake, place it in the freezer for at least 3 hours until it’s firm. Once completely frozen, you can cut it into squares, and remember, it can last for up to 3 months; just be sure to wrap it tightly to keep that delectable taste intact!
What if my cake doesn’t freeze properly?
If you find that your cake has a bit of an icy texture, it might be due to not enough time in the freezer or having air pockets. To troubleshoot, ensure it’s evenly spread out and compressed as you layer your ice cream. If you’re still experiencing issues, let it freeze longer and try to use a spatula to smooth out any uneven areas before freezing.
Are there any dietary considerations to keep in mind?
Definitely! If you have allergies, it’s good to note that this cake contains dairy and nuts. For dairy-free options, you can substitute vanilla ice cream with coconut milk ice cream. If you’re nut-free, simply skip the red skin peanuts or replace them with seeds like sunflower seeds for that crunch without the allergy concerns! Always double-check labels to ensure that any substitutes are safe for your dietary needs.
Can I make this dessert ahead of time?
Yes! This no-bake Buster Bar Ice Cream Cake is perfect for preparing in advance. You can assemble it up to 3 days ahead of your event. Just store it in the freezer, and about 30-45 minutes before serving, move it to the refrigerator for easy slicing. Enjoy crowd-pleasing decadence without the stress!
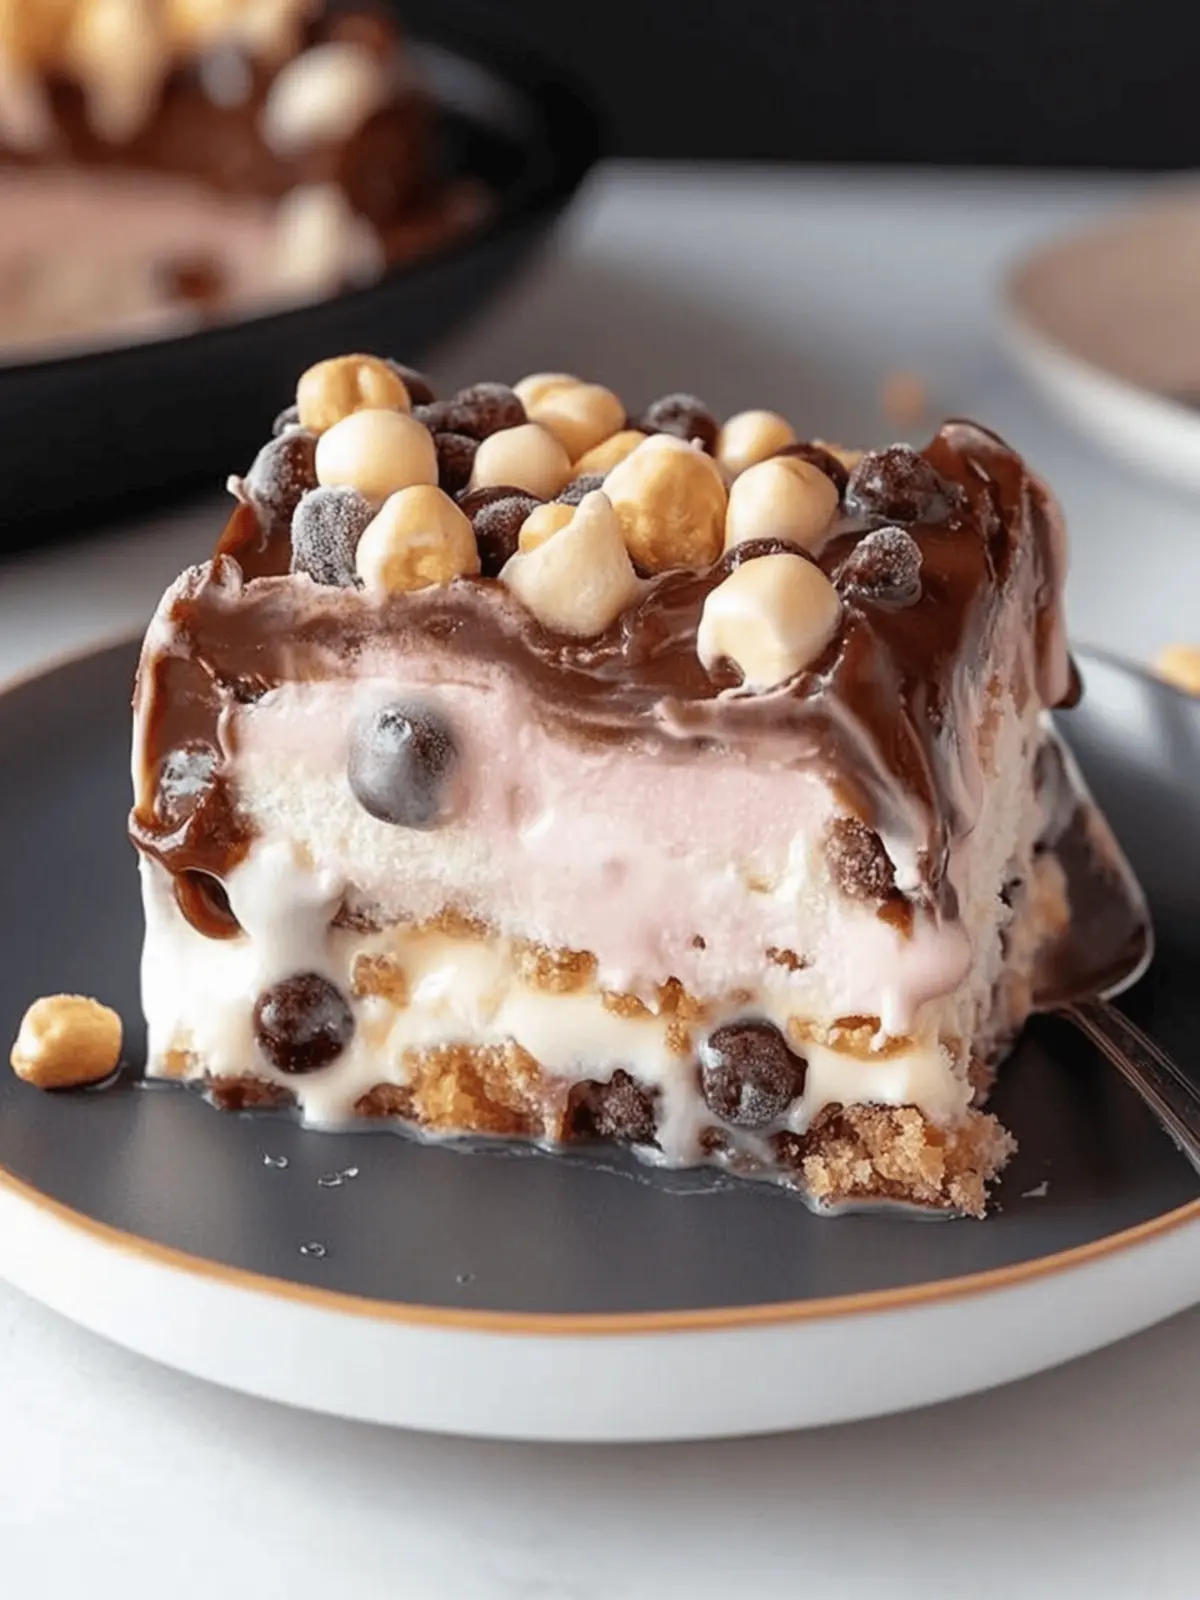
Indulge in No-Bake Buster Bar Ice Cream Cake Bliss
Ingredients
Equipment
Method
- Prepare Ice Cream: Let the vanilla ice cream soften at room temperature for about 10-15 minutes.
- Layer Crust: Line the bottom of a 9x13 inch baking dish with broken chocolate graham crackers.
- Add Ice Cream: Scoop half of the softened ice cream over the crust and spread it evenly across.
- Fudge Layer: Pour the hot fudge sauce over the ice cream and sprinkle half of the peanuts on top.
- Top Layer: Add the remaining ice cream and press it down to create a smooth layer.
- Finish with Peanuts and Coating: Sprinkle the remaining peanuts and drizzle with Magic Shell chocolate.
- Freeze: Place in the freezer for at least 3 hours before serving.

