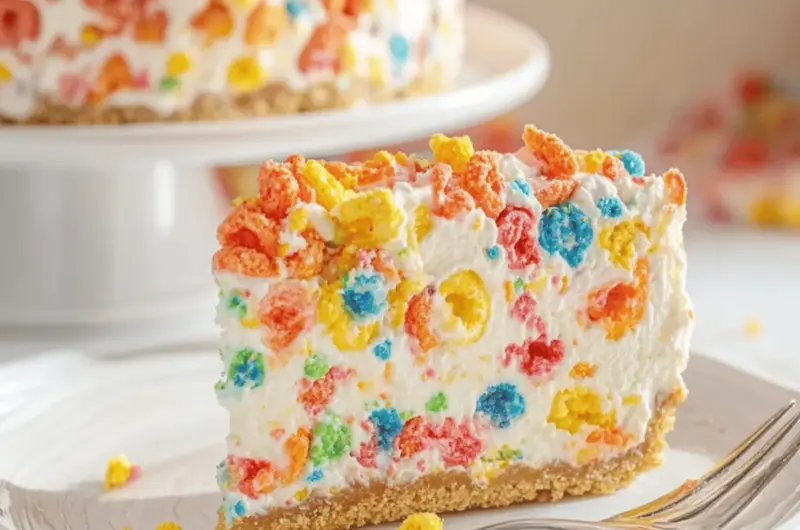
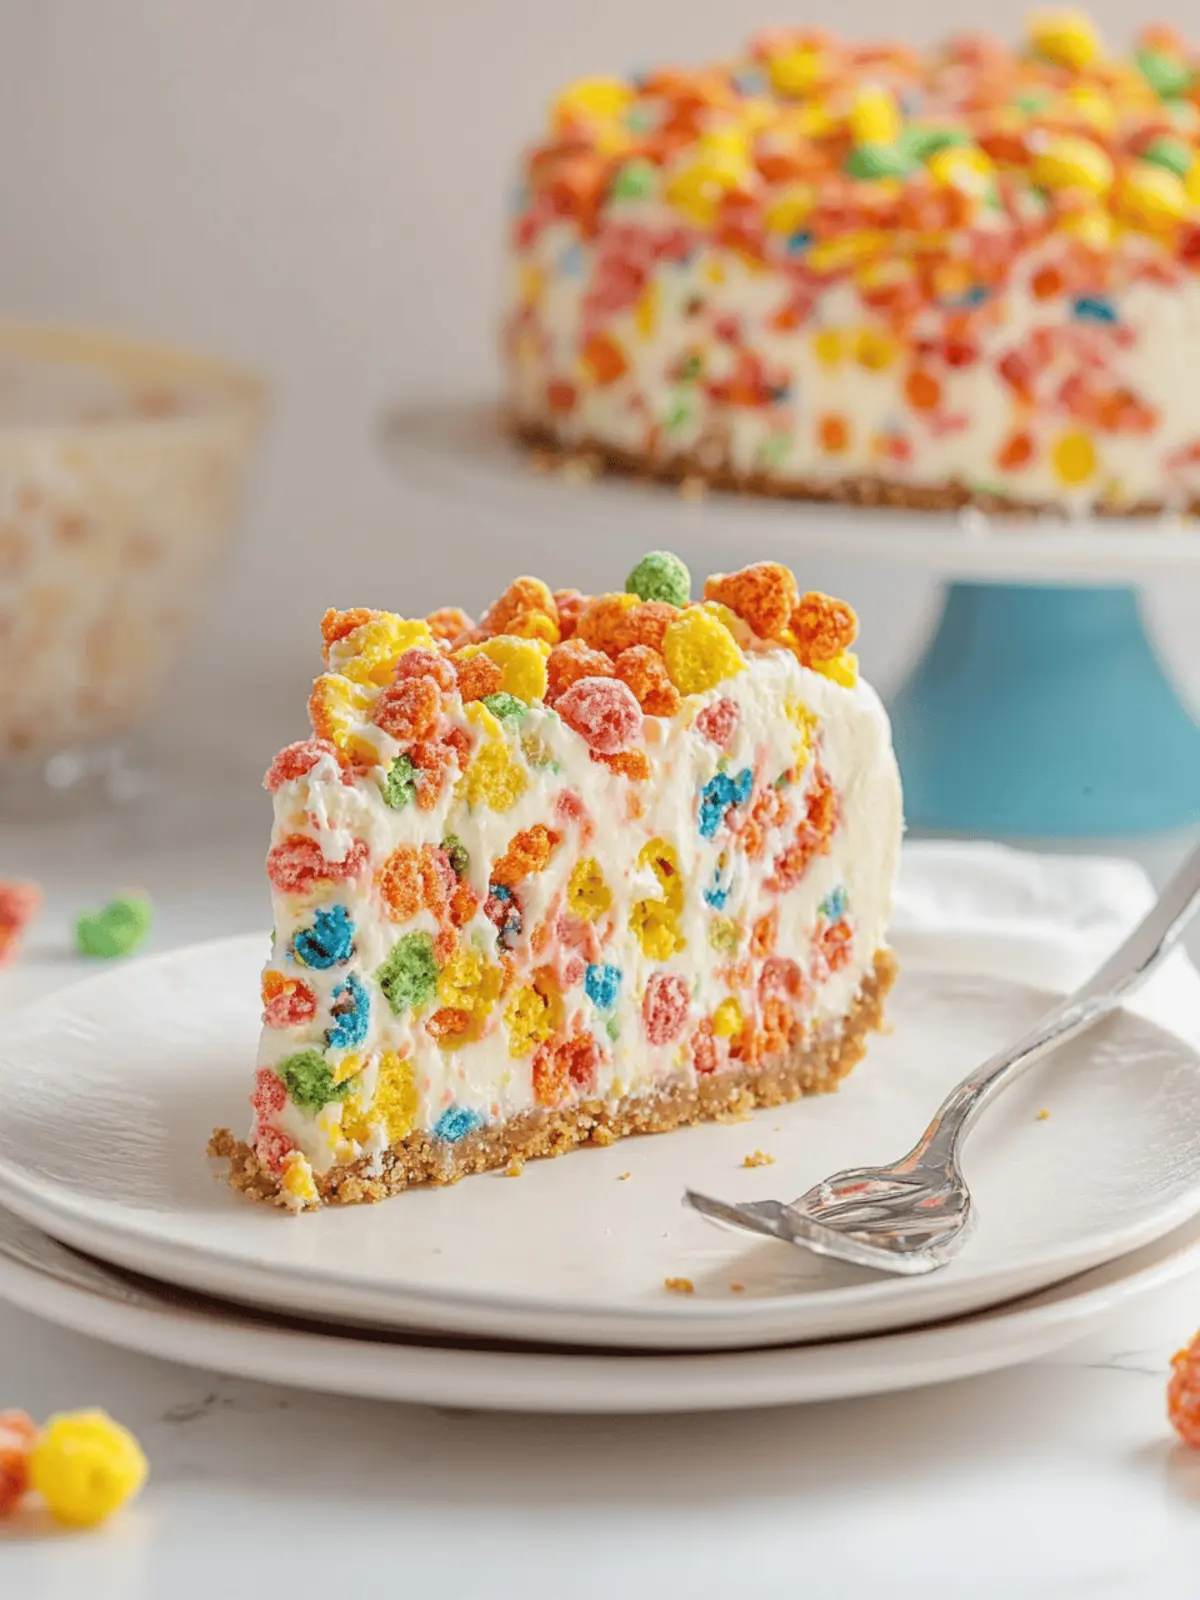
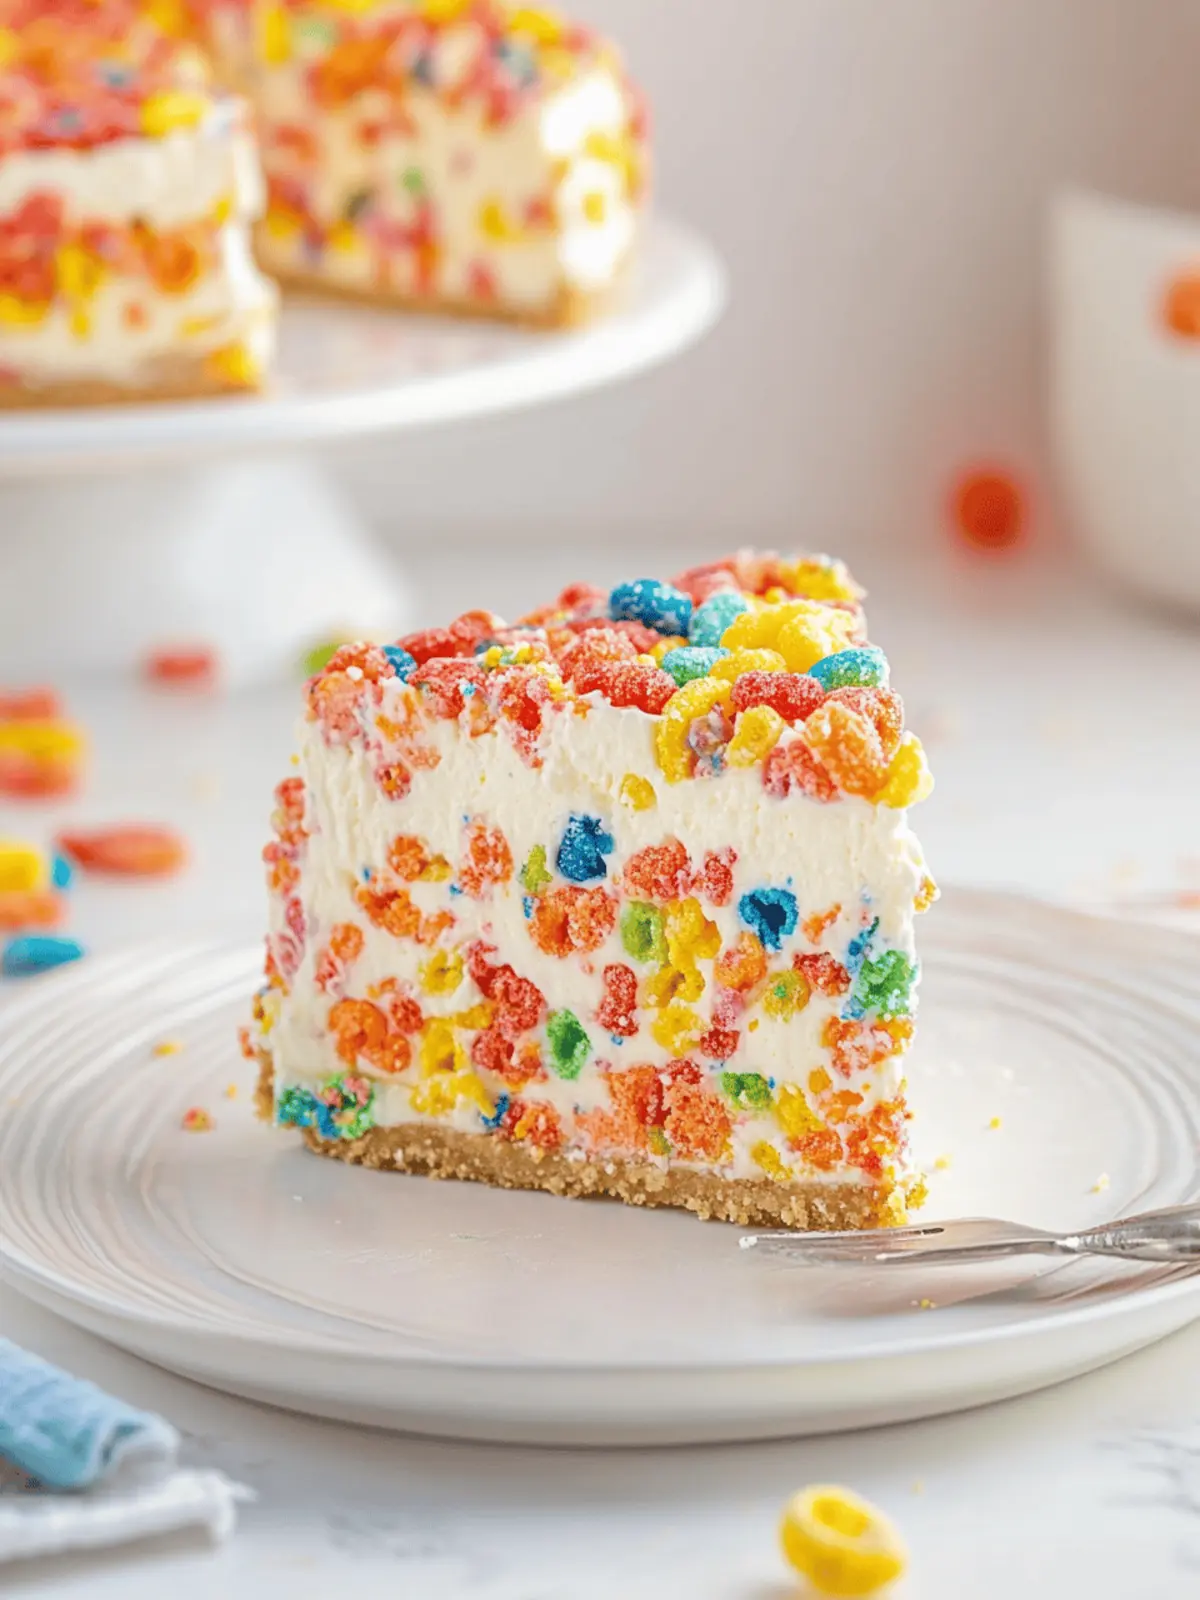
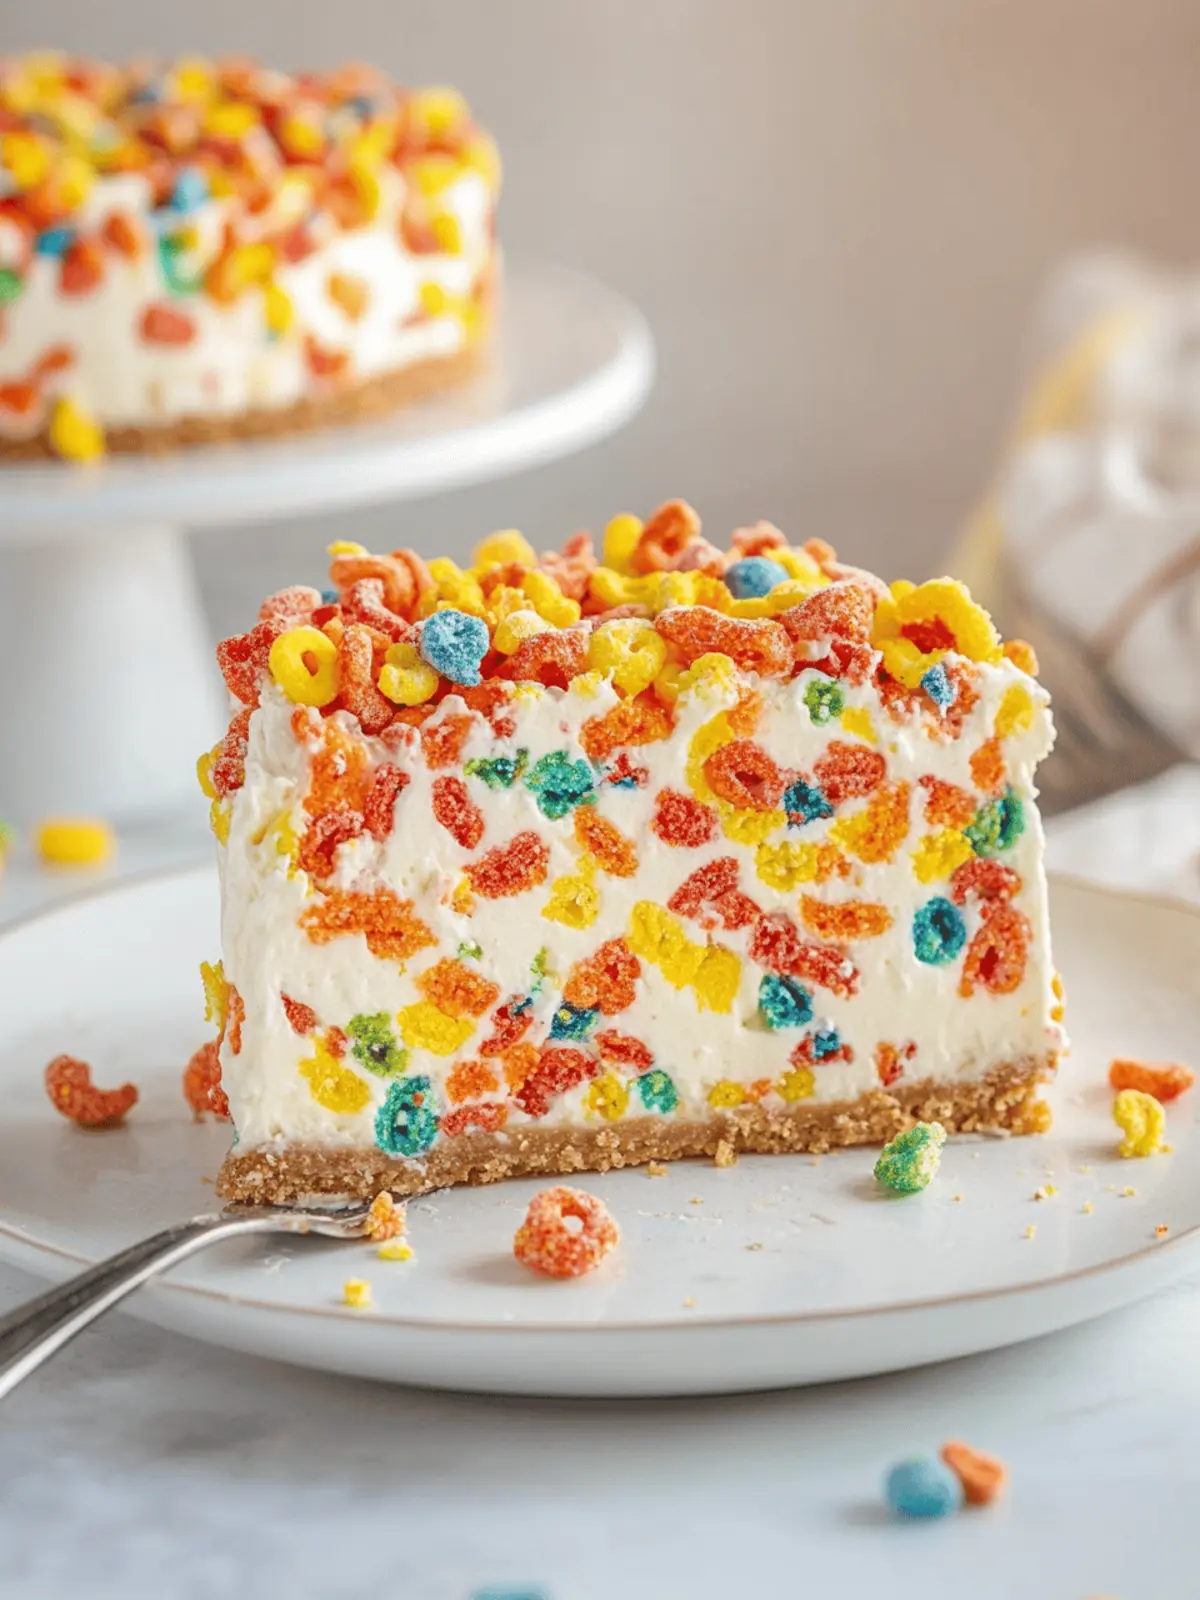
There’s nothing quite like the playful crunch and vibrant colors of Fruity Pebbles to take you on a nostalgic journey back to childhood breakfasts. Picture this: a creamy, dreamy cheesecake nestled in a chewy marshmallow crust, bursting with the fruity flavor that makes those cereal pieces irresistible. After a busy week, I found myself longing for a dessert that not only satisfied my sweet tooth but also sparked joy—and this no-bake Fruity Pebbles cheesecake was the answer.
Effortless to whip up, it’s perfect for gatherings or just a treat to brighten your day at home. The beauty of this dessert lies in its ease: no baking required! Just a few simple steps stand between you and a crowd-pleasing, colorful dessert that even your kids will love. So grab those Fruity Pebbles, and let’s dive into making a cheesecake that promises to spark joy with every delightful bite!
Why is Fruity Pebbles Cheesecake a Crowd Favorite?
Nostalgic Flavors: This delightful cheesecake brings back childhood memories, with the fun and colorful taste of Fruity Pebbles.
Easy Preparation: No baking means minimal fuss—just simple steps for a spectacular dessert.
Creamy and Crunchy: Enjoy a perfect balance of smooth cream cheese filling and the playful crunch of Fruity Pebbles.
Versatile Delight: Feel free to swap Fruity Pebbles with other cereal favorites for different flavors; it’s all about fun customization!
Shareable Joy: Perfect for gatherings or family nights, this cheesecake will have everyone smiling with every slice.
Fruity Pebbles Cheesecake Ingredients
For the Crust
- Mini Marshmallows – Provide sweetness and a chewy texture for the crust. Note: Regular marshmallows can be used, but may require a slight adjustment in cooking time.
- Salted Butter – Adds richness to the crust. Note: You can substitute with unsalted butter; just adjust the salt in the recipe to your preference.
- Fruity Pebbles (5 cups) – Imparts vibrant flavor and color, reminiscent of childhood cereal. Note: Other cereals can be swapped in for a fun taste variation.
For the Cheesecake Filling
- Cream Cheese (24 oz) – Forms the base of the cheesecake filling; ensures creaminess. Note: Ensure it’s at room temperature for the smoothest texture.
- Sugar (½ cup) – Sweetens the cheesecake. Note: Adjust the amount for a less sweet filling if desired.
- Heavy Cream (¼ cup) – Adds richness and a creamy mouthfeel. Note: Light cream can serve as a lower-calorie alternative.
- Lemon Juice (1 tablespoon) – Enhances the flavor and adds a refreshing brightness. Note: Lime juice can be a great substitute for a zesty twist.
- Vanilla Extract (1 teaspoon), Raspberry Extract (1 teaspoon) – Adds depth of flavor to elevate the profile. Note: You can choose to use either one, or omit for a more straightforward taste.
- Cornstarch (1 tablespoon) – Helps stabilize the filling. Note: Can be omitted if desired, though this may change the texture slightly.
- Salt (½ teaspoon) – Balances the sweetness for a well-rounded flavor.
Optional Topping
- Additional Fruity Pebbles – Use these as a playful and colorful topping for presentation before serving.
How to Make Fruity Pebbles Cheesecake
-
Prepare the Crust: In a microwave-safe bowl, melt mini marshmallows and butter together for 1-2 minutes. Stir until smooth, then mix in 5 cups of Fruity Pebbles. Press the mixture evenly into the bottom of a 9-inch springform pan.
-
Make the Cheesecake Filling: Beat 24 oz of room temperature cream cheese and ½ cup of sugar in a stand mixer until smooth. Add ¼ cup heavy cream, 1 tablespoon lemon juice, 1 teaspoon vanilla extract, and 1 teaspoon raspberry extract; blend until everything is well combined. Gradually add 1 tablespoon of cornstarch and ½ teaspoon salt, mixing until smooth. Gently fold in 1 cup of Fruity Pebbles.
-
Assemble and Chill: Spoon the cheesecake filling into the prepared crust, smoothing the top with a spatula. Cover with plastic wrap and refrigerate for at least 8 hours, or ideally 24 hours, to allow it to set properly.
-
Serve: Optionally, sprinkle additional Fruity Pebbles on top before slicing and serving to add an extra pop of color and crunch.
Optional: Garnish with whipped cream for a delightful finish.
Exact quantities are listed in the recipe card below.
Fruity Pebbles Cheesecake Variations
Feel free to let your creativity shine and customize this delightful cheesecake to suit your taste!
-
Gluten-Free: Use gluten-free cereals like Corn Chex or Rice Chex for the crust, ensuring everyone can enjoy it!
-
Dairy-Free: Substitute cream cheese with dairy-free cream cheese and use coconut cream instead of heavy cream for a tasty alternative.
-
Flavor Boost: Add a tablespoon of orange zest to the filling for a zesty twist that brightens the fruity flavors beautifully.
-
Chocolate Lovers: Incorporate crushed chocolate cookies into the crust for a delicious chocolatey contrast against the sweet fruity notes.
-
Nutty Addition: Fold in crushed nuts like almonds or pecans into the filling for an extra layer of crunch and flavor.
-
Make It Mini: Divide the mixture into cupcake liners instead of a springform pan for adorable mini cheesecakes that are perfect for parties.
-
Citrus Swap: Replace lemon juice with lime juice for a tropical twist that offers a refreshing zing.
-
Spicy Kick: Incorporate a pinch of cayenne pepper or cinnamon into the filling for an unexpected heat that enhances the sweet flavors.
What to Serve with Fruity Pebbles Cheesecake?
Looking to complete your dessert experience with the perfect pairings that enhance those playful flavors?
-
Fresh Fruit Salad: A mix of vibrant seasonal fruits adds a refreshing contrast to the rich cheesecake, helping balance the sweetness.
-
Whipped Cream: Light, airy whipped cream provides a beautiful, dolloped topping that complements the creamy texture of the cheesecake.
-
Coffee or Espresso: The boldness of coffee pairs wonderfully with the fruity sweetness, making it a delightful end to a family meal.
-
Chocolate Drizzle: A warm drizzle of chocolate sauce introduces a rich contrast, adding depth and indulgence to each slice.
-
Vanilla Ice Cream: Creamy vanilla ice cream alongside your cheesecake creates a delightful mix of temperatures and textures in every bite.
-
Cherry Compote: A tart cherry topping cuts through the sweetness and adds a gourmet touch to your dessert table.
-
Sparkling Water or Lemonade: Refreshing beverages like bubbly water or tangy lemonade brighten the whole meal, complementing the fruity flavor of the cheesecake elegantly.
Expert Tips for Fruity Pebbles Cheesecake
-
Room Temperature Cream Cheese: Ensure your cream cheese is at room temperature before mixing to avoid lumps in your filling for a silky-smooth texture.
-
Pressing the Crust: Lightly grease your hands with butter when pressing the crust into the springform pan; this helps avoid sticking and creates an even base.
-
Chill Time Matters: For the best flavor and texture, refrigerate your Fruity Pebbles cheesecake overnight if possible. This allows the flavors to meld beautifully.
-
Avoid Overmixing: When adding the Fruity Pebbles to the filling, gently fold them in to maintain their crunch. Overmixing can lead to a soggy texture.
-
Customization is Key: Don’t hesitate to swap out Fruity Pebbles with other favorite cereals for a unique twist. Each variation can yield delightful results!
How to Store and Freeze Fruity Pebbles Cheesecake
-
Fridge: Store your no-bake Fruity Pebbles cheesecake in an airtight container for up to 4 days. This keeps it fresh while maintaining its delicious creamy texture and crunch.
-
Freezer: For longer storage, wrap the cheesecake tightly in plastic wrap and then in aluminum foil; it can last for up to one month in the freezer. Thaw overnight in the refrigerator before serving for the best taste.
-
Serve Warm: If desired, you can enjoy the cheesecake chilled straight from the fridge, or let it sit at room temperature for about 30 minutes before serving for a softer texture.
-
Reheating: There’s no need to reheat this no-bake cheesecake! Enjoy it as is to preserve its delightful creamy filling and fun, crunchy toppings.
Make Ahead Options
These Fruity Pebbles Cheesecake are a dream for busy home cooks looking to save time! You can prepare the crust and cheesecake filling up to 24 hours in advance. For best results, make the crust by melting the mini marshmallows and butter, then mixing in Fruity Pebbles, and pressing it into the pan. After that, whip up the cheesecake filling and spread it over the crust before chilling it. Cover tightly with plastic wrap to prevent air exposure, keeping it just as delicious. When ready to serve, simply garnish with additional Fruity Pebbles for that extra crunch and color, making your dessert a showstopper with minimal last-minute effort!
Fruity Pebbles Cheesecake Recipe FAQs
Can I use different cereals instead of Fruity Pebbles?
Absolutely! While Fruity Pebbles add a delightful fruity flavor and vibrant color, you can certainly swap them out for other favorite cereals like Rice Krispies, Lucky Charms, or even Cocoa Puffs. Just remember that different cereals may alter the overall flavor profile and crunch factor of your cheesecake, so feel free to get creative!
How should I store the Fruity Pebbles cheesecake?
To keep your no-bake Fruity Pebbles cheesecake fresh, store it in an airtight container in the refrigerator for up to 4 days. It’s great to have on hand for those sweet cravings! If you want to keep it longer, wrap it tightly in plastic wrap and then in aluminum foil for up to one month in the freezer. Thaw it overnight in the refrigerator before serving, and it will be just as delightful as the day you made it.
What’s the best way to freeze Fruity Pebbles cheesecake?
To freeze your cheesecake, start by chilling it completely in the refrigerator. Once set, wrap the entire cheesecake tightly in plastic wrap, followed by a layer of aluminum foil to prevent freezer burn. Label with the date and enjoy for up to one month. When you’re ready to indulge, transfer it to the refrigerator for a slow thaw overnight. This ensures it maintains its creamy texture!
Why is my cheesecake not setting properly?
If your Fruity Pebbles cheesecake isn’t firming up, it may be due to a few factors. Make sure to thoroughly chill it for at least 8 hours, preferably overnight. If you added too much heavy cream or didn’t use cornstarch, that could affect the setting as well. Ensure that your cream cheese is fully beaten until smooth, and gently fold in the Fruity Pebbles to avoid disrupting the structure. If all else fails, a few extra hours in the fridge can work wonders!
Can I make this cheesecake dairy-free?
Yes, you can! To make a dairy-free Fruity Pebbles cheesecake, substitute the cream cheese with a dairy-free alternative and use coconut cream in place of heavy cream. Be sure to check that your marshmallows are also dairy-free, as many traditional brands contain dairy. With these swaps, you can still enjoy the creamy and fruity goodness of this delightful cheesecake while accommodating dietary needs.
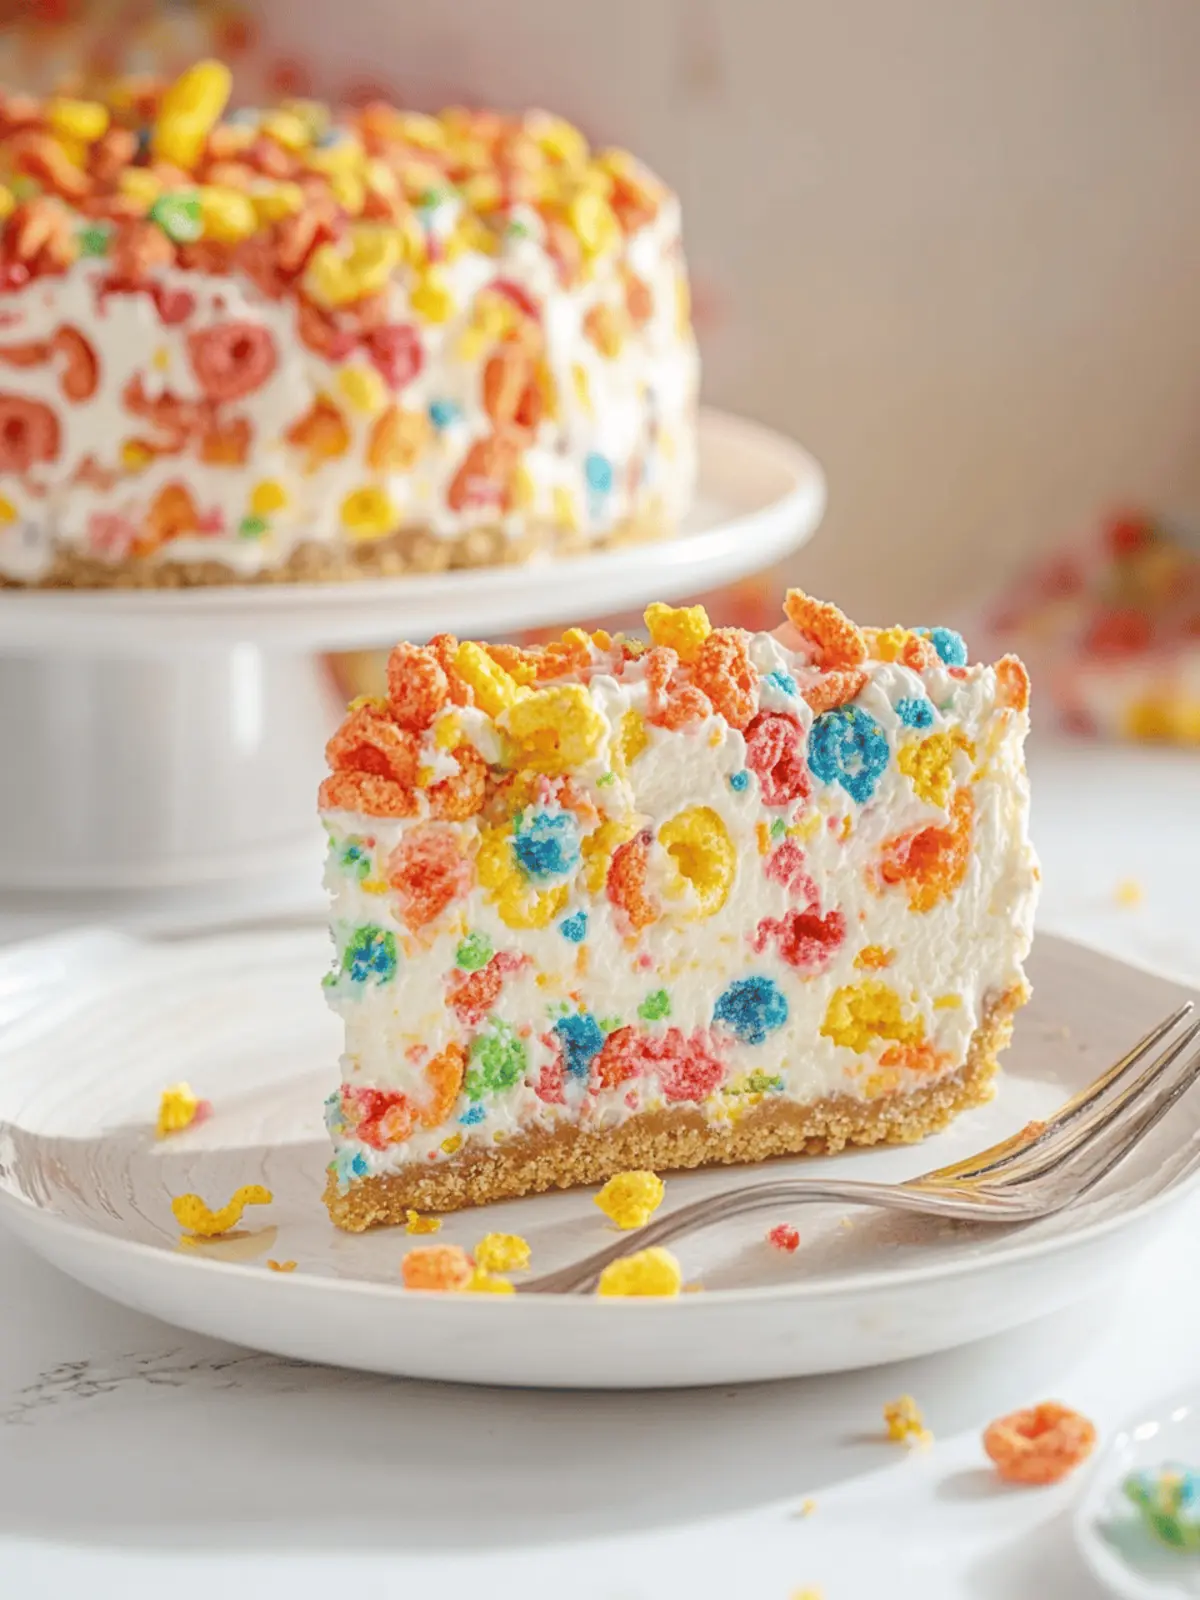
Fruity Pebbles Cheesecake: A Fun, No-Bake Delight
Ingredients
Equipment
Method
- In a microwave-safe bowl, melt mini marshmallows and butter together for 1-2 minutes. Stir until smooth, then mix in Fruity Pebbles. Press into the bottom of a 9-inch springform pan.
- Beat cream cheese and sugar until smooth. Add heavy cream, lemon juice, vanilla extract, and raspberry extract; blend until well combined. Gradually add cornstarch and salt, mixing until smooth. Gently fold in Fruity Pebbles.
- Spoon the cheesecake filling into the prepared crust, smoothing the top. Cover with plastic wrap and refrigerate for at least 8 hours, ideally 24 hours, to set properly.
- Sprinkle additional Fruity Pebbles on top before slicing and serving.

