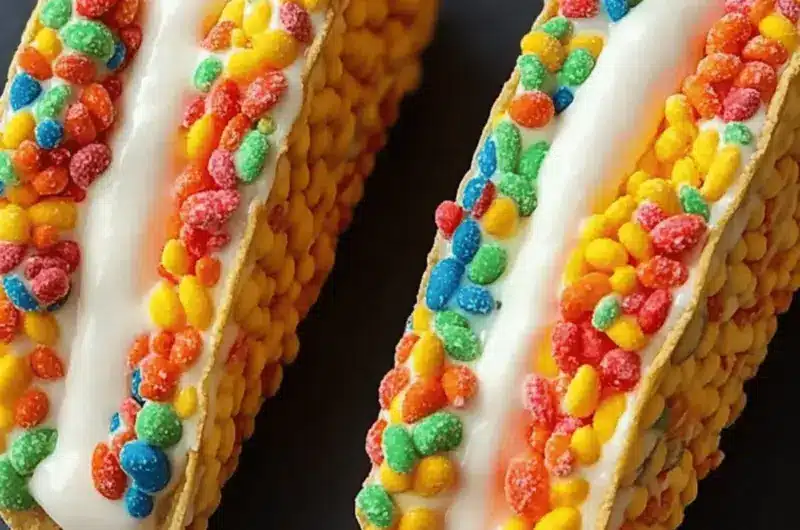
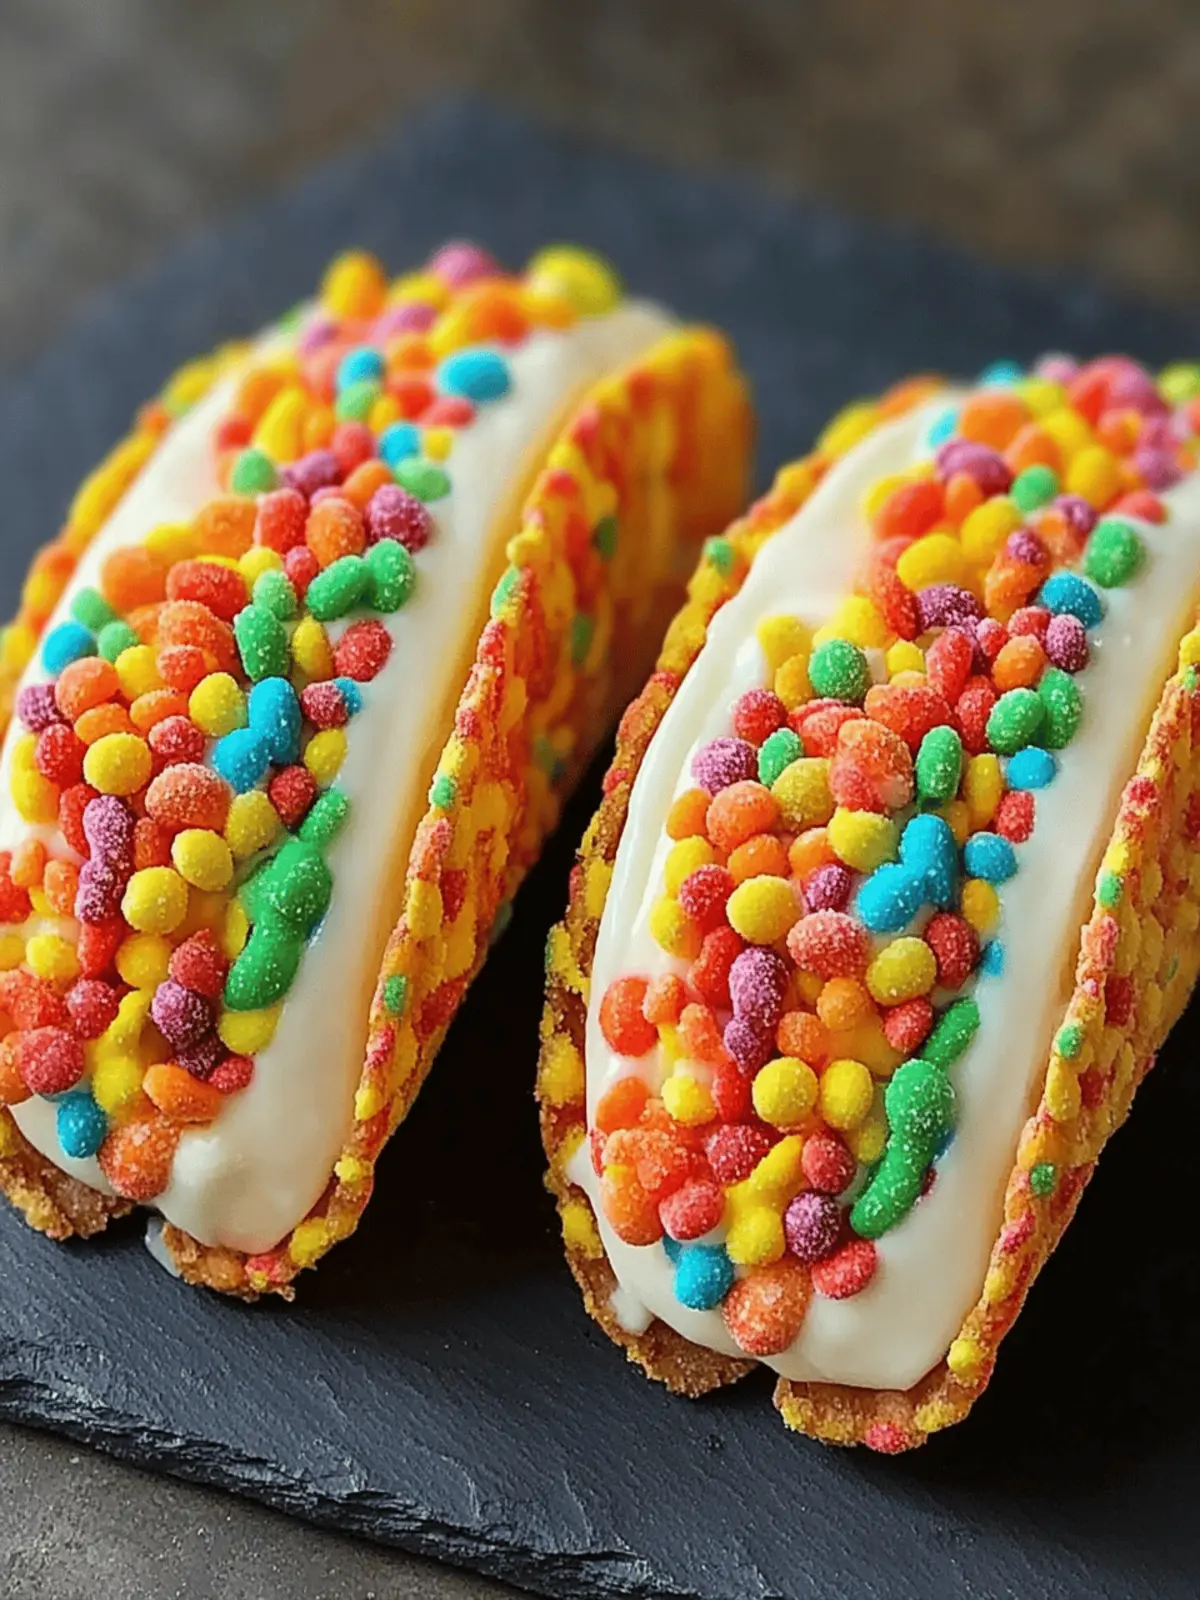
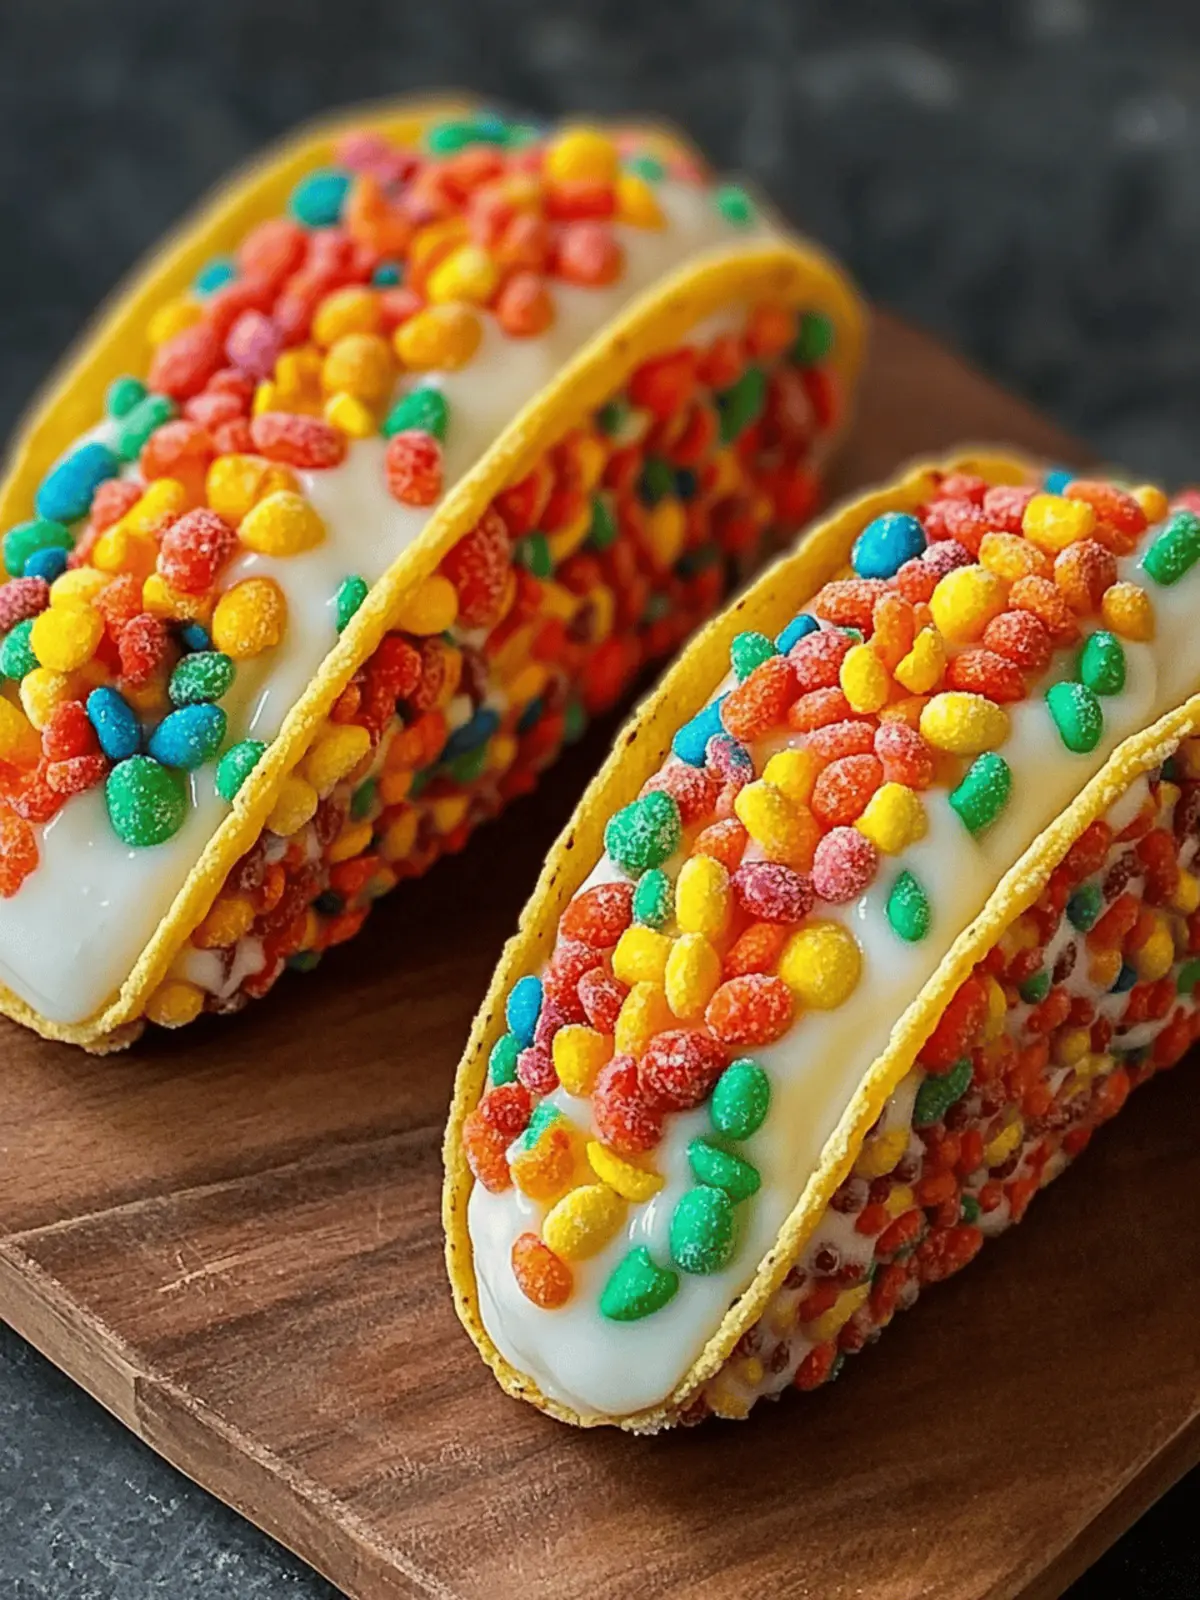
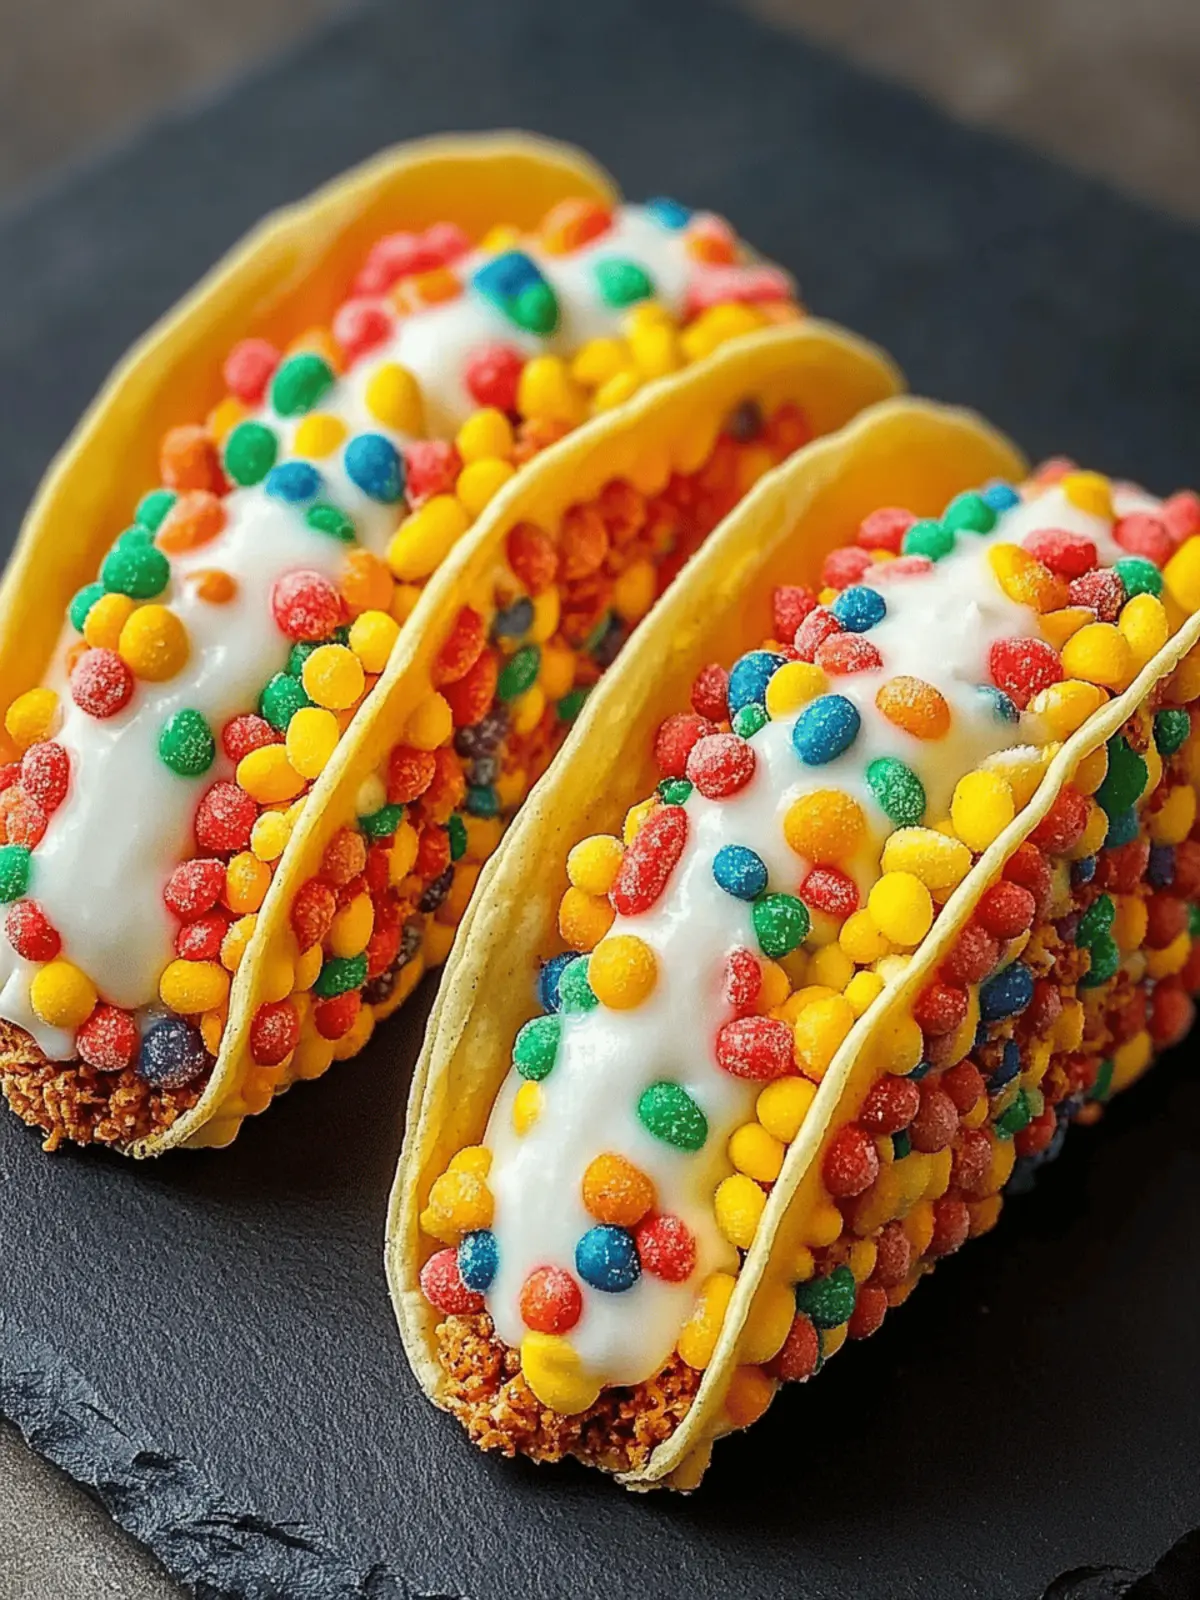
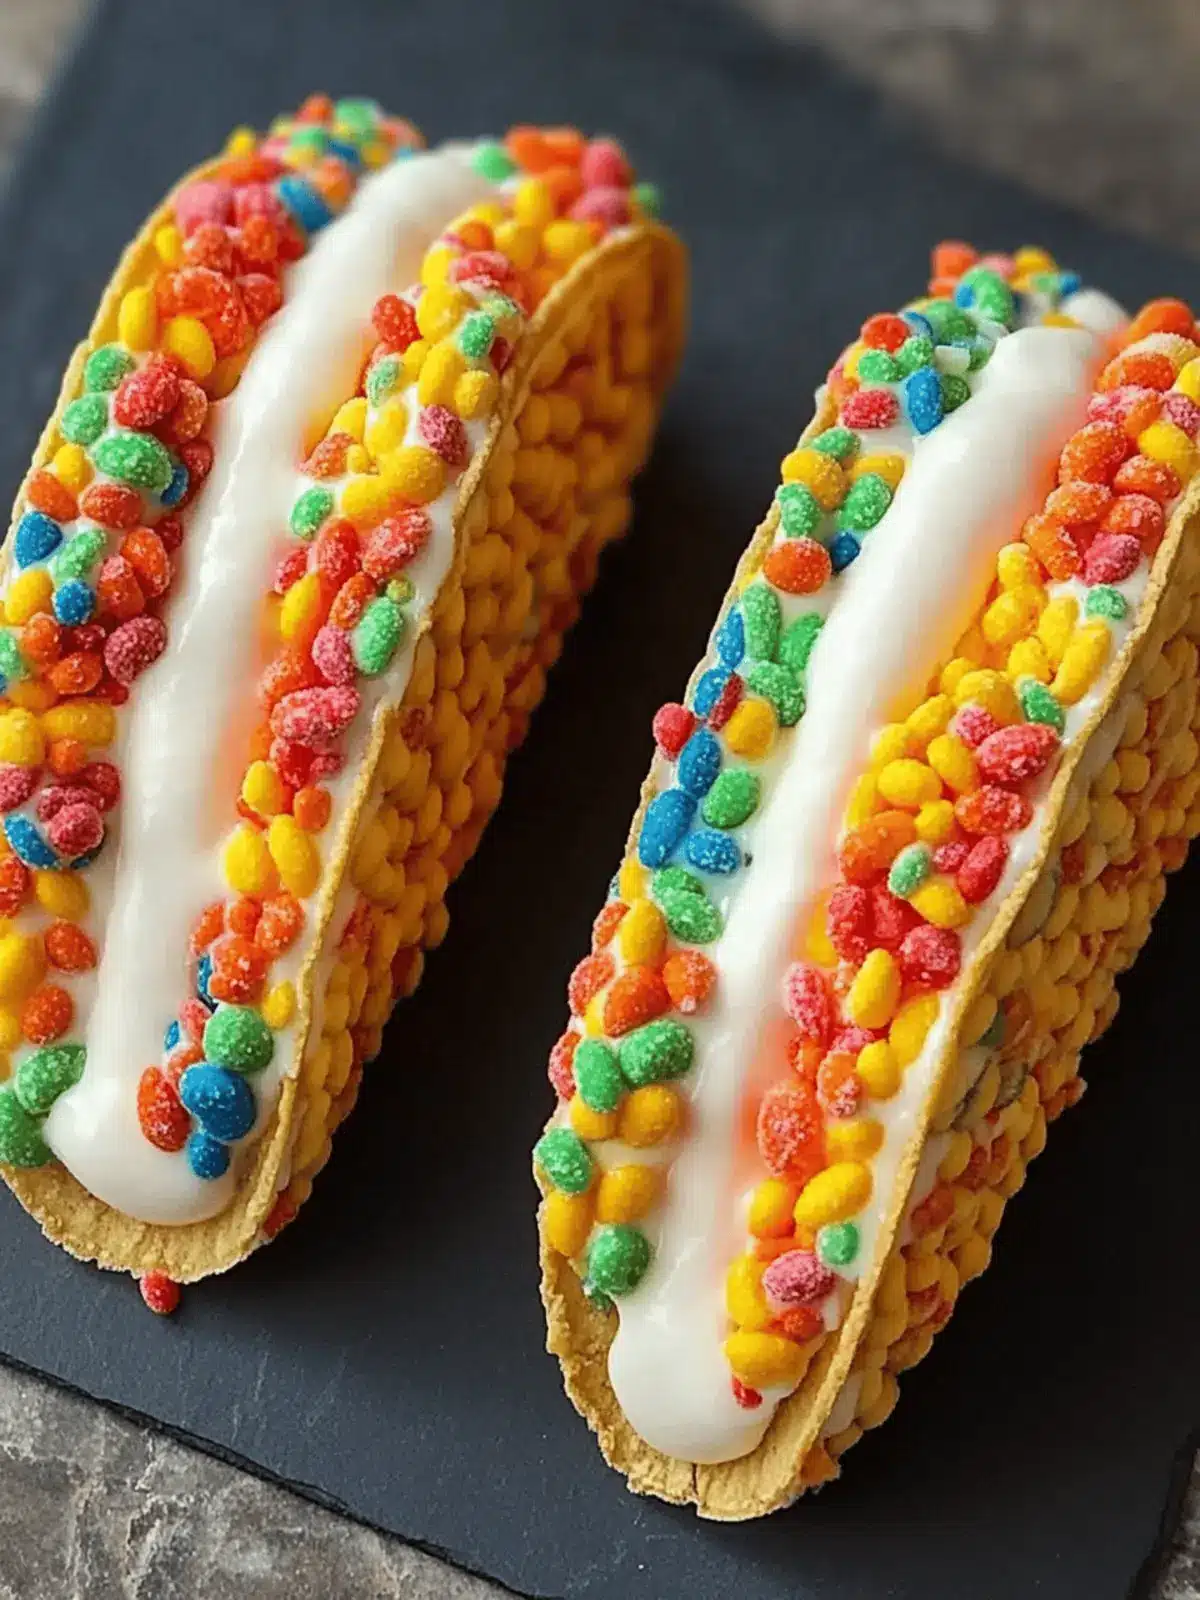
Picture this: a vibrant platter of Fruity Pebbles Cheesecake Tacos sitting on your kitchen counter, their colorful shells glistening in the light. Just the thought brings a smile, doesn’t it? These delightful treats are a whimsical twist on dessert, combining the nostalgic crunch of Fruity Pebbles with a creamy cheesecake filling that is sheer perfection. Perfect for celebrations or a fun family night, they transform everyday ingredients into a party-friendly masterpiece.
The best part? You don’t need to bake to achieve this vibrant indulgence! With a no-bake approach, you’ll find that putting these together is not only easy but also a fantastic way to engage your inner child. Whether you’re surprising your loved ones or bringing a smile to a gathering, these Fruity Pebbles Cheesecake Tacos are sure to create delightful moments. Let’s dive into this playful recipe that takes decadence and fun to a whole new level!
Why are Fruity Pebbles Cheesecake Tacos irresistible?
Vibrant Colors: The colorful taco shells are an eye-catching addition to any dessert table, instantly brightening up your gatherings.
Easy to Make: With no baking required, this recipe allows you to whip up a delicious treat in no time.
Nostalgic Flavors: Combining childhood favorites with cheesecake offers a delightful taste experience for both kids and adults.
Crowd-Pleaser: Perfect for parties, these tacos are sure to impress guests, sparking conversation and smiles.
Customizable: Experiment with toppings, or swap cereals for a personal touch; the options are endless! You can even check out more fun dessert ideas to expand your culinary repertoire.
Fruity Pebbles Cheesecake Tacos Ingredients
For the Taco Shells
• Fruity Pebbles Cereal – The main ingredient providing that signature crunch and vibrant color; a fun base that brings joy to your dessert.
• Mini Marshmallows – Offer chewiness and act as a binder for the cereal; consider vegan marshmallows for a plant-based twist.
• Unsalted Butter – Adds richness and helps melt the marshmallows smoothly; opt for plant-based butter for a dairy-free option.
For the Cheesecake Filling
• Cream Cheese – The star of the filling, delivering a rich, creamy texture that balances the sweetness of the taco shells; try dairy-free cream cheese if needed.
• Powdered Sugar – Sweetens the filling for a perfect finish without graininess; no substitutions are recommended to maintain the desired sweetness.
• Vanilla Extract – Enhances the flavor profile of your cheesecake filling; a must-have for authentic flavor.
• Heavy Whipping Cream – Adds lightness and airy texture to the filling when whipped; for a vegan version, consider dairy-free alternatives.
How to Make Fruity Pebbles Cheesecake Tacos
-
Prepare Taco Shells: Melt the unsalted butter in a large pot over low heat. Add mini marshmallows and stir until completely smooth and gooey. Fold in the Fruity Pebbles cereal until they’re evenly coated and colorful.
-
Mold Shells: Scoop a generous amount of the mixture and press it around a rolling pin or taco shell mold lined with parchment paper. Hold it in place for about 30 seconds to ensure the shape is set, then carefully remove and let it cool.
-
Make Filling: In a mixing bowl, beat the cream cheese until it’s super smooth. Add the powdered sugar and vanilla extract, mixing until you have a creamy consistency. In another bowl, whip the heavy cream until stiff peaks form, then gently fold it into the cream cheese mixture until combined.
-
Fill Tacos: Using a piping bag or a simple spoon, generously fill each taco shell with the delightful cheesecake filling. If you’re feeling playful, garnish the tops with additional Fruity Pebbles for that extra crunch and color!
-
Chill: Place the filled tacos in the refrigerator for at least 30 minutes before serving. This helps the filling firm up and makes every bite a creamy delight.
Optional: Drizzle with chocolate sauce for an indulgent touch!
Exact quantities are listed in the recipe card below.
What to Serve with Fruity Pebbles Cheesecake Tacos?
For a vibrant and festive meal that delights the senses, consider these tasty side options.
-
Rainbow Fruit Salad: A medley of fresh fruits adds a juicy contrast to the creamy tacos, enhancing the overall delight. Picking seasonal fruits gives you bright colors and natural sweetness.
-
Chocolate Dipped Strawberries: These decadent bites offer a sweet balance to the fun flavors of the tacos. Just imagine that rich chocolate cascading over fresh strawberries—a truly indulgent experience!
-
Whipped Cream: A dollop of lightly sweetened whipped cream gives a lovely creamy contrast that ties the dessert together. It feels like adding a cloud of joy to every bite!
-
Sparkling Lemonade: A bubbly beverage brings a refreshing zing to complement the overwhelming sweetness. Perfect for parties, it revitalizes while creating a fun atmosphere.
-
Mini Cupcakes: Serving a variety of mini cupcakes beside your tacos makes the whole dessert spread more festive. Their sweet, soft texture contrasts with the crunchy taco shells, making every bite an adventure!
-
Chocolate Sauce: Consider offering a small bowl of chocolate sauce for drizzling over the tacos. It adds richness and depth, elevating the fun experience even further.
-
Cotton Candy: For whimsical fun, add cotton candy to the table! Its airy sweetness enhances the playful nature of the tacos and provides eye-catching decor too.
-
Pistachio Milkshake: This creamy shake offers a nutty flavor that pairs surprisingly well with the fruity elements of the tacos. It’s classic yet modern, inviting everyone to indulge.
-
Berry Sorbet: As a refreshing palate cleanser, a scoop of berry sorbet cleans the taste buds beautifully after each sweet bite. The fruity flavors complement the main dessert perfectly!
Make Ahead Options
These Fruity Pebbles Cheesecake Tacos are ideal for busy home cooks looking to save time during hectic weeks! You can prepare the taco shells up to 24 hours in advance; just store them in an airtight container at room temperature to keep their delightful crunch intact. For the cheesecake filling, you can make it up to 3 days ahead, refrigerating it in a sealed container. When it’s time to serve, simply fill the taco shells with the cheesecake filling and let them chill for at least 30 minutes to firm up. This way, you’ll still enjoy the same delicious taste and texture without the last-minute rush, making dessert a breeze!
Fruity Pebbles Cheesecake Tacos Variations
Transform your delight in Fruity Pebbles Cheesecake Tacos with these fun, easy twists that spark creativity and cater to different tastes!
- Chocolatey Delight: Swap Fruity Pebbles for Cocoa Pebbles for a rich chocolate taste that pairs beautifully with the creamy filling.
- Nutty Boost: Add crushed nuts like almonds or walnuts to the taco shells for an enticing crunch that complements the softness of the cheesecake.
- Fruity Explosion: Mix in some finely chopped fresh fruits like strawberries or bananas into your cheesecake filling for a refreshing fruity contrast.
- Vegan Friendly: Use dairy-free cream cheese and vegan marshmallows, plus coconut cream instead of heavy cream, to create a delicious vegan version of these tacos.
- Spicy Twist: Sprinkle a bit of cinnamon or a dash of cayenne pepper in your filling for an unexpected kick. It adds warmth and depth to the sweetness!
- Festive Colors: Create rainbow taco shells by mixing in seasonal cereals or using colored melting chocolate to coat the outer layer for extra flair.
- Dipped Decadence: Dip the taco edges in melted chocolate and then roll in sprinkles for an irresistible, eye-catching finish that’s perfect for celebrations.
- Savory Surprise: For those craving something different, try adding a pinch of sea salt to the filling for a sweet and salty contrast that tantalizes the taste buds.
Expert Tips for Perfect Fruity Pebbles Cheesecake Tacos
- Warm Mixture: Mold the taco shells while the mixture is still warm to maintain its shape and avoid cracks.
- Room Temperature: Keep taco shells at room temperature until ready to fill; refrigeration will make them too hard.
- Separate Storage: Store unfilled taco shells in a sealed container to preserve their crunch and prevent them from getting soggy.
- Cheesecake Consistency: Ensure the cream cheese is at room temperature for a smoother texture in your filling; cold cream cheese can lead to lumps.
- Customize Creativity: Feel free to swap in different cereals or toppings; experimenting with flavors can make your Fruity Pebbles Cheesecake Tacos even more delightful!
How to Store and Freeze Fruity Pebbles Cheesecake Tacos
Room Temperature: Keep unfilled taco shells at room temperature in an airtight container for up to 2 days to maintain their crunchiness.
Fridge: Filled Fruity Pebbles Cheesecake Tacos can be stored in the refrigerator for up to 3 days; cover them lightly to keep the shells from getting soggy.
Freezer: For longer storage, freeze unfilled taco shells for up to 1 month in a freezer-safe container. Thaw at room temperature before filling.
Reheating: Since this is a no-bake dessert, there’s no need for reheating; simply serve chilled for the best flavor and texture!
Fruity Pebbles Cheesecake Tacos Recipe FAQs
What kind of Fruity Pebbles should I use?
Absolutely! The classic Fruity Pebbles cereal is ideal for this recipe, offering that signature crunch and lively color. If you’re looking for a twist, you can swap them for Cocoa Pebbles for a chocolate flavor, but keep in mind that you’ll lose the fruity essence that makes these tacos special.
How should I store leftover taco shells?
I recommend keeping unfilled taco shells at room temperature in an airtight container for up to 2 days. This way, they’ll maintain their delightful crunch. If you have leftover filled tacos, store them in the refrigerator for up to 3 days; just cover them lightly to avoid sogginess.
Can I freeze Fruity Pebbles Cheesecake Tacos?
Certainly! To freeze unfilled taco shells, place them in a freezer-safe container for up to 1 month. When you’re ready to enjoy them, simply thaw the shells at room temperature, and then fill them with your creamy cheesecake mixture. It’s a great way to prepare ahead for a party!
What can I do if my cream cheese filling is lumpy?
Very! If you find that your cream cheese filling is lumpy, it’s likely because the cream cheese was too cold. For a smoother texture, make sure to beat the cream cheese until it’s at room temperature before adding powdered sugar and vanilla. If lumps still persist, try whisking the filling by hand or using a hand mixer for more aeration.
Are there any dietary considerations with this recipe?
Absolutely! If you have dietary restrictions, you can easily modify this recipe. Use vegan marshmallows and plant-based butter to make it dairy-free. For a gluten-free option, ensure the cereal you select is certified gluten-free and swap in gluten-free cookies if you’re feeling creative. Always check ingredient labels for potential allergens.
How many tacos does this recipe yield?
This delightful recipe typically yields about 12 to 15 Fruity Pebbles Cheesecake Tacos, depending on how generously you mold your taco shells. Perfect for a small gathering or as a fun treat to share with family!
Fruity Pebbles Cheesecake Tacos: Fun No-Bake Delight!
Ingredients
Equipment
Method
- Melt the unsalted butter in a large pot over low heat. Add mini marshmallows and stir until completely smooth and gooey. Fold in the Fruity Pebbles cereal until they’re evenly coated and colorful.
- Scoop a generous amount of the mixture and press it around a rolling pin or taco shell mold lined with parchment paper. Hold it in place for about 30 seconds to ensure the shape is set, then carefully remove and let it cool.
- In a mixing bowl, beat the cream cheese until it’s super smooth. Add the powdered sugar and vanilla extract, mixing until you have a creamy consistency.
- In another bowl, whip the heavy cream until stiff peaks form, then gently fold it into the cream cheese mixture until combined.
- Using a piping bag or a simple spoon, generously fill each taco shell with the cheesecake filling. Garnish with additional Fruity Pebbles if desired.
- Place the filled tacos in the refrigerator for at least 30 minutes before serving to let the filling firm up.

