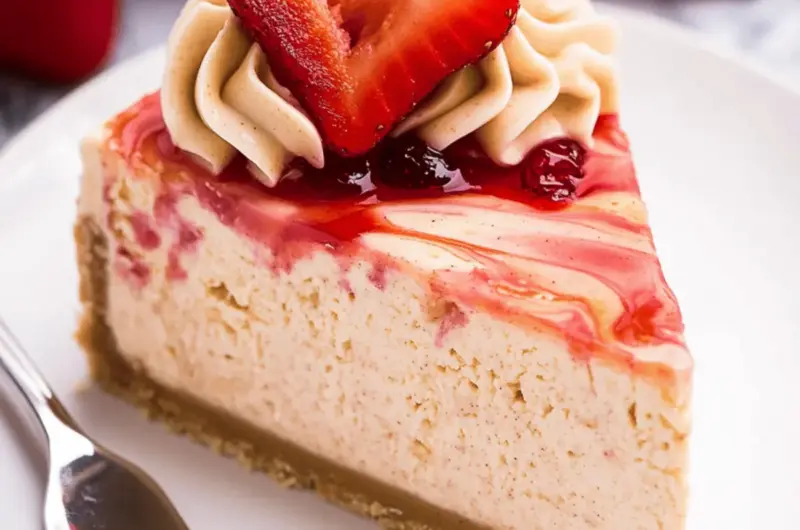
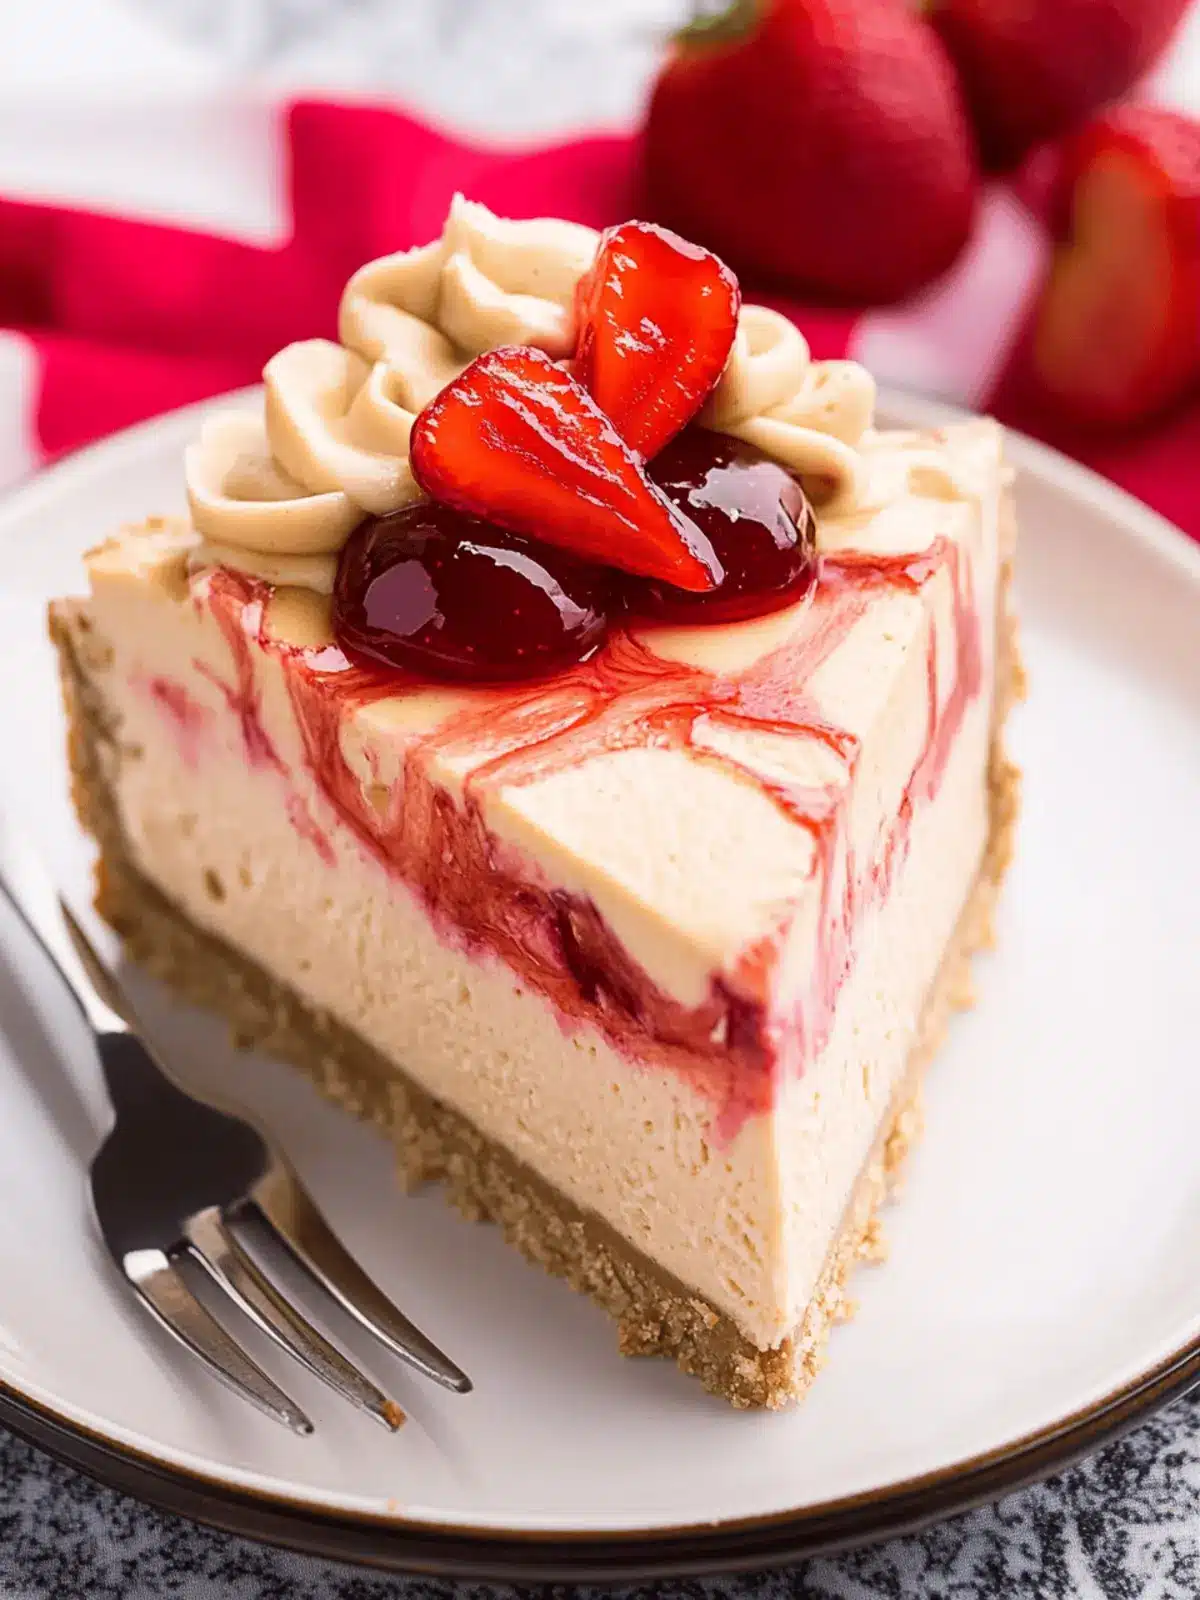
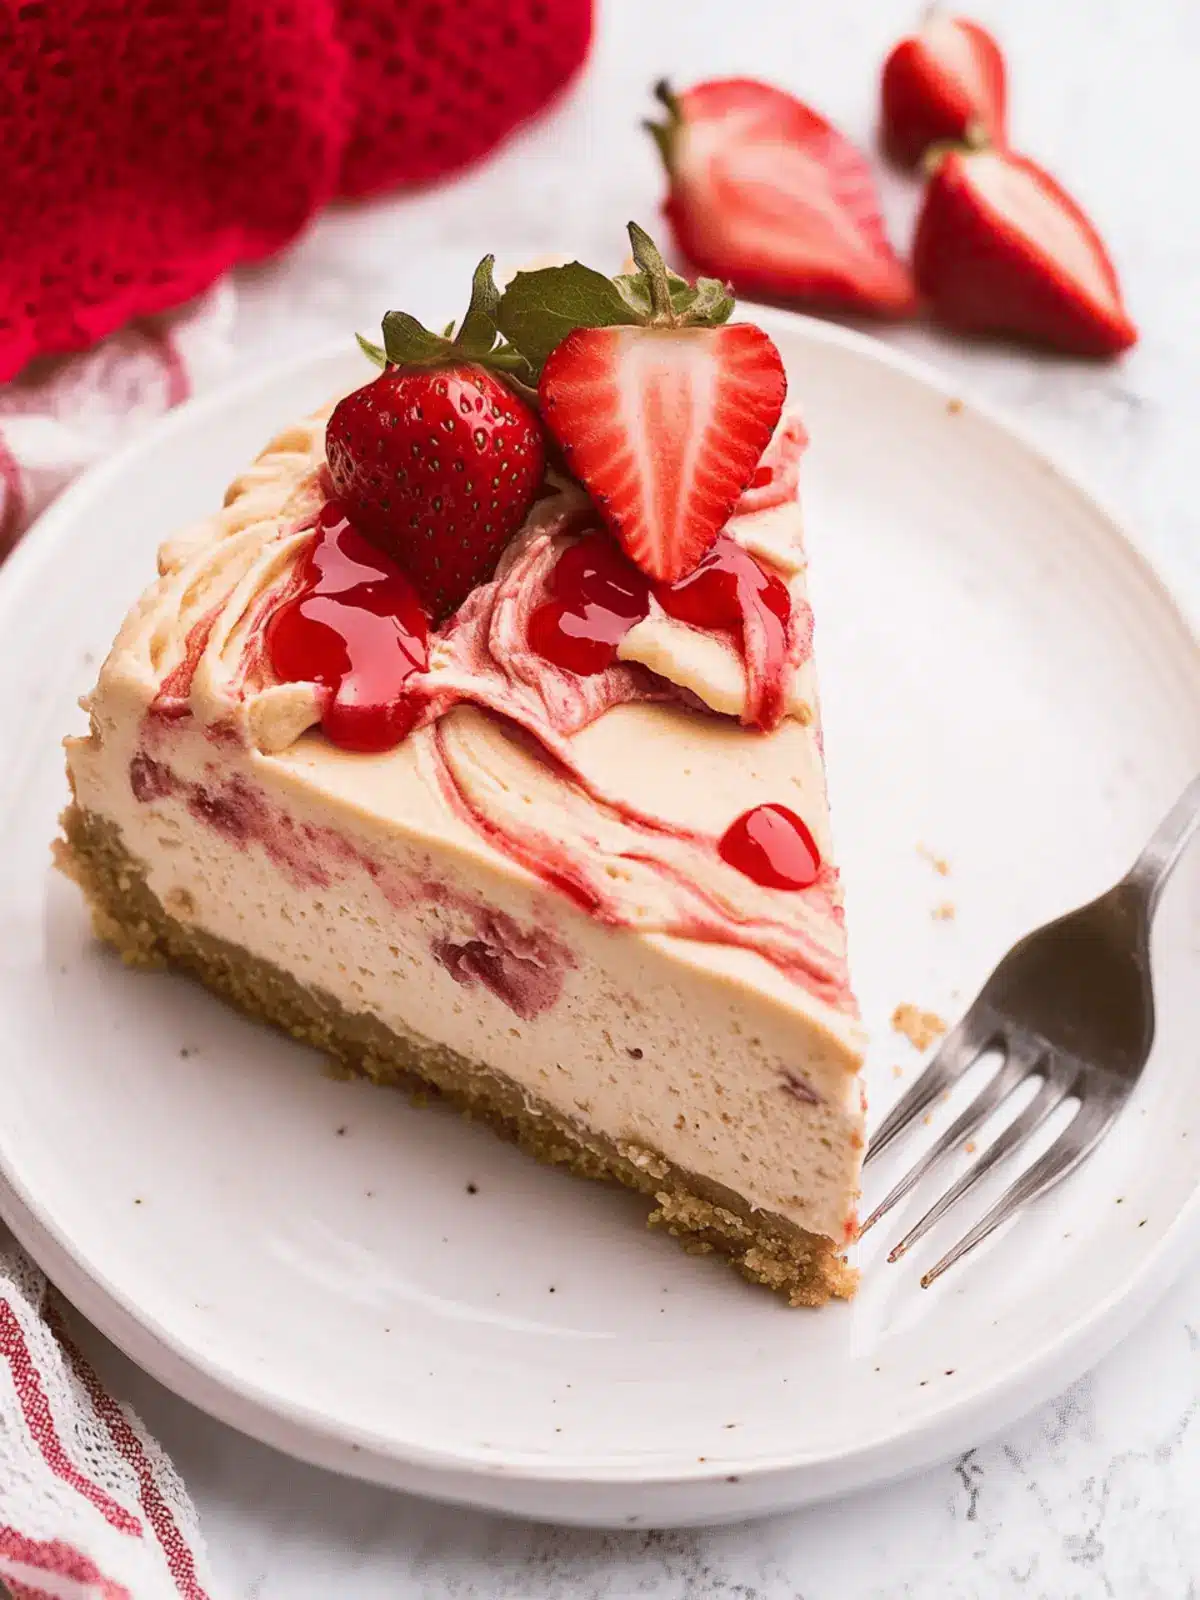
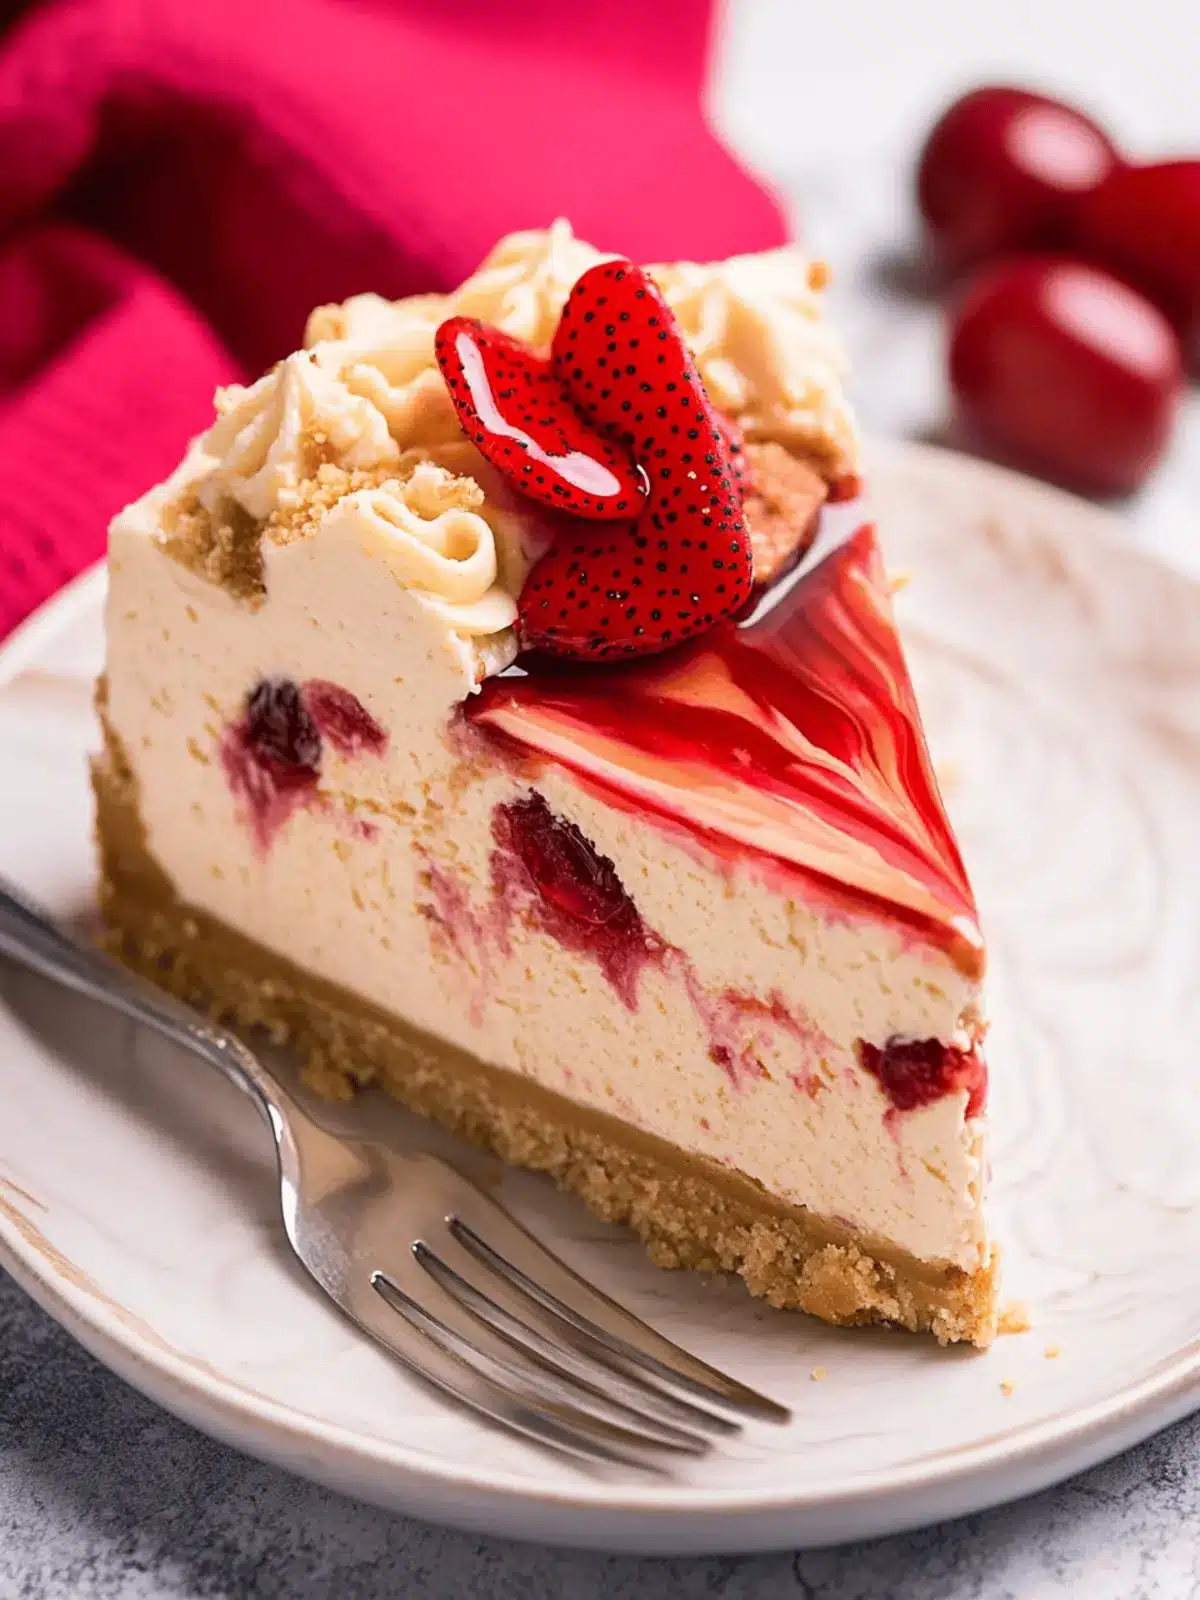
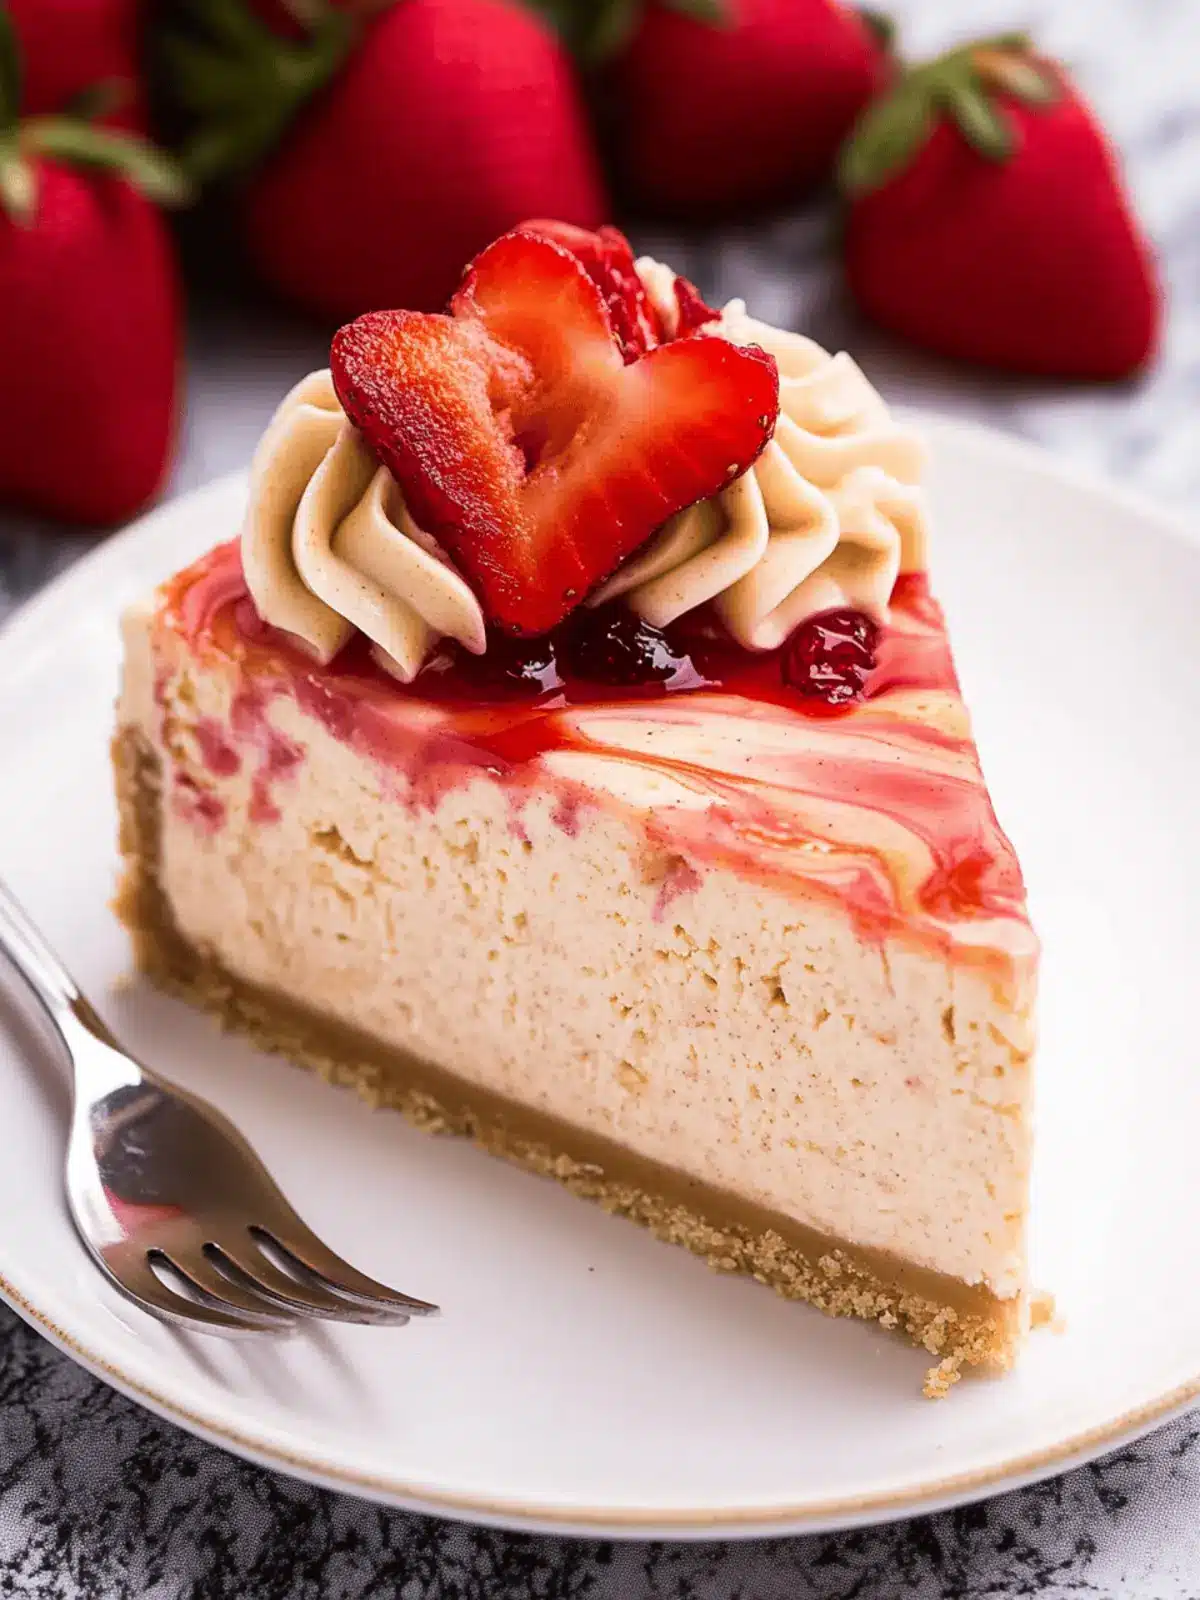
There’s a special joy that comes from transforming memories into delicious treats, and this Peanut Butter and Jelly Cheesecake takes me back to carefree afternoons of my childhood. The moment I take it out of the fridge, the rich, inviting aroma of peanut butter mingles with the vibrant scent of strawberry preserves, instantly sparking nostalgia. Imagine cutting through a velvety slice, where the creamy peanut butter filling meets a luscious layer of strawberry topping, reminiscent of that timeless PB&J sandwich we all loved.
After a long week of mundane meals and fast food, this dessert serves as a delightful escape into flavor and comfort. In just a few simple steps, you can craft a show-stopping cheesecake that is as impressive as it is satisfying. Perfect for gatherings or a sweet indulgence after dinner, this Peanut Butter and Jelly Cheesecake is sure to become a favorite in your home, bringing smiles and warmth to every occasion. Let’s dive into this delightful recipe that’s simple to create, yet full of gourmet charm!
Why is Peanut Butter and Jelly Cheesecake so irresistible?
Nostalgic flavors: Each bite of this cheesecake transports you back to childhood memories of that beloved PB&J sandwich.
Velvety texture: The combination of creamy peanut butter filling and smooth strawberry topping creates a melt-in-your-mouth experience.
Easy preparation: With straightforward steps, even beginner bakers can create this dessert masterpiece.
Crowd-pleaser: This cheesecake is perfect for gatherings, sure to impress friends and family alike.
Versatile options: Customize with different fruits or chocolate chips for a unique twist! Don’t miss exploring more delightful recipes like this one in our dessert collection that perfectly suits your cravings.
Peanut Butter and Jelly Cheesecake Ingredients
For the Crust
• Graham Cracker Crumbs – Provides crust structure and a touch of sweetness; substitute with crushed cookies or gluten-free options for a different flavor base.
• Butter (melted) – Binds the crust ingredients together; use margarine for a dairy-free option.
For the Filling
• Cream Cheese (softened) – Adds creaminess and richness to the cheesecake filling; for a lighter version, consider low-fat cream cheese.
• Smooth Peanut Butter – Key ingredient for flavor and creaminess; switch to almond butter for a nut-free option (if no peanut allergies).
• Sugar – Sweetens the filling and balances flavors; can substitute with brown sugar or a sugar alternative for a less sweet taste.
• Flour – Helps stabilize the filling; gluten-free flour can be used for a gluten-sensitive variation.
• Vanilla Extract – Enhances overall flavor; use pure vanilla for best results or a vanilla-flavored extract.
• Heavy Whipping Cream – Contributes to a silky texture; half-and-half can be used as a lighter alternative.
• Eggs – Essential for structure and richness in the cheesecake; for vegan alternatives, consider flax eggs.
For the Topping
• Strawberry Topping or Preserves – Provides sweetness and a fruity finish; any berry topping can serve as a substitute.
With these delightful ingredients, you’ll be well on your way to creating a truly unforgettable Peanut Butter and Jelly Cheesecake that tantalizes the taste buds and warms the heart!
How to Make Peanut Butter and Jelly Cheesecake
-
Preheat the oven to 325°F (165°C) and grease a 9-inch springform pan. This ensures that your cheesecake will come out easily after baking.
-
Combine graham cracker crumbs and melted butter in a bowl, then firmly press the mixture into the pan’s bottom. Bake for 10 minutes and let it cool completely to create a solid crust.
-
Beat together softened cream cheese, peanut butter, sugar, and flour in a large mixing bowl until the mixture is smooth and creamy. The goal is a luscious filling that’s well blended.
-
Mix in the vanilla extract, adding depth to your cheesecake flavor.
-
Add the eggs one at a time, ensuring thorough incorporation after each addition. This step is crucial for achieving a velvety smooth texture.
-
Pour in the heavy whipping cream slowly and mix until just combined. It adds richness to the filling for that decadent cheesecake experience.
-
Spoon the cheesecake filling over the cooled crust, smoothing the top to create an even surface for baking.
-
Bake in the preheated oven for 50-60 minutes, until the center is slightly jiggly. This indicates that your cheesecake is perfectly set!
-
Turn off the oven, leaving the cheesecake to cool inside with the door ajar. This gradual cooling helps prevent cracking.
-
Refrigerate for at least 4 hours or overnight to set it beautifully. The longer, the better for flavor development!
-
Spread warmed strawberry topping over the cheesecake before serving, slice it, and enjoy the delightful fusion of flavors.
Optional: Top with a dollop of whipped cream for an extra touch of indulgence.
Exact quantities are listed in the recipe card below.
How to Store and Freeze Peanut Butter and Jelly Cheesecake
Fridge: Store the cheesecake in an airtight container for up to one week. This keeps it fresh and prevents it from absorbing other flavors in your fridge.
Freezer: If you want to enjoy this dessert later, wrap the cheesecake tightly in plastic wrap and then in aluminum foil. It can be frozen for up to three months.
Thawing: To enjoy frozen cheesecake, transfer it to the fridge overnight to thaw slowly. This helps maintain its creamy texture.
Reheating: If you prefer your cheesecake slightly warmed, cover it loosely with foil and heat in a preheated oven at 200°F (93°C) for about 15 minutes. Enjoy your Peanut Butter and Jelly Cheesecake!
Peanut Butter and Jelly Cheesecake Variations
Feel free to unleash your creativity and customize this delightful cheesecake to match your taste preferences or dietary needs!
- Nut-Free: Switch out smooth peanut butter for almond butter or sun butter to create a nut-free version, perfect for those with allergies.
- Fruit Swaps: Use raspberry or blueberry preserves as toppings for a fruity twist; the tartness perfectly balances the sweetness of the cheesecake.
- Vegan Option: Replace cream cheese with vegan cream cheese and use flax eggs for a completely plant-based dessert.
- Low-Sugar: Opt for sugar alternatives like erythritol or monk fruit sweetener for a lower-calorie, sugar-free cheesecake without sacrificing flavor.
- Chocolate Lovers: Mix in chocolate chips or swirl in melted chocolate for a rich, indulgent peanut butter cup-inspired cheesecake.
- Crunchy Texture: Add chopped nuts or crushed cookies into the cheesecake filling for a delightful crunch with every bite; pecans or graham crackers work wonders.
- Spiced Experiment: Incorporate a pinch of cinnamon or nutmeg in the filling to add warmth and depth, transforming the cheesecake’s flavor profile.
- Crust Variations: Swap out graham cracker crumbs for crushed Oreos or gluten-free cookies to create a different texture and taste for the crust.
Embrace these variations and make this cheesecake your own—each twist brings a new flavor adventure to your table!
What to Serve with Peanut Butter and Jelly Cheesecake?
Bring your meal to life with a perfect accompaniment that complements the flavors of this rich dessert.
-
Whipped Cream: Adds a light and airy texture, creating a delightful contrast to the creamy richness of the cheesecake. It’s simple yet elevates every bite!
-
Fresh Berries: A mix of strawberries, blueberries, or raspberries offers a fresh, tart flavor that brightens the palate and pairs beautifully with the sweet cheesecake.
-
Chocolate Drizzle: A warm chocolate sauce drizzled on top introduces a satisfying richness that transforms the dessert into a gourmet experience. Imagine the harmony of chocolate and peanut butter!
-
Caramel Sauce: Drizzling a bit of caramel on the cheesecake brings a luscious sweetness that perfectly enriches the flavor profile. It’s a splendid touch for those who enjoy a sweeter experience.
-
Coffee or Espresso: The bitterness of a warm cup of coffee balances the dessert’s sweetness and enhances the overall flavors. It’s a comforting pairing that makes every bite even more enjoyable.
-
Vanilla Ice Cream: The cold creamy texture naturally complements the warm layers of PB&J cheesecake, making every forkful a delightful treat. Imagine the indulgence of that temperature contrast!
These delightful pairings not only enhance your dessert experience but also create a wholesome meal that is sure to please your family and guests alike.
Expert Tips for Peanut Butter and Jelly Cheesecake
-
Room Temperature Ingredients: Ensure all ingredients, especially cream cheese, are at room temperature. This helps create a smooth and creamy peanut butter filling without lumps.
-
Gradual Cooling: Allow the cheesecake to cool gradually in the oven with the door ajar after baking. This prevents unsightly cracks from forming on the surface.
-
Chill Time: Refrigerating the cheesecake overnight enhances its flavor and texture. Patience pays off for an irresistible dessert experience!
-
Mixing Gently: When adding the heavy whipping cream, mix until just combined. Overmixing can incorporate too much air, leading to cracks during baking.
-
Berry Substitutions: Feel free to swap strawberry topping with raspberry or blueberry for a fruity twist. Just ensure the consistency matches that of preservatives for best results.
Make Ahead Options
This Peanut Butter and Jelly Cheesecake is a fantastic make-ahead dessert, saving you time and stress for your next gathering! You can prepare the crust and cheesecake filling up to 24 hours in advance. Simply follow the initial steps, chill the cheesecake, and cover it tightly with plastic wrap to maintain its creamy consistency. To finish, spread the strawberry topping just before serving for a fresh burst of flavor. When it’s time to impress your guests, slice into this delightful cheesecake, knowing that each bite is just as rich and delectable as freshly made. Enjoy the extra time you’ll have for other activities!
Peanut Butter and Jelly Cheesecake Recipe FAQs
What kind of peanut butter is best for this cheesecake?
Absolutely! Smooth peanut butter is the key ingredient that gives this cheesecake its creamy texture and rich flavor. If you have a nut allergy, you can easily switch to almond butter or sun butter for a nut-free option that still provides a delightful taste.
How should I store leftover cheesecake?
To keep your Peanut Butter and Jelly Cheesecake fresh, store it in an airtight container in the refrigerator for up to one week. This helps prevent it from absorbing other flavors in your fridge, ensuring you get to enjoy that rich taste in every slice!
Can I freeze leftover cheesecake?
Very! Freezing cheesecake is a great way to savor it later. Wrap the cheesecake tightly in plastic wrap, then in aluminum foil, and place it in the freezer. It can last for up to 3 months. When you’re ready to enjoy it again, simply transfer it to the fridge overnight to thaw slowly while retaining its creamy texture.
What if my cheesecake cracks during baking?
Don’t worry, it happens! If your Peanut Butter and Jelly Cheesecake cracks, you can cover it with the strawberry topping to hide any imperfections. Remember, ensuring gradual cooling by leaving the cheesecake in the oven with the door slightly ajar helps prevent these cracks in the first place.
Are there any dietary considerations for this recipe?
Absolutely! This Peanut Butter and Jelly Cheesecake is vegetarian-friendly. If you’re looking for a vegan alternative, you can substitute the eggs with flax eggs (mix 1 tablespoon of ground flaxseed with 2.5 tablespoons of water) and use dairy-free cream cheese and whipping cream to bring this nostalgic treat to any table.
How can I tell when my cheesecake is fully baked?
I recommend checking your cheesecake for doneness after about 50 minutes in the oven. It should have a slightly jiggle in the center when you gently shake the pan. If it looks too wobbly, give it another 5-10 minutes but be cautious not to overbake, as that can lead to a drier texture. Enjoy your baking!
Irresistible Peanut Butter and Jelly Cheesecake Delight
Ingredients
Equipment
Method
- Preheat the oven to 325°F (165°C) and grease a 9-inch springform pan.
- Combine graham cracker crumbs and melted butter in a bowl, then firmly press the mixture into the pan's bottom. Bake for 10 minutes and let it cool completely.
- Beat together softened cream cheese, peanut butter, sugar, and flour in a large mixing bowl until the mixture is smooth and creamy.
- Mix in the vanilla extract.
- Add the eggs one at a time, ensuring thorough incorporation after each addition.
- Pour in the heavy whipping cream slowly and mix until just combined.
- Spoon the cheesecake filling over the cooled crust, smoothing the top.
- Bake in the preheated oven for 50-60 minutes, until the center is slightly jiggly.
- Turn off the oven, leaving the cheesecake to cool inside with the door ajar.
- Refrigerate for at least 4 hours or overnight to set it beautifully.
- Spread warmed strawberry topping over the cheesecake before serving, slice it, and enjoy.
