There’s something wonderfully satisfying about crafting your own snacks, don’t you think? Picture this: you’ve had a long day and you need something to unwind with, yet that greasy fast food just won’t cut it anymore. That’s when I discovered the magic of Salted Chickpea Chips. With their crispy texture and a delightful hint of garlic and cumin, these chips are a game changer for anyone craving a healthy yet indulgent bite.
What’s even more surprising is how quick and easy they are to whip up! In just 20 minutes from start to finish, you can transform simple ingredients into a crunchy delight that’s perfect for sharing (or not!). Whether you relish them alone while binge-watching your favorite show or bring them to a gathering, these chips never fail to impress. So, grab your chickpea flour and let’s dive into this delicious, guilt-free crispy adventure that will elevate snack time to a whole new level!
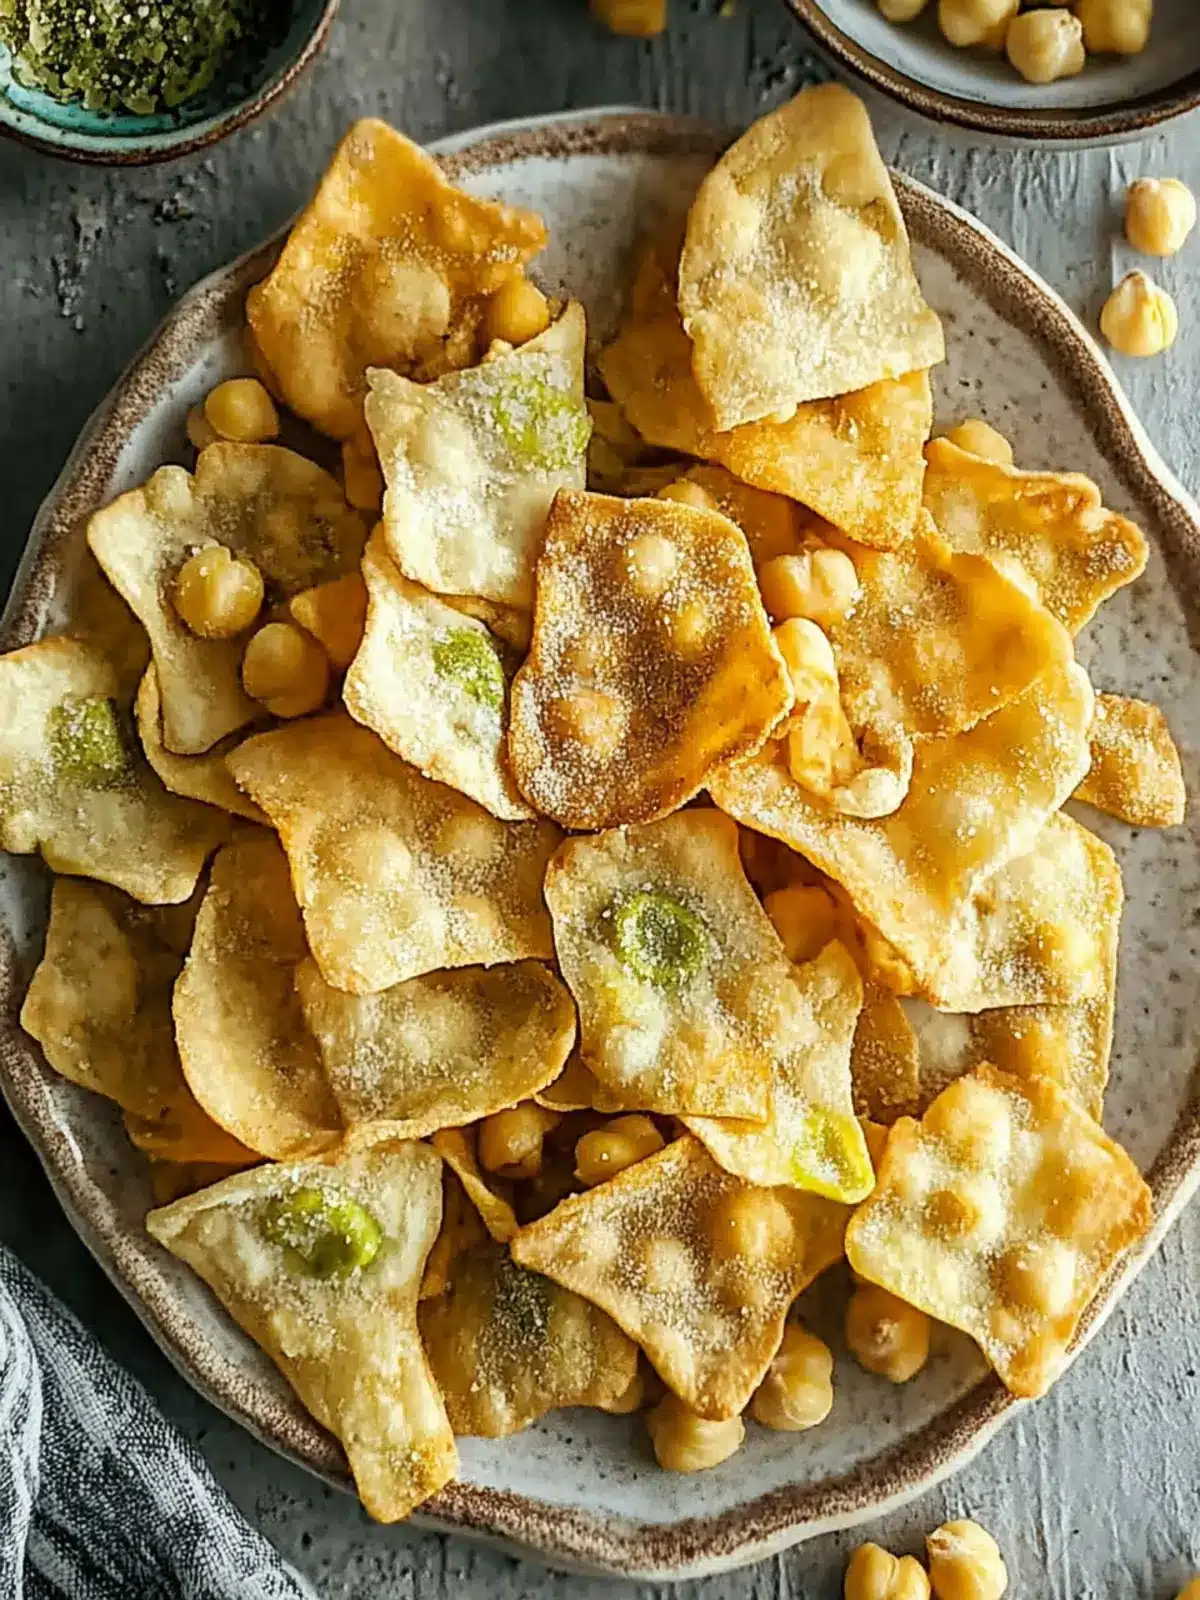
Why are Salted Chickpea Chips irresistible?
Crunchy texture: Each chip offers a satisfying, crispy bite that will keep you reaching for more.
Flavorful surprise: Infused with garlic and cumin, these chips pack a punch without any unnecessary additives.
Quick to make: Ready in just 20 minutes, they cater to those spontaneous snack cravings.
Guilt-free indulgence: Enjoy snack time with a healthier alternative that doesn’t skimp on taste.
Versatile enjoyment: Perfect for parties, movie nights, or a nutritious snack on the go! Embrace your love for homemade snacks with these delightful Salted Chickpea Chips that are sure to become a staple in your kitchen.
Salted Chickpea Chips Ingredients
For the Chips
- Chickpea flour – a gluten-free base that gives these chips a nutty flavor and crisp texture.
- Nutritional yeast – adds a cheesy, savory umami kick, perfect for enhancing the flavor of your Salted Chickpea Chips.
- Garlic powder – delivers a subtle but delightful warmth that elevates every bite.
- Cumin – contributes a warm, earthy note that complements the chickpeas beautifully.
- Lemon zest – brightens the flavor profile with a refreshing citrus twist.
- Salt – natural seasoning to enhance all the delicious flavors in your chips.
- Olive oil – adds a rich taste and helps achieve the perfect crunch.
- Water – aids in bringing the dough together, creating that ideal consistency to shape your chips.
How to Make Salted Chickpea Chips
-
Preheat the oven to 320°F (160°C). This ensures your chips will bake evenly and turn out perfectly crispy. While your oven warms up, line a baking sheet with parchment paper for easy chip removal.
-
Mix the dry ingredients in a medium bowl. Combine chickpea flour, nutritional yeast, garlic powder, cumin, lemon zest, and salt. This mixture creates a flavorful foundation that’s going to make your Salted Chickpea Chips shine.
-
Incorporate olive oil into the flour mixture using your fingertips. This adds richness and helps bind the ingredients together. Then, pour in the water and knead everything into a firm, non-sticky dough.
-
Roll out the dough. Place it between two sheets of parchment paper and use a rolling pin to create a very thin layer. Thin chips will bake more crisply and enhance that delightful crunch!
-
Cut the dough into triangles using a knife or pizza cutter. Remove the top layer of parchment and arrange the triangles in a single layer on the lined baking sheet. This will allow for even baking and that perfect golden-brown finish.
-
Bake for 8-10 minutes, keeping a close eye on them toward the end. The edges should start to turn golden brown. Perfectly baked chips are your prize for this effort!
-
Cool completely on the baking sheet after removing them from the oven. This step allows your Salted Chickpea Chips to firm up and gain that satisfying crunch. Enjoy right away or store them in an airtight container for later.
Optional: Serve with your favorite dip for an extra tasty treat!
Exact quantities are listed in the recipe card below.
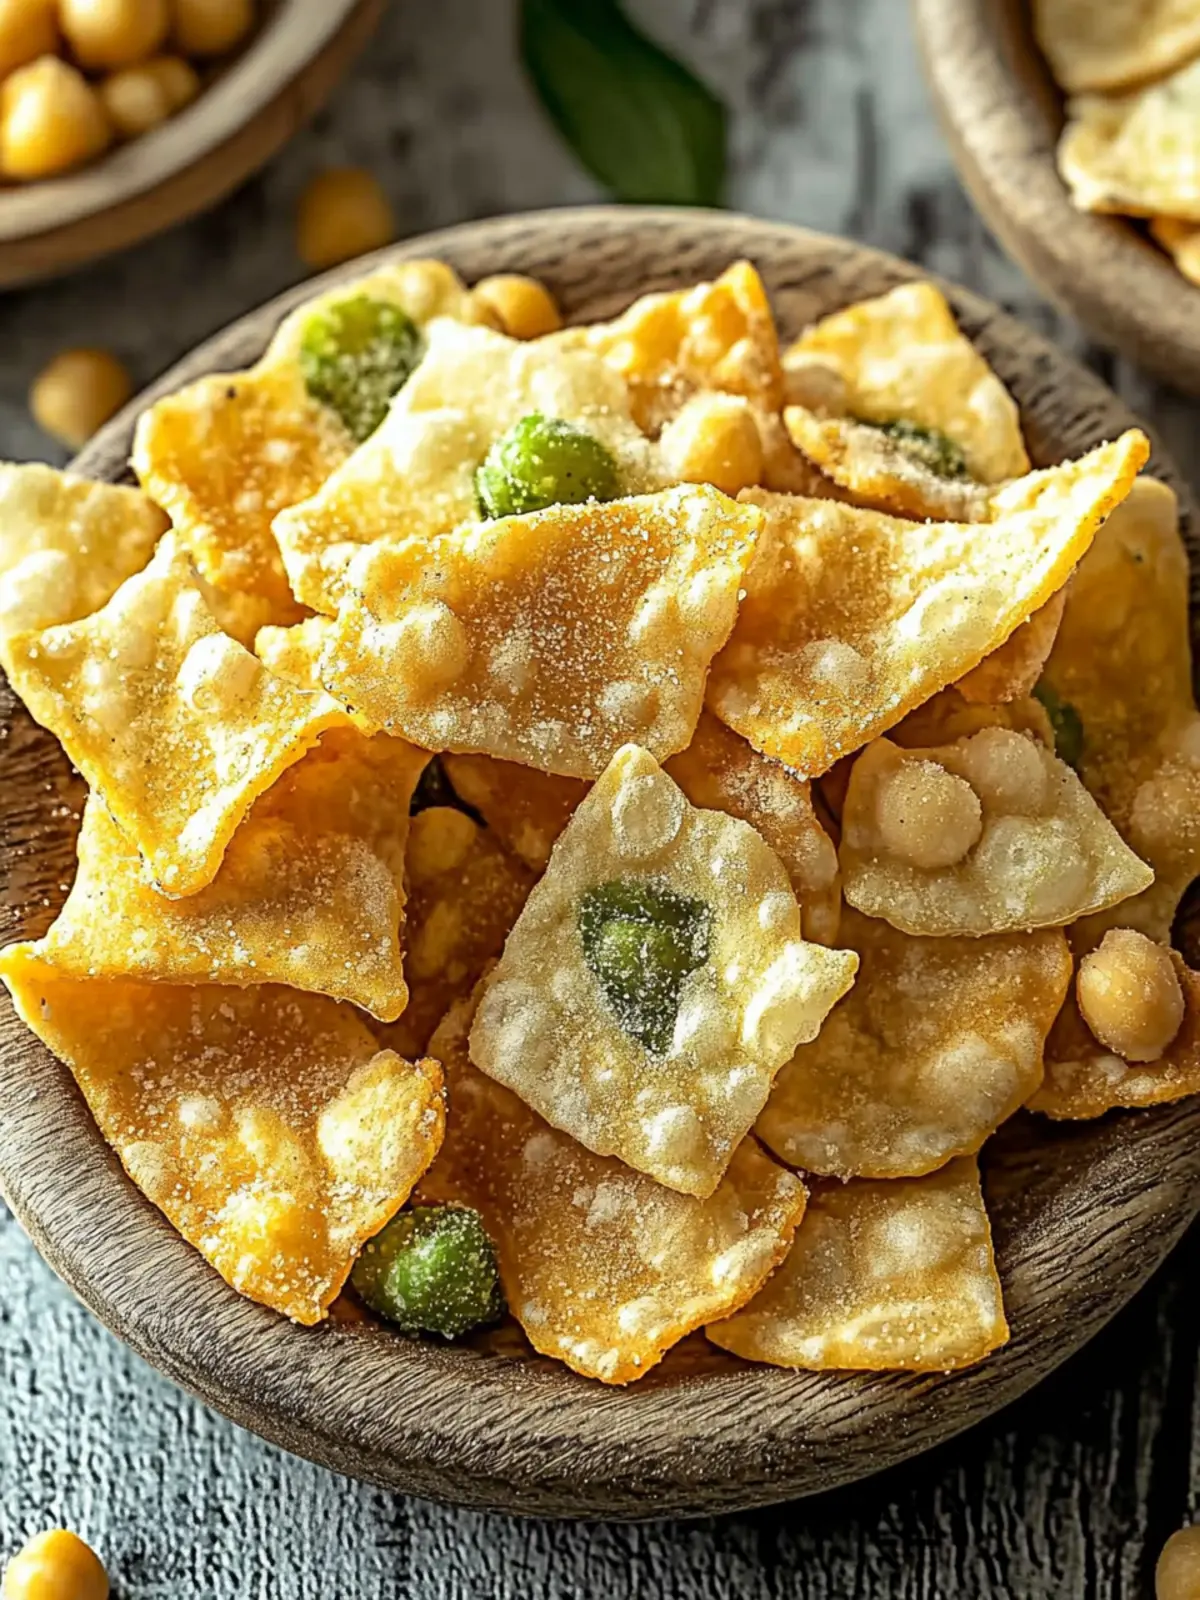
Make Ahead Options
These Salted Chickpea Chips are perfect for busy home cooks looking to save time during meal prep! You can prepare the dough up to 24 hours in advance; simply mix the dry ingredients and incorporate the olive oil, then add water and knead until firm. Store the dough tightly wrapped in plastic wrap in the refrigerator to keep it fresh. When you’re ready to bake, take it out, roll, cut, and bake your chips as usual. This way, you can enjoy a crispy, homemade snack anytime with minimal effort—just as delicious and satisfying, but without the last-minute rush!
What to Serve with Salted Chickpea Chips?
Elevate your snack time with delightful pairings that complement the crispy, flavorful goodness of your homemade chips.
- Hummus: This creamy dip adds a rich texture and balances the crunch of the chips with its smoothness and delightful garlic flavor.
- Guacamole: The creamy avocado dip provides a burst of freshness that contrasts beautifully with the savory chickpea chips. Enjoy it with a sprinkle of lime for an extra zing!
- Spicy Salsa: A zesty salsa packs a flavorful punch, enhancing every bite with freshness and spice that perfectly complements the earthy elements of the chips.
- Greek Yogurt Dip: This tangy dip balances the spices of the chips while adding a cool, creamy element that makes for a satisfying contrast.
- Cheese Platter: Pair these chips with a variety of cheeses for a delightful mix of textures and flavors that make snack time feel like a gourmet experience.
- Roasted Veggies: The natural sweetness and earthy flavors of roasted vegetables bring a lovely contrast, adding nutrition and heartiness to your snacking occasion.
- Crisp White Wine: Sipping a chilled glass of white wine elevates your chips experience, complementing the spices and adding a refreshing touch to your palate.
- Dark Chocolate: For a sweet twist at the end, pair these savory chips with a piece of rich dark chocolate for an unexpected delightful closure to your snack experience.
- Homemade Salsa Verde: The bright and fresh herby flavors of salsa verde will enhance the flavorful notes of the chickpea chips, creating a perfect harmony of taste.
These delightful pairings are sure to make your Salted Chickpea Chips not just a snack, but an experience!
Helpful Tricks for Salted Chickpea Chips
-
Choose Flour Wisely: Opt for high-quality chickpea flour to ensure your chips are not only crispy but also flavorful and nutritious.
-
Knead Gently: A light hand is key when kneading the dough. Over-kneading can lead to tough chips instead of the light, crispy texture we want.
-
Watch the Baking Time: Keep a close eye during the last few minutes of baking. Salted Chickpea Chips can quickly go from golden-brown to burnt, so check frequently!
-
Cool on the Sheet: Let the chips cool completely on the baking sheet. This allows them to crisp up nicely, enhancing that satisfying crunch.
-
Experiment with Seasonings: Feel free to get creative! Try adding spices like paprika or herbs for a unique flavor twist that complements the salted goodness.
-
Store Properly: To maintain freshness, store cooled chips in an airtight container. This ensures they stay crispy longer and stay a delicious treat for future snacking!
How to Store and Freeze Salted Chickpea Chips
Room Temperature: Store your Salted Chickpea Chips in an airtight container at room temperature for up to 3 days to maintain their crispiness.
Fridge: If you want to keep them longer, you can refrigerate the chips in a sealed container for up to 1 week. However, this may soften their texture.
Freezer: For extended storage, freeze the chips in a single layer on a baking sheet, then transfer them to an airtight freezer bag. They can last up to 3 months.
Reheating: To revive the crunch, simply bake the frozen chips at 350°F (175°C) for 5-7 minutes until heated through and crispy again.
Salted Chickpea Chips Variations
Customizing your Salted Chickpea Chips can elevate the flavor and nutrition to new heights—just imagine the delightful possibilities!
-
Spicy Twist: Add 1/4 tsp cayenne pepper to the dough for a kick that brings the heat. Perfect for spice lovers! You can adjust the amount based on your spice preference to tailor them just right for your taste buds.
-
Herb-Infused: Mix in 1 tsp dried herbs like rosemary or oregano for a fragrant touch. A burst of herbs not only enhances flavor but also adds a lovely aroma to your kitchen while baking.
-
Cheesy Delight: Substitute nutritional yeast with 1/4 cup finely grated Parmesan or a dairy-free cheese alternative for a rich cheesiness. The melted cheesy goodness will make these chips feel indulgent and satisfying.
-
Vegetable Boost: Fold in finely grated zucchini or carrots for subtle sweetness and added moisture. This twist not only increases nutrition but also adds a delightful texture that enhances each crunchy chip.
-
Lime Zest Lift: Swap out lemon zest for lime zest for a zesty kick that brightens each bite. The zesty surprise pairs beautifully with the chickpea flavor, making your chips feel like a tropical treat!
-
Smoky Flavor: Incorporate 1/2 tsp smoked paprika into the mix for a deep, smoky flavor that is utterly mouthwatering. This tweak will give your chips a distinctive flair that makes them perfect for gatherings!
-
Nutty Addition: Add 2 tbsp sesame seeds or hemp seeds for an extra crunch and nutritional boost. These seeds not only add texture but also bring a subtle nutty flavor that everyone will enjoy.
-
Sweet Version: Experiment with 1 tbsp honey or maple syrup for a sweet and savory snack. These sweetened chips can pair beautifully with yogurt or a fruit dip, creating an unexpected but delightful treat!
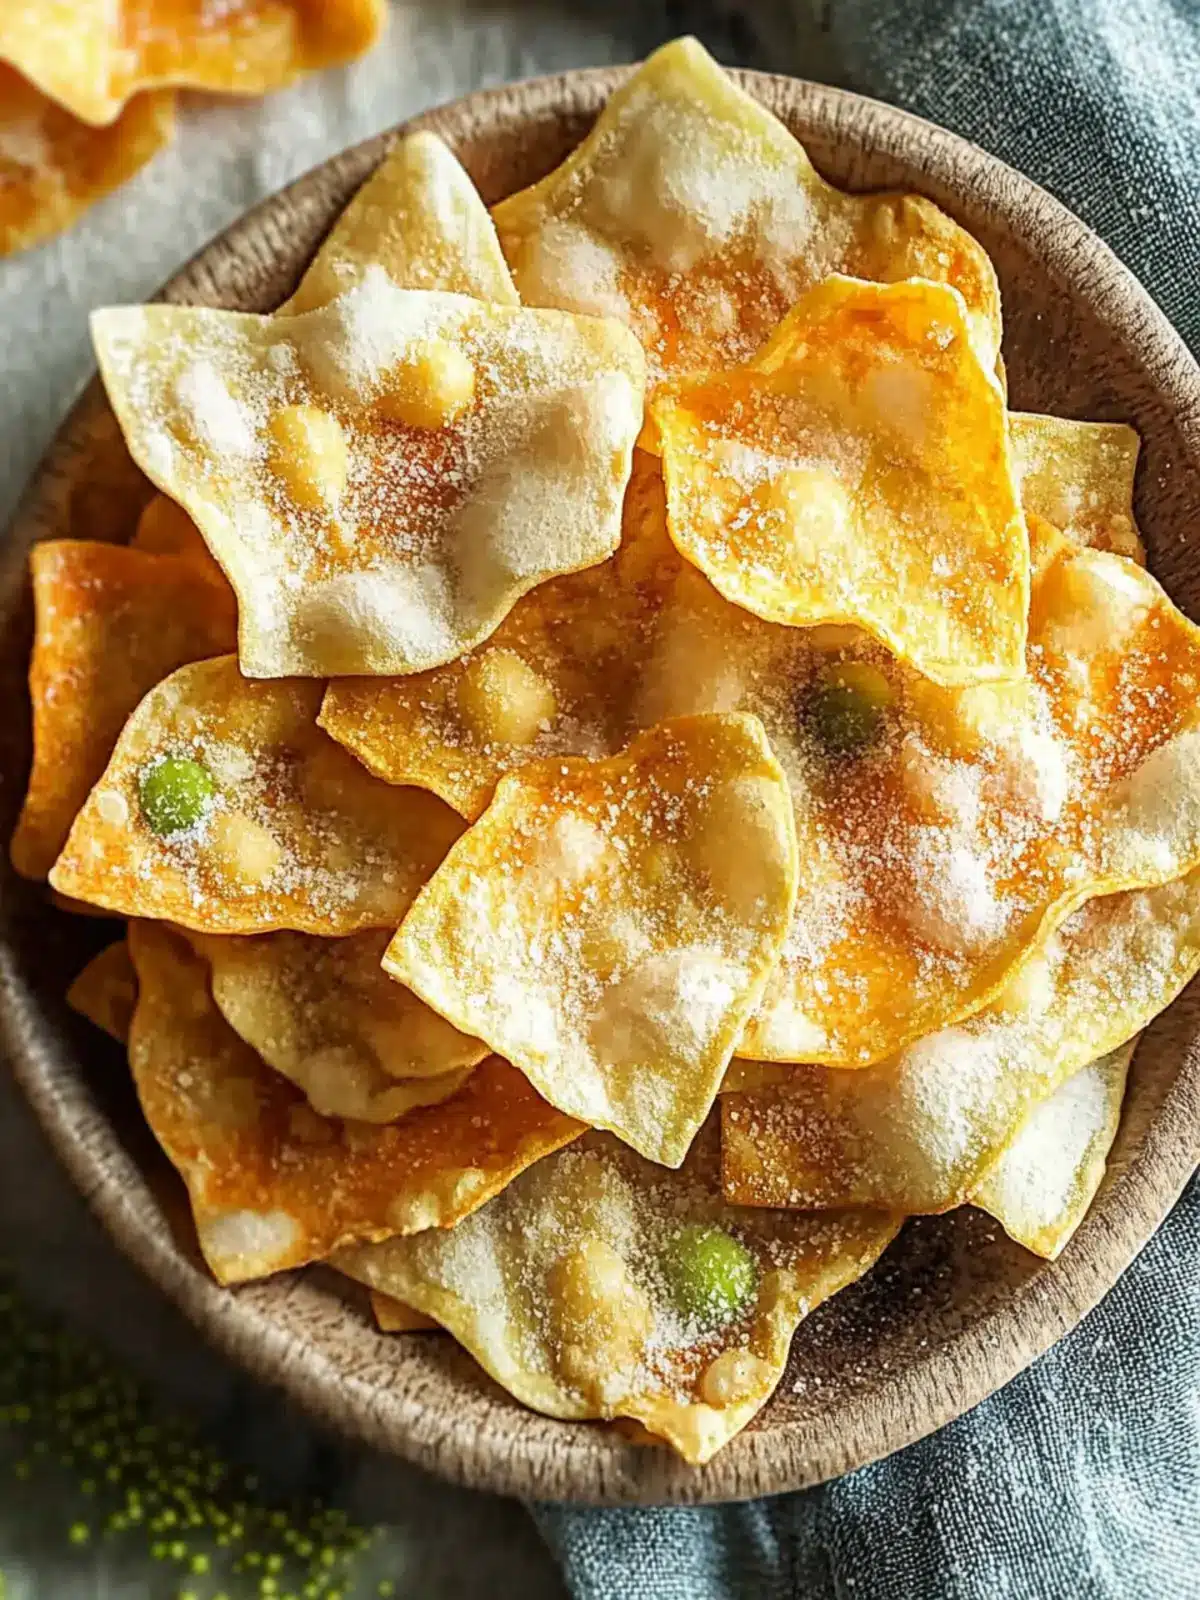
Salted Chickpea Chips Recipe FAQs
How do I choose the right chickpea flour?
Opt for high-quality, finely ground chickpea flour for the best texture and flavor. Look for brands that specifically state “gram flour” or “besan” on the packaging, as these varieties offer the most authentic taste for your Salted Chickpea Chips.
How should I store my Salted Chickpea Chips?
Store your Salted Chickpea Chips in an airtight container at room temperature for up to 3 days. This will help maintain their crispiness. If you’re storing them longer, you might consider refrigerating them, but be aware that this could soften their texture.
Can I freeze Salted Chickpea Chips?
Absolutely! To freeze, place the cooled chips in a single layer on a baking sheet and freeze until solid. Then, transfer them to an airtight freezer bag. They can last up to 3 months in the freezer. When you’re ready to enjoy them again, simply bake the frozen chips at 350°F (175°C) for 5-7 minutes until they are heated through and crunchy!
What should I do if my chips are too thick?
If your chips turned out thicker than desired, resulting in a less crispy texture, simply roll out another batch more thinly next time. If you already baked them, I’d recommend sticking them back in the oven for an additional minute or two to see if they can get a bit more crunch. Just keep a close eye on them!
Can my pets eat Salted Chickpea Chips?
While chickpeas are not toxic to pets, it’s best to avoid giving them chips made with additional spices, garlic powder, or salt. Instead, consider offering them plain, cooked chickpeas or finding a pet-friendly recipe tailored for your furry friends.
Are Salted Chickpea Chips suitable for people with specific dietary restrictions?
Yes! These chips are naturally gluten-free, and by using the right ingredients, they can be adapted for vegan diets as well. Just ensure that no unnecessary fillers or additives are present in your chickpea flour. Always check labels for allergy-sensitive ingredients!
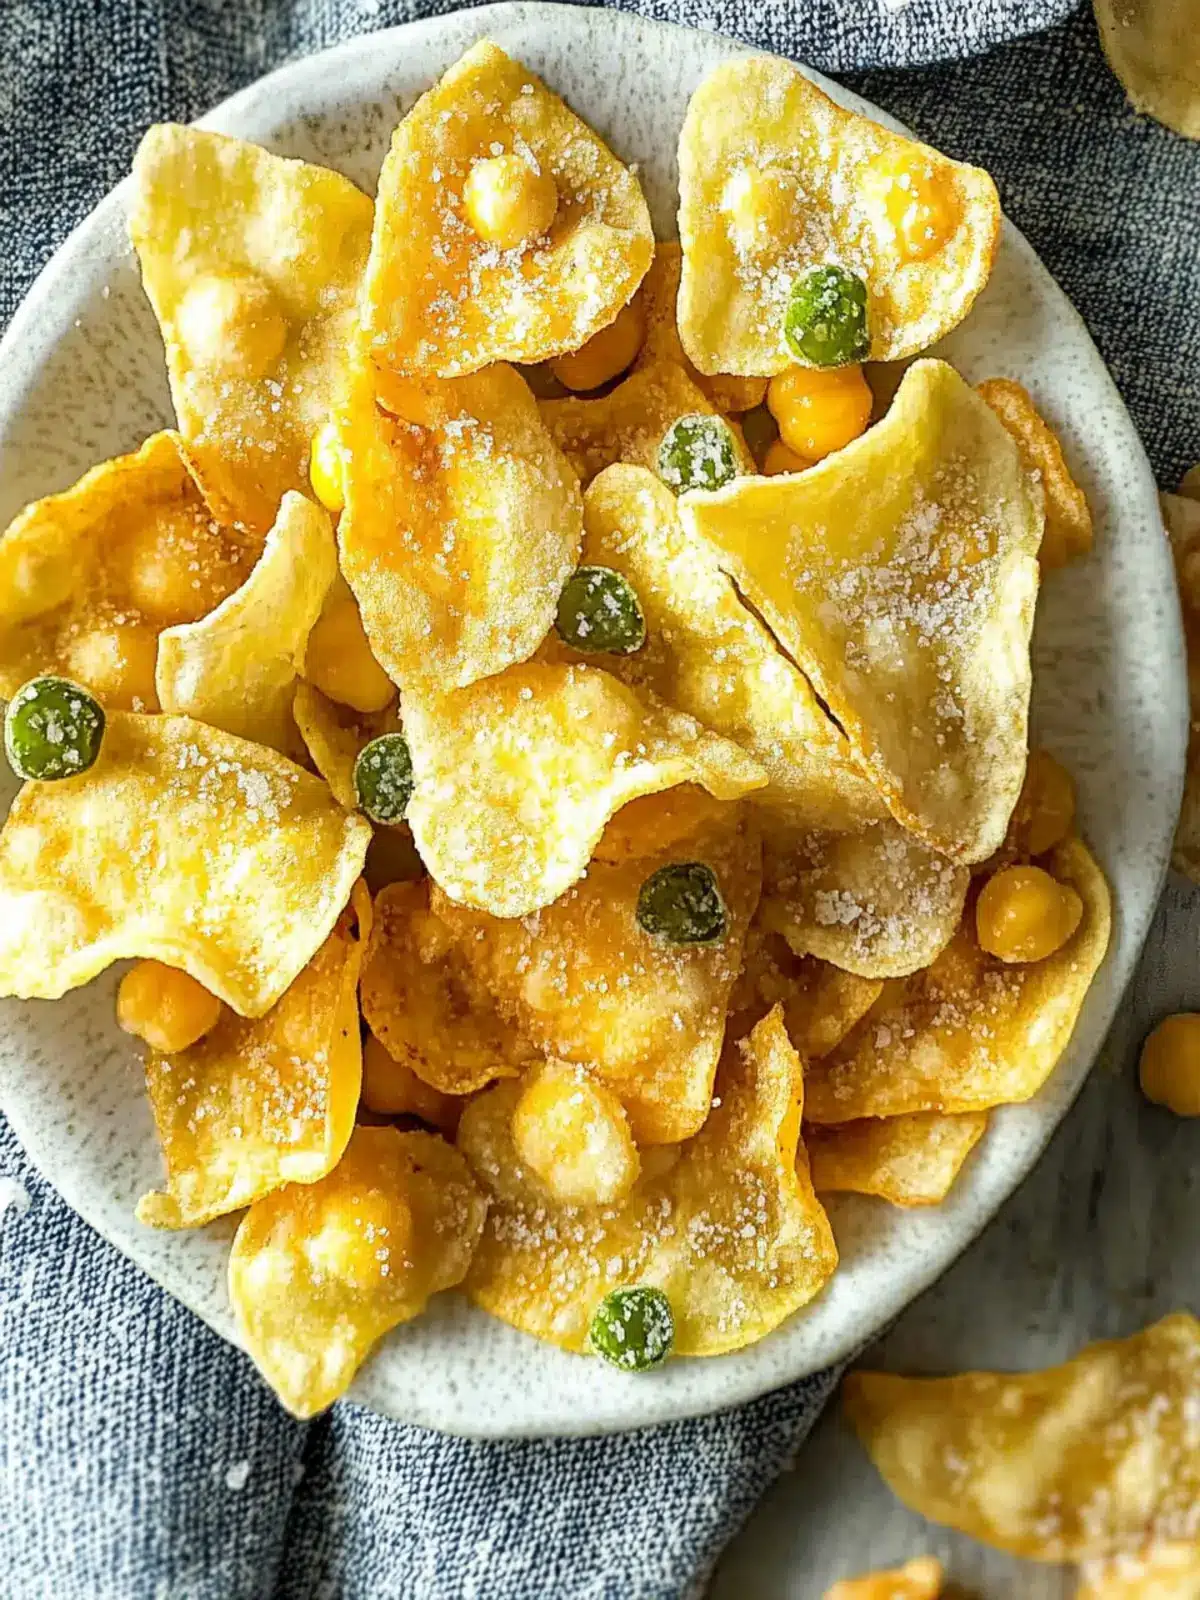
Crunchy Salted Chickpea Chips You Can't Resist Making
Ingredients
Equipment
Method
- Preheat the oven to 320°F (160°C). Line a baking sheet with parchment paper.
- Mix the dry ingredients in a bowl: chickpea flour, nutritional yeast, garlic powder, cumin, lemon zest, and salt.
- Incorporate olive oil into the flour mixture, then add water and knead into a firm, non-sticky dough.
- Roll out the dough between two sheets of parchment paper to a thin layer.
- Cut the dough into triangles using a knife or pizza cutter and arrange on the baking sheet.
- Bake for 8-10 minutes, checking frequently until golden brown.
- Cool completely on the baking sheet before enjoying or storing in an airtight container.