When the mood strikes for a cozy evening with friends or a delightful afternoon snack, I often find myself turning to these irresistible Cheddar & Herb Cheese Straws. As I roll out the dough, the rich aroma of sharp cheddar mingles with the freshness of herbs, igniting memories of family gatherings filled with laughter and good conversation.
This recipe is my go-to for making a deliciously simple appetizer that disappears faster than I can keep up with. The perfect balance of crispy and cheesy, these straws come together in just 12 minutes of baking—ideal for those spontaneous get-togethers or moments when I want to indulge in something homemade without a fuss.
Not only are they packed with flavor, but they’re also surprisingly easy to customize. Feel free to mix in your favorite spices or swap in different cheeses for an exciting twist. So, if you’re ready to impress your guests—or just your taste buds—let’s dive into the delightful world of Cheddar & Herb Cheese Straws!
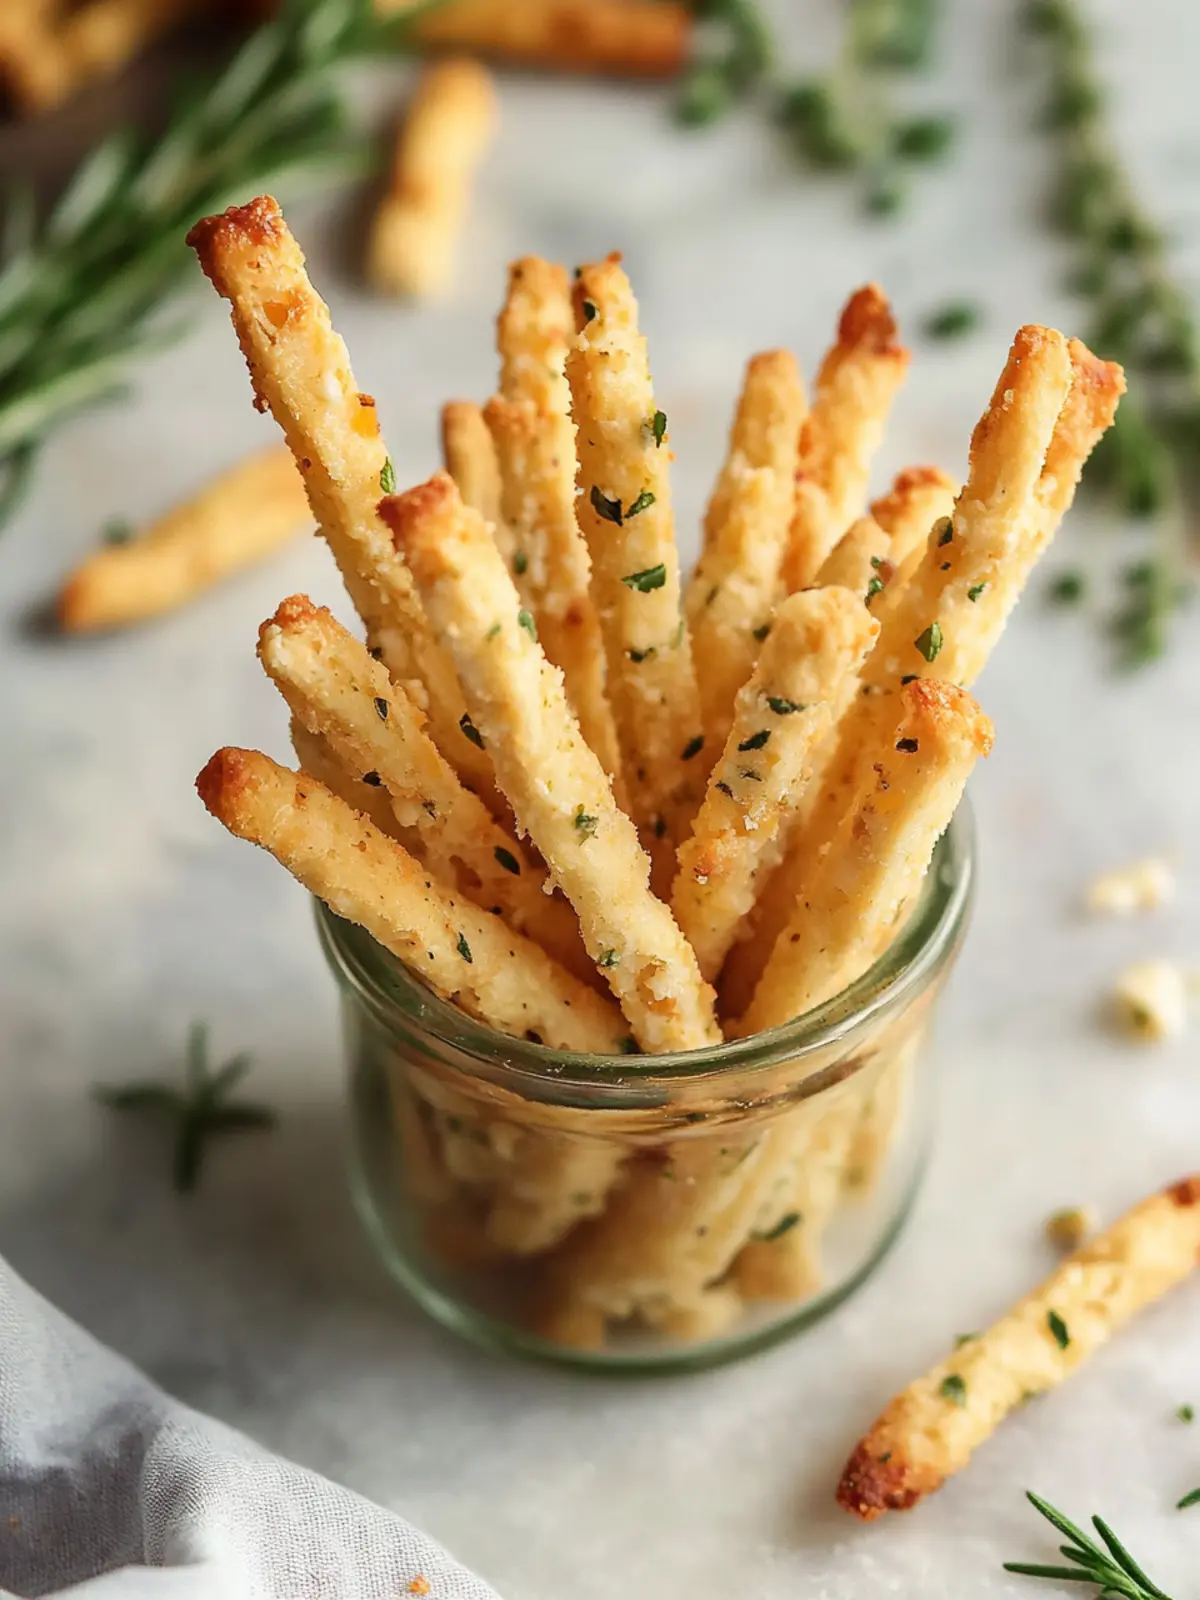
Why Are Cheddar & Herb Cheese Straws Irresistible?
Homemade goodness: Enjoy the satisfaction of baking your own savory snacks, ensuring fresh ingredients and no preservatives.
Flavor explosion: The bold taste of extra-sharp cheddar melds beautifully with aromatic herbs and a hint of heat from the red pepper flakes.
Quick prep: With a simple process, you’ll have these cheesy delights ready in just 12 minutes of baking, perfect for any last-minute gathering!
Crowd-pleaser: Whether it’s a cozy night in or a lively party, these straws win over everyone and invite seconds (and thirds!).
Customizable: Get creative by blending in your favorite spices or cheeses, making each batch a unique experience.
For even more amazing snack ideas, check out my easy finger foods.
Cheddar & Herb Cheese Straws Ingredients
For the Cheese Straws
• Extra-sharp cheddar cheese – 8 ounces, for that bold flavor that makes these straws unforgettable.
• All-purpose flour – 1½ cups, plus more for dusting; it gives the dough its structure.
• Kosher salt – 1 teaspoon, enhances the savory taste of the cheddar.
• Crushed red pepper flakes – Scant teaspoon, adds a hint of spice that complements the cheese beautifully.
• Fresh herbs – 1½ tablespoons, roughly chopped (like rosemary and/or thyme), for a fragrant, earthy touch.
• Cold unsalted butter – ½ cup, ensures a flaky texture in each cheese straw.
• Heavy cream – 6 tablespoons, binds the ingredients together, making the straws rich and creamy.
Each bite of these Cheddar & Herb Cheese Straws will transport you to a world of flavor, making them a must-try!
How to Make Cheddar & Herb Cheese Straws
-
Preheat your oven to 400°F (205°C). Position two oven racks in the center and line two baking sheets with parchment paper to prepare for baking.
-
Combine the ingredients in a food processor. Add the cheese, flour, salt, red pepper flakes, and herbs, pulsing until the mixture resembles coarse crumbs with a delightful aroma.
-
Add the butter. Cut it into ½-inch chunks and toss into the mixture, pulsing until it resembles coarse crumbs with some pea-sized clumps of butter still visible for that perfect texture.
-
Mix in the heavy cream. Pulse the mixture until it begins to clump together, forming a cohesive mass that’s eager to become delicious straws.
-
Shape the dough. Lightly flour your work surface and scoop the dough onto it. Dust the top with flour, shaping it into a rectangle about 1 inch high, then cut it in half for easier handling.
-
Roll out the dough. Sprinkle more flour on your surface, rolling each block into an 8 x 10-inch rectangle, roughly ⅛-inch thick. Trim the edges straight and slice into thin strips, about ¼-inch wide.
-
Transfer the strips to the baking sheets. Ensure to leave about a ¼-inch of space between each one for even baking and crispy goodness.
-
Bake the straws for 10 to 12 minutes. Look for a lightly golden top and a rich golden bottom, rotating the pans halfway through to ensure even cooking.
-
Cool the straws on a rack. Once baked, move the pans to a cooling rack, and carefully transfer the cheese straws to a plate to serve.
Optional: Sprinkle with a touch of sea salt before serving for an extra flavor kick.
Exact quantities are listed in the recipe card below.
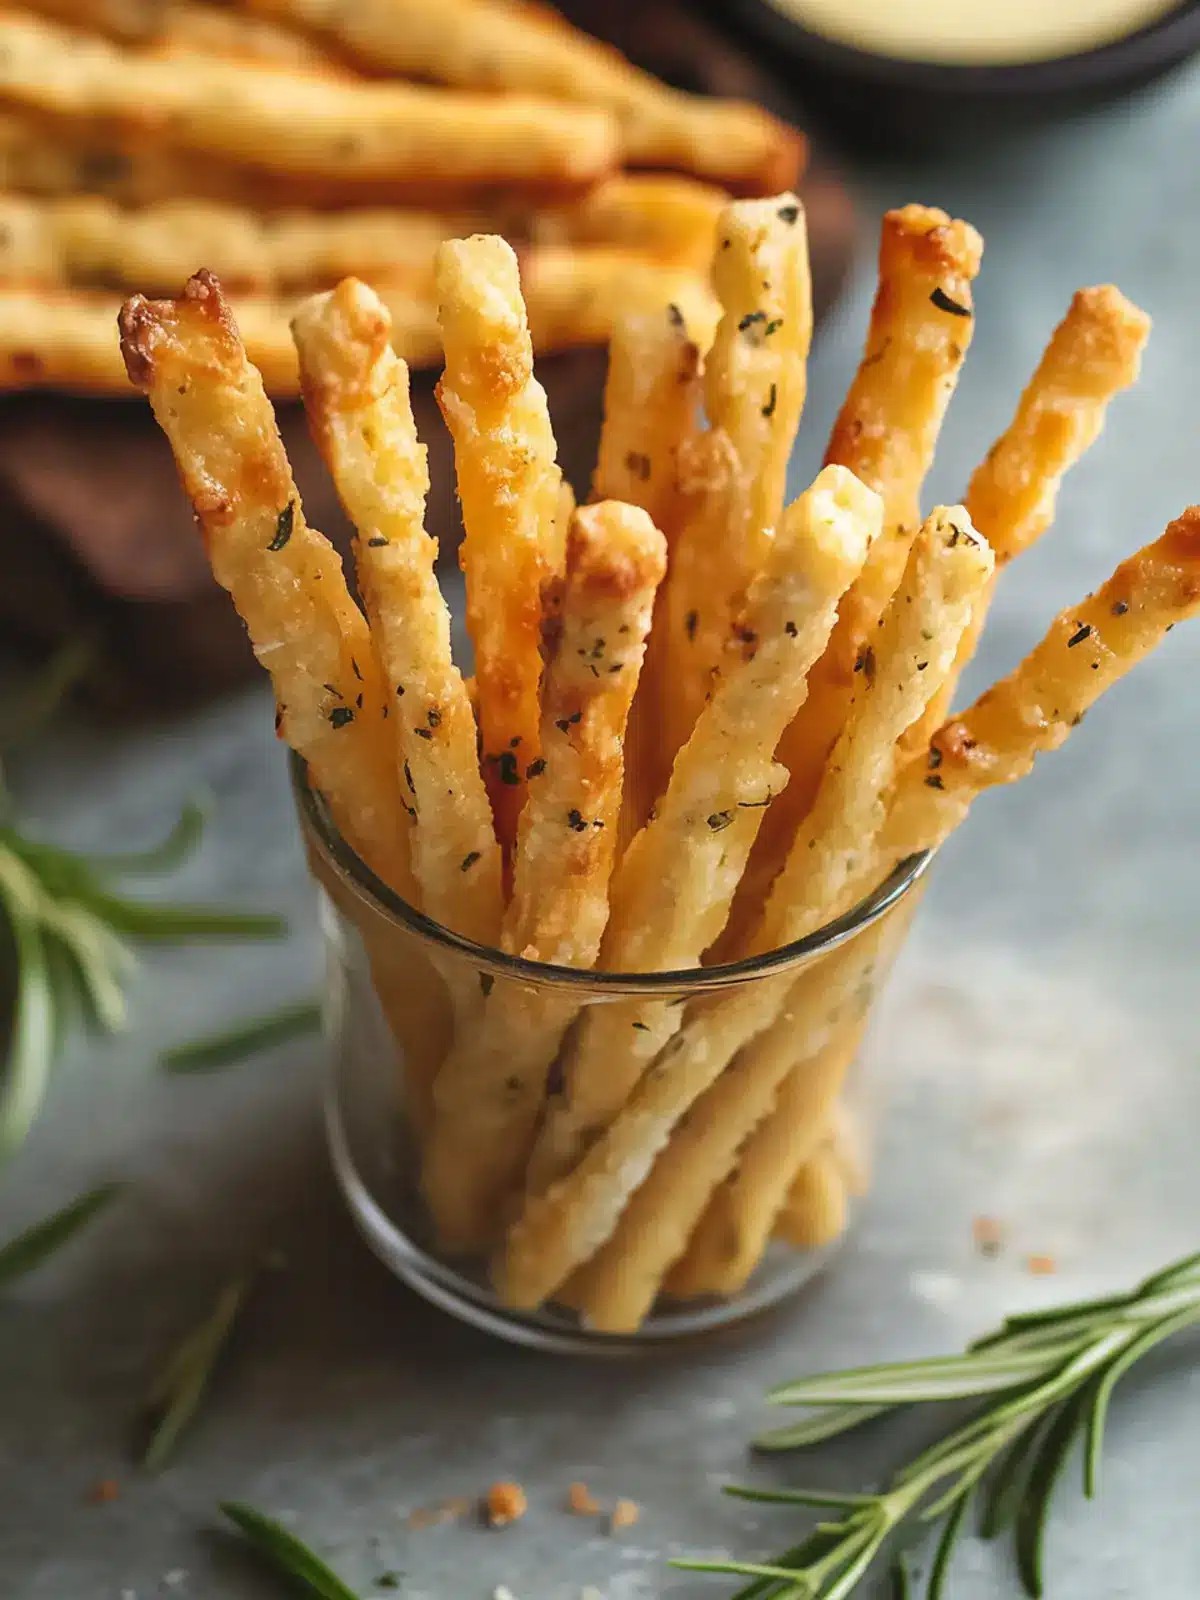
What to Serve with Cheddar & Herb Cheese Straws?
Pairing your freshly baked cheese straws with the perfect accompaniments transforms a simple snack into a delightful experience. Imagine the flavors dancing on your palate, making every bite even more enjoyable.
- Spicy Marinara Sauce: Perfect for dipping, its rich tomato flavor complements the cheesy, herby straws beautifully.
- Garlic Hummus: Creamy and smooth, this dip adds a delightful contrast that enhances every cheesy bite.
- Crisp Green Salad: A light, refreshing salad with vinaigrette balances the richness of the cheese straws, adding a burst of freshness.
- Charcuterie Board: Include cured meats and olives for a lovely variety of flavors and textures that pair wonderfully with the straws.
- Pickled Vegetables: The tangy crunch cuts through the richness, providing a zesty counterpoint to the buttery straws.
- Chilled White Wine: A crisp Sauvignon Blanc elevates the snacking experience, enhancing the dish’s savory notes with refreshing acidity.
- Fresh Fruit Platter: Sweet fruits like grapes or apple slices can provide a refreshing contrast to the salty cheese straws.
- Herbal Tea: A warm cup of herbal tea, perhaps with hints of thyme or mint, beautifully complements the savory flavors.
- Chocolate-Dipped Snacks: For a sweet finish, chocolate-covered pretzels or nuts offer a delightful contrast to the savory bites.
- Cheese Pairing: Elevate the cheese theme by serving with a mild gouda or brie for a tasting experience everyone will love.
Cheddar & Herb Cheese Straws Variations
Embrace the creative side of cooking by customizing these delightful straws to suit your taste and dietary needs!
-
Gluten-Free: Substitute all-purpose flour with a gluten-free blend to enjoy these delicious snacks without the gluten.
-
Spicy Twist: Incorporate a teaspoon of cayenne pepper instead of red pepper flakes for a fiery kick that cheese lovers will adore.
-
Herb Medley: Swap out the rosemary and thyme for your favorite herbs like basil or dill for a refreshing flavor shift.
-
Cheesy Delight: Experiment with a blend of cheeses! Use pepper jack for a zesty bite or gouda for a sweet, smoky twist.
-
Nutty Flavor: Add ¼ cup of finely chopped walnuts or pecans to the dough for an unexpected crunch and rich, nutty flavor.
-
Savory Seeds: Sprinkle sesame seeds or poppy seeds on top of the straws before baking for an extra layer of texture and taste.
-
Vegetable Infusion: Fold in finely grated zucchini or carrots into the dough for added moisture and a subtle vegetable flavor.
With these variations, each batch of Cheddar & Herb Cheese Straws can take on a life of its own, making snack time even more exciting!
Make Ahead Options
These Cheddar & Herb Cheese Straws are perfect for meal prep enthusiasts looking to save time on busy weeknights! You can prepare the dough up to 24 hours in advance. Simply follow the recipe through step 4, then shape the dough into a rectangle and wrap it tightly in plastic wrap before refrigerating. This keeps the flavors intact without compromising quality. When you’re ready to bake, roll out the dough, cut into strips, and bake as directed. If you’d like to store baked cheese straws, they can be kept in an airtight container for up to 3 days; just re-crisp them in the oven for a few minutes before serving. Enjoy this time-saving tip and indulge in delicious homemade snacks anytime!
Expert Tips for Cheddar & Herb Cheese Straws
Chill Your Butter: Ensure your butter is cold for flaky straws; warm butter can lead to a dough that’s too soft and unmanageable.
Pulse Gently: Avoid over-processing the dough; stop when you still see pea-sized clumps of butter for a delightful texture in your Cheddar & Herb Cheese Straws.
Flour Moderately: Dust your work surface with flour as needed but don’t overdo it; too much flour can make the straws tough.
Cut Evenly: For uniform baking, cut the dough strips consistently (¼-inch wide) so they finish baking at the same time, ensuring all are golden.
Rotate Sheets: Remember to rotate the baking sheets halfway through baking to achieve even browning. This step helps prevent any straws from burning!
Experiment Wisely: Feel free to add different spices or cheeses, but start with small amounts, as strong flavors can easily overpower the dish.
How to Store and Freeze Cheddar & Herb Cheese Straws
Room Temperature: Store leftover cheese straws in a cool, dry place for up to 2 days in an airtight container to keep them crispy.
Fridge: For longer freshness, keep them in the refrigerator for up to 5 days in an airtight container. Reheat in a warm oven for 5-10 minutes to restore crispness.
Freezer: Freeze unbaked straws for up to 2 months. Lay them on a baking sheet until firm, then transfer to a freezer bag. Bake directly from frozen, adding a few minutes to your baking time.
Reheating: To savor leftover baked straws, reheat them in a 350°F (175°C) oven for about 5-7 minutes, ensuring they regain their delightful crunch.
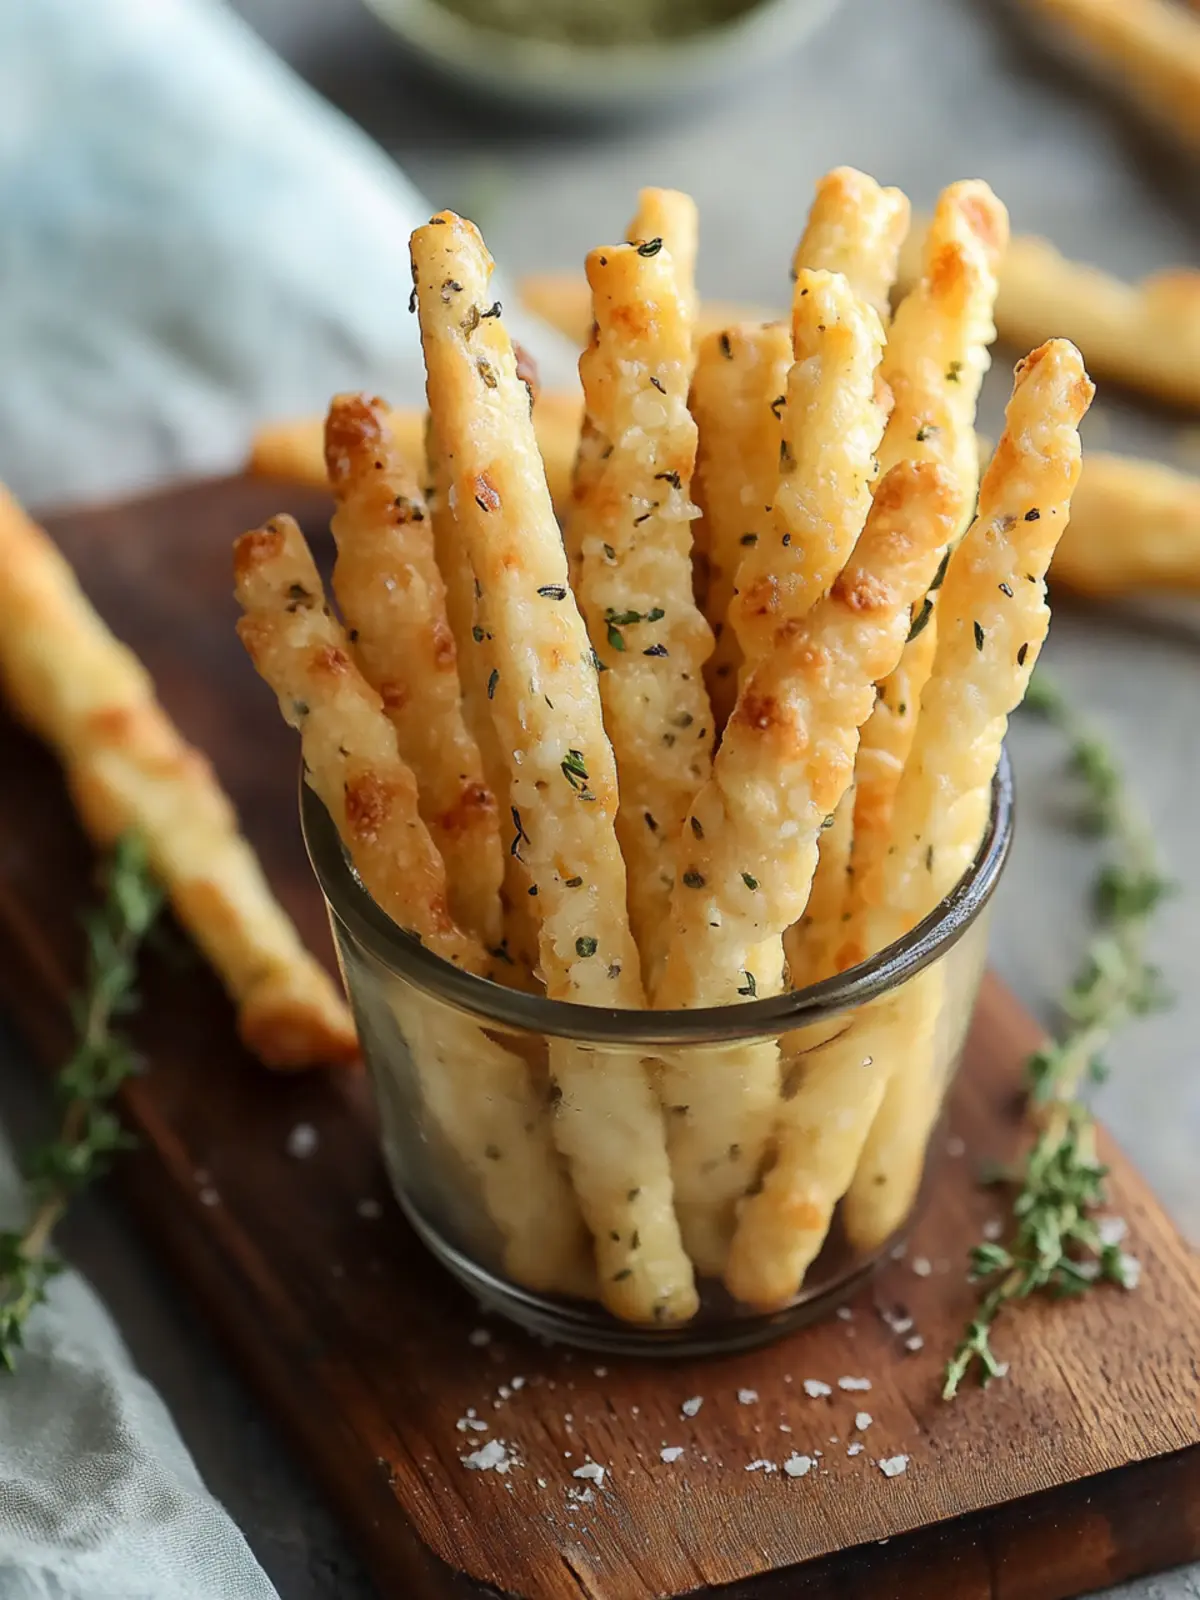
Cheddar & Herb Cheese Straws Recipe FAQs
How do I select the right cheese for Cheddar & Herb Cheese Straws?
Absolutely! For the best flavor, use extra-sharp cheddar cheese as it brings a bold punch to the straws. When selecting cheese, look for a fresh block rather than pre-grated options, as the latter often contain anti-caking agents that can affect texture.
What’s the best way to store leftover cheese straws?
To maintain the crispiness of your leftover cheese straws, store them in an airtight container at room temperature for up to 2 days. If you’d like to keep them for longer, place them in the refrigerator for up to 5 days. Reheat in a warm oven for about 5-10 minutes to restore their delightful crunch!
Can I freeze Cheddar & Herb Cheese Straws?
Yes, you can freeze unbaked cheese straws for up to 2 months! Here’s how: First, lay the cut straws on a baking sheet lined with parchment and freeze them until firm. Then, transfer the frozen strips into a freezer bag. When you’re ready to bake, cook them directly from frozen, adding a few extra minutes to the baking time—easy and delicious!
What should I do if my dough is too sticky?
If you find your dough is sticky while rolling it out, sprinkle a bit more flour on your work surface and on top of the dough. However, avoid adding too much flour, as it can make the straws tough. If the dough is still too soft to manage, consider chilling it in the fridge for about 30 minutes before rolling it out.
Are Cheddar & Herb Cheese Straws suitable for people with gluten intolerance?
To make gluten-free cheese straws, you can substitute the all-purpose flour with a gluten-free flour blend. Just make sure to select a blend that works well for baking. Always check the labels for allergens, especially if you’re serving guests with specific dietary restrictions, such as lactose intolerance from the cheese.
How can I enhance the flavors of my cheese straws?
Get creative! You can try adding a variety of spices like garlic powder or smoked paprika for an extra flavor kick. Fresh herbs can also be swapped; consider adding dill or even a sprinkle of freshly grated parmesan for a different twist. Remember, the more the merrier!
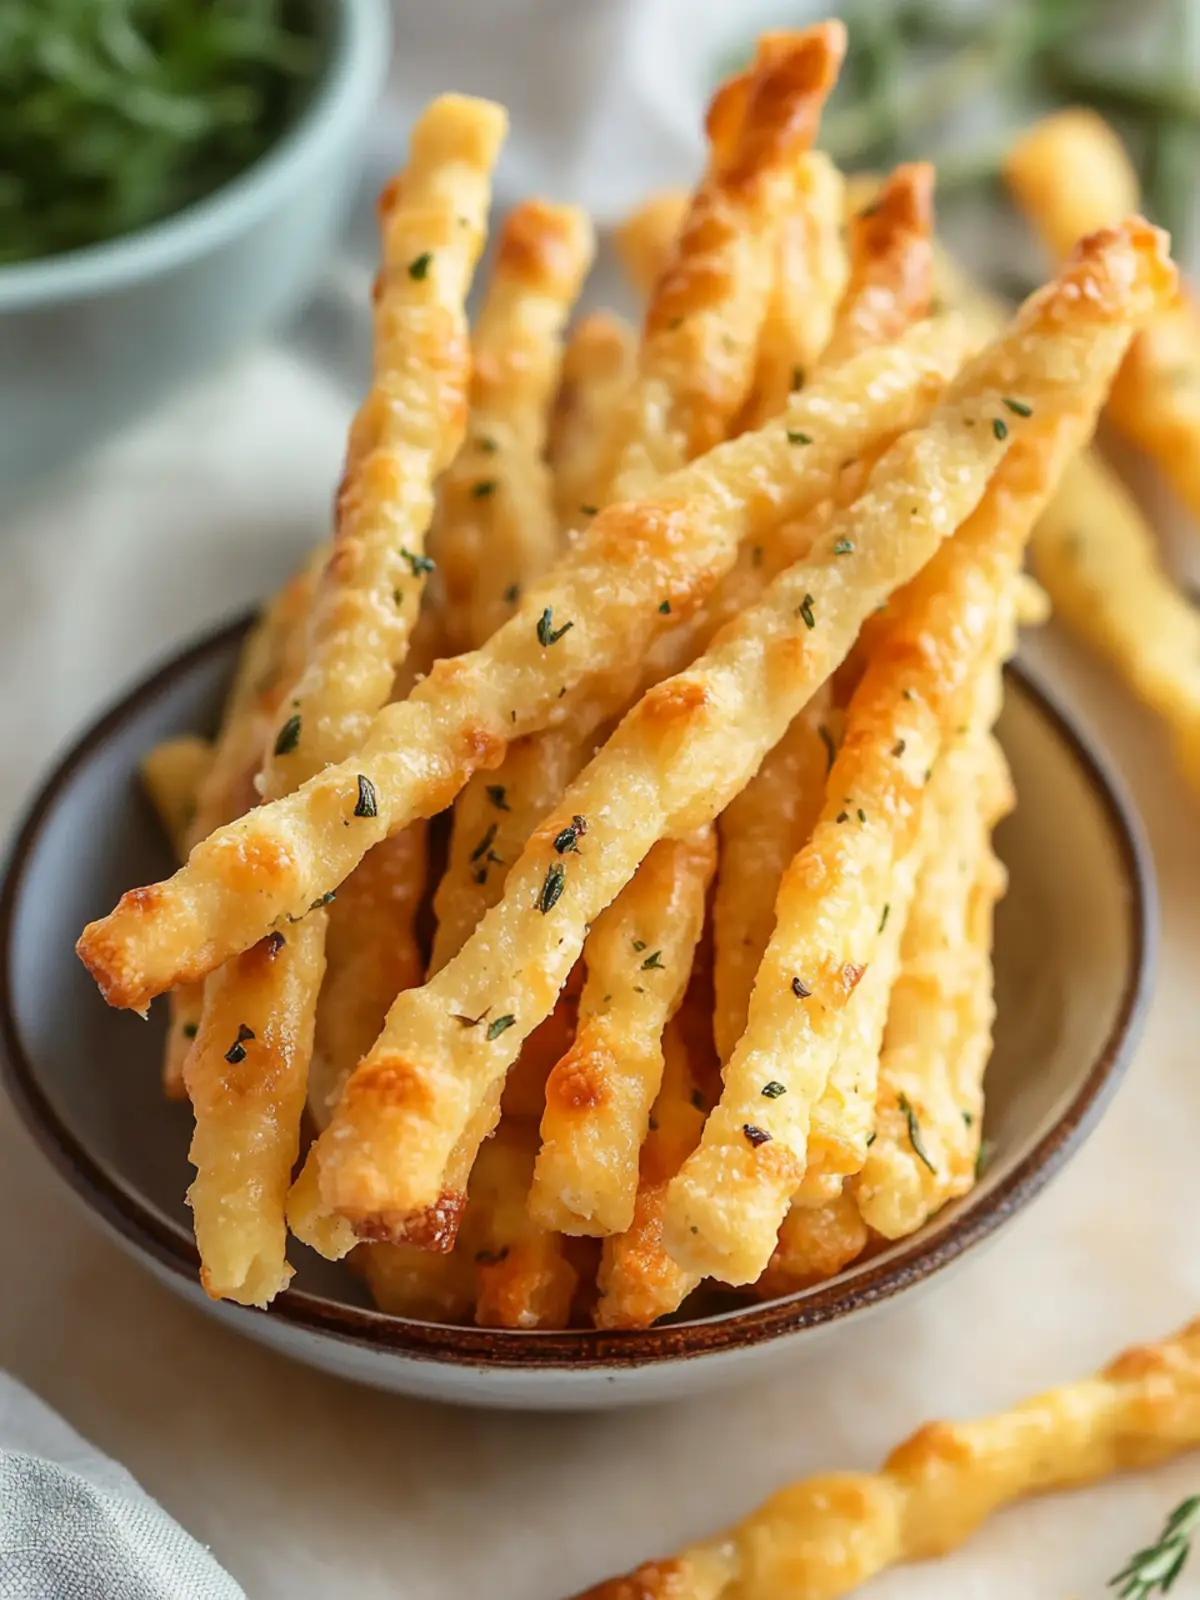
Cheddar & Herb Cheese Straws That Elevate Any Snack Time
Ingredients
Equipment
Method
- Preheat your oven to 400°F (205°C). Position two oven racks in the center and line two baking sheets with parchment paper to prepare for baking.
- Combine the ingredients in a food processor. Add the cheese, flour, salt, red pepper flakes, and herbs, pulsing until the mixture resembles coarse crumbs with a delightful aroma.
- Add the butter. Cut it into ½-inch chunks and toss into the mixture, pulsing until it resembles coarse crumbs with some pea-sized clumps of butter still visible for that perfect texture.
- Mix in the heavy cream. Pulse the mixture until it begins to clump together, forming a cohesive mass that’s eager to become delicious straws.
- Shape the dough. Lightly flour your work surface and scoop the dough onto it. Dust the top with flour, shaping it into a rectangle about 1 inch high, then cut it in half for easier handling.
- Roll out the dough. Sprinkle more flour on your surface, rolling each block into an 8 x 10-inch rectangle, roughly ⅛-inch thick. Trim the edges straight and slice into thin strips, about ¼-inch wide.
- Transfer the strips to the baking sheets. Ensure to leave about a ¼-inch of space between each one for even baking and crispy goodness.
- Bake the straws for 10 to 12 minutes. Look for a lightly golden top and a rich golden bottom, rotating the pans halfway through to ensure even cooking.
- Cool the straws on a rack. Once baked, move the pans to a cooling rack, and carefully transfer the cheese straws to a plate to serve.