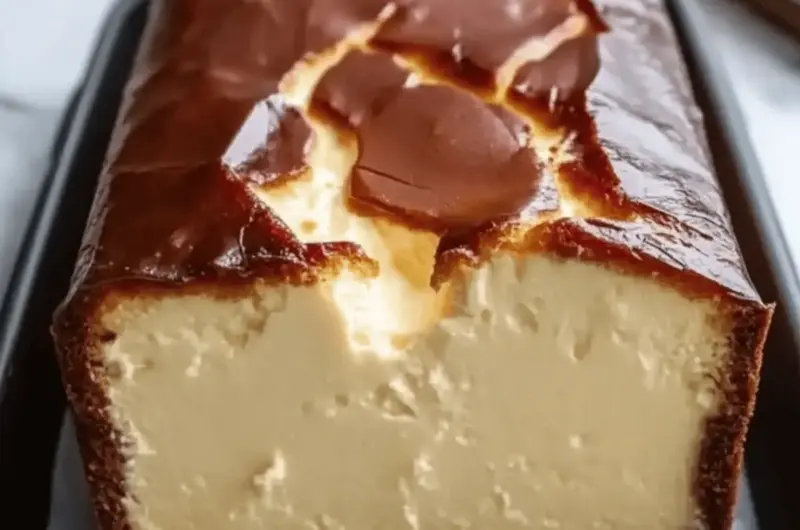
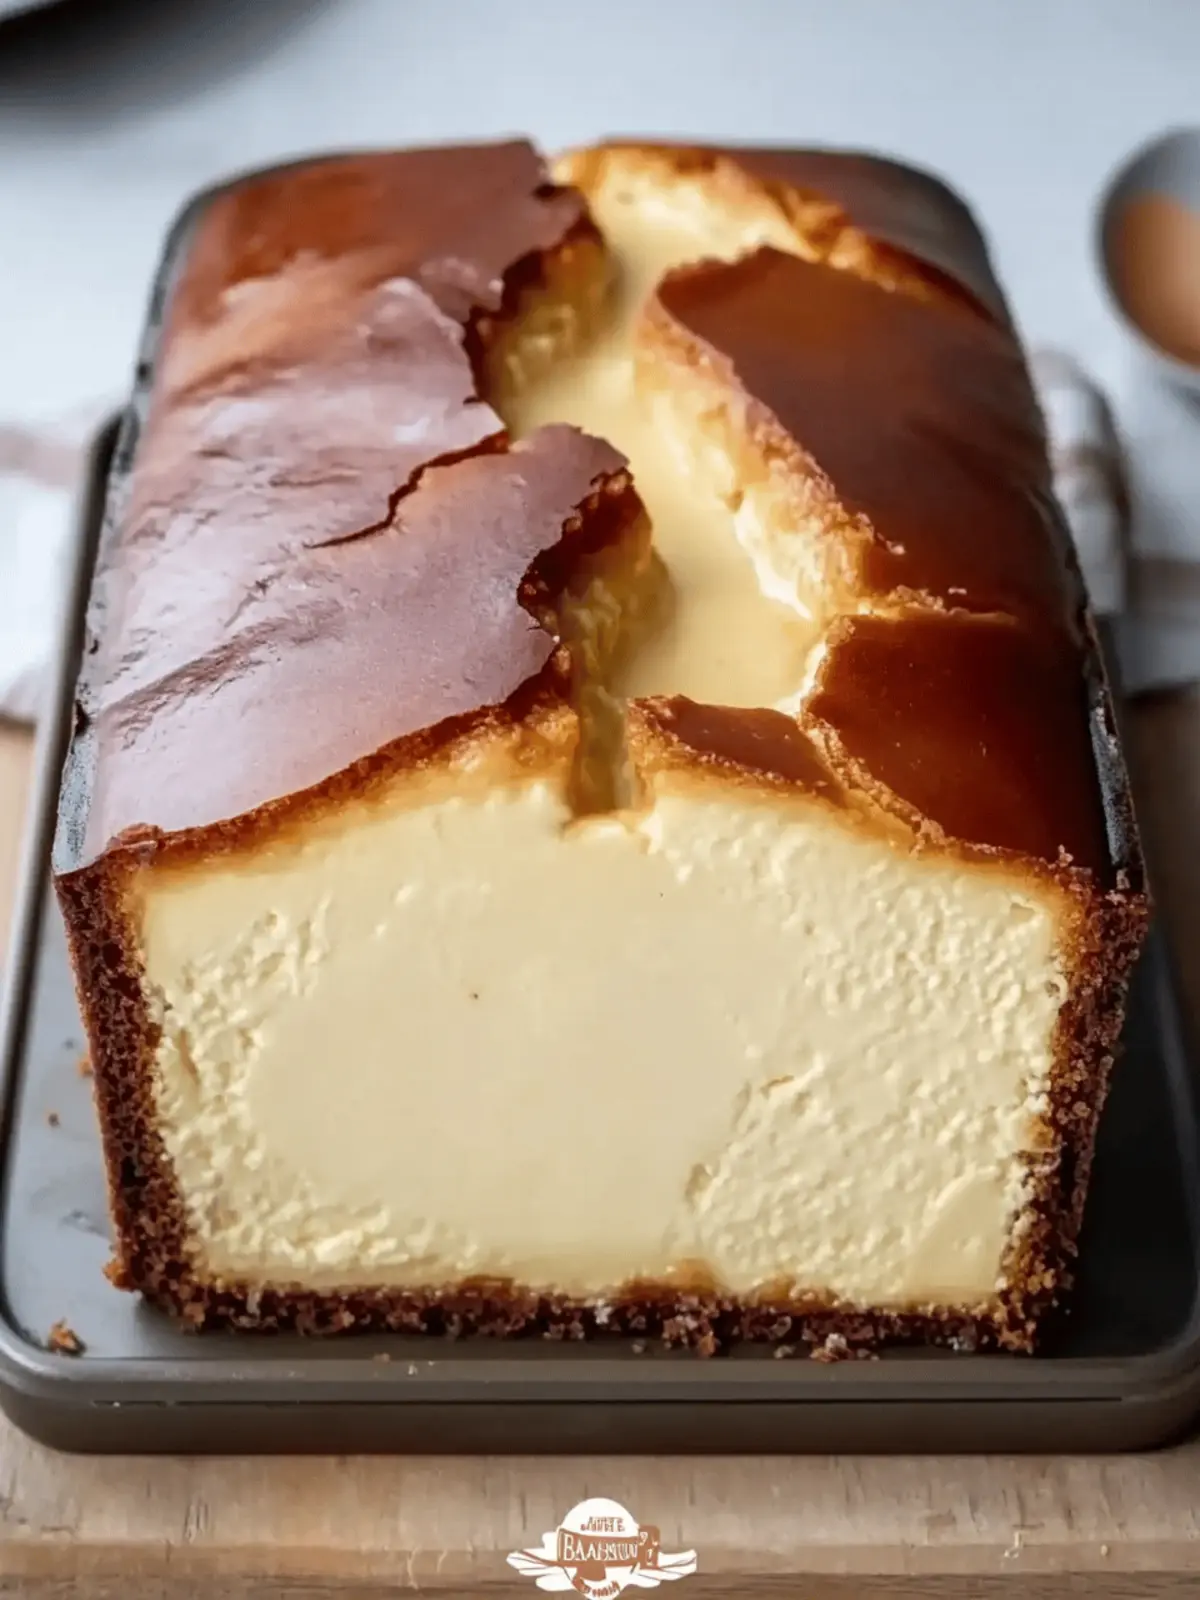
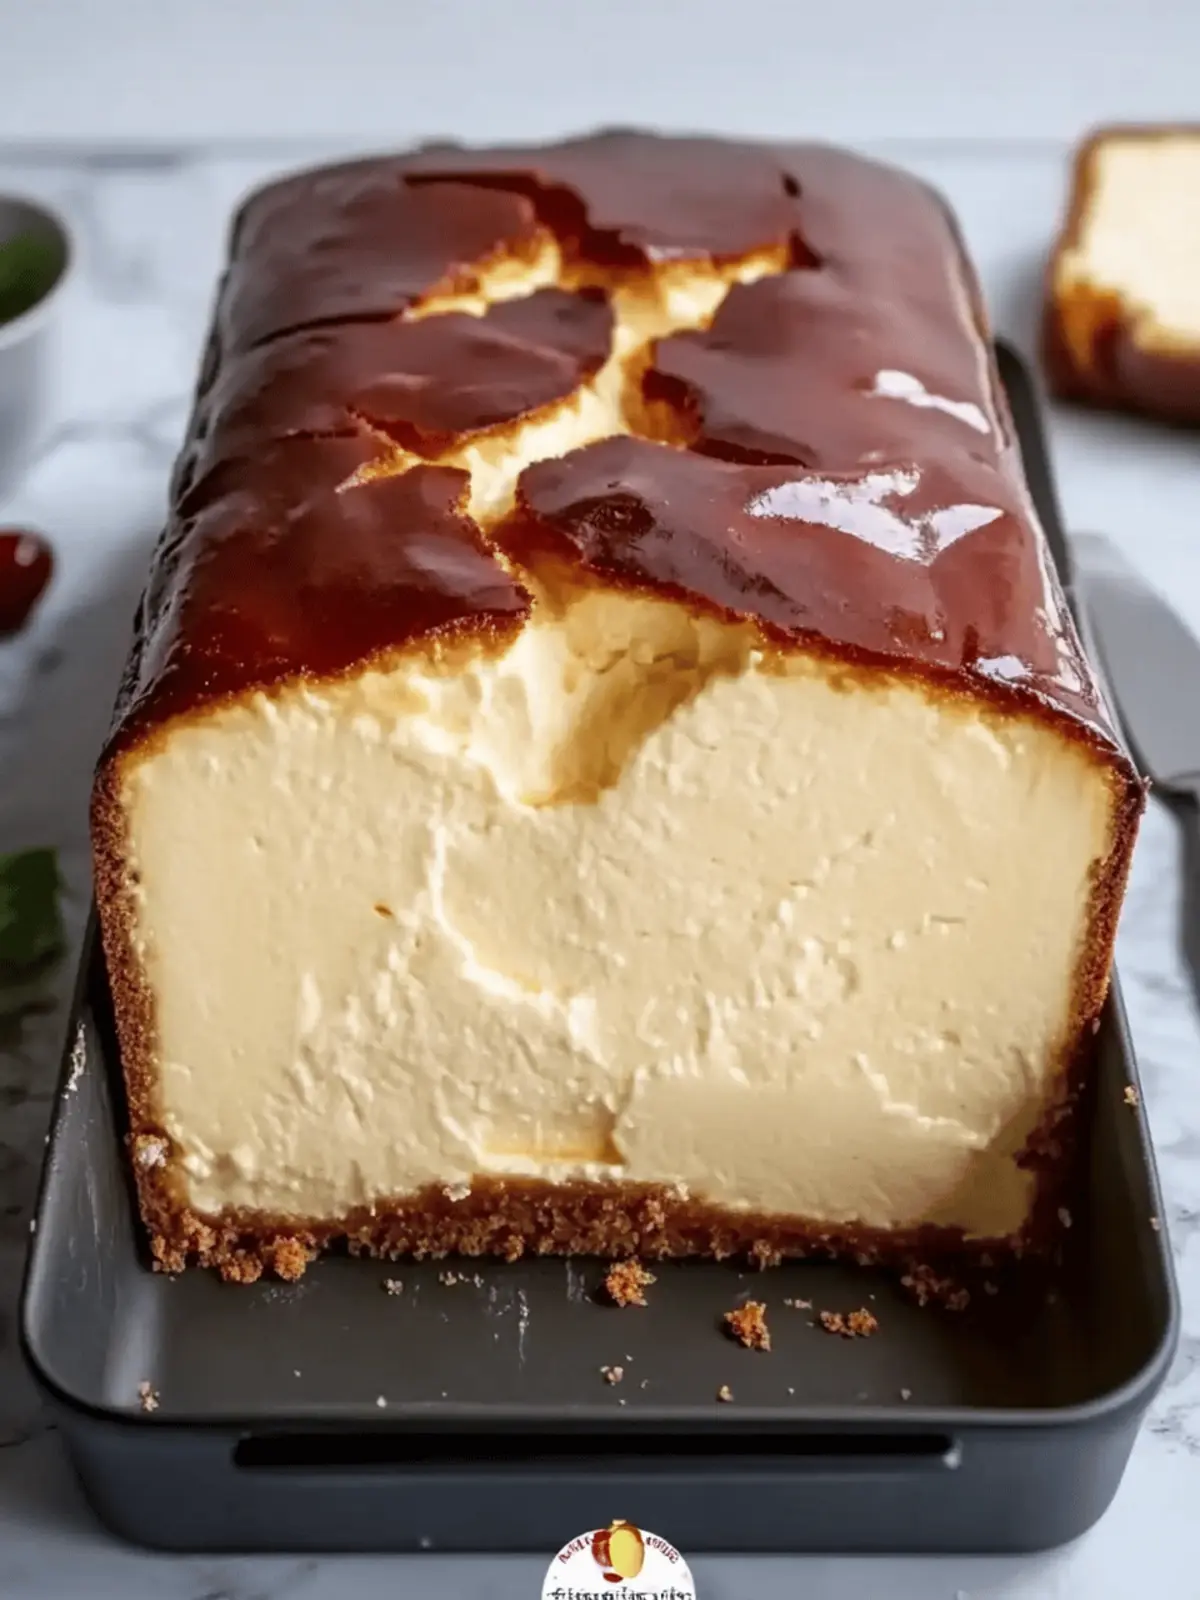
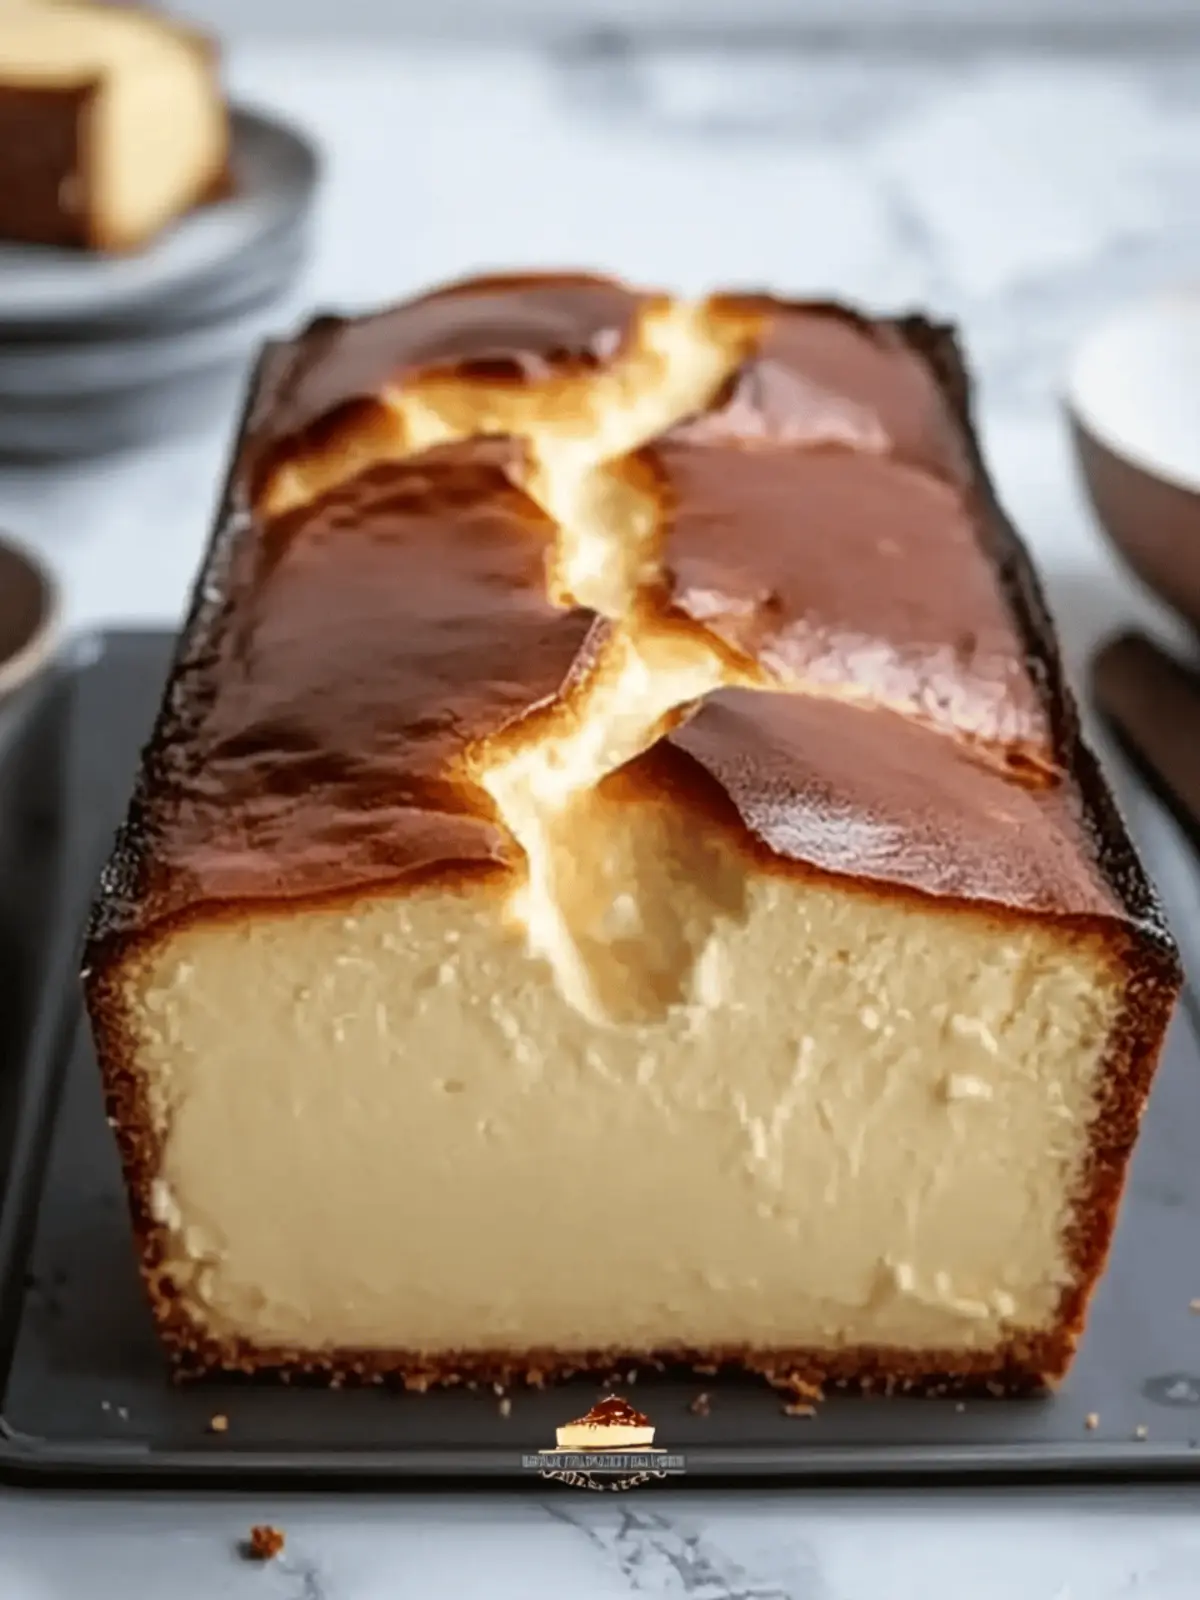
As I watch the rain softly patter against the kitchen window, I can’t help but think of the joys of baking—especially when it comes to my favorite indulgence: Burnt Basque Cheesecake in a Loaf Pan. This recipe is not just a dessert; it’s an experience. The rich, creamy texture combined with that mesmerizing caramelized top is enough to make anyone’s mouth water. What’s even more delightful is how effortless it is to create such a show-stopping treat right in your own kitchen.
Whether you’re hosting an intimate gathering or simply treating yourself on a cozy night in, this gluten-free crustless cheesecake delivers bold flavors with minimal fuss. Plus, its unique loaf pan format allows for easy portioning—great for satisfying a craving without overdoing it. Grab your mixing bowl, and let’s dive into this decadent delight that seems fancy but is surprisingly simple to whip up!
Why is Burnt Basque Cheesecake in a Loaf Pan a Must-Try?
Simplicity: No complicated techniques here! Just mix and bake for a dessert that impresses without the stress.
Gluten-Free: This recipe offers a delicious option for gluten-sensitive friends without compromising on flavor.
Elegant Presentation: The loaf pan creates perfect slices with a rustic charm, making it visually stunning for any gathering.
Time-Saving: Bake it in about 45 minutes! Ideal for those impromptu get-togethers when dessert needs to wow.
Versatile Serving: Enjoy it chilled, or bring it to room temperature for the ultimate creamy texture. It pairs excellently with coffee or fresh berries; check out some serving suggestions.
Burnt Basque Cheesecake in a Loaf Pan Ingredients
Here’s what you need to create your delicious Burnt Basque Cheesecake in a loaf pan!
For the Cheesecake
- Full-fat Cream Cheese – Provides richness and creaminess; for a lighter version, try low-fat cream cheese, but note the texture may be firmer.
- Granulated Sugar – Sweetens the cheesecake perfectly, ensuring a delightful balance of flavors.
- Eggs – Essential for giving structure and richness; be sure to beat until pale for the best final product.
- All-purpose Flour – Helps stabilize the cheesecake; can be substituted with a gluten-free flour blend for a gluten-free version.
- Salt – Enhances the flavors beautifully, making each bite more satisfying.
- Vanilla Extract – Adds wonderful aroma and depth; don’t skip this for a full-flavored dessert!
Embrace the ease and delight of making your own Burnt Basque Cheesecake in a Loaf Pan!
How to Make Burnt Basque Cheesecake in a Loaf Pan
- Prepare the Pan: Butter a 9×5-inch loaf pan thoroughly and line it with parchment paper to ensure easy removal after baking.
- Mix Ingredients: In a large mixing bowl, blend the full-fat cream cheese and granulated sugar until silky smooth, ensuring there are no lumps.
- Add Eggs: Carefully incorporate the eggs one at a time into the cream cheese mixture, mixing each addition until fully combined and slightly fluffy.
- Incorporate Dry Ingredients: Gradually add the all-purpose flour and a pinch of salt, mixing gently until just combined to avoid overworking the batter.
- Bake: Pour the cheesecake batter into the prepared loaf pan and bake at a high temperature (around 400°F) for about 45 minutes or until the top is caramelized and slightly cracked.
- Cool: Allow the cheesecake to cool in the oven with the door ajar to prevent sinking, then transfer to the refrigerator to chill for several hours or overnight.
- Serve: Enjoy your indulgent cheesecake chilled or at room temperature for the best flavor and texture experience.
Optional: Top with fresh berries or a drizzle of caramel for an extra touch of elegance.
Exact quantities are listed in the recipe card below.
Expert Tips for Burnt Basque Cheesecake
-
Perfect Texture: A slightly jiggly center is what you want; it will firm up beautifully as it cools.
-
Chill for Flavor: For the richest flavor, let your Burnt Basque Cheesecake in a loaf pan chill overnight in the refrigerator.
-
Watch the Bake: Keep an eye on your cheesecake as it bakes; it should be deeply golden but not overly burnt.
-
Embrace the Cracks: Don’t fret over cracks—these rustic imperfections add to the charm of the cheesecake.
-
Avoid Freezing: Freezing can change the creamy texture; instead, store it in an airtight container in the fridge for up to 5 days.
Make Ahead Options
This Burnt Basque Cheesecake in a Loaf Pan is a perfect candidate for meal prep, making it easy to enjoy a delicious dessert even on the busiest nights. You can prepare the cheesecake batter up to 24 hours in advance—simply mix all ingredients and store it tightly covered in the refrigerator. When you’re ready to bake, pour the batter into the prepared pan and bake as instructed. For optimal flavor, it’s recommended to chill the cheesecake for several hours or overnight, allowing the rich flavors to meld beautifully. Just remember to take the cheesecake out about 10-15 minutes before serving to achieve that perfect creamy texture—it’s just as delicious, and you’ll save both time and effort!
Burnt Basque Cheesecake in a Loaf Pan Variations
Feel free to let your creativity shine while making this delightful cheesecake—there are countless ways to personalize it!
-
Gluten-Free: Substitute all-purpose flour with a gluten-free blend for a tender dessert that anyone can enjoy. Many gluten-free flours are just as easy to work with and yield delightful results!
-
Citrus Zest: Add a teaspoon of lemon or orange zest to the batter for a refreshing twist that brightens the cheesecake’s flavor. The acidity will beautifully contrast the rich, creamy texture.
-
Nutty Flavor: Incorporate finely ground almonds or hazelnuts into the batter for a subtle, nutty depth. This twist not only enhances flavor but also adds a lovely texture that pairs beautifully with the creaminess.
-
Chocolate Lover’s Delight: Fold in some melted dark chocolate for a luxurious chocolate version. The deep, rich cocoa flavor can turn this cheesecake into an irresistible treat for any chocolate enthusiast!
-
Vanilla Bean: Swap out the vanilla extract for scraped vanilla bean seeds for an elevated, aromatic experience that imparts tiny specks of flavor throughout.
-
Spicy Kick: For those who love a little heat, add a dash of cayenne pepper or a sprinkle of cinnamon to the batter. This unexpected twist can create a delightful contrast that will surprise and delight your taste buds.
-
Fruit Swirl: Gently swirl in your favorite fruit puree—like raspberry or mango—into the batter before baking. This will not only create a beautiful marbled effect but also infuse fruity sweetness throughout.
-
Caramel Drizzle: Drizzle with homemade or store-bought salted caramel just before serving for an indulgent finish. The sweet and salty combination makes each bite even more decadent.
What to Serve with Burnt Basque Cheesecake in a Loaf Pan?
Elevate your dessert experience with delightful accompaniments that bring out the rich flavors of this creamy cheesecake.
-
Fresh Berries: Juicy strawberries or raspberries add a burst of tartness, beautifully balancing the cheesecake’s sweetness. Their vibrant color also enhances presentation.
-
Whipped Cream: A dollop of light, airy whipped cream adds a whimsical touch. Its silky texture complements the burnt top and creamy center, providing a pleasant contrast.
-
Espresso or Coffee: Serve your cheesecake with a robust cup of espresso or freshly brewed coffee for an enjoyable after-dinner pairing. The coffee’s bitterness cuts through the richness, making every bite pefectly balanced.
-
Chocolate Sauce: A drizzle of warm chocolate sauce adds a decadent touch that cheesecake lovers will appreciate. The luxurious flavors meld together, creating an unparalleled dessert experience.
-
Caramel Drizzle: Sweet caramel not only enhances flavor but also adds an enticing visual appeal. It can be swirled on top or served on the side for dipping—either way, it’s a match made in heaven.
-
Vanilla Ice Cream: A scoop of vanilla ice cream brings cold creaminess to the table. The slight chill and smoothness offer a delightful contrast to the warm cheesecake.
-
Toasted Nuts: Sprinkle some toasted almonds or hazelnuts on top for added crunch. Their earthy notes amplify the dessert’s richness while enhancing the overall texture.
-
Herbal Tea: For a lighter option, serve with a calming cup of herbal tea. The soothing flavors of chamomile or peppermint pair beautifully, providing refreshment after a rich meal.
Embrace these delightful pairings to elevate your dessert presentation and create lasting memories with every bite!
Storage Tips for Burnt Basque Cheesecake in a Loaf Pan
-
Fridge: Store your Burnt Basque Cheesecake in an airtight container for up to 5 days. This ensures it stays fresh, creamy, and ready to enjoy!
-
Room Temperature: If serving after refrigeration, let the cheesecake sit out for 10–15 minutes before slicing. This brings back its velvety texture, making each bite delightful.
-
Freezer: Avoid freezing, as this can alter the custard’s delicate texture. It’s best enjoyed fresh from the fridge!
-
Reheating: If you prefer your cheesecake slightly warm, place it in a preheated oven at 300°F for about 10 minutes—just until warmed through, not hot.
Burnt Basque Cheesecake in a Loaf Pan Recipe FAQs
How do I choose the best cream cheese for this recipe?
Absolutely! For the creamiest texture, I recommend using full-fat cream cheese as it provides the richest flavor. If you’re looking for a lighter option, low-fat cream cheese can be used, though it may yield a firmer texture. Ensure the cream cheese is at room temperature before mixing for a smoother batter.
What’s the best way to store the cheesecake?
Very good question! After you’ve enjoyed your Burnt Basque Cheesecake in a loaf pan, store any leftovers in an airtight container in the fridge. It should keep well for up to 5 days. Just take it out 10-15 minutes before serving to allow it to warm slightly for that perfect velvety texture.
Can I freeze the burnt Basque cheesecake?
While it may be tempting to freeze, I’d advise against it for this particular cheesecake. Freezing could alter its delicate custard texture. Instead, focus on enjoying it within 5 days. If you absolutely must freeze it, wrap individual slices tightly in plastic wrap and then place them in a freezer-safe bag, but expect some change in texture upon thawing.
What should I do if my cheesecake cracks during baking?
No worries at all! Cracks are perfectly normal and are part of the cheesecake’s rustic charm. If you notice cracks while baking, let the cheesecake cool slowly in the oven with the door slightly ajar to help minimize further cracking. Remember, these imperfections won’t affect the delicious taste, so embrace them!
Are there any dietary considerations or substitutes I should be aware of?
Absolutely! If you’re accommodating gluten-sensitive friends, simply use a gluten-free flour blend instead of all-purpose flour. Additionally, ensure to check that your cream cheese and vanilla extract do not contain any gluten, as some brands might include traces. As always, if anyone has specific allergies, it’s crucial to tailor the recipe accordingly.
What’s the ideal serving temperature for the cheesecake?
For the best taste experience, serve your Burnt Basque Cheesecake chilled or at room temperature. If you’re opting to serve it at room temperature, remember to let it sit out for about 10-15 minutes post-refrigeration before slicing to get that velvety smoothness. Enjoy!
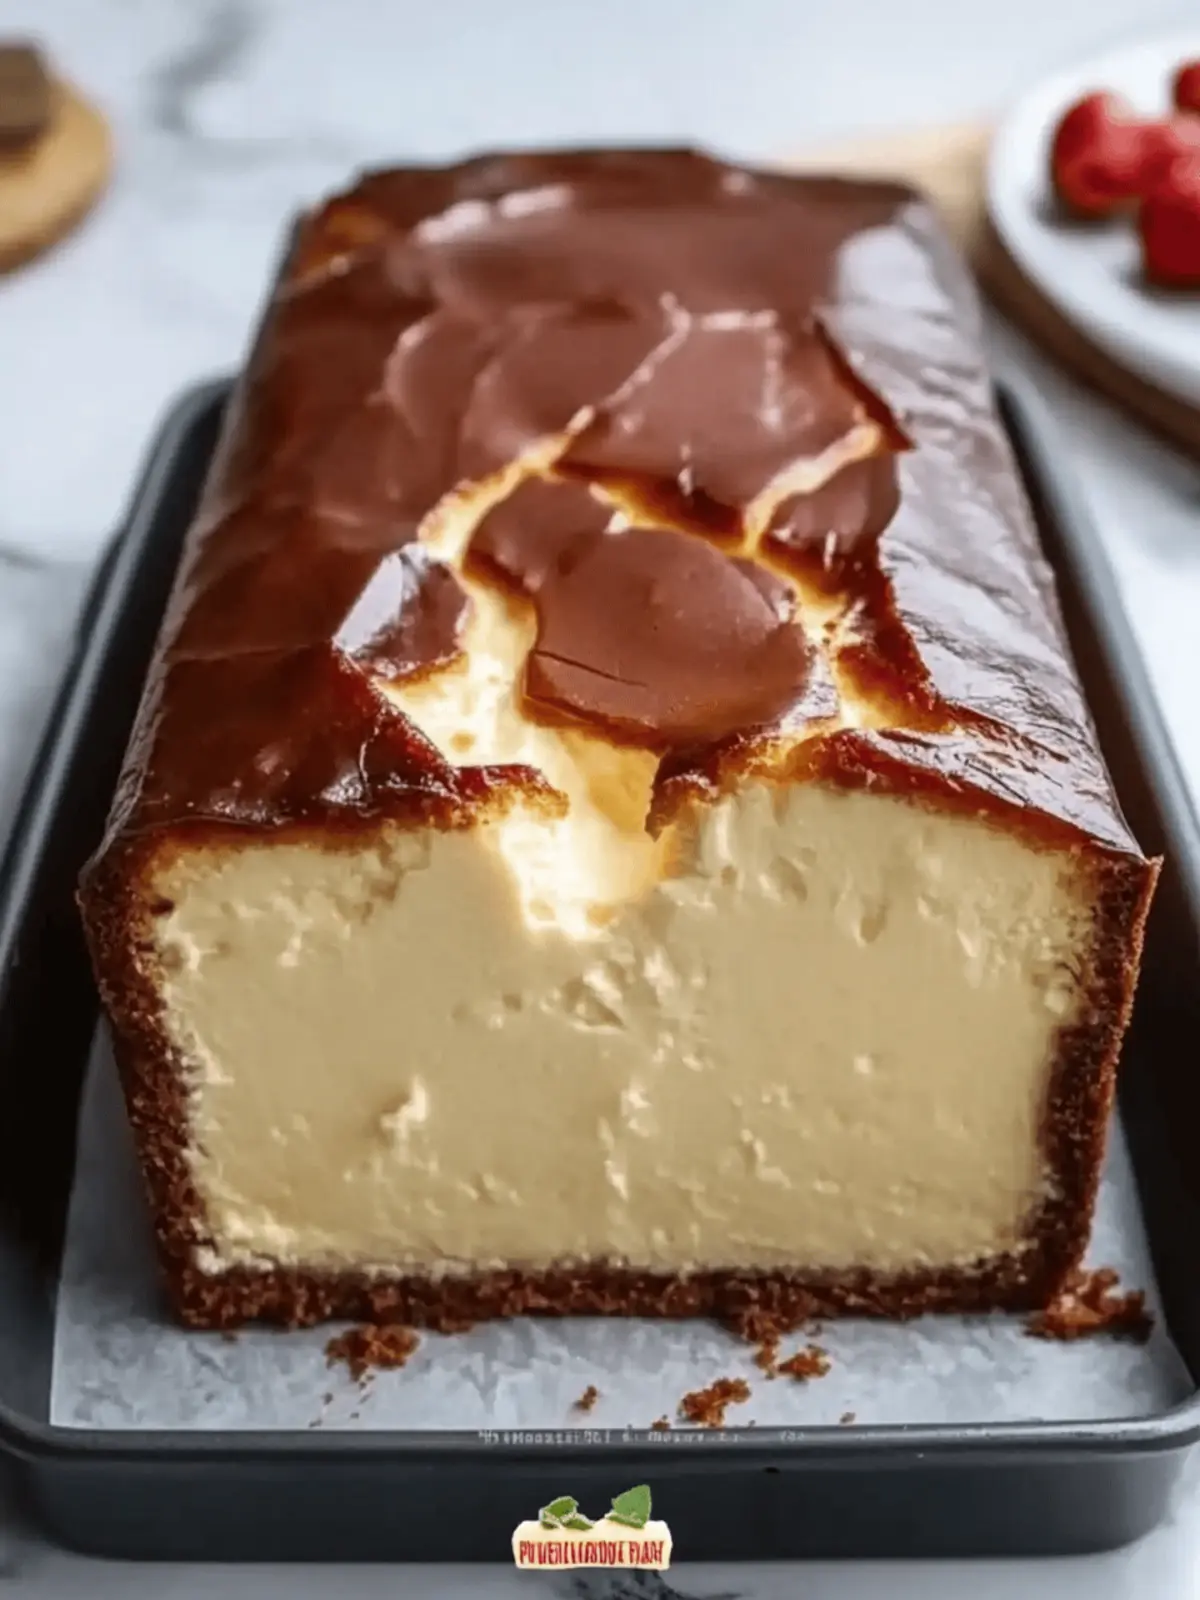
Simple Burnt Basque Cheesecake in a Loaf Pan for Delightful Desserts
Ingredients
Equipment
Method
- Prepare the Pan: Butter a 9x5-inch loaf pan thoroughly and line it with parchment paper to ensure easy removal after baking.
- Mix Ingredients: In a large mixing bowl, blend the full-fat cream cheese and granulated sugar until silky smooth, ensuring there are no lumps.
- Add Eggs: Carefully incorporate the eggs one at a time into the cream cheese mixture, mixing each addition until fully combined and slightly fluffy.
- Incorporate Dry Ingredients: Gradually add the all-purpose flour and a pinch of salt, mixing gently until just combined to avoid overworking the batter.
- Bake: Pour the cheesecake batter into the prepared loaf pan and bake at a high temperature (around 400°F) for about 45 minutes or until the top is caramelized and slightly cracked.
- Cool: Allow the cheesecake to cool in the oven with the door ajar to prevent sinking, then transfer to the refrigerator to chill for several hours or overnight.
- Serve: Enjoy your indulgent cheesecake chilled or at room temperature for the best flavor and texture experience.

