There’s a certain joy that comes from the first bite of a freshly baked cookie, and these Gluten-Free Peanut Butter Blossoms deliver that happiness in every crumb. The moment I pulled my first batch from the oven, the rich aroma of peanut butter filled my kitchen, instantly transporting me to my childhood when my grandmother would bake similar treats during cozy winter afternoons.
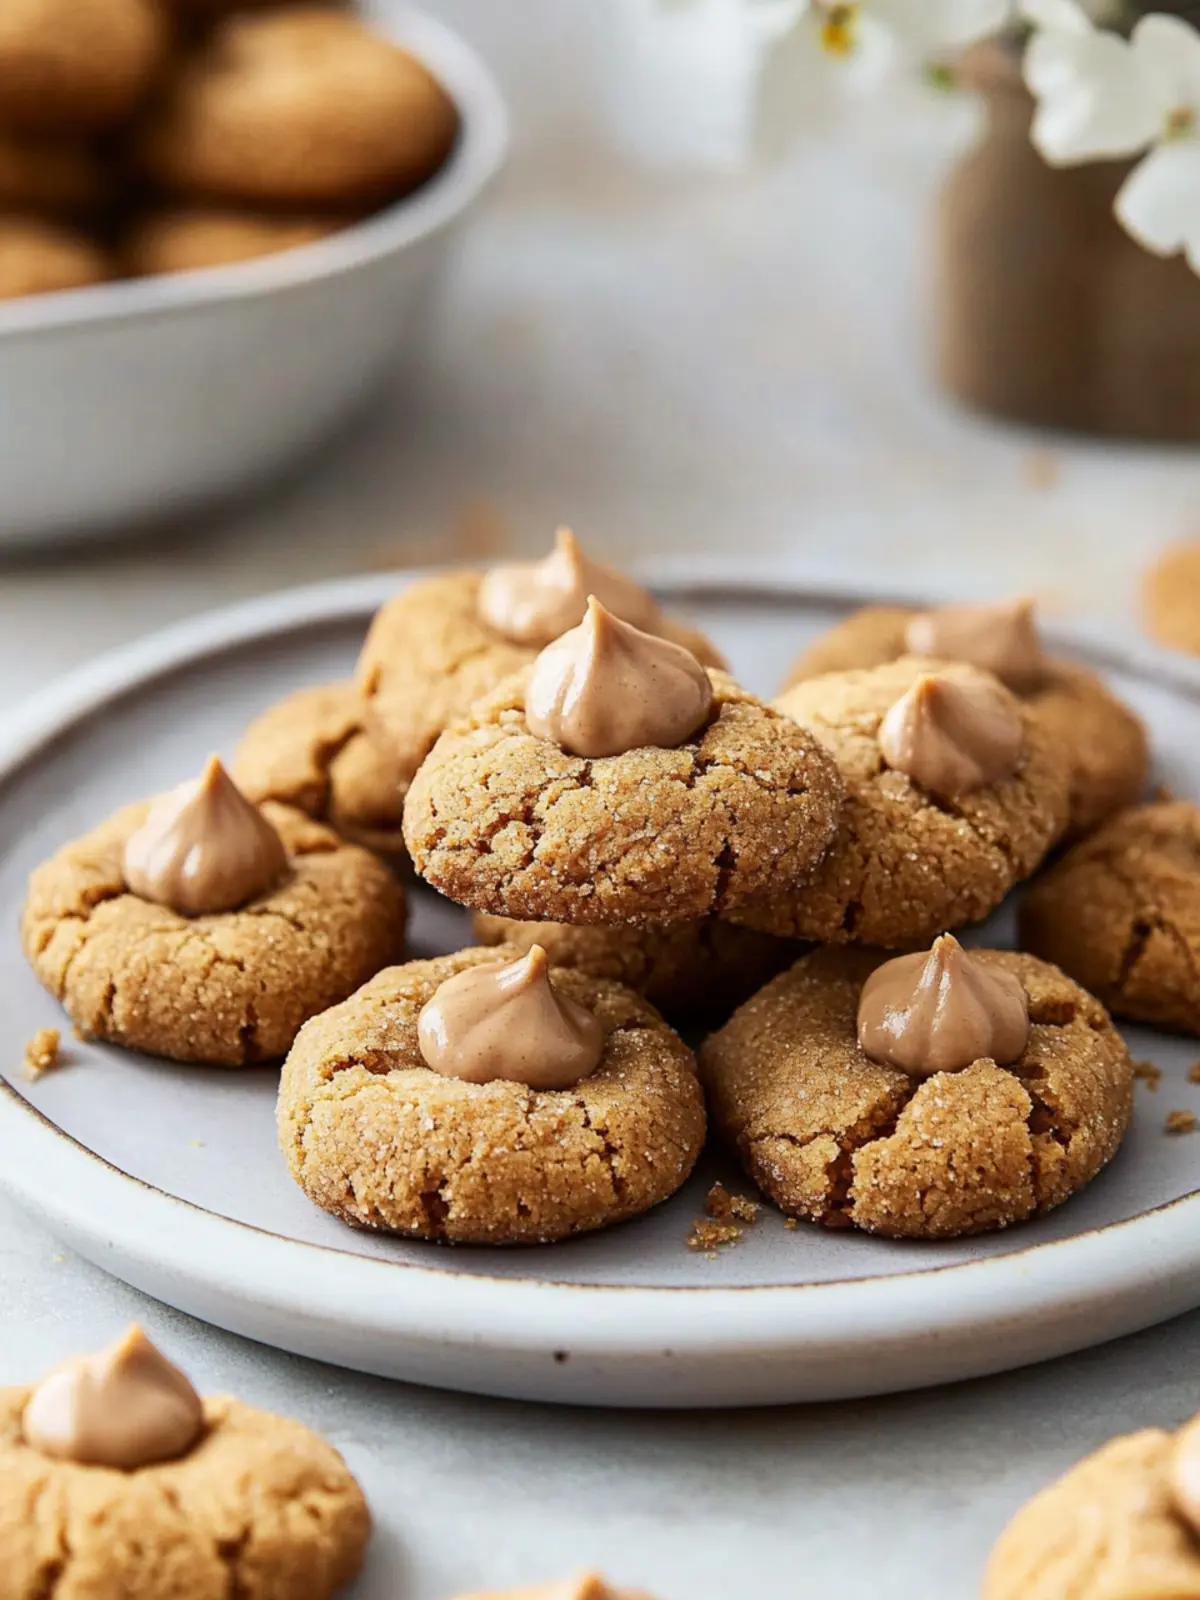
What I love most about these cookies is their delightful contrast—crunchy on the outside and perfectly soft on the inside, topped with a sweet Hershey Kiss that melts in your mouth. And if you thought you needed gluten to enjoy classic flavors, think again! This recipe not only caters to gluten-free diets but also proves that comfort food can still be delicious and satisfying without compromise.
Whether you’re looking for a treat to impress guests or a quick cookie to help ease a tough week, these peanut butter blossoms are the perfect recipe to whip up. With just a handful of simple ingredients and minimal prep time, you’ll be sharing these decadent delights in no time!
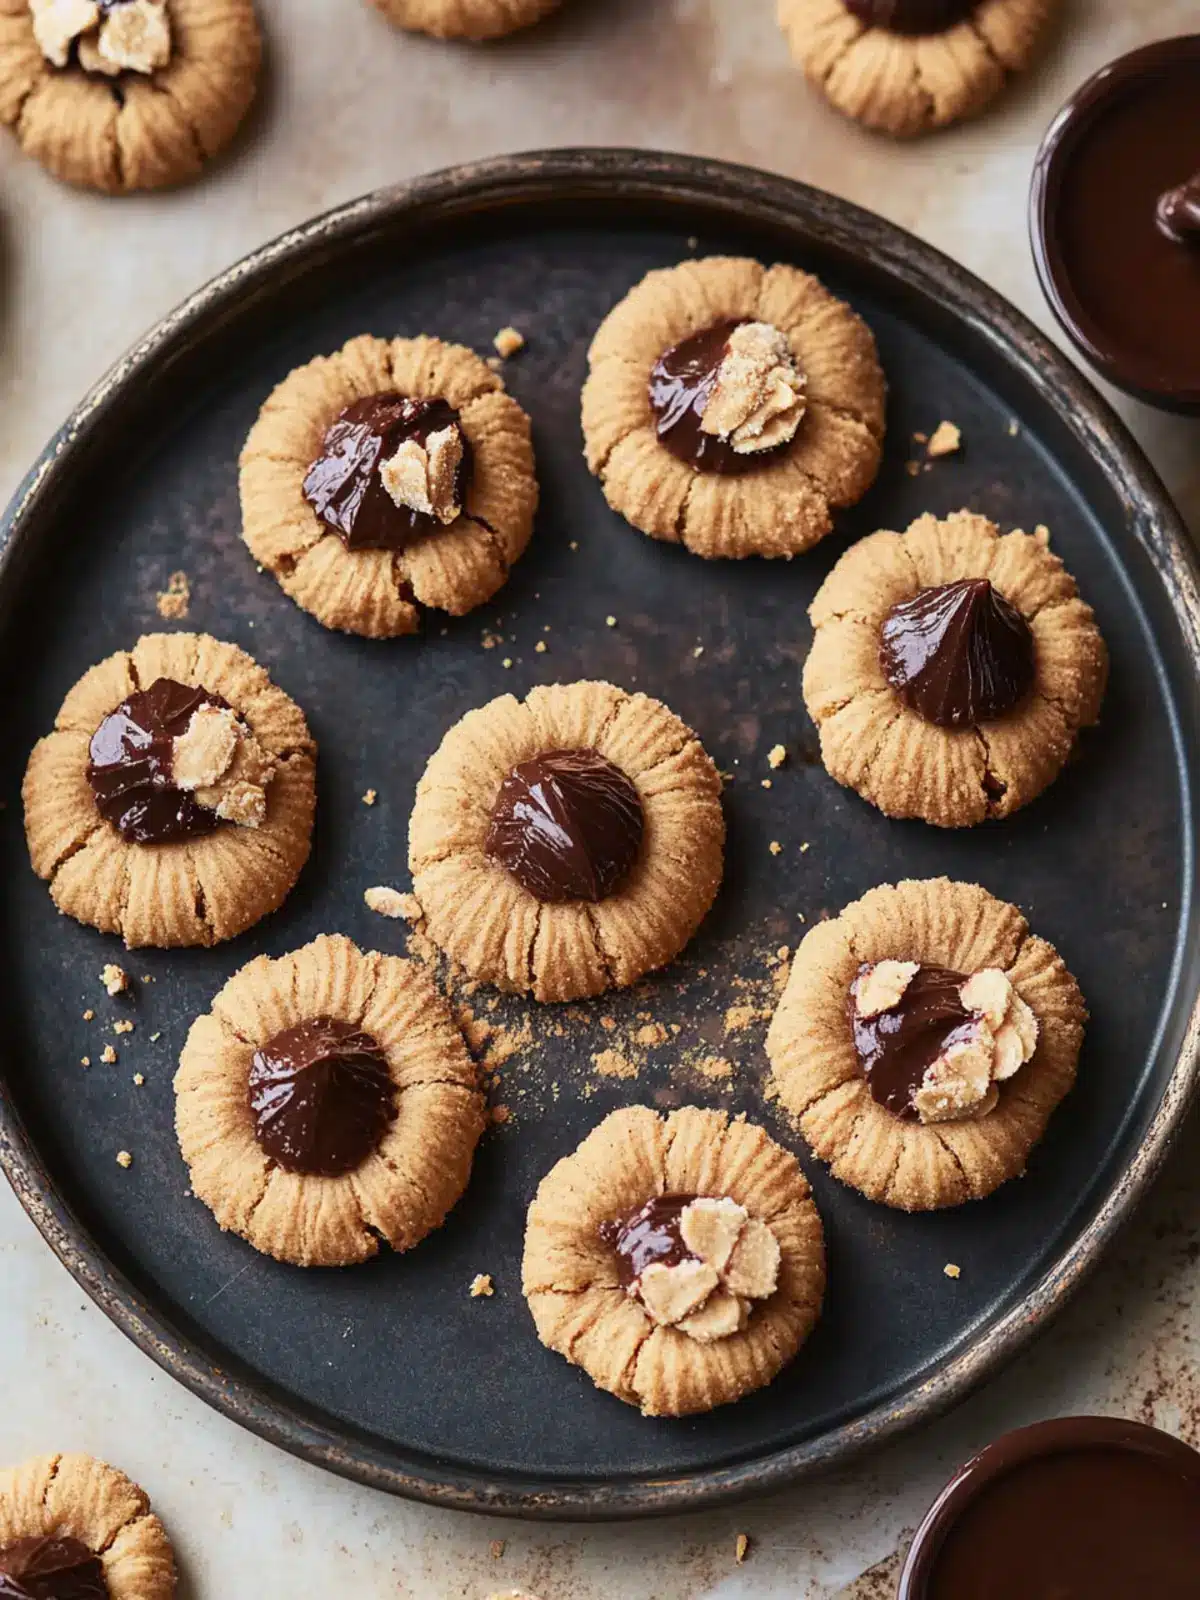
Why love these Peanut Butter Blossoms?
Irresistible flavor: The sweet and nutty combination of peanut butter and rich Hershey Kisses creates an explosion of taste that everyone will adore.
Quick and easy: With just 10 minutes of prep and 30 minutes of chill time, you can bake up a delightful treat without spending all day in the kitchen.
Gluten-free goodness: These cookies allow everyone to indulge, proving that gluten-free doesn’t mean sacrificing flavor or texture.
Crowd-pleaser: Perfect for parties, bake sales, or intimate gatherings, they’re bound to impress friends and family alike.
Flexible treat: Swap out Hershey Kisses for your favorite chocolate or candy to make it unique every time!
Don’t miss out on this delicious journey—get ready to bake your new favorite cookies!
Peanut Butter Blossoms Ingredients
Here’s everything you need to create these delectable Peanut Butter Blossoms at home!
For the Cookie Dough
• Gluten-free peanut butter – ensures a rich, nutty flavor that binds everything together.
• Granulated sugar – adds sweetness and helps the cookies crisp up perfectly.
• Brown sugar – brings moisture and a depth of flavor with its rich caramel notes.
• Unsalted butter – gives the cookies their classic butteriness; make sure it’s softened for easy mixing.
• Molasses – adds a touch of warmth and richness; essential for that classic cookie taste.
• Egg – helps bind the ingredients and provides structure to the cookies.
• Gluten-free all-purpose flour – ensures everyone can enjoy these cookies without gluten; check for a quality blend.
• Xanthan gum – helps provide that chewy texture that’s often lost in gluten-free baking.
• Baking soda – helps the cookies rise and become light and airy.
• Gluten-free baking powder – ensures the cookies get that lift they need.
For Rolling and Topping
• Granulated sugar for rolling – creates a sweet, sparkling crust that adds texture.
• Hershey Kisses – the perfect topping that melts into each cookie, adding a delightful chocolate surprise.
Gather these ingredients, and you’re ready to bake a batch of joy!
How to Make Peanut Butter Blossoms
-
Combine the granulated sugar, brown sugar, softened butter, and peanut butter in a large bowl. Mix well until the blend is creamy and smooth, bringing together the rich flavors that will shape your cookies.
-
Incorporate the egg and molasses into the mixture, stirring until fully combined. This step adds moisture and a cozy warmth, characteristic of beloved cookies from childhood.
-
Mix the gluten-free flour, xanthan gum, baking soda, and gluten-free baking powder in a medium bowl. Stir these dry ingredients together, ensuring an even blend that helps your cookies rise beautifully.
-
Combine the dry ingredients with the wet mixture, stirring gently until everything is just incorporated. The dough will be soft and slightly sticky, a sign of perfect cookie goodness in the making.
-
Chill the cookie dough by covering it and placing it in the refrigerator for 30 minutes. Chilling helps firm the dough, making it easier to shape into delightful cookies.
-
Preheat the oven to 375°F (190°C). While it warms, pour 1/4 cup of granulated sugar into a small bowl, ready for rolling the cookie dough balls.
-
Scoop one tablespoon of cookie dough and roll it into a ball with your hands. Roll the ball in the granulated sugar, allowing it to sparkle, and place it on a parchment-lined baking sheet, giving them enough space to spread.
-
Bake for 10-12 minutes or until the edges are light brown. Keep an eye on them, as you want perfect crispness surrounding a soft center.
-
Top each warm cookie with a Hershey Kiss as soon as they come out of the oven. Press gently down in the center, allowing the chocolate to melt slightly into the cookie.
-
Cool the cookies completely on a wire rack before storing them in an airtight container. This step ensures they maintain their delightful texture and taste!
Optional: Drizzle with melted chocolate for an extra touch of sweetness.
Exact quantities are listed in the recipe card below.
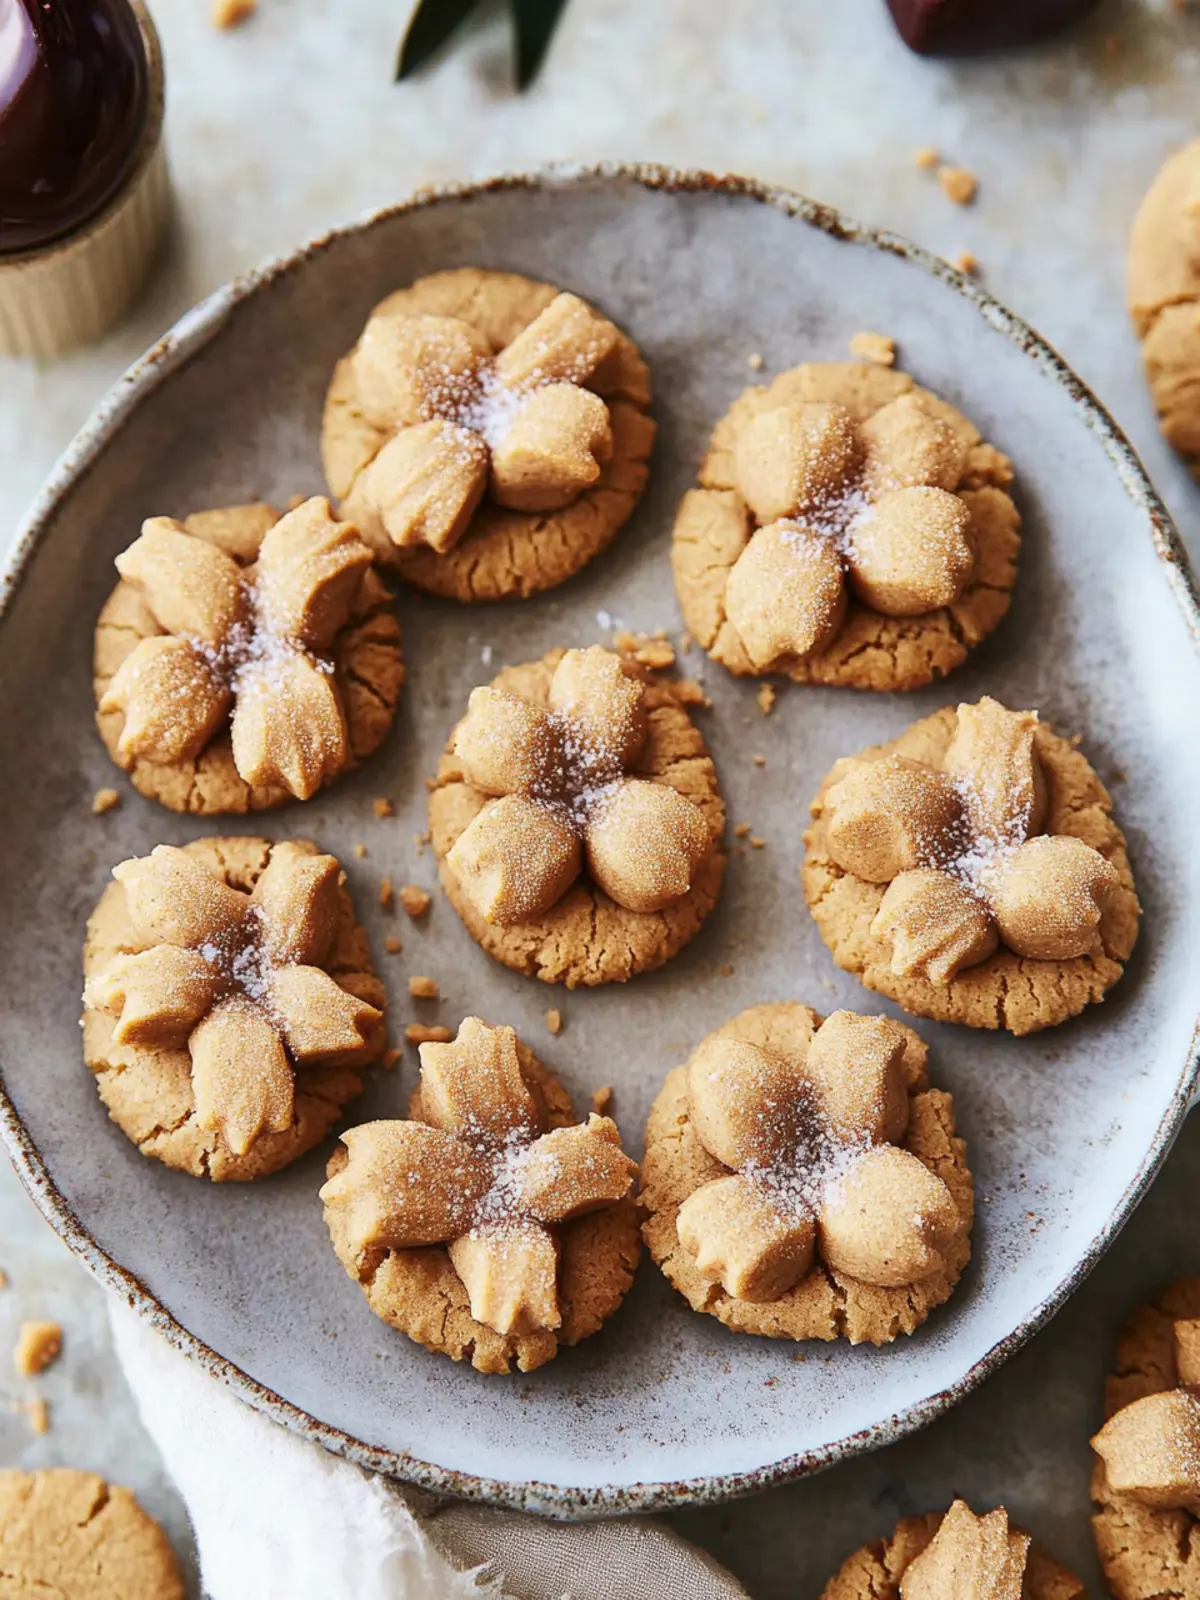
Peanut Butter Blossoms Variations
Feel free to play with this delightful recipe and create your own twist on these scrumptious cookies!
-
Nut-Free: Substitute peanut butter with sun butter or almond butter for a safe, nut-free alternative. Enjoy the same rich, nutty flavors without the worry!
-
Dairy-Free: Use vegan butter instead of unsalted butter, and ensure the Hershey Kisses are dairy-free chocolate to make these treats suitable for a vegan diet.
-
Chocolate Lovers: Swap Hershey Kisses for a chunk of dark or milk chocolate in the center for an extra chocolatey burst in every bite. You can even melt some and drizzle it on top!
-
Flavor Boost: Add 1 teaspoon of vanilla extract to the dough for an aromatic enhancement that beautifully complements the peanut butter.
-
Coconut Delight: Mix in 1/2 cup of shredded coconut for a chewy texture and a tropical flavor twist that’ll transport you to a sunny beach!
-
Spicy Kick: Incorporate 1 teaspoon of cinnamon or a pinch of cayenne pepper for a warm kick that contrasts with the sweetness. A fun surprise for spicy food lovers!
-
Extra Crunch: Fold in 1/2 cup of chopped nuts, such as almonds or walnuts, to add delightful crunch and additional flavor. This step elevates the cookie experience beautifully!
-
Gluten-Free Flour Variations: Experiment with different blends of gluten-free flour, like oat flour or almond flour, to discover your favorite texture and taste while ensuring everyone can indulge!
With these variations, you can make each batch uniquely yours, while still enjoying the classic goodness of peanut butter blossoms.
Make Ahead Options
These Gluten-Free Peanut Butter Blossoms are perfect for meal prep aficionados! You can prepare the cookie dough up to 24 hours in advance by completing steps 1 through 5, then cover it tightly with plastic wrap and refrigerate. This chilling not only deepens the flavors but also makes it easier to roll into balls later. When you’re ready to bake, simply scoop and roll the chilled dough in sugar, then bake as directed, ensuring they come out just as delicious as if made fresh. By prepping ahead, you’ll save time on busy weeknights while still delighting your family with these soft, chewy treats!
How to Store and Freeze Peanut Butter Blossoms
Room Temperature: Store your Peanut Butter Blossoms in an airtight container at room temperature for up to 3 days to keep them soft and fresh.
Fridge: If you prefer, these cookies can be chilled in the fridge for up to a week; just make sure they’re well-sealed to avoid drying out.
Freezer: For longer preservation, freeze the cookies in a single layer on a baking sheet, then transfer to an airtight container for up to 3 months.
Reheating: To enjoy frozen cookies, thaw them in the fridge overnight and warm them gently in the microwave for a few seconds or enjoy them at room temperature!
What to Serve with Peanut Butter Blossoms?
Creating the perfect dessert experience goes beyond just cookies; it’s about accompanying them with delightful pairings that enhance every bite.
-
Glass of Milk: A classic choice, milk perfectly balances the sweetness of the cookies while complementing the rich peanut butter flavor.
-
Homemade Hot Chocolate: Rich and velvety, this drink brings an indulgent touch, making every bite feel like a warm hug on a chilly day.
-
Fruit Salad: A refreshing mix of berries and citrus offers a zesty contrast to the cookies’ sweetness, grounding your dessert with a burst of freshness.
-
Chocolate Ice Cream: The creamy indulgence of chocolate ice cream pairs excellently, creating a harmonious blend of textures when enjoyed with warm cookies.
-
Chai Tea: Spicy and aromatic, a cup of chai introduces exotic notes to the sweet flavor of the cookies, stimulating your palate beautifully.
-
Caramel Sauce Drizzle: Adding a drizzle of warm caramel over your cookies will elevate them to new heights, bringing a decadent richness that’s hard to resist.
-
Peanut Butter Cup Sundae: For the ultimate treat, layer chopped Peanut Butter Blossoms on top of vanilla ice cream with chocolate and peanut butter sauces.
-
Spiced Apple Cider: Serve warm for an autumn-inspired pairing; the spiced notes will charm alongside the nutty cookies.
These indulgent accompaniments will surely enchant your guests and create a memorable dessert experience!
Expert Tips for Peanut Butter Blossoms
-
Perfect Temperature: Make sure your butter is softened, not melted, for the ideal creamy texture that binds all ingredients smoothly.
-
Chill the Dough: Don’t skip the refrigeration step! Chilling the dough for 30 minutes helps prevent spreading, ensuring your Peanut Butter Blossoms maintain their shape in the oven.
-
Measure Accurately: Baking is a science! Use a kitchen scale or proper measuring cups for your gluten-free flour to ensure the best texture and rise.
-
Roll Evenly: When rolling the cookie dough, keep all the balls approximately the same size for uniform baking and consistency in each cookie.
-
Watch for Browning: Oven temperatures can vary; watch for light brown edges as a sign your cookies are done. Overbaking can lead to a dry texture!
-
Add Your Twist: Feel free to experiment—swap Hershey Kisses with other chocolates or candies to make your Peanut Butter Blossoms uniquely yours!
Peanut Butter Blossoms Recipe FAQs
How do I choose the right gluten-free peanut butter?
Absolutely! When selecting gluten-free peanut butter, look for a brand that specifically states it’s gluten-free to avoid any potential cross-contamination. Natural peanut butters with minimal ingredients are a great choice, as they often lack added sugars and preservatives. Check the label for any dark spots, which can indicate rancidity.
How should I store my Peanut Butter Blossoms?
To maintain their delightful texture, store your Peanut Butter Blossoms in an airtight container at room temperature for up to 3 days. If you want to keep them longer, refrigerate them for up to a week, ensuring they’re sealed well to prevent them from drying out.
Can I freeze my Peanut Butter Blossoms?
Absolutely! To freeze your Peanut Butter Blossoms, first place them in a single layer on a baking sheet and freeze for about 1 hour until solid. Then, transfer the cookies to an airtight container or resealable freezer bag. They can be frozen for up to 3 months. When you’re ready to enjoy, simply thaw overnight in the fridge before warming them briefly in the microwave.
What should I do if my cookie dough is too sticky?
If your cookie dough is too sticky, don’t worry! This can happen sometimes, especially with gluten-free flours. To fix it, sprinkle in a little extra gluten-free flour—about a tablespoon at a time—until the dough is manageable. You can also chill the dough a little longer, which makes it easier to roll into balls.
Are Peanut Butter Blossoms safe for those with nut allergies?
No, I’ll advise against it! Since this recipe contains peanut butter, it’s not suitable for individuals with peanut allergies. As a delightful alternative, consider using sunflower seed butter, which mimics the texture and flavor of peanut butter without the allergens.
Can I make these cookies vegan?
Very! To make these Peanut Butter Blossoms vegan, substitute the egg with a flax egg (1 tablespoon ground flaxseed mixed with 2.5 tablespoons water, let it sit for 5 minutes to thicken). You can also replace the butter with a plant-based butter substitute or coconut oil, maintaining that delightful flavor and texture!
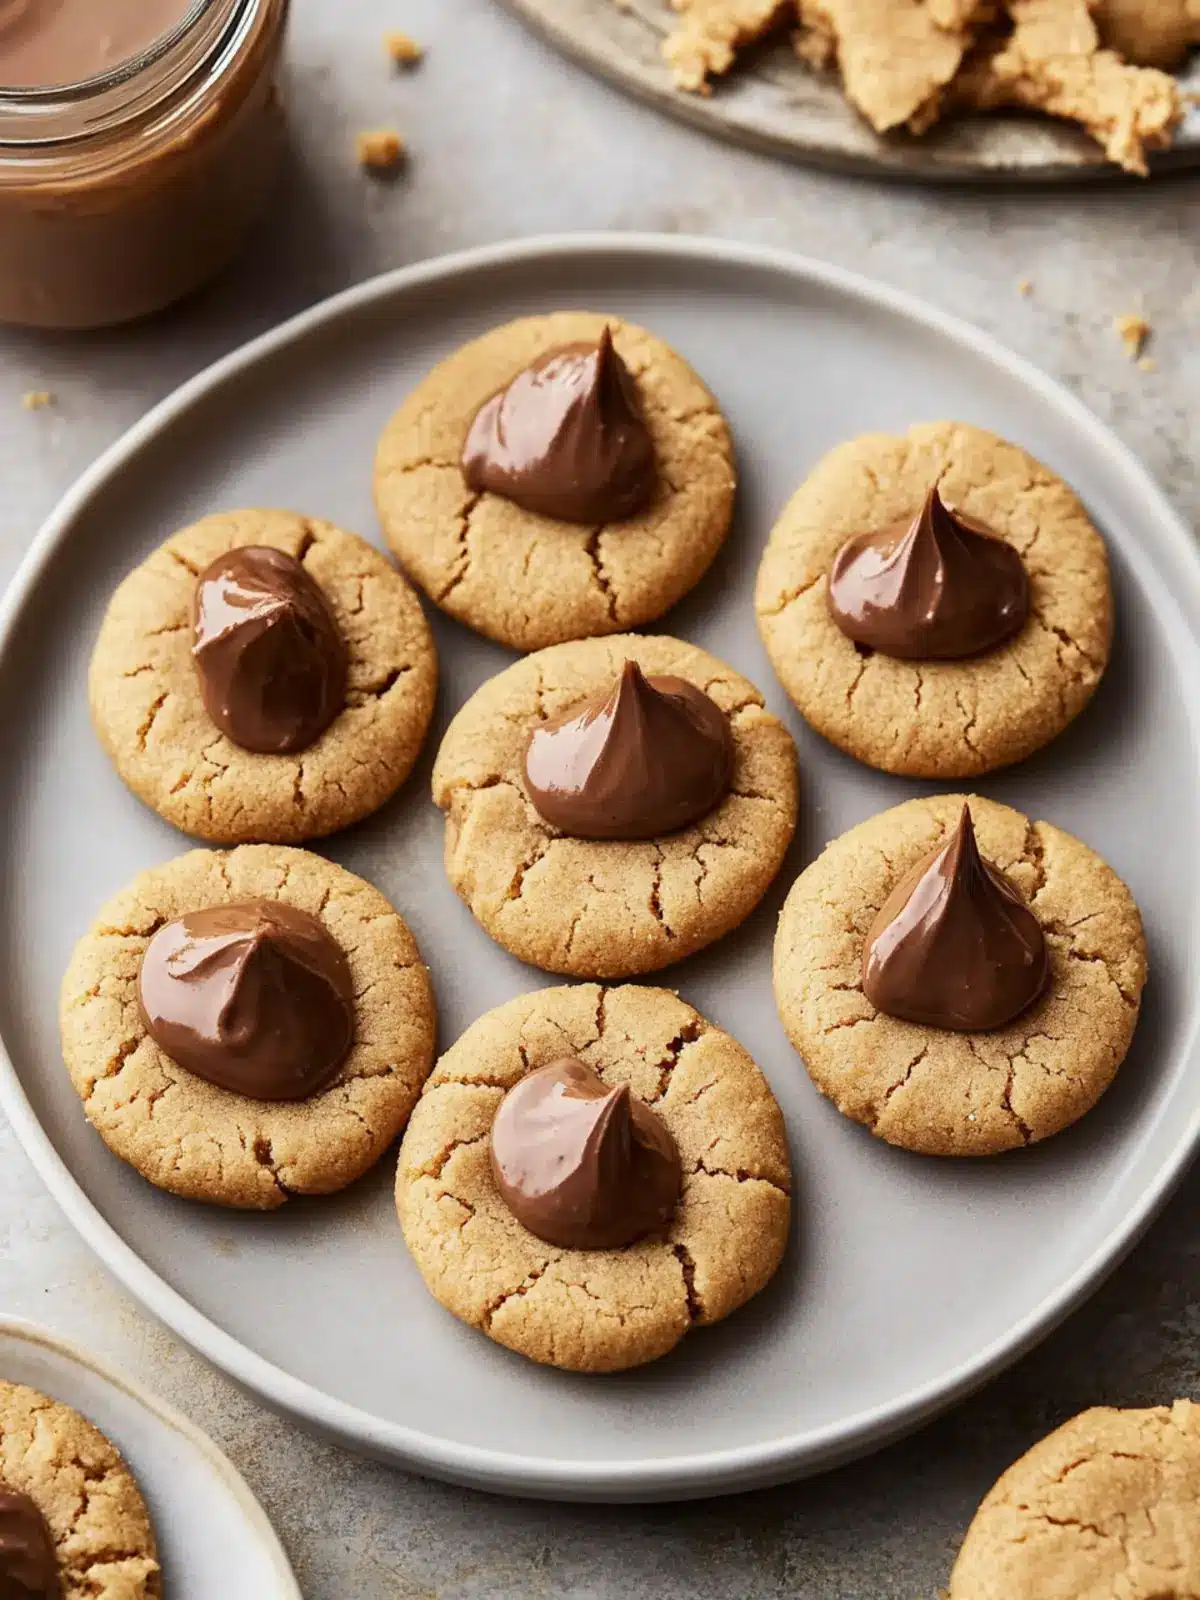
Irresistible Peanut Butter Blossoms You'll Love to Bake
Ingredients
Equipment
Method
- Combine the granulated sugar, brown sugar, softened butter, and peanut butter in a large bowl. Mix well until creamy and smooth.
- Incorporate the egg and molasses into the mixture, stirring until fully combined.
- Mix the gluten-free flour, xanthan gum, baking soda, and gluten-free baking powder in a medium bowl.
- Combine the dry ingredients with the wet mixture, stirring gently until just incorporated.
- Chill the cookie dough by covering it and placing it in the refrigerator for 30 minutes.
- Preheat the oven to 375°F (190°C) and prepare granulated sugar for rolling the cookie dough balls.
- Scoop one tablespoon of cookie dough and roll it into a ball. Roll in granulated sugar and place on a baking sheet.
- Bake for 10-12 minutes or until the edges are light brown.
- Top warm cookies with Hershey Kisses as soon as they come out of the oven.
- Cool cookies completely on a wire rack before storing them.