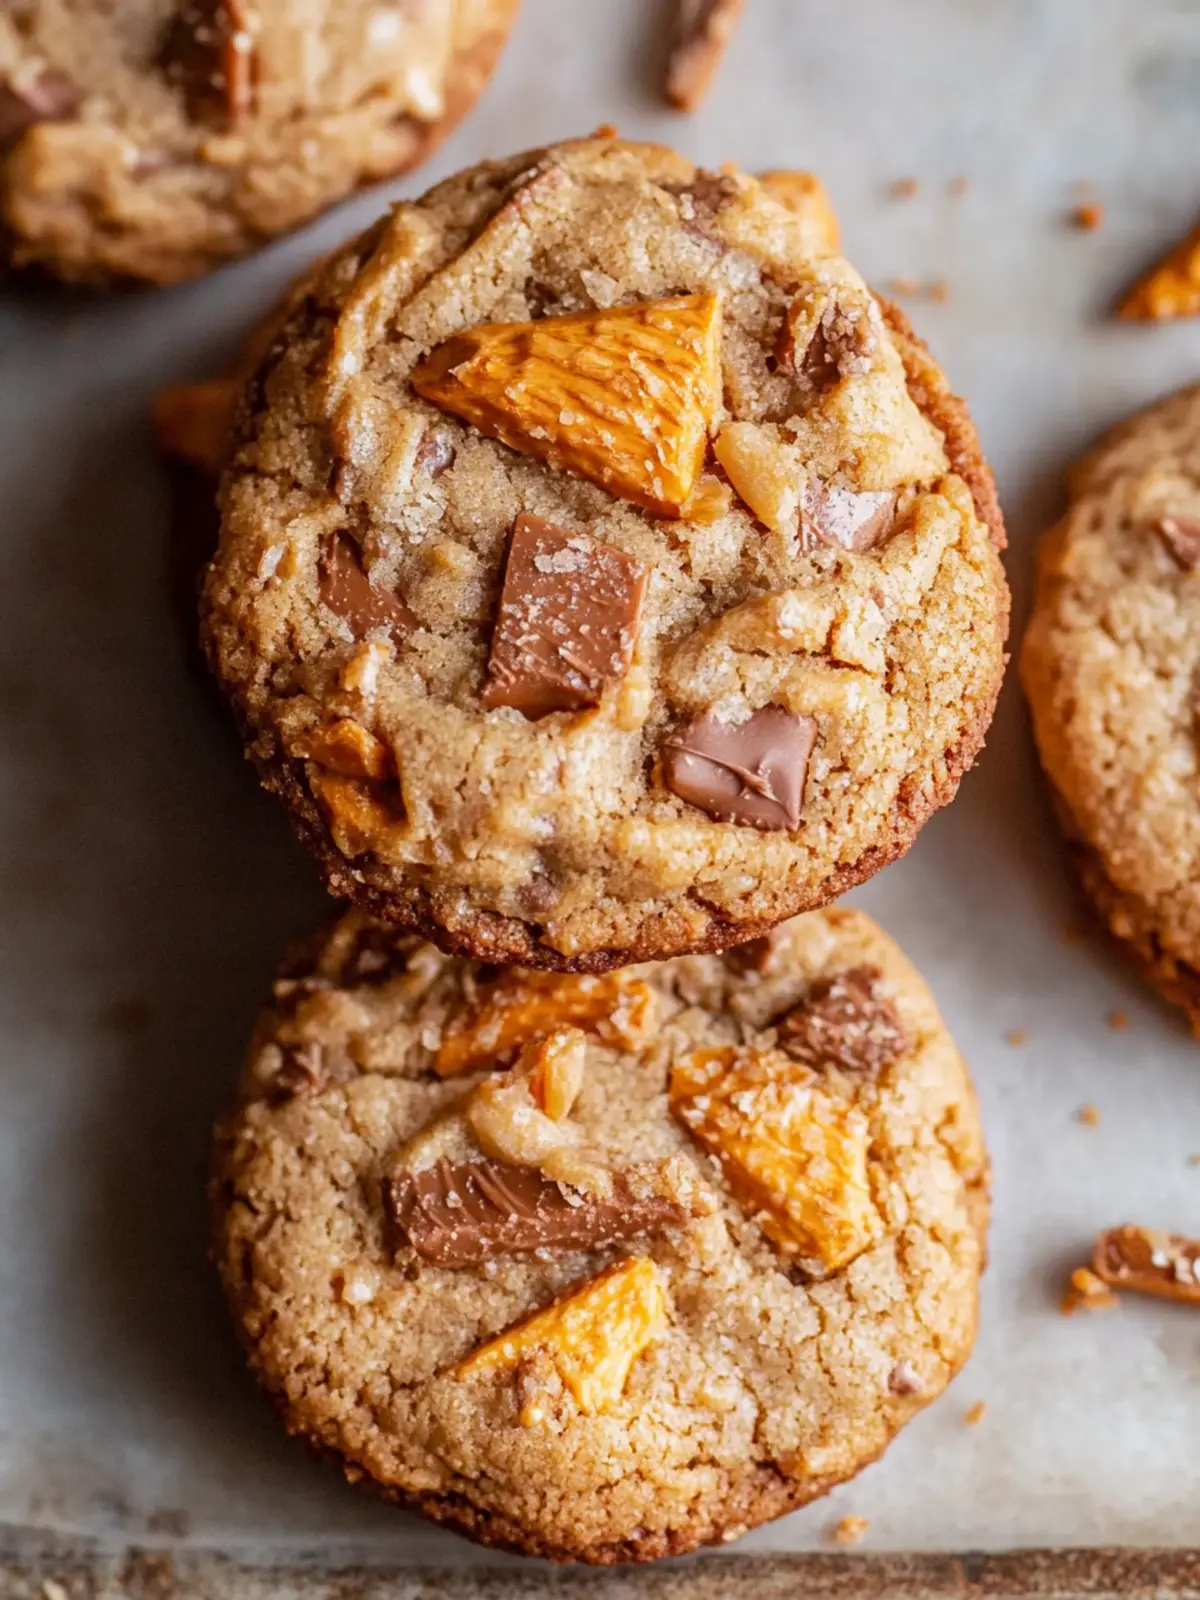
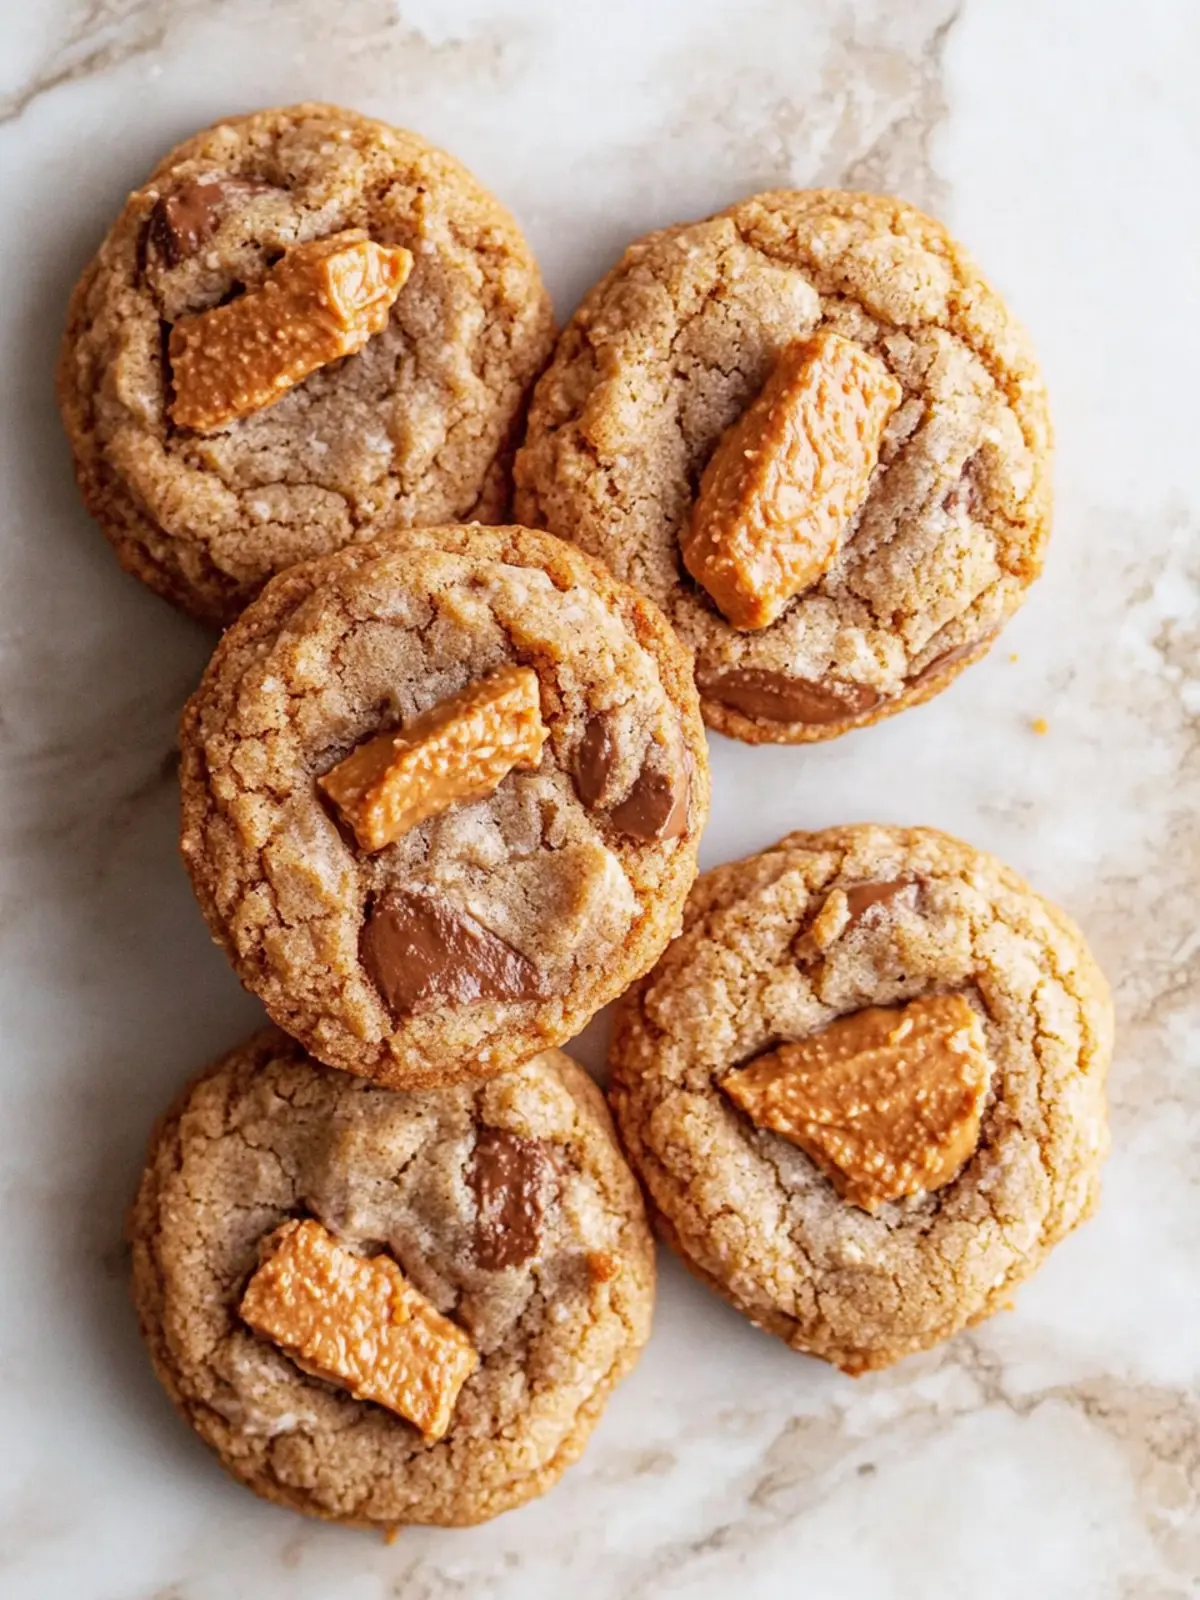
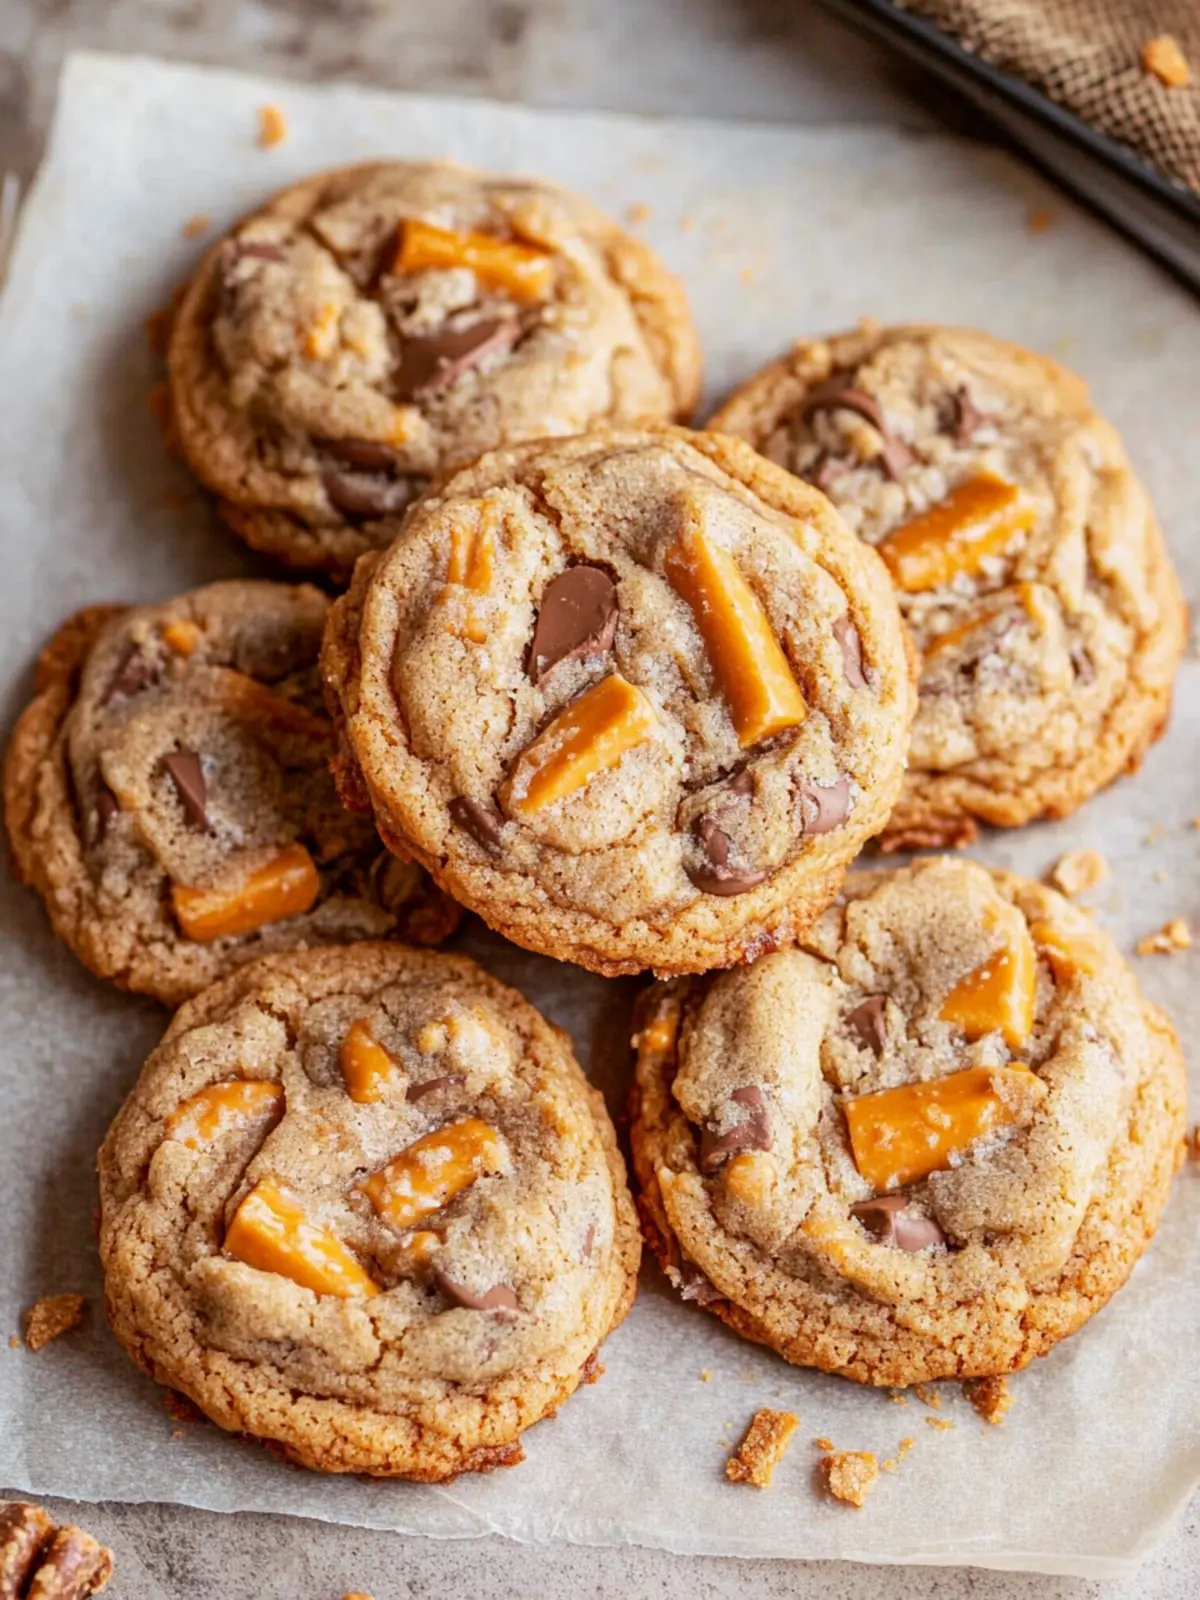
There’s a magical moment when warm, gooey chocolate meets the comforting embrace of peanut butter—it’s a flavor dance like no other! These Peanut Butter Butterfinger Cookies are born from my quest to elevate classic flavors into something extraordinary. Picture this: the crispy, crunchy bits of Butterfinger enveloped in soft, chewy cookie dough that’s laced with rich peanut butter.
The idea struck me when I noticed a half-empty jar of peanut butter staring back at me in the pantry one afternoon, just begging to be turned into something delightful. And let me tell you, these cookies have evolved into more than just dessert; they’re a sweet excuse to gather friends around the table for great conversations and even better memories!
With just a few ingredients and a little love, this recipe is simple enough to whip up on a whim and versatile enough to please even the pickiest of eaters. Ready to indulge in a cookie that’s as satisfying as it is easy to make? Let’s dive in!
Why love Peanut Butter Butterfinger Cookies?
Irresistible crunch: The unexpected Butterfinger pieces add a deliciously crunchy twist to the classic peanut butter cookie texture.
Simple enjoyment: With just a handful of ingredients and minimal prep time, you’ll have freshly baked cookies ready in no time—perfect for any occasion!
Crowd-pleaser: These cookies are always a hit at parties and get-togethers, sparking joy and smiles among friends and family.
Versatile treat: Customize them by adding chocolate chips or mixing in your favorite nuts for a unique twist.
With every bite, these cookies prove that comfort food can also be exciting! For another simple and delightful recipe, check out my delicious Peanut Butter Cookies!
Peanut Butter Butterfinger Cookies Ingredients
For the Cookie Dough
• Butter – 3/4 cup softened, ensures a rich and creamy texture that makes the cookies melt in your mouth.
• Granulated Sugar – 1/2 cup, provides sweetness and contributes to that delightful chewiness.
• Brown Sugar – 1/2 cup packed, adds moisture and a touch of caramel flavor to the cookies.
• Peanut Butter – 1 cup, the star ingredient that creates that iconic peanut butter flavor.
• Large Egg – 1, acts as a binder for the ingredients, giving the cookies that perfect structure.
• Vanilla Extract – 1 and 1/2 teaspoons, enhances the flavors and adds warmth to the dough.
For the Dry Ingredients
• All-Purpose Flour – 1 and 1/2 cups, provides the base for the cookie structure; spoon and level it for accuracy.
• Baking Soda – 1/2 teaspoon, helps the cookies rise slightly for a softer texture.
• Baking Powder – 1/2 teaspoon, ensures a gentle lift and a nice puff as they bake.
• Kosher Salt – 1/4 teaspoon, balances sweetness and enhances the overall flavors of the cookies.
For the Crunchy Surprise
• Butterfinger – 16 ounces, chopped into pieces for that irresistible crunch and a burst of chocolatey goodness in every bite.
Now you’re all set to create some amazing Peanut Butter Butterfinger Cookies that will surely steal the show!
How to Make Peanut Butter Butterfinger Cookies
-
Cream the Butter: In a large bowl or stand mixer, beat 3/4 cup softened butter until smooth and creamy, ensuring the sides are scraped down for even texture.
-
Add Sweeteners: Mix in 1/2 cup granulated sugar and 1/2 cup packed brown sugar. Beat for about 2 minutes until fluffy and light, giving your cookies that perfect sweet base.
-
Incorporate Peanut Butter: Add 1 cup of peanut butter and combine thoroughly until it’s all well-mixed, creating a creamy, dreamy dough.
-
Mix in Egg and Vanilla: Toss in 1 large egg and 1 and 1/2 teaspoons vanilla extract. Beat until everything is fully combined, scraping the sides as you go to capture every bit of flavor.
-
Combine Dry Ingredients: Add in 1 and 1/2 cups all-purpose flour, 1/2 teaspoon baking soda, 1/2 teaspoon baking powder, and 1/4 teaspoon kosher salt on top. Stir until the dry ingredients are just combined.
-
Mix into Dough: Turn the mixer on low to combine the dry ingredients into the dough until it barely starts to come together. Don’t overmix; a little crumble is okay!
-
Fold in Butterfingers: Gently add 16 ounces of chopped Butterfinger pieces, mixing in until just barely incorporated. This is where the magic happens!
-
Chill the Dough: Cover the bowl and chill the dough in the fridge for 15 minutes to an hour—this helps the cookies hold their shape while baking.
-
Preheat the Oven: While the dough chills, preheat your oven to 350°F. Line two baking sheets with parchment paper for easy cleanup and to prevent sticking.
-
Shape the Cookies: Once chilled, shape the dough into 2-inch balls, placing them on the baking sheets at least an inch or two apart for room to spread.
-
Bake to Perfection: Bake the cookies at 350°F for about 10 minutes. Check that the edges are set and the cookies have spread slightly for that soft center.
-
Cool and Enjoy: Let the cookies sit on the pan for at least 5 minutes to firm up before transferring them to a wire rack to cool completely for ultimate indulgence!
Optional: Drizzle with melted chocolate for an extra decadent treat.
Exact quantities are listed in the recipe card below.
Make Ahead Options
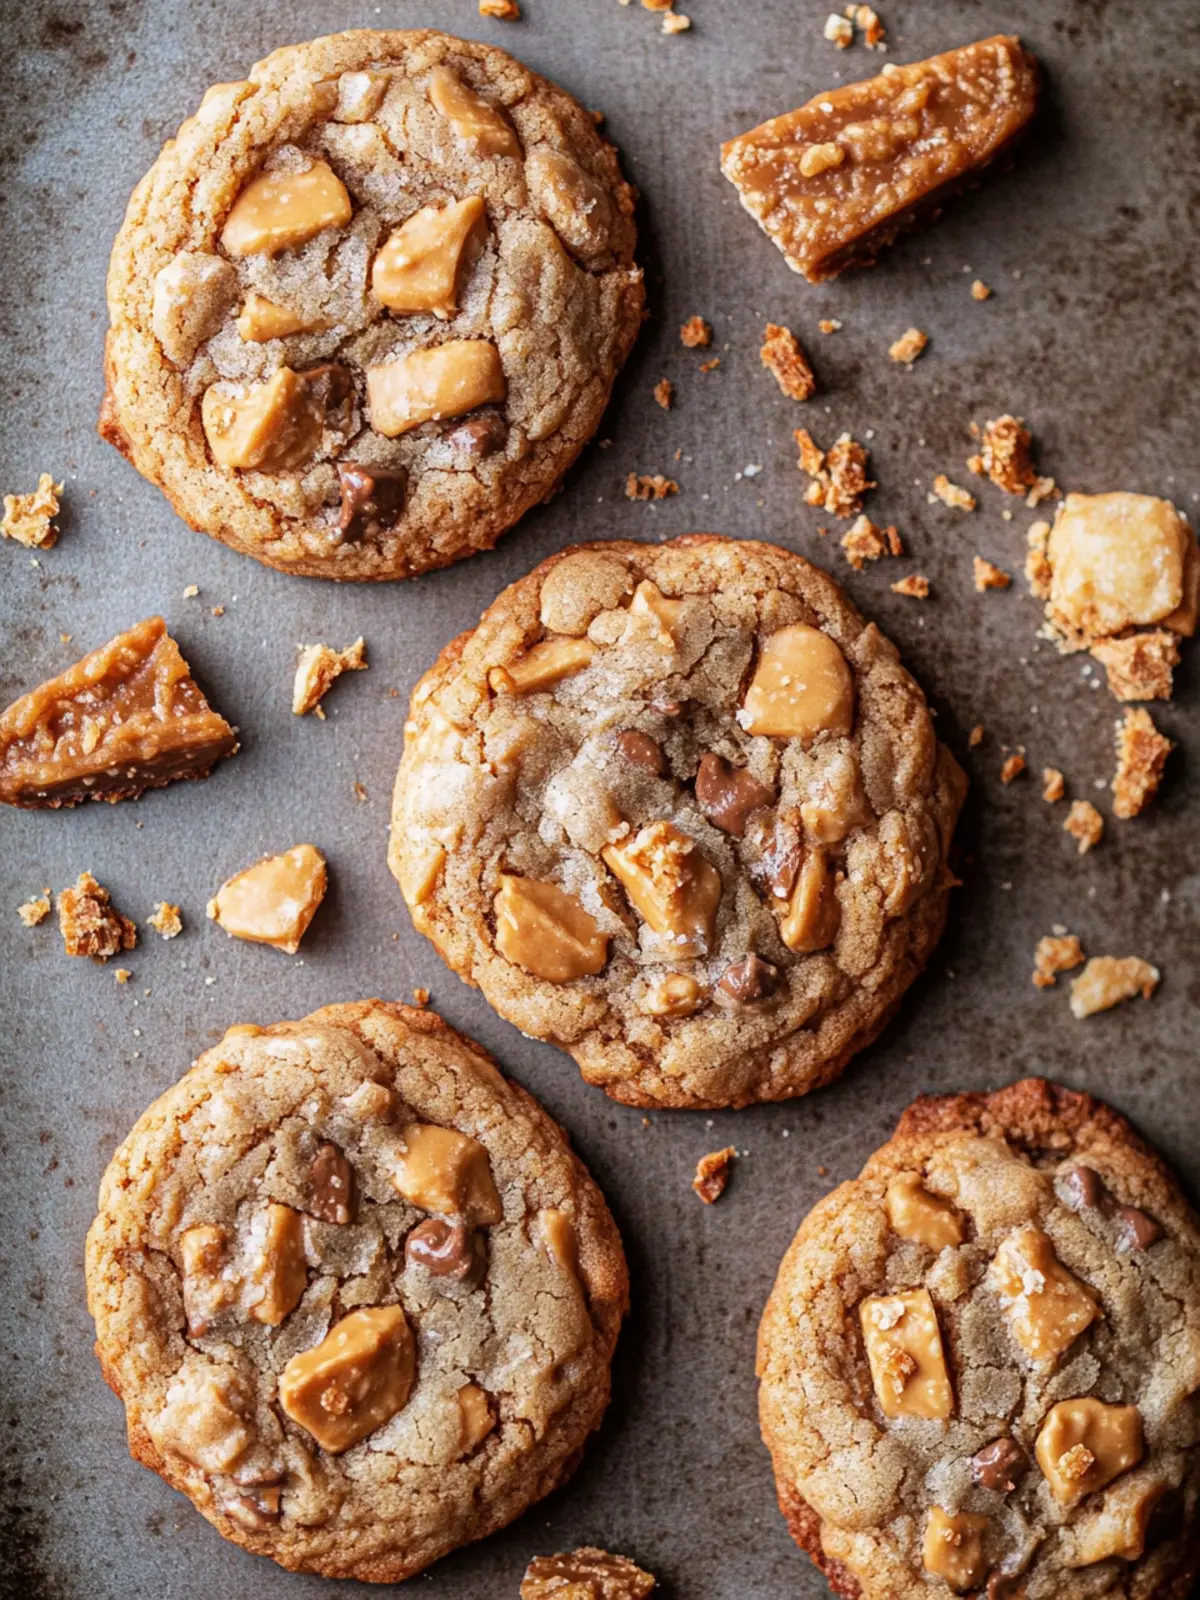
These Peanut Butter Butterfinger Cookies are perfect for meal prep enthusiasts! You can prepare the cookie dough ahead of time, storing it in the refrigerator for up to 24 hours. To start, follow the recipe instructions up to the chilling step, then cover the bowl tightly with plastic wrap. This not only saves you time later but also allows the flavors to deepen. When you’re ready to bake, shape the chilled dough into balls and proceed with baking as directed. Ensure the cookies are kept in an airtight container after baking, so they stay soft and delicious for up to 3 days. Enjoy the ease of having a delectable treat ready at your fingertips!
What to Serve with Peanut Butter Butterfinger Cookies?
These delightful cookies deserve a special spread of accompaniments to create a complete sensory experience!
-
Milk: The classic pairing, a cold glass of milk perfectly complements the rich peanut butter flavor and balances the sweetness.
-
Coffee: A warm cup of coffee brings out the chocolatey notes of the Butterfinger, making each bite feel cozy and indulgent.
-
Ice Cream: Scoop a generous dollop of vanilla or chocolate ice cream on top for a dreamy dessert that melds temperatures and textures beautifully.
-
Chocolate Sauce: Drizzling melted chocolate over the cookies elevates them into a decadent treat that can satisfy any sweet tooth.
-
Fruit Salad: A refreshing mix of berries or tropical fruits adds brightness to your dessert table while cutting through the richness of the cookies.
-
Nut Butter Dip: Serve a side of creamy almond or more peanut butter for a protein boost and to keep the peanut flavor rolling in the show-stopper.
These pairings will not only elevate your cookie experience but also create memories around the table that linger long after the last crumb has vanished!
Storage Tips for Peanut Butter Butterfinger Cookies
Room Temperature: Store baked cookies in an airtight container at room temperature for up to 3 days. This keeps them soft and delicious without drying out.
Fridge: For longer freshness, keep the cookies in the fridge in an airtight container for up to a week. This can enhance the flavors while ensuring they stay chewy.
Freezer: Freeze the cookies by placing them in a single layer in a freezer-safe bag or container. They can be stored for up to 3 months. Just thaw at room temperature when ready to enjoy!
Reheating: If you prefer warm cookies, microwave for 10-15 seconds; this revives that fresh-baked feel. Enjoy your delightful Peanut Butter Butterfinger Cookies!
Expert Tips for Peanut Butter Butterfinger Cookies
-
Chill for Success: Chilling the dough is essential. It helps the cookies retain their shape and prevents them from spreading too much during baking.
-
Perfect Mixing: Avoid overmixing the dough after adding the flour. Mix until just combined to keep the cookies tender and soft.
-
Accurate Measuring: Spoon and level your flour for accuracy. Too much flour can lead to dry cookies, ruining that soft, chewy texture we crave.
-
Use Fresh Ingredients: Ensure your baking soda and baking powder are fresh for maximum lift. Stale leavening agents can result in dense cookies.
-
Careful Baking: Keep an eye on your cookies as they bake. They should look slightly underbaked in the center for soft, gooey Peanut Butter Butterfinger Cookies!
Peanut Butter Butterfinger Cookies Variations
Feel free to get creative and add your personal touch to these delightful cookies!
- Gluten-Free: Substitute all-purpose flour with a 1:1 gluten-free baking flour for an equally delicious, gluten-free treat.
- Nutty Crunch: Add 1/2 cup of chopped nuts like pecans or walnuts for an extra crunch that complements the creamy peanut butter flavor.
- Chocolate Lover: Fold in 1/2 cup of chocolate chips to amplify the sweetness and intensify that chocolatey experience. There’s nothing better than chocolate intertwined with peanut butter!
- Spicy Kick: Add a pinch of cayenne pepper or chili powder for a surprising warmth that enhances the sweet and salty combination beautifully. It’ll leave your taste buds dancing!
- Vegan-Friendly: Replace the butter with coconut oil and the egg with a flaxseed egg for a tasty vegan version while keeping that rich texture intact.
- Maple Sweetness: Swap the granulated sugar for an equal amount of maple syrup; just reduce the other liquids slightly for a unique flavor twist!
- Coconut Flakes: Mix in 1 cup of sweetened coconut flakes for a tropical touch that adds both flavor and texture. It’s an instant vacation in cookie form!
- Darker Flavor: Use dark brown sugar instead of light brown sugar to deepen the caramel notes and enrich the overall taste.
These variations let you explore flavors and textures while keeping the heart of the recipe intact!
Peanut Butter Butterfinger Cookies Recipe FAQs
How do I choose the best peanut butter for my cookies?
Absolutely! For the best flavor and texture, I recommend using creamy, natural peanut butter that contains just peanuts and salt. This type provides that rich peanut flavor without any additives or sugar that can alter the cookie’s quality. Avoid using low-fat or reduced-fat options as they may lack the necessary fats to keep the cookies chewy and soft.
What’s the best way to store my Peanut Butter Butterfinger Cookies?
To keep your cookies fresh, store them in an airtight container at room temperature for up to 3 days. This method preserves their chewy texture. If you want them to last longer, you can refrigerate them in an airtight container for up to a week. I often find that chilling enhances their flavors!
Can I freeze Peanut Butter Butterfinger Cookies?
Yes, you can absolutely freeze these delightful cookies! To do this, allow them to cool completely, then place them in a single layer in a freezer-safe bag or container. They will keep well for up to 3 months. When you’re ready to enjoy a cookie, simply thaw them at room temperature or microwave for 10-15 seconds for that freshly baked taste again!
What should I do if my cookie dough is too dry?
Very! If your dough is crumbly or too dry, it may be due to too much flour. To fix this, add a splash of milk or water—about a tablespoon at a time—until the dough starts coming together. Another great tip is to gently fold in the wet ingredients more thoroughly, ensuring that every bit of flour is incorporated without overmixing the dough.
Are these cookies safe for pets?
No, they are not! Be cautious with sharing these cookies with your furry friends, as chocolate (from the Butterfinger) is toxic to dogs and cats. Always keep human treats that contain chocolate out of reach from your pets to ensure their safety.
Can I substitute ingredients for dietary restrictions?
Definitely! If you need to make the cookies gluten-free, you can substitute the all-purpose flour with a gluten-free flour blend. Additionally, for dairy-free options, try using a dairy-free margarine and natural, creamy peanut butter without added ingredients. Both substitutions maintain the chewy texture, letting everyone enjoy these delicious Peanut Butter Butterfinger Cookies!
Peanut Butter Butterfinger Cookies That Steal the Show
Ingredients
Equipment
Method
- In a large bowl or stand mixer, beat 3/4 cup softened butter until smooth and creamy, ensuring the sides are scraped down for even texture.
- Mix in 1/2 cup granulated sugar and 1/2 cup packed brown sugar. Beat for about 2 minutes until fluffy and light.
- Add 1 cup of peanut butter and combine thoroughly until it's all well-mixed.
- Toss in 1 large egg and 1 and 1/2 teaspoons vanilla extract. Beat until fully combined.
- Add in 1 and 1/2 cups all-purpose flour, 1/2 teaspoon baking soda, 1/2 teaspoon baking powder, and 1/4 teaspoon kosher salt. Stir until just combined.
- Turn the mixer on low to combine the dry ingredients into the dough until it barely starts to come together.
- Gently add 16 ounces of chopped Butterfinger pieces, mixing in until just barely incorporated.
- Cover the bowl and chill the dough in the fridge for 15 minutes to an hour.
- Preheat your oven to 350°F. Line two baking sheets with parchment paper.
- Once chilled, shape the dough into 2-inch balls and place them on the baking sheets.
- Bake the cookies at 350°F for about 10 minutes.
- Let the cookies sit on the pan for at least 5 minutes to firm up before transferring to a wire rack.