There’s a delightful aroma wafting through my kitchen, a sweet reminder of childhood treats—the kind that effortlessly brings smiles to faces. When I decided to create Samoa Rice Krispie Treats, I never expected to uncover such a delicious twist on a classic snack. Imagine the rich combination of toasted coconut, smooth dulce de leche, and a drizzle of chocolate—each bite transports you to a tropical paradise of flavors!
This recipe is the perfect answer to those moments when you’re bored of the usual desserts or looking to impress friends at your next gathering. With just a handful of simple ingredients, you can whip up these indulgent treats in about 20 minutes. They’re not just easy to make, but they’re also a guaranteed crowd-pleaser, sure to spark joy whether you’re sharing them at a potluck or enjoying them as a cozy night in. Join me as we dive into this delightful no-bake dessert that captures the essence of comfort and nostalgia in every bite!
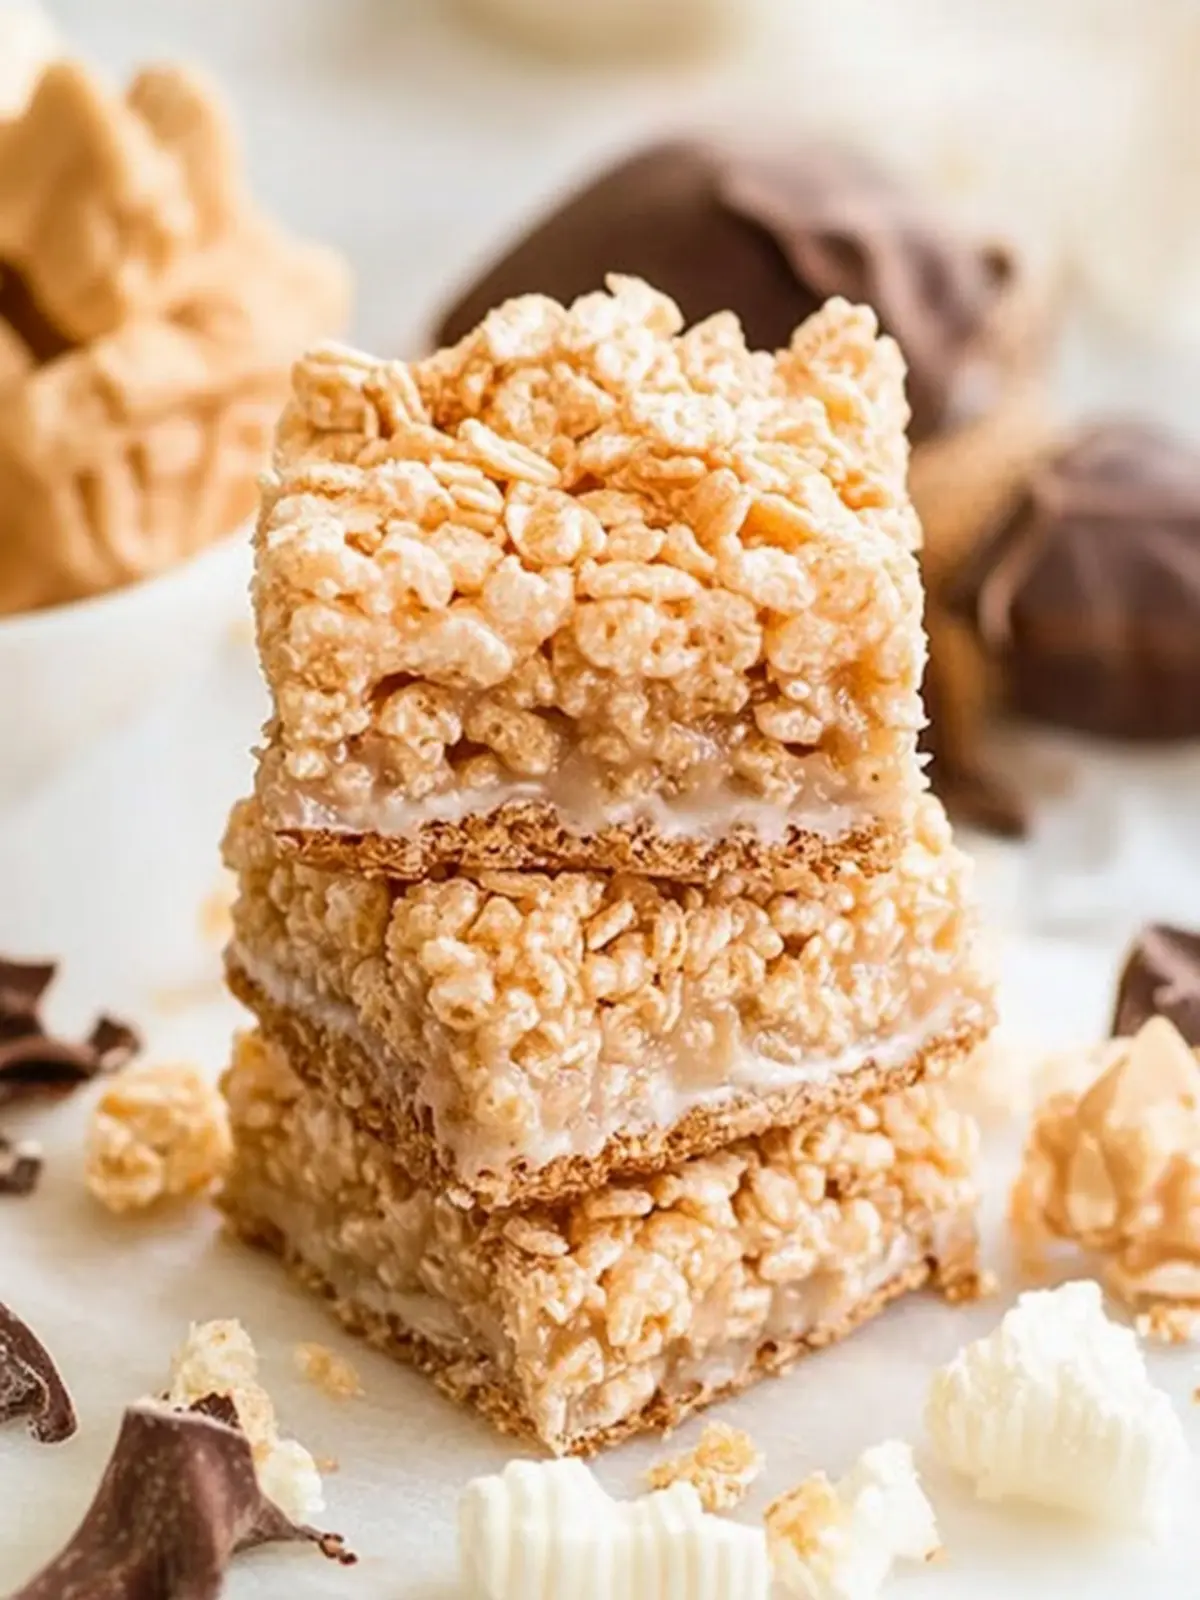
Why are Samoa Rice Krispies a must-try?
Irresistible Flavor: The blend of toasted coconut and dulce de leche creates an explosion of sweetness and texture that will leave you craving more.
Quick and Easy: In just 20 minutes, you can whip up a batch that requires no baking—perfect for those busy days!
Crowd-Pleasing: Whether it’s a family gathering or a potluck, these treats are sure to impress everyone with their unique twist on a classic.
Versatile Treat: Enjoy them as a snack, dessert, or even a fun party favor—these Samoa Rice Krispies are bound to delight!
If you’re searching for more no-bake desserts, check out my easy dessert recipes section for additional inspiration!
Samoa Rice Krispies Ingredients
Get ready to create a delightful dessert with these simple ingredients!
For the Treats
- 5 cups mini marshmallows – these create the perfect chewy base for your Samoa Rice Krispies.
- 3 TBS butter – adds richness and helps the marshmallows melt smoothly.
- 6 cups Rice Krispie cereal – the classic crunch that blends beautifully with the other ingredients.
For the Coconut Layer
- 14 oz bag sweetened shredded coconut – toasting this gives a nutty flavor that enhances the overall treat.
- 2 TBS milk – thins out the dulce de leche for easy spreading.
- 1 (13.4 oz) can dulce de leche – this creamy addition brings a caramel richness that ties everything together.
For the Topping
- 6 oz semisweet chocolate – melted for drizzling over the top, adding a luxurious finish.
With these key ingredients, you’re just steps away from making Samoa Rice Krispies that will have everyone asking for seconds!
How to Make Samoa Rice Krispies
-
Toast the Coconut:
In a large sauté pan, pour in the entire bag of shredded coconut. Cook over medium-high heat, stirring constantly until it turns golden brown—about 5-7 minutes. Remove from heat and keep stirring for another 2 minutes to prevent burning. -
Prepare the Dulce de Leche:
Remove ½ cup of the toasted coconut and set it aside for garnishing later. In a microwave-safe bowl, heat the dulce de leche with 2 tablespoons of milk for about 1 ½ minutes until it’s nice and pourable. -
Combine Dulce de Leche and Coconut:
Mix the warmed dulce de leche with the remaining toasted coconut in the bowl. Stir well to ensure everything is evenly coated in that luscious caramel goodness. -
Melt Marshmallows and Butter:
In another large microwavable bowl, melt together the mini marshmallows and butter for about 2 minutes. Stir until they are fully combined and smooth. -
Add Rice Krispie Cereal:
Pour in the Rice Krispie cereal and mix well, ensuring that every piece is coated with the sticky marshmallow mixture. -
Layer in the Pan:
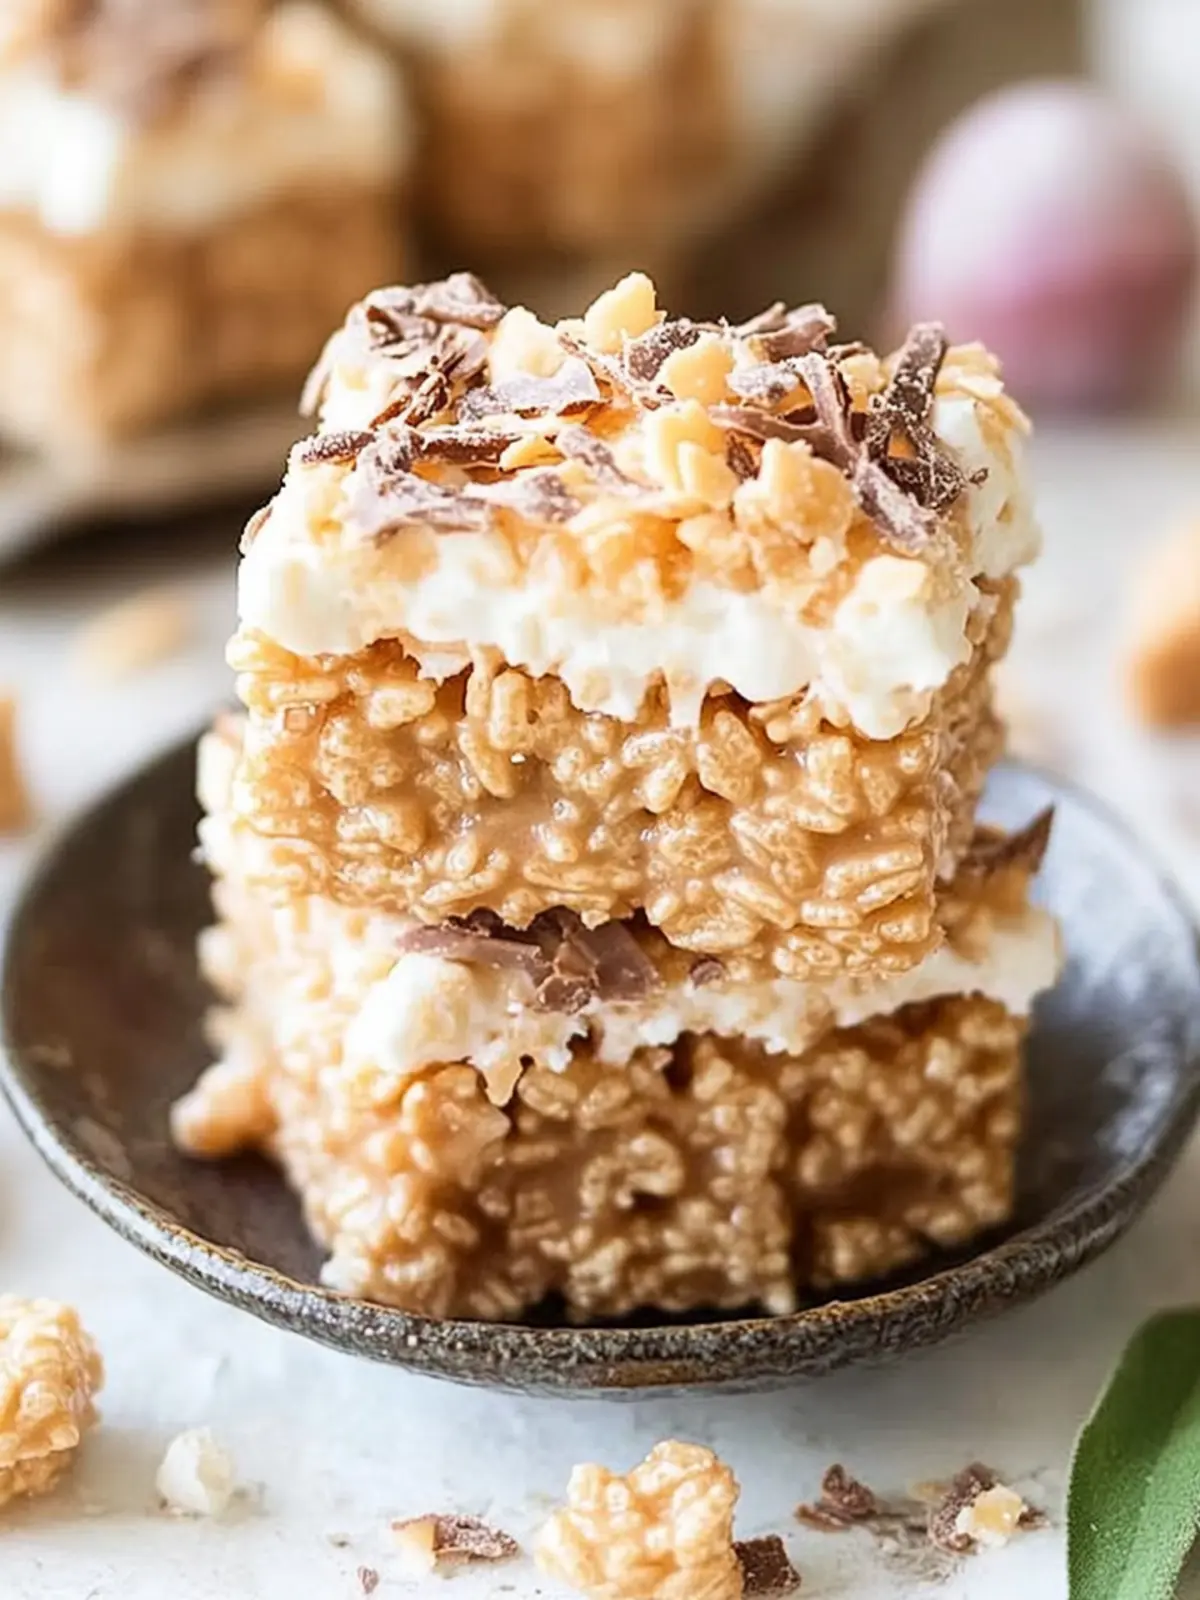
Grease an 8×12 inch pan and spread half of the cereal mixture into it, pressing down firmly. Then, layer the caramel coconut mixture on top evenly. Finally, add the remaining cereal mixture on top, pressing down again for a compact treat. -
Chocolate Topping:
Melt the semisweet chocolate and spread it over the top of your layered treats. While the chocolate is still melted, sprinkle the ½ cup of reserved toasted coconut for that perfect garnish. Allow the chocolate to harden before slicing.
Optional: Drizzle extra melted chocolate over the top for a more decadent finish.
Exact quantities are listed in the recipe card below.
How to Store and Freeze Samoa Rice Krispies
Room Temperature: Keep your Samoa Rice Krispies in an airtight container at room temperature for up to 3 days for the freshest taste.
Fridge: For longer freshness, store in the fridge for up to a week. Just remember to let them come back to room temperature before enjoying!
Freezer: These treats can be frozen for up to 3 months. Wrap individual pieces in plastic wrap and store in a freezer-safe container to preserve their taste and texture.
Reheating: If stored in the fridge, simply let them sit out for 15 minutes to soften. You can also warm them briefly in the microwave to enjoy that gooey goodness again!
What to Serve with Samoa Rice Krispie Treats?
Creating a delightful dessert experience is all about harmony; each element enhances the others beautifully.
- Fresh Berries: Juicy strawberries or raspberries offer a tart contrast, balancing the sweetness of the treats.
- Chocolate Milkshake: A rich chocolate milkshake adds creamy indulgence, making it a nostalgic pairing in every sip.
- Caramel Sauce: Drizzling extra caramel sauce intensifies the dulce de leche flavor, enhancing the treat’s rich sweetness.
- Coconut-Lime Sorbet: This refreshing sorbet introduces a cool, zesty twist that brightens the entire dessert spread.
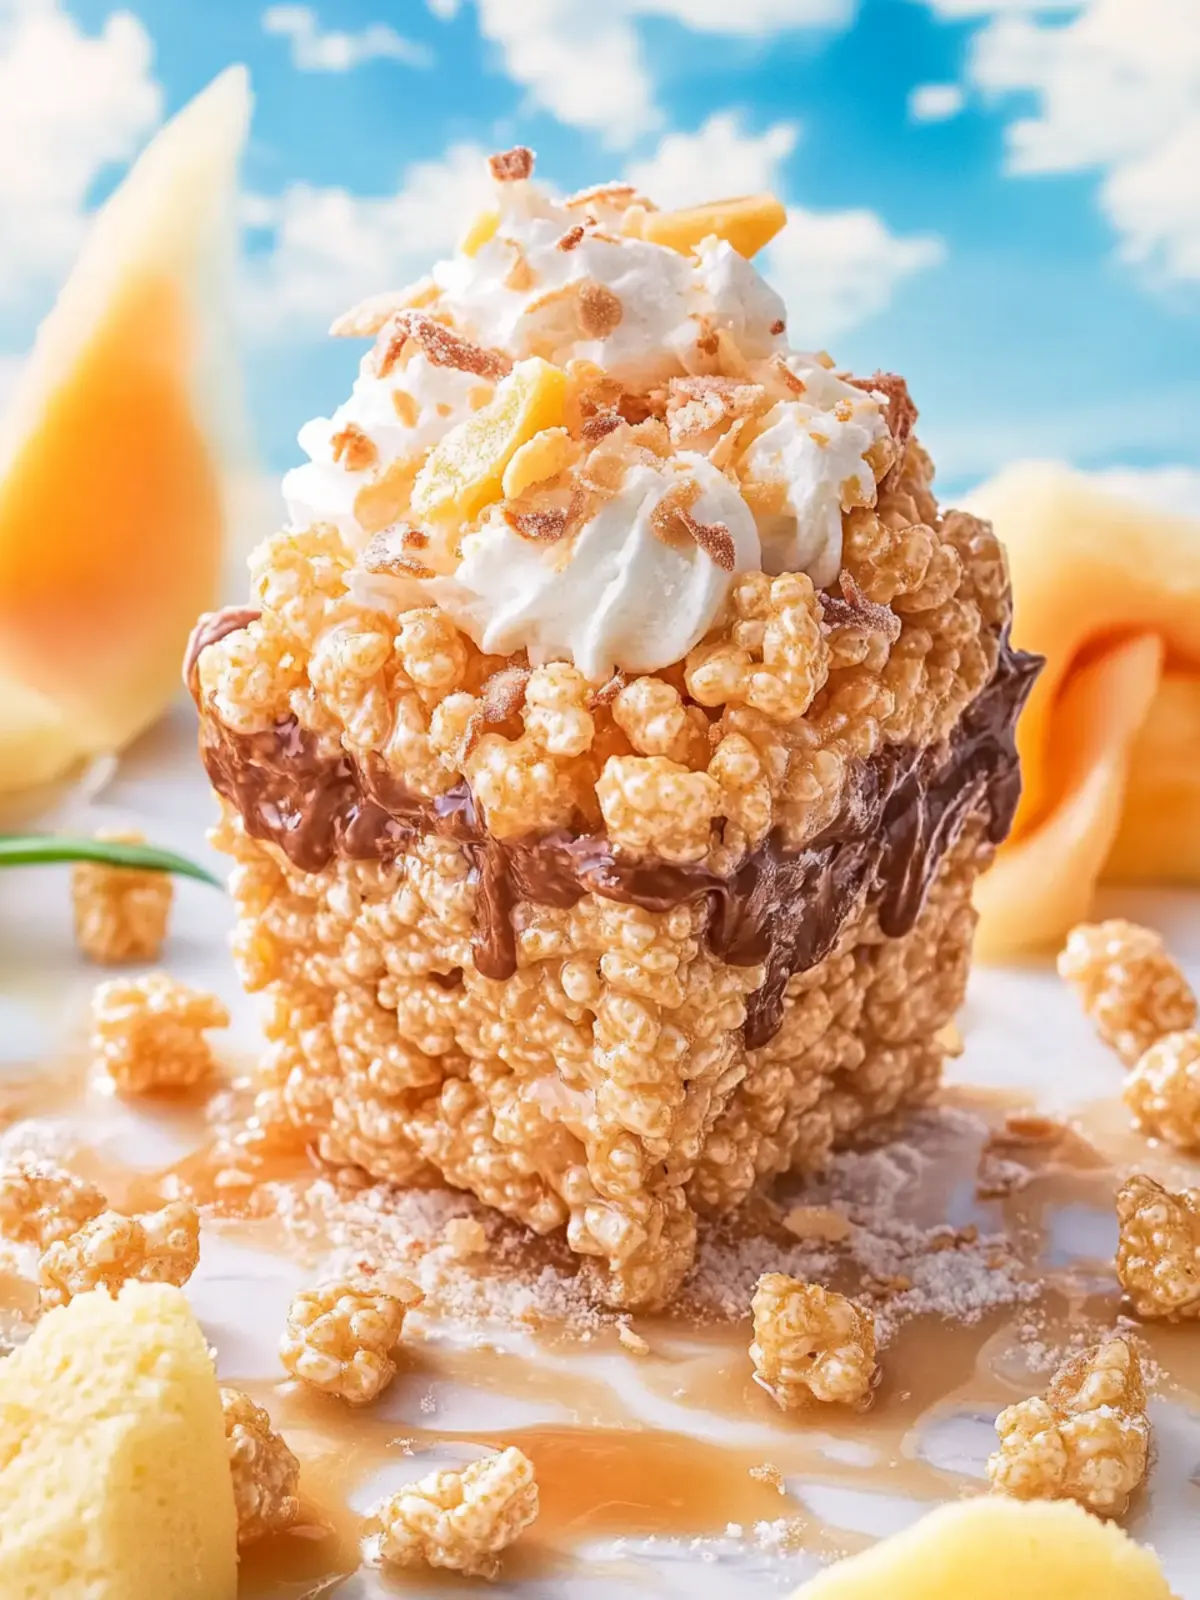
- Whipped Cream: Light and airy, freshly whipped cream provides a plush texture that perfectly complements the chewy rice krispies.
- Pineapple Float: A pineapple float with soda and ice cream brings a tropical vibe that echoes the flavors of the treats.
- Nutty Biscotti: Crunchy biscotti with nuts adds a satisfying crunch alongside the soft, chewy Samoa Rice Krispies.
With these wonderful accompaniments, you’ll create a delightful dessert table that feels like a sunny getaway!
Samoa Rice Krispies Variations
Feel free to explore these delightful twists and make this recipe your own!
-
Nutty Crunch: Add 1 cup of chopped mixed nuts to the cereal mixture for a deliciously crunchy texture. Almonds or pecans work wonderfully!
-
Coconut-Free: Skip the coconut and replace it with 1 cup of mini chocolate chips for a chocolaty treat that’s still full of flavor.
-
Dairy-Free: Substitute vegan butter and coconut milk for a completely dairy-free version. Use dairy-free chocolate for the topping!
-
Maple Dulce: Swap dulce de leche for maple syrup for a uniquely sweet take. The maple flavor pairs beautifully with the toasted coconut.
-
Spicy Kick: Mix in a pinch of cayenne pepper to the melted chocolate for a surprising heat that perfectly complements the sweetness.
-
Fruit Fusion: Add 1 cup of dried fruits, like cranberries or apricots, into the mixture for a chewy and fruity surprise in every bite.
-
Layered Delight: Create a layered version by making two separate batches – one with coconut and chocolate, and another with just rice krispies. Stack them for added visual appeal!
-
Peanut Butter Bliss: Stir in 1/2 cup of creamy peanut butter with the melted marshmallows for a nutty flavor that takes these treats to the next level.
Make Ahead Options
These Samoa Rice Krispies are perfect for meal prep enthusiasts! You can toast the coconut and prepare the dulce de leche mixture up to 24 hours in advance, storing them in airtight containers in the refrigerator. When you’re ready to assemble, simply melt the marshmallows and butter, combine with the Rice Krispie cereal, and layer in your greased pan. To ensure the treats remain just as delicious, cover them tightly after they’ve cooled and store at room temperature for up to 3 days. Drizzle with melted chocolate just before serving for that delightful finish, making these tempting treats a breeze to enjoy anytime!
Expert Tips for Samoa Rice Krispies
Perfectly Toasted Coconut: Ensure you stir the coconut constantly to achieve an even golden color and prevent burning.
Smooth Dulce de Leche: Heating with milk is key; microwave it in short intervals to avoid overheating and create a pourable consistency.
Avoid Sticking: Grease your pan generously to prevent your Samoa Rice Krispies from sticking. Use parchment paper for easier removal!
Firm Pressing: Remember to press down firmly on each layer to create a compact treat that holds together well when sliced.
Cool Completely: Allow the chocolate to harden completely before serving; this makes for cleaner cuts and a lovely presentation.
With these tips, you’re on your way to making irresistible Samoa Rice Krispies that will have everyone at the table delighted!
Samoa Rice Krispies Recipe FAQs
What is the best way to select coconut for my Samoa Rice Krispies?
Absolutely! When choosing shredded coconut, look for sweetened shredded coconut to match the recipe’s requirements. Ensure it’s fresh—avoid bags with dark spots or an off smell. The coconut should be fluffy and white, ideally labeled as “unsweetened” to control your sugar levels if you prefer, but sweetened gives that rich taste!
How should I store my Samoa Rice Krispies?
Very! To keep your Samoa Rice Krispies fresh, store them in an airtight container at room temperature for up to 3 days. If you want them to last longer, you can place them in the fridge, where they’ll stay fresh for about a week. Just remember to let them sit at room temperature for about 15 minutes before you dive in!
Can I freeze Samoa Rice Krispies?
Absolutely! To freeze your Samoa Rice Krispies, wrap individual pieces in plastic wrap and place them in a freezer-safe container. They’ll hold their deliciousness for up to 3 months. When you’re ready to enjoy them, let them thaw in the fridge overnight or at room temperature for about 30 minutes—delightfully chewy once more!
What if my coconut burns while toasting?
No worries! If your coconut turns too dark, it can impart a bitter flavor to your Samoa Rice Krispies. Next time, keep a close eye on it—toast over medium heat and stir constantly. If it has dark patches but isn’t completely burned, you can try to pick out the darker pieces to save the rest.
Can I modify this recipe for allergies?
Of course! You can substitute alternative marshmallows, like vegan ones, to make this recipe dairy-free. Additionally, if you’re avoiding gluten, Rice Krispie cereal has gluten-free versions available. You can even use dark chocolate for a richer flavor if you’re sensitive to sugar—lots of ways to make this your own!
How do I ensure my Samoa Rice Krispies don’t stick to the pan?
That’s a great question! Generously grease your pan with butter or cooking spray to prevent sticking. Alternatively, you can line it with parchment paper for a hassle-free transfer once you’re ready to slice your treats. Be sure to press your mixture down firmly, which helps a lot as well!
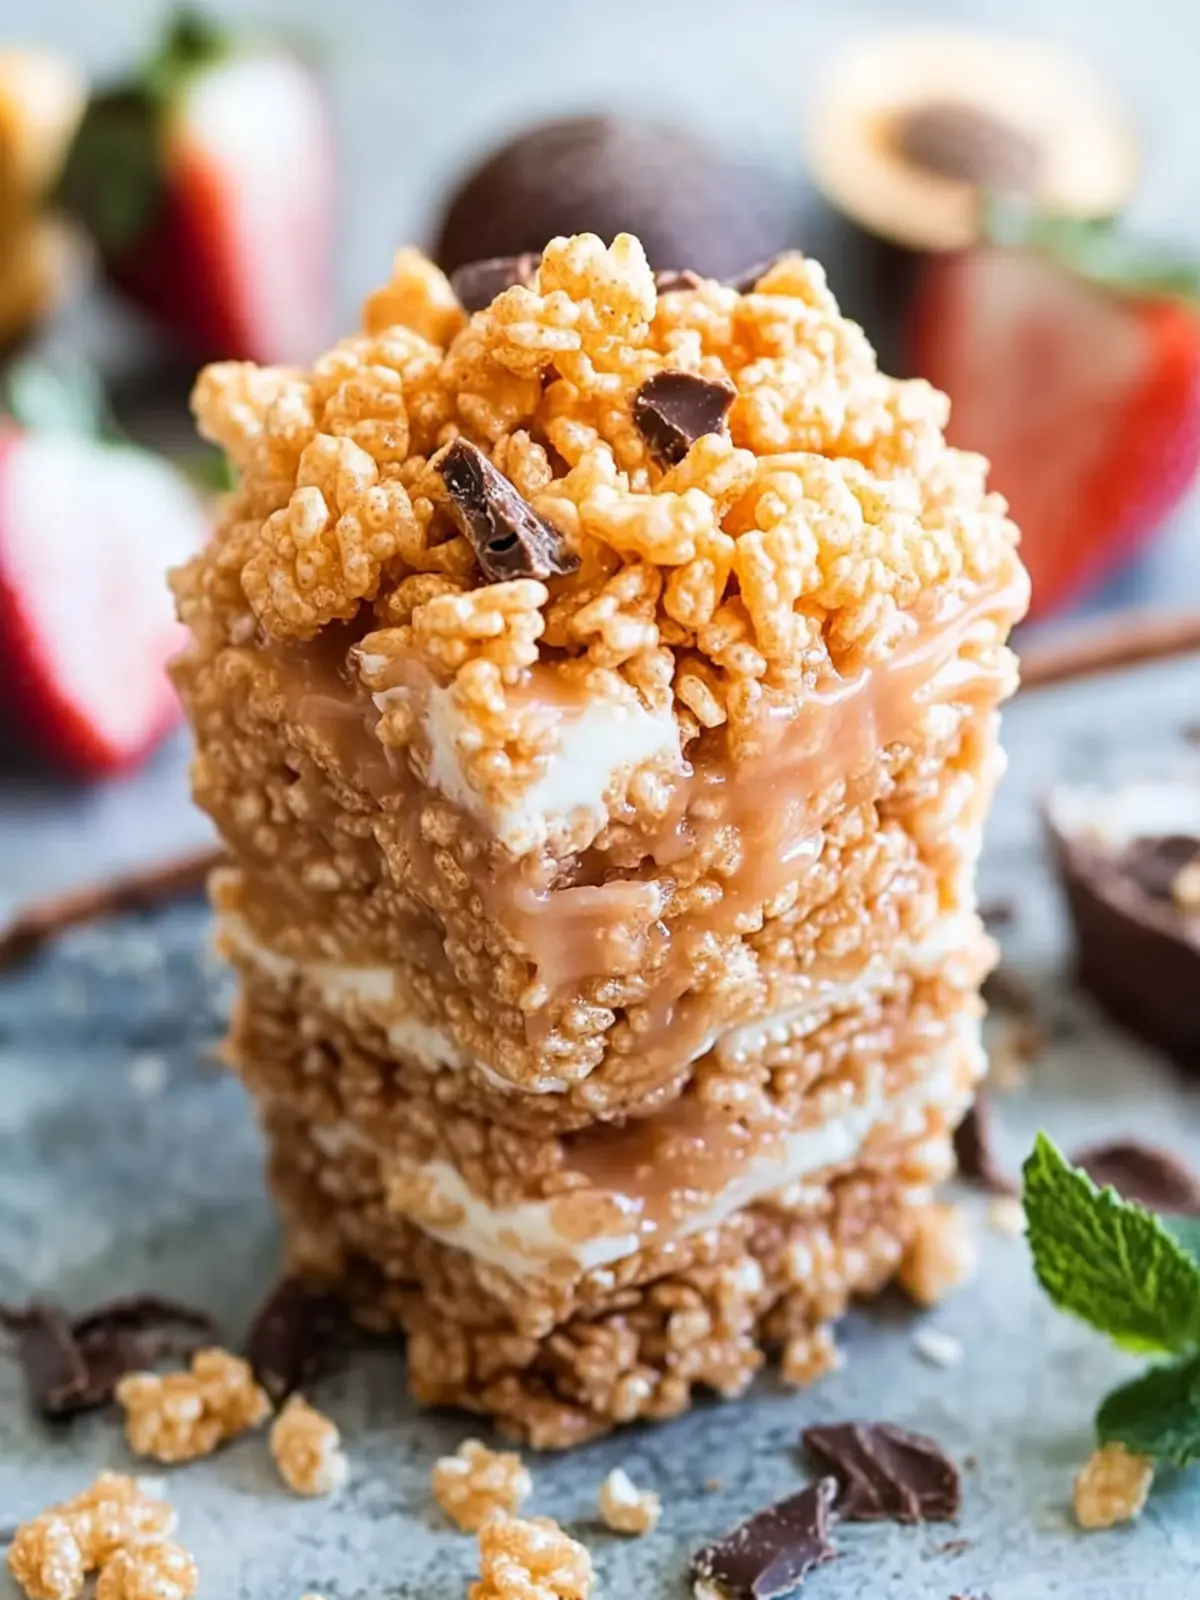
Samoa Rice Krispies: Irresistibly Chewy and Toasty Treats
Ingredients
Equipment
Method
- Toast the Coconut: In a large sauté pan, pour in the entire bag of shredded coconut. Cook over medium-high heat, stirring constantly until it turns golden brown—about 5-7 minutes. Remove from heat and keep stirring for another 2 minutes to prevent burning.
- Prepare the Dulce de Leche: Remove ½ cup of the toasted coconut and set it aside for garnishing later. In a microwave-safe bowl, heat the dulce de leche with 2 tablespoons of milk for about 1 ½ minutes until it's nice and pourable.
- Combine Dulce de Leche and Coconut: Mix the warmed dulce de leche with the remaining toasted coconut in the bowl. Stir well to ensure everything is evenly coated in that luscious caramel goodness.
- Melt Marshmallows and Butter: In another large microwavable bowl, melt together the mini marshmallows and butter for about 2 minutes. Stir until they are fully combined and smooth.
- Add Rice Krispie Cereal: Pour in the Rice Krispie cereal and mix well, ensuring that every piece is coated with the sticky marshmallow mixture.
- Layer in the Pan: Grease an 8x12 inch pan and spread half of the cereal mixture into it, pressing down firmly. Then, layer the caramel coconut mixture on top evenly. Finally, add the remaining cereal mixture on top, pressing down again for a compact treat.
- Chocolate Topping: Melt the semisweet chocolate and spread it over the top of your layered treats. While the chocolate is still melted, sprinkle the ½ cup of reserved toasted coconut for that perfect garnish. Allow the chocolate to harden before slicing.