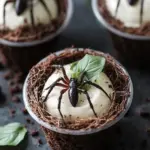
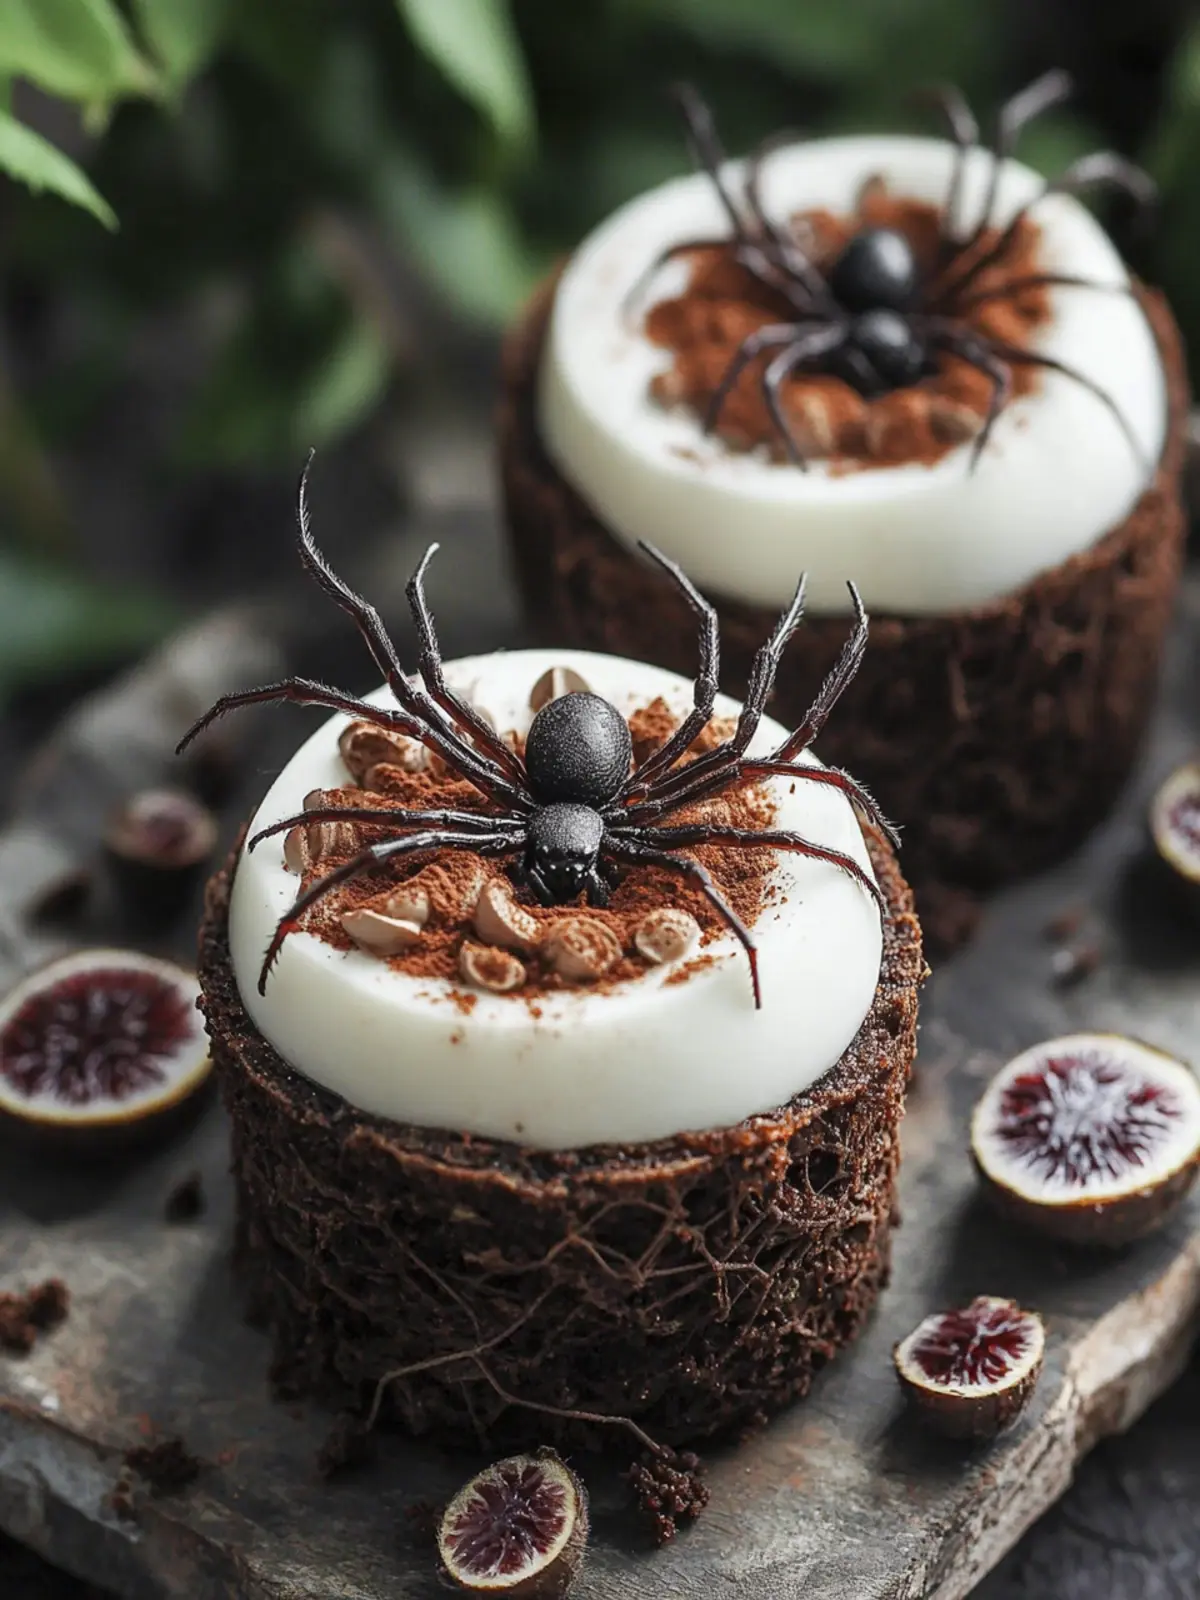
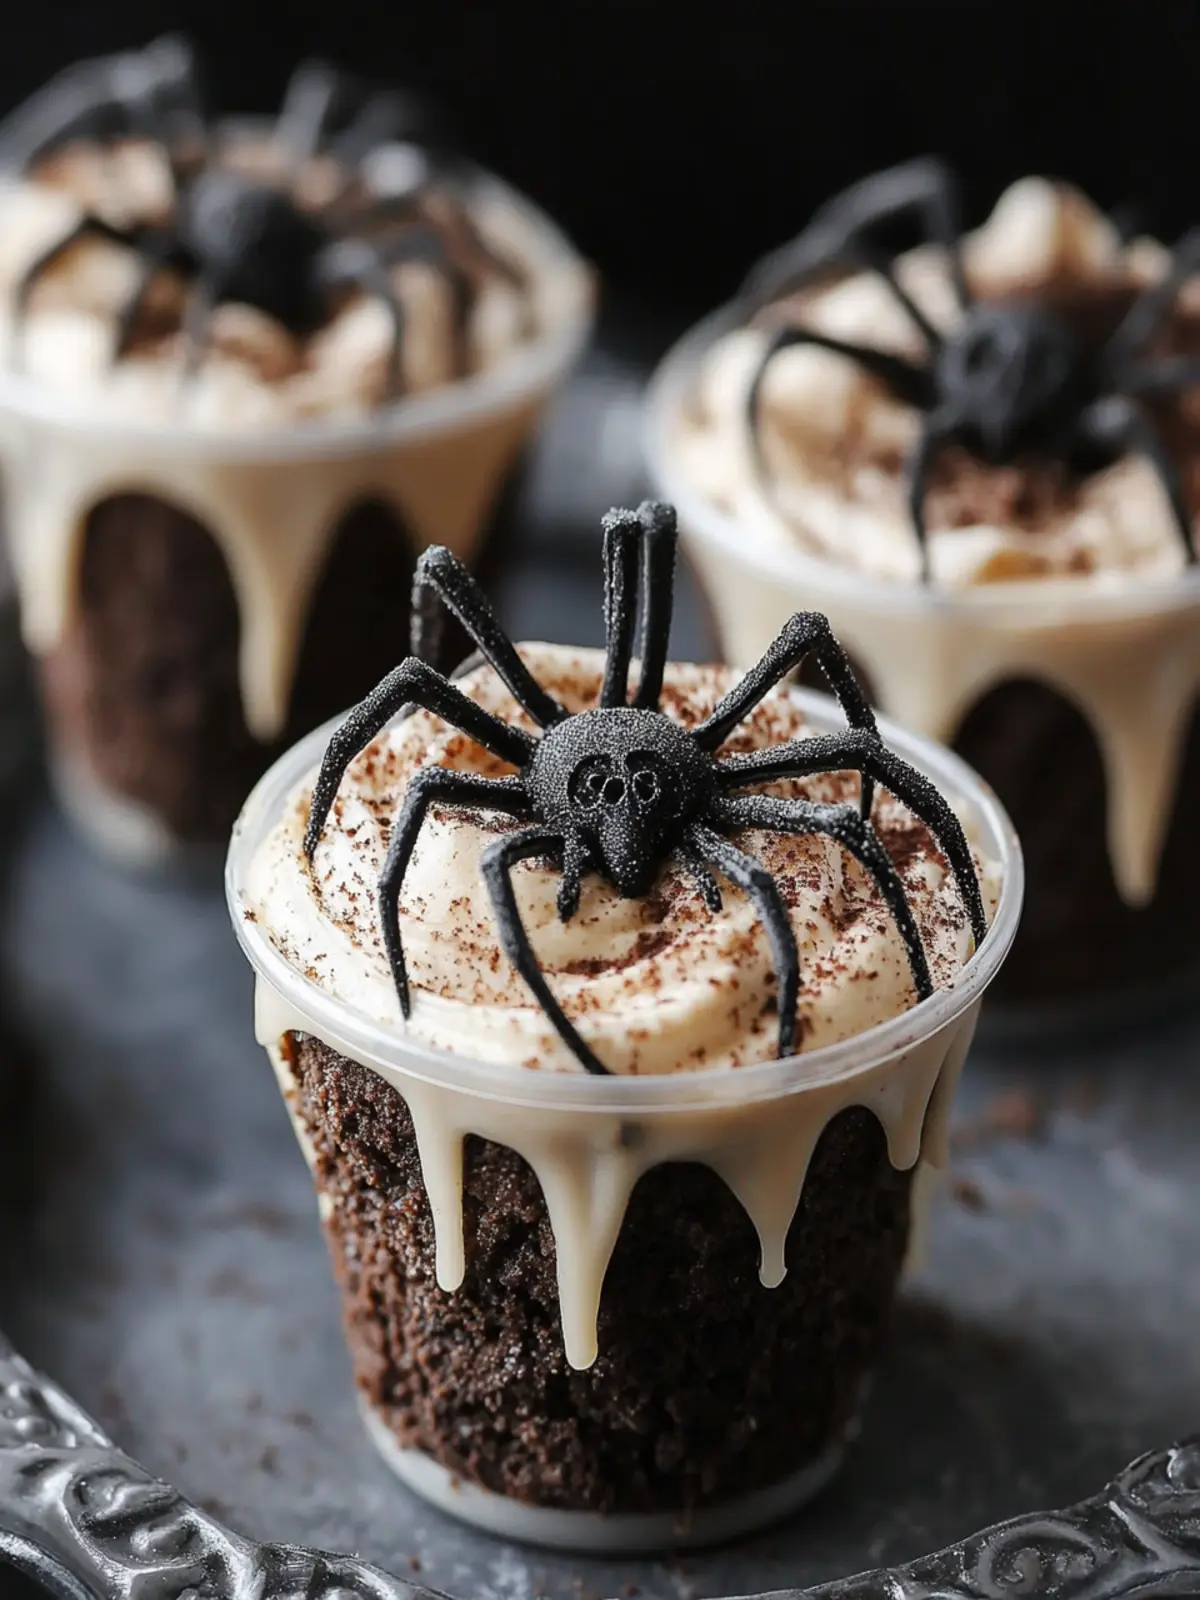
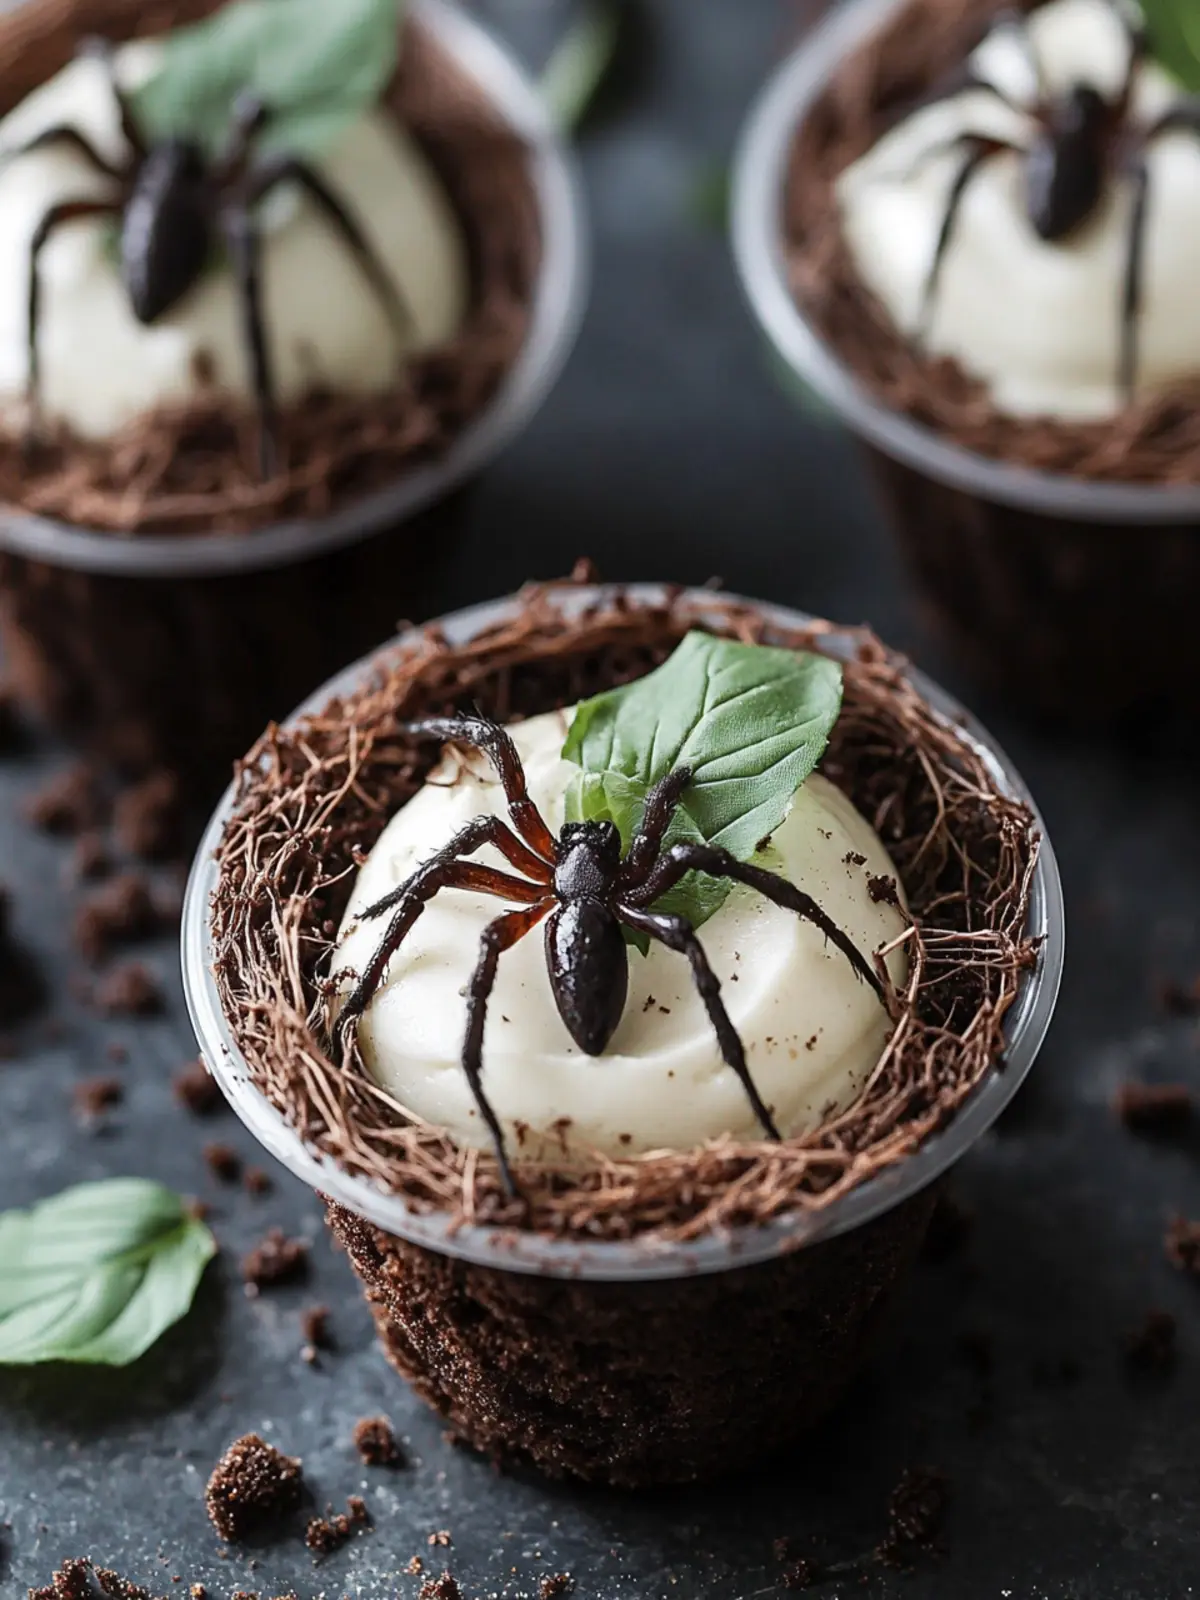
As Halloween approaches, the excitement of crafting spooky treats brings a spark of creativity to my kitchen. Picture this: you’re hosting a gathering, and children excitedly race around, eager to see what deliciously eerie surprises await them. That’s when I decided to whip up these delightful Spider Nest Dirt Cups. They’re not just a feast for the taste buds; these whimsical desserts boast layers of creamy chocolate pudding, topped with crunchy cookie “dirt” and finished off with a generous drizzle of white chocolate webs and plastic spiders that add a playful touch.
What I love most about these cups is their effortlessly impressive presentation—friends and family will be convinced you spent hours on them, but in reality, they come together in just a few simple steps. Perfect for a cozy family night or a spirited Halloween party, these cups are sure to evoke oohs and aahs from everyone. So, grab your ingredients and let’s create some deliciously spooky memories together!
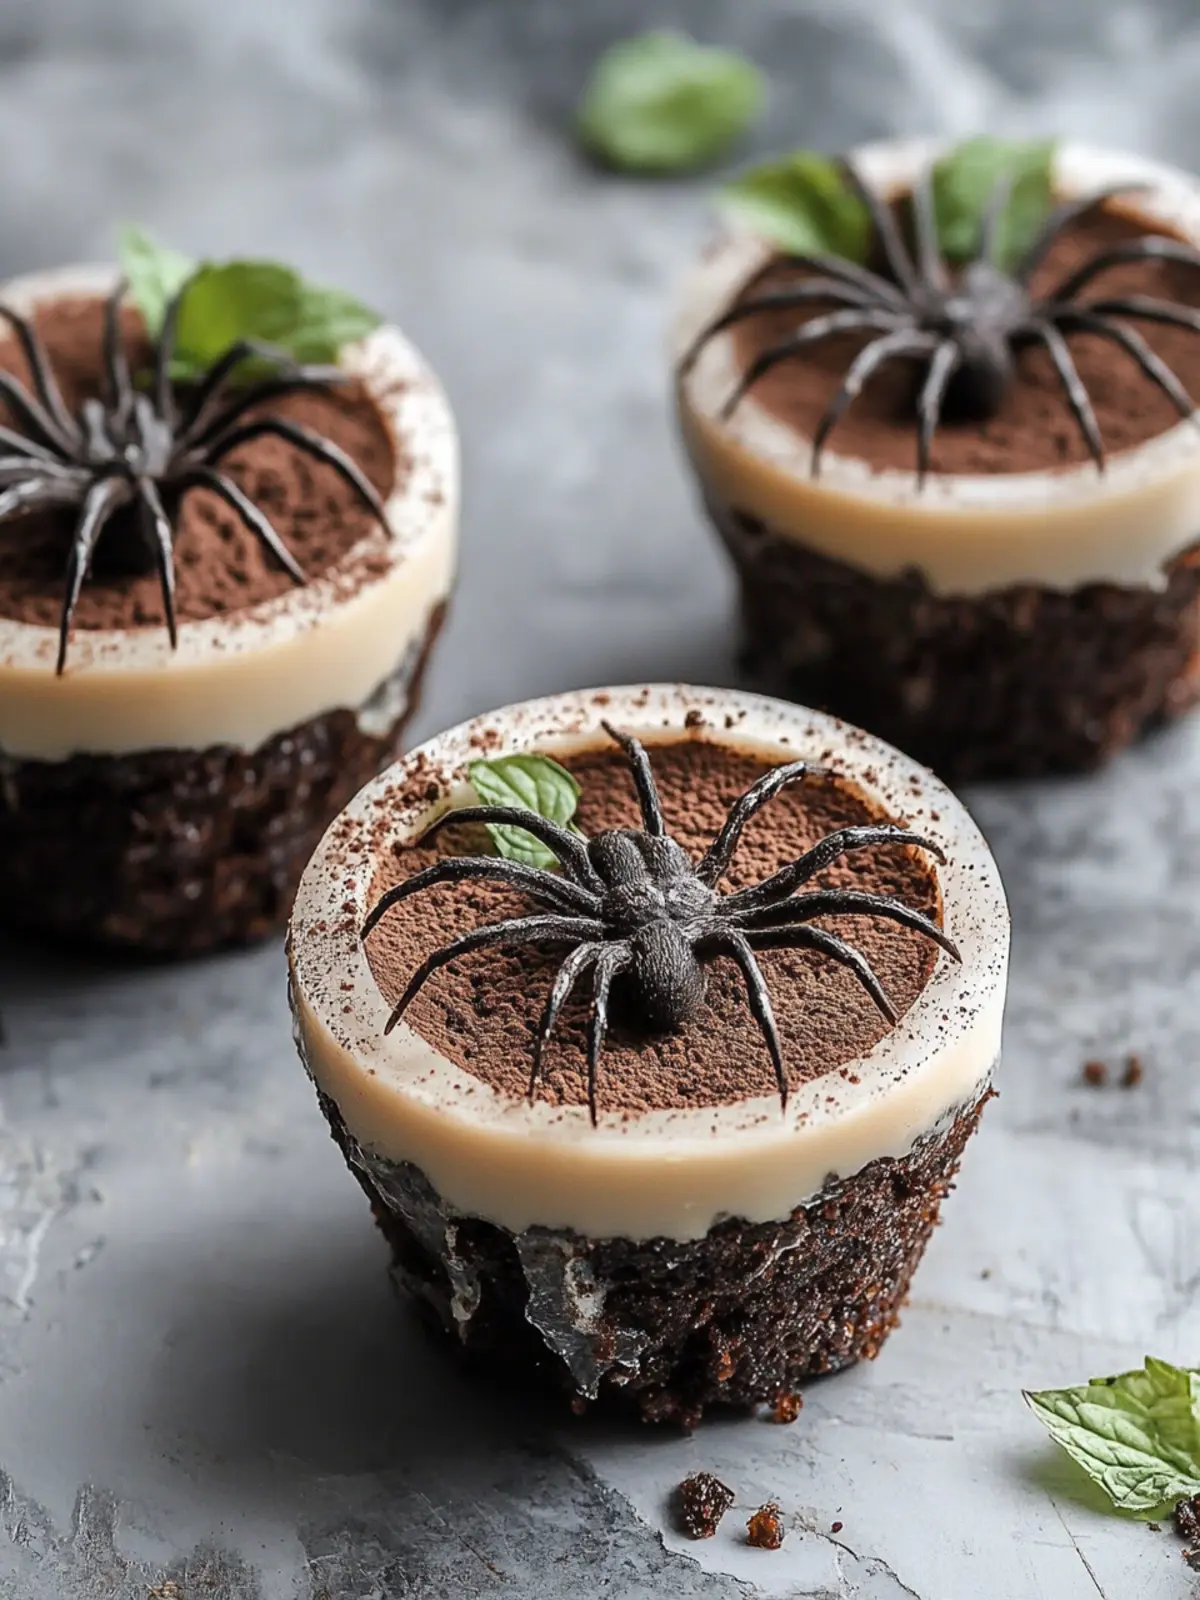
Why Are Spider Nest Dirt Cups So Fun?
Creativity Unleashed: These treats ignite your imagination, making them a hit for Halloween gatherings!
Layered Delight: With rich chocolate pudding, crunchy cookie “dirt,” and whimsical white chocolate webs, every bite is a delightful surprise.
Quick Assembly: Prepare in just a few steps—no baking required yet they impress like a pro-level dessert.
Kid-Friendly Fun: Let children help with decorating, turning dessert-making into a fun activity!
Endless Variations: Easily customize with different toppings, ensuring that everyone can enjoy their personalized spooky delight.
Spider Nest Dirt Cups Ingredients
For the Pudding
• Chocolate instant pudding – this forms the creamy base that’s rich and indulgent.
• Cold milk – using cold milk ensures a smooth and velvety texture for your pudding.
For the Topping
• Chocolate sandwich cookies – crush these into “dirt” for added crunch and flavor.
• White chocolate melting wafers – drizzle over the pudding to create spooky web-like designs.
For the Presentation
• Plastic spiders (food-safe) – these fun decorations will give your Spider Nest Dirt Cups their whimsical flair.
• Clear cups – showcase your layered dessert beautifully while keeping it simple and elegant.
Embrace the creativity and fun of making these Spider Nest Dirt Cups, and enjoy the delightful reactions from family and friends!
How to Make Spider Nest Dirt Cups
-
Prepare the pudding: In a large bowl, whisk together the chocolate instant pudding and cold milk until smooth. Allow it to chill in the refrigerator until set, about 5-10 minutes, giving it a creamy texture.
-
Crush the cookies: Place chocolate sandwich cookies in a zip-top bag and crush them using a rolling pin or your hands until they resemble fine “dirt” crumbs. This adds delightful crunchiness to your dessert.
-
Fill the cups: Once the pudding is set, carefully spoon it into clear cups, filling them about three-quarters full. This creamy base will support your exciting toppings.
-
Top with cookie crumbs: Generously sprinkle the crushed cookie “dirt” mixture on top of each cup of pudding. It should create a fun contrast in texture and flavor, mimicking actual dirt!
-
Melt the white chocolate: In a microwave-safe bowl, melt white chocolate melting wafers, heating in 20-second intervals and stirring until smooth. Use a spoon to drizzle the melted chocolate in web-like patterns over the cookie crumbs.
-
Decorate with spiders: While the white chocolate is still soft, strategically place food-safe plastic spiders on top of the “webs” for that added spooky flair.
-
Set the chocolate: Allow the white chocolate to cool and set completely before serving. This ensures that everything stays in place when sharing these tasty treats.
Optional: Add gummy worms for an extra creepy touch!
Exact quantities are listed in the recipe card below.
What to Serve with Spider Nest Dirt Cups?
As the spooky season rolls in, these delightful treats spark joy and creativity, making the perfect sweet ending to your Halloween festivities.
- Halloween-Themed Fruit Skewers: Fresh fruit on sticks can brighten up the table, adding a burst of color and a refreshing contrast to the rich pudding cups.
- Pumpkin Spice Latte: A warm pumpkin spice latte brings comforting autumn flavors, harmonizing beautifully with the chocolatey sweetness of your dessert.
- Chocolate Chip Cookies: Classic chocolate chip cookies offer a chewy texture that complements the smooth pudding, creating a delightful combination of flavors.
- Gummy Worms: Add to the fun by placing gummy worms atop the pudding cups or as a side treat; they bring a playful, creepy element that kids adore.
- Spooky Themed Cake Pops: These bite-sized treats are fun to decorate and serve, adding an artistic flair to your Halloween spread while keeping guests entertained.
- Milk or Hot Chocolate: Both drinks provide a familiar, comforting taste that makes your dessert feel extra special; they’re perfect for washing down the richness of the cups.
- Pumpkin Muffins: Daily bake with warm spices and an airy texture that’ll satisfy your guests and pair wonderfully with the creaminess of the chocolate layers.
- Apple Cider: A refreshing drink option that balances out the sweetness and adds seasonal charm, making it an ideal companion to your chocoholic delights.
- Meringue Ghosts: Light, airy treats that add drama to your table, these meringues are visually delightful and put everyone in the Halloween spirit!
Spider Nest Dirt Cups Variations
Customize these delightful treats to suit your taste and dietary needs with just a few simple tweaks!
- Gluten-Free: Use gluten-free chocolate cookies instead of regular ones to make the dessert accessible to all guests.
- Dairy-Free: Swap the instant pudding mix and milk for dairy-free alternatives, like almond or coconut milk, to make this sweet spooky treat suitable for those with lactose intolerance.
- Vegan: Replace white chocolate melting wafers with dairy-free chocolate and use vegan chocolate sandwich cookies. Everyone will enjoy this mindful version!
- Flavor Twist: Add a spoonful of peanut butter to the pudding mixture for a rich, nutty flavor that pairs perfectly with chocolate.
- Extra Crunch: Toss in some crushed nuts or granola between layers for added texture and a delightful surprise in each bite.
- Sweet Heat: Include a sprinkle of cayenne pepper in the cookie layer for a subtle spicy kick that contrasts deliciously with the sweet pudding.
These variations not only keep the spirit of the spooky dessert but also invite you to experiment and make each serving uniquely yours!
Make Ahead Options
These Spider Nest Dirt Cups are ideal for meal prep, allowing you to whip up an enchanting dessert in advance, saving precious time on the day of your gathering! You can prepare the chocolate pudding and refrigerate it for up to 24 hours before serving, ensuring it stays perfectly creamy. Additionally, you can crush the chocolate sandwich cookies and store them in an airtight container for up to 3 days without losing their delightful crunch. When you’re ready to serve, simply fill the clear cups with pudding, sprinkle the cookie crumbs on top, melt the white chocolate, drizzle it over the cups, and add the playful plastic spiders. This way, you’ll impress your guests with a delicious treat that looks stunning, all while giving yourself more time to enjoy the festivities!
Helpful Tricks for Spider Nest Dirt Cups
• Chill First: Always chill your pudding mixture adequately to achieve that perfect, creamy texture. Avoid rushing this step to ensure the pudding sets properly.
• Cookie Consistency: Crush the chocolate sandwich cookies until they resemble fine crumbs, preventing large chunks that can disrupt the layered effect of your Spider Nest Dirt Cups.
• Melting Magic: Melt white chocolate slowly in short intervals; this prevents it from burning and ensures a smooth drizzle for your spooky webs.
• Spider Placement: Use food-safe plastic spiders while the chocolate is still soft for better adhesion. This ensures they don’t topple over when serving.
• Personal Touch: Feel free to customize the toppings—consider adding gummy worms or other spooky decorations, making each cup unique and fun for everyone.
How to Store and Freeze Spider Nest Dirt Cups
Fridge: Store your Spider Nest Dirt Cups in the refrigerator for up to 3 days in an airtight container. This keeps the pudding creamy and the cookies crunchy for longer.
Freezer: For a longer shelf life, you can freeze the prepared pudding before adding the cookie topping and chocolate drizzle. This will last up to 1 month. When ready to serve, thaw in the fridge overnight and complete the assembly.
Reheating: While these treats are best enjoyed chilled, if you’ve frozen the pudding, avoid reheating since it’s not designed for warming. Instead, enjoy it cold for the ultimate refreshing experience!
Spider Nest Dirt Cups Recipe FAQs
How do I select the best chocolate pudding mix?
Absolutely! Look for brands that specify “instant” in their name, as they create a creamy texture without the need for cooking. Additionally, check the expiration date to ensure freshness, and consider picking a mix that has a rich chocolate flavor—it makes all the difference in your Spider Nest Dirt Cups!
How should I store leftover Spider Nest Dirt Cups?
Very! Store your Spider Nest Dirt Cups in the refrigerator for up to 3 days to keep them fresh. Place them in an airtight container to help maintain the creamy pudding and crunchy cookie “dirt.” Keep in mind that the cookies may lose some crunchiness over time, so they’re best enjoyed fresh.
Can I freeze Spider Nest Dirt Cups?
Yes, indeed! For longer storage, you can freeze the prepared pudding without the cookie topping and chocolate drizzle—this version can last up to 1 month. To freeze, transfer the pudding into an airtight container and place it in the freezer. When you’re ready to enjoy, simply thaw in the fridge overnight before assembling your cups with the cookie “dirt” and spooky spiders.
What should I do if my chocolate pudding doesn’t set?
No worries! If your pudding isn’t setting, it could be due to insufficient mixing or using warm milk—thermal shock is crucial! Start by whisking together the pudding mix and cold milk until completely dissolved. If it’s still runny after chilling for 10 minutes, you can try adding another tablespoon of pudding mix, whisk well, and chill it for an additional 5-10 minutes to encourage it to firm up.
Are there any allergy considerations for Spider Nest Dirt Cups?
Absolutely! If you’re serving these treats to guests, be mindful of allergies. The pudding mix and chocolate cookies often contain dairy and gluten. If you need to accommodate dietary restrictions, look for gluten-free cookie options and dairy-free pudding mixes. Also, ensure the plastic spiders are food-safe, especially if young children are around.
Can I modify the toppings for different occasions?
Very! The beauty of Spider Nest Dirt Cups is their versatility. You can easily swap out chocolate sandwich cookies for crushed graham crackers or use different candy toppings—like gummy worms or edible glitter—if you’re looking for festive variations for other celebrations. Tailor the decorations to align with your theme and let your creativity soar!
Delicious Spider Nest Dirt Cups for a Spooktacular Treat
Ingredients
Equipment
Method
- In a large bowl, whisk together the chocolate instant pudding and cold milk until smooth. Allow it to chill in the refrigerator until set, about 5-10 minutes.
- Place chocolate sandwich cookies in a zip-top bag and crush them using a rolling pin or your hands until they resemble fine ‘dirt’ crumbs.
- Once the pudding is set, carefully spoon it into clear cups, filling them about three-quarters full.
- Generously sprinkle the crushed cookie 'dirt' mixture on top of each cup of pudding.
- In a microwave-safe bowl, melt white chocolate melting wafers in 20-second intervals until smooth. Drizzle over the cookie crumbs in web-like patterns.
- While the white chocolate is still soft, place food-safe plastic spiders on top for decoration.
- Allow the white chocolate to cool and set completely before serving.