As October approaches and the leaves turn to shades of amber and gold, my mind drifts to the delightful flavors of Halloween. When I think of spooky treats that bring both joy and nostalgia, Witch’s Brew Dirt Cups instantly come to mind. This recipe is not just about sweets; it’s a celebration of creativity and comfort, perfect for gatherings with friends or family.
One autumn evening, while preparing for a spooky movie night, I decided to whip up a fun and festive dessert that would impress without stressing me out. With layers of rich homemade chocolate pudding and crunchy Oreo crumbs, these cups are as delicious as they are adorable. Each spoonful is a little piece of magic, with the potential to transport you back to carefree childhood Halloweens.
The best part? You can easily customize these cups to suit your mood or occasion. Add gummy worms for a creepy vibe or tiny candy pumpkins for a touch of whimsy—either way, your guests will be enchanted! Let’s dive into the recipe and stir up some Halloween magic in your kitchen!

Why You’ll Love Witch’s Brew Dirt Cups?
Easy to Make: These dirt cups come together quickly, perfect for those busy fall days when you want to whip up something special.
Decadent Chocolate Goodness: The homemade chocolate pudding is rich, smooth, and utterly irresistible, making every bite a delight.
Fun for All Ages: Kids and adults alike will enjoy creating their own spooky decorations to personalize each cup, making it a fun activity for gatherings.
Versatile Design: Add your favorite Halloween toppings, from gummy worms to spooky sprinkles, and watch them delight your guests with their eerie charm.
Perfect for Entertaining: These cups can be made ahead and stored in the fridge, so you can enjoy the festivities without the last-minute rush.
Elevate your Halloween festivities and impress everyone with these scrumptious treats—let’s celebrate the season with flair!
Witch’s Brew Dirt Cups Ingredients
Creating your own spooky dessert at home has never been easier!
For the Pudding
- Bittersweet chocolate – ensures a rich, deep flavor that balances the sweetness beautifully.
- Dutch-processed cocoa powder – gives a smooth, robust chocolate flavor that’s ideal for pudding.
- Whole milk – provides creaminess; you can substitute with almond milk for a dairy-free option.
- Sugar – sweetens the pudding perfectly; adjust to your taste if you prefer it less sweet.
- Cornstarch – acts as a thickening agent for a luscious pudding texture.
- Kosher salt – enhances the flavors, balancing the sweetness of the pudding.
- Unsalted butter – adds richness; make sure it’s at room temperature for easy incorporation.
- Vanilla extract – infuses warm notes, elevating the overall flavor profile.
For the Layers
- Oreo cookies – these crushed cookies create a delightful “dirt” layer; feel free to use gluten-free cookies if needed.
These simple ingredients come together to create your magical Witch’s Brew Dirt Cups, perfectly designed for Halloween fun!
How to Make Witch’s Brew Dirt Cups
-
Whisk Together: In a large saucepan, combine the cocoa powder, sugar, salt, and cornstarch using a whisk. This ensures a smooth mixture that will yield a creamy pudding.
-
Heat the Milk: Gradually pour in the whole milk while continually whisking the mixture over medium-low heat. Keep stirring until it’s warm and steamy—this is key for melting the chocolate later.
-
Melt the Chocolate: Once the milk mixture is steaming, add the chopped bittersweet chocolate. Stir gently until completely melted and smooth, creating a rich chocolate base.
-
Boil the Mixture: Allow the pudding mixture to come to a gentle boil. Let it bubble away for exactly one minute before removing it from the heat. This step helps to thicken your pudding perfectly.
-
Add Flavor: Stir in the unsalted butter and vanilla extract. This will add layers of flavor and richness, transforming your pudding into a decadent treat.
-
Chill the Pudding: Transfer the pudding into a large mixing bowl. Cover it tightly with plastic wrap, pressing it against the surface to prevent a skin from forming. Refrigerate for at least one hour to set.
-
Layer the Cups: Grab your plastic dessert cups or glass jars. Evenly layer the chilled pudding and crushed Oreo cookies, creating a beautiful “dirt” effect. Repeat the layering process once more.
-
Final Chill: Place your assembled cups in the fridge for a minimum of 3-4 hours, or overnight if you prefer. This allows the flavors to meld and the dessert to fully chill. When it’s time to serve, get creative with fun toppings!
Optional: Top with gummy worms or candy pumpkins for an extra spooky touch.
Exact quantities are listed in the recipe card below.

How to Store and Freeze Witch’s Brew Dirt Cups
Fridge: Store the assembled cups in the refrigerator for up to 3 days. Make sure they are covered to maintain freshness and prevent any fridge odors from soaking in.
Freezer: If you’ve made extra chocolate pudding, freeze it in airtight containers for up to 2 months. Thaw in the fridge overnight before serving again.
Reheating: While these cups are best enjoyed chilled, if you prefer your pudding warm, gently heat the pudding in a saucepan over low heat, stirring frequently until warmed through.
Serving Tip: Always top with fresh Oreo crumbs and favorite spooky decorations just before serving to keep the layers looking delightful!
Expert Tips for Witch’s Brew Dirt Cups
-
Perfect Pudding Texture: Make sure to whisk constantly when heating the milk to prevent scorching. This ensures a smooth and creamy chocolate pudding.
-
Layer Evenly: For the best visual effect, create even layers of pudding and Oreo crumbs. Use a spoon to make sure the layers are distinct and beautiful.
-
Chill Time Matters: Allow adequate chilling in the fridge for at least 3-4 hours; this solidifies the layers and enhances flavors in your Witch’s Brew Dirt Cups.
-
Customize Your Toppings: Don’t hesitate to personalize each cup with toppings; it’s a great way to let creativity shine and engage kids in the decorating process!
-
Avoid Skin Formation: Press the plastic wrap directly on the surface of the pudding while it cools to prevent a skin from forming, keeping it silky smooth.
Make Ahead Options
These Witch’s Brew Dirt Cups are the ultimate time-saver for busy home cooks! You can prepare the rich chocolate pudding up to 24 hours in advance by following the first five steps of the recipe. Once the pudding has cooled and you’ve layered it with crushed Oreos, simply cover it with plastic wrap to keep it fresh and refrigerate for up to 3 days. The dessert will still taste just as delicious! When it’s time to impress your guests, simply remove the cups from the fridge, add your spooky toppings like gummy worms or candy pumpkins, and enjoy your effortlessly prepared Halloween treat!
What to Serve with Witch’s Brew Dirt Cups?
Elevate your Halloween gathering with delightful accompaniments that will perfectly resonate with the charm of your spooky dessert!
-
Crispy Apple Slices: The refreshing crunch of apples balances the sweetness of the dirt cups, adding a light and crisp texture.
-
Spooky Charcuterie Board: Include a variety of cheeses, meats, and Halloween-themed decorations for a visually enchanting spread that pairs beautifully with your dessert.
-
Caramel Popcorn: The buttery sweetness of popcorn paired with gooey caramel complements the deep chocolate flavors, providing a fun and satisfying crunch.
-
Pumpkin Spice Hot Chocolate: This rich, warm drink enhances the autumn experience while fitting perfectly with the chocolatey theme of the Witch’s Brew Dirt Cups.
-
Ghostly Meringue Cookies: Light and airy, these sweet treats are fun to decorate and provide a delightful contrast of textures alongside the creamy pudding cups.
-
Chocolate-Dipped Pretzels: The salty-sweet combo creates a satisfying contrast that will captivate your guests while evoking the spirit of Halloween.
-
Cinnamon Sugar Donuts: A warm, fluffy treat that pairs beautifully with the rich chocolate and adds a homestyle warmth to your Halloween celebration.
These enchanting pairings will enhance your Halloween festivities, inviting everyone to indulge in a delightful culinary experience!
Variations & Substitutions for Witch’s Brew Dirt Cups
Feel free to get creative with these delightful dirt cups and make them your own!
-
Dairy-Free: Substitute whole milk with almond or coconut milk for a creamy, dairy-free version.
-
Gluten-Free: Use gluten-free chocolate sandwich cookies instead of Oreos to keep it gluten-free while maintaining that crunchy layer.
-
Nutty Flavor: Add a drizzle of almond or hazelnut spread between layers for a rich, nutty twist that compliments the chocolate wonderfully.
-
Fruit Boost: Toss in a layer of mashed bananas or pureed pumpkin for added flavor and nutrition, bringing a heartwarming taste to your cups.
-
Spicy Kick: Sprinkle in a dash of cinnamon or cayenne pepper to your chocolate pudding for an unexpected, delightful heat that juxtaposes the sweetness.
-
Different Chocolates: Swap bittersweet chocolate for milk chocolate, or even white chocolate, for a different flavor profile that suits your preferences.
-
Decadent Layers: Layer in crushed chocolate-covered pretzels along with the Oreo crumbs for a salty-sweet crunch that everyone will love!
-
Nut-Free Option: For a nut-free delight, simply forgo any nut-based toppings or spreads and stick to the classic flavors that everyone can enjoy.
With all these variations, your Witch’s Brew Dirt Cups can be uniquely delicious for Halloween festivities!
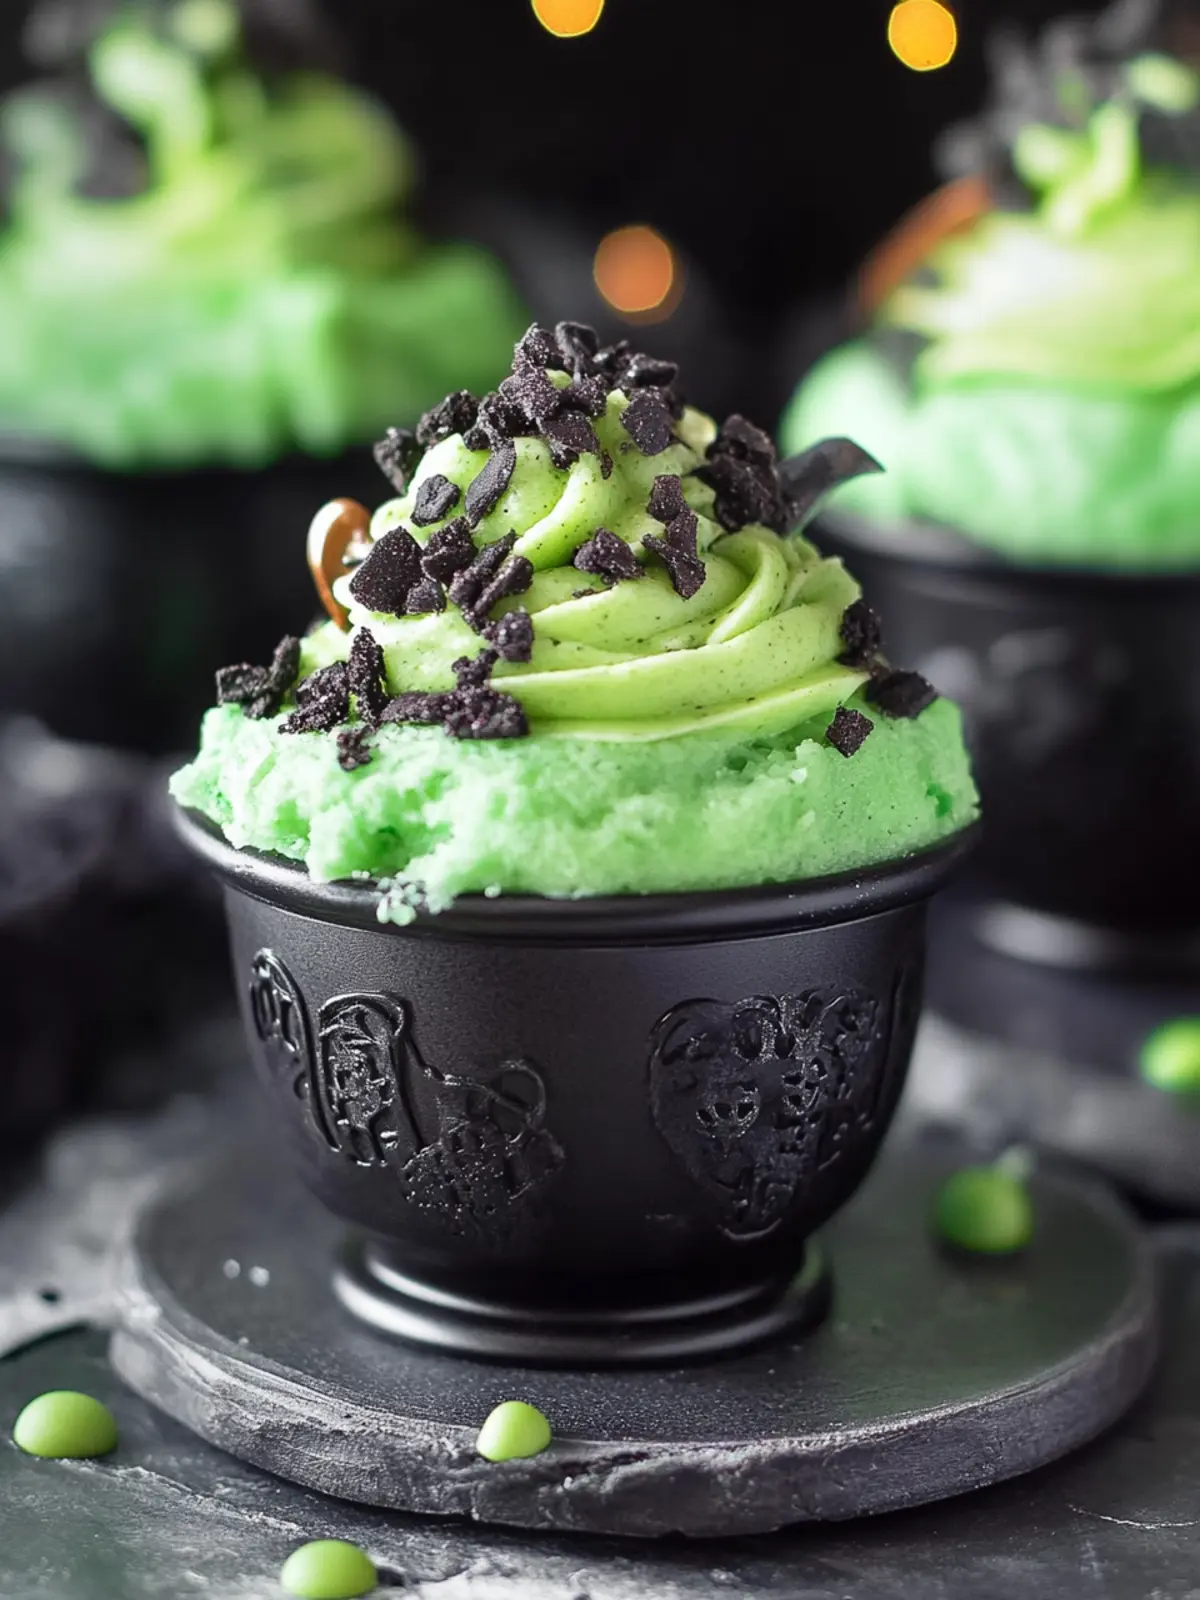
Witch’s Brew Dirt Cups Recipe FAQs
What type of chocolate should I use for the pudding?
Absolutely! I recommend using bittersweet chocolate for that rich, deep flavor. If you prefer a sweeter profile, semi-sweet chocolate works well too. Just make sure to chop it into small pieces for quick melting!
How should I store Witch’s Brew Dirt Cups once made?
You can store your assembled cups in the refrigerator for up to 3 days. Just make sure they’re covered to maintain freshness and prevent any unwanted fridge odors from mingling with your delightful dessert.
Can I freeze the chocolate pudding?
Yes, you can absolutely freeze the chocolate pudding! Pour any leftover pudding into airtight containers and freeze for up to 2 months. When you’re ready to enjoy it again, thaw the pudding in the refrigerator overnight for best results. It may need a gentle stir after thawing to restore its creamy consistency.
Why did my pudding not thicken properly?
Very! If your pudding didn’t thicken, it could be due to not boiling it long enough. Make sure to bring it to a gentle boil and let it bubble for exactly one minute, as this step is crucial for thickening. Also, always remember to whisk constantly while heating to avoid scorching.
Are there any allergy considerations for this recipe?
Yes! If you’re making these for someone with allergies, be sure to check the labels on your ingredients. Oreos may contain gluten and dairy, so consider using gluten-free cookies if needed. Also, ensure that the bittersweet chocolate is allergy-friendly, as some brands may contain traces of nuts.
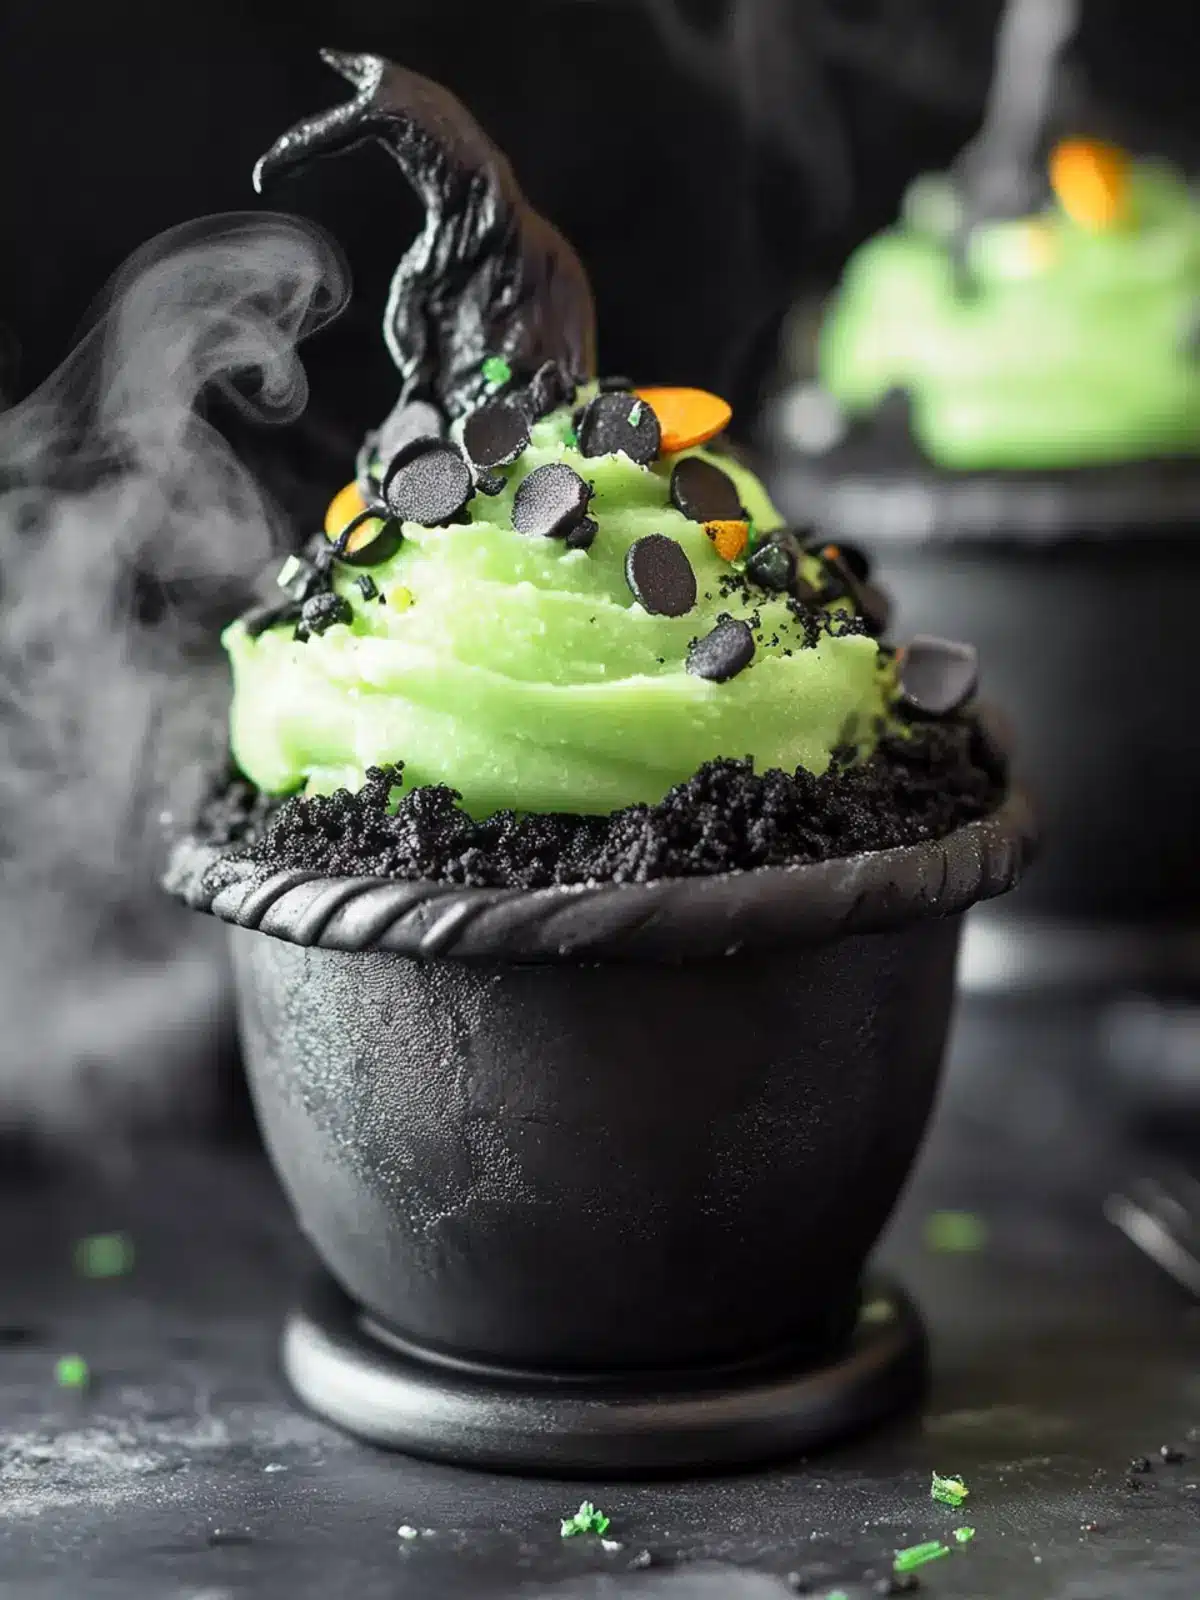
Witch’s Brew Dirt Cups: Spooky Treats with Rich Chocolate Pudding
Ingredients
Equipment
Method
- In a large saucepan, combine the cocoa powder, sugar, salt, and cornstarch using a whisk.
- Gradually pour in the whole milk while continually whisking the mixture over medium-low heat.
- Once the milk mixture is steaming, add the chopped bittersweet chocolate. Stir gently until completely melted and smooth.
- Allow the pudding mixture to come to a gentle boil for exactly one minute before removing it from the heat.
- Stir in the unsalted butter and vanilla extract.
- Transfer the pudding into a large mixing bowl, cover tightly with plastic wrap, and refrigerate for at least one hour to set.
- Layer the chilled pudding and crushed Oreo cookies in plastic dessert cups, repeating the layering process.
- Place the assembled cups in the fridge for a minimum of 3-4 hours, or overnight.